|
|
Post by nscaler711 on Oct 6, 2013 2:42:42 GMT -8
I am so jealous of all of you!!
stuck with a 5' x 9' plywood central... (not really plywood either its just a ping pong table inverted and screwed to a frame.
|
|
|
|
Post by mlehman on Oct 6, 2013 5:50:19 GMT -8
Patience will reward you if you keep at it in this hobby. My layout is over 20 years old and it began with this part, which was a module I started on before I bought the house to house the layout. Sort of Before (when it came here, there was no scenery) 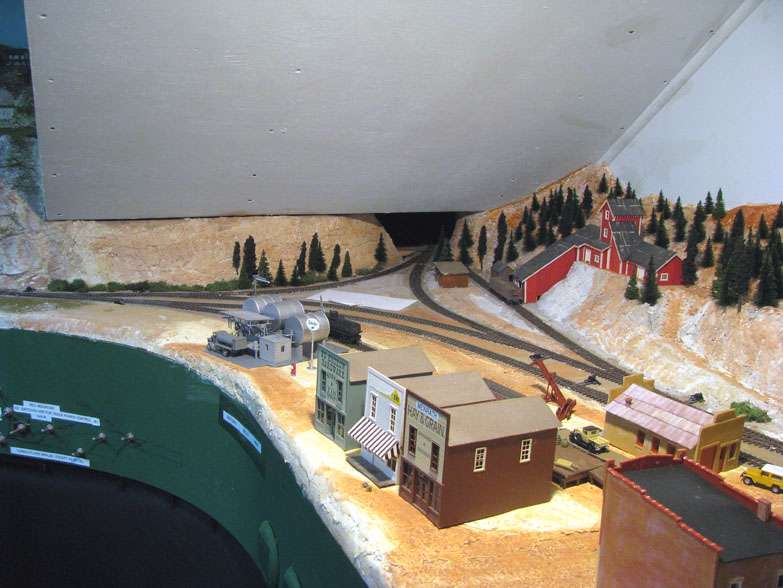 After 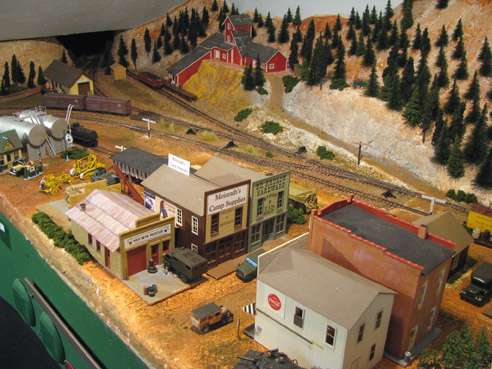 My advice is to find your model railroading passion, what you really want, and be certain of it before pursuing a medium-size to larger layout project. Working on a 5x9 is one of the best way to do that. Whether your tear it down and start over to try to find a better way or you learn some great things and move on to a bigger project, perhaps incorporate it into a bigger layout, remember that Rome wasn't built in a day. Treasure what you have and do the best you can with it. That's always what has made this hobby great for me. It's not what we consume, it's what we build. |
|
|
|
Post by mlehman on Oct 11, 2013 6:13:41 GMT -8
Menards has a 22% off sale on all lighting so I indulged to scoop up three more Meridian LED line voltage light strips. For a good example of what one of these (12' long, draws 9.6 watts -- yes, the decimal point is in the right place; lighting the whole room takes 12 strings for a total of 115 watts   ) will do, take a look at the junction and yard throat at Durango on the left. Before 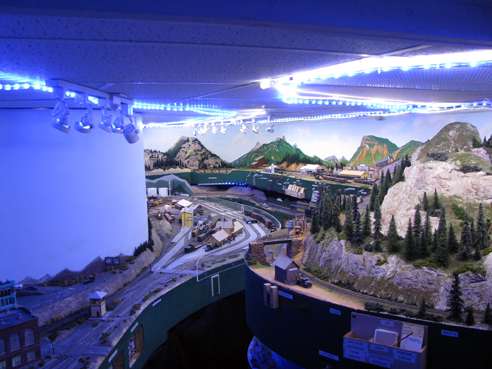 After 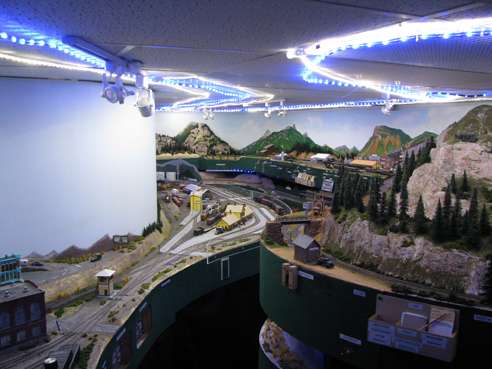 |
|
|
|
Post by nscaler711 on Oct 12, 2013 2:04:16 GMT -8
115w is still less than two 60w incandescent bulbs or six (?) flouresent bulbs...
So your still consuming less energy but you now have more light.
|
|
|
|
Post by mlehman on Oct 12, 2013 4:46:56 GMT -8
115w is still less than two 60w incandescent bulbs or six (?) flouresent bulbs... So your still consuming less energy but you now have more light. Yes, leaves me feeling green  Another great advantage to running the LED light strips is the absence of heat. Between ~1000 watts of fluorescents and close to 2000 watts worth of halogen track lights, it got pretty steamy in the layout room -- and I don't mean that in a good sense. The only time I use the overhead fluorescents now is as work lighting. The half dozen or so remaining halogens are mainly there as supplemental lighting for pics. |
|
|
|
Post by mlehman on Oct 18, 2013 8:05:40 GMT -8
Here's an interesting pair, showing how Rockwood has developed over the last couple of years. The mill, supply warehouse/office, and "wrong side of the tracks," as well as a new center siding to store MTs and pickups were added. Before 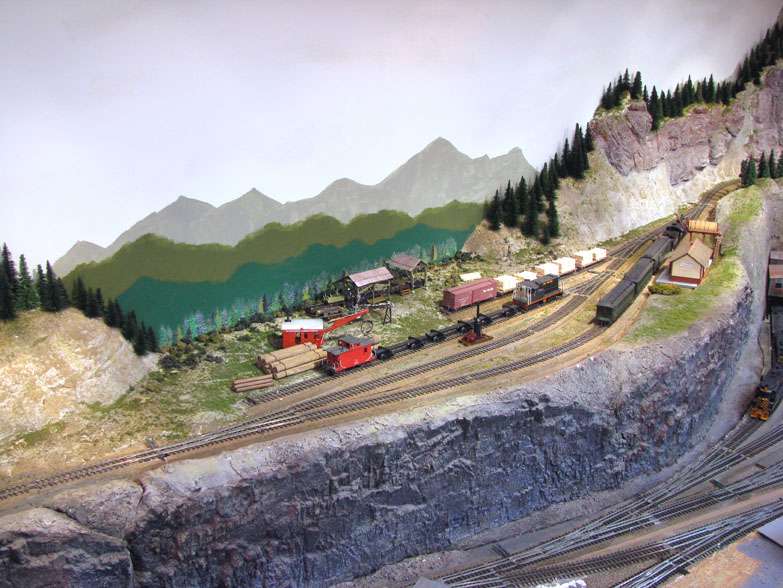 After 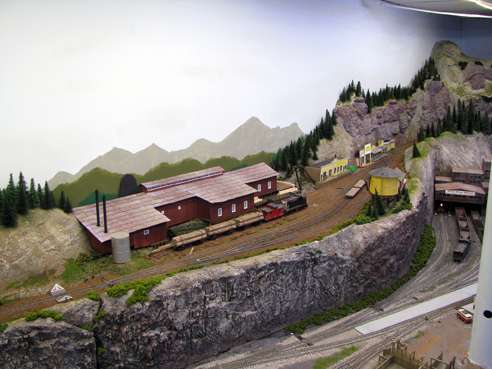 |
|
|
|
Post by mlehman on Oct 27, 2013 20:28:18 GMT -8
Before: 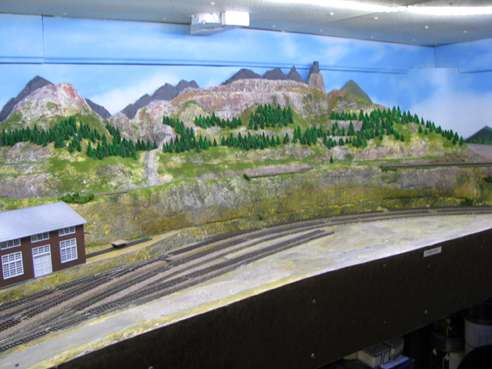 After: 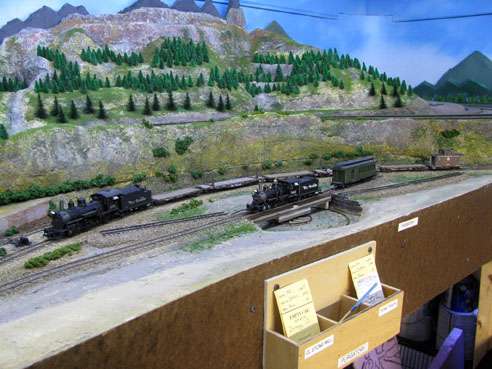 |
|
|
|
Post by mlehman on Nov 1, 2013 7:13:11 GMT -8
After More Trees (Before pics above  ) 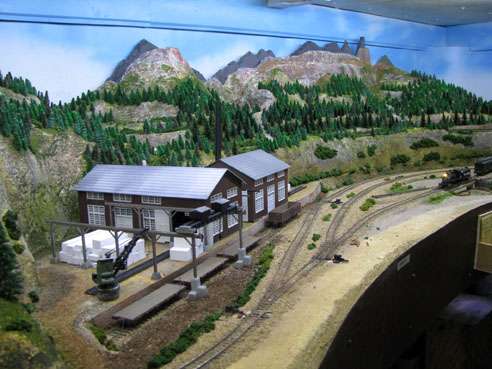 |
|
|
|
Post by mlehman on Nov 10, 2013 23:29:21 GMT -8
More trees coming soon -- my back is slowing the planting down  -- but here's an interesting one on a familiar subject to many: upgrading the Plywood Pacific. Before 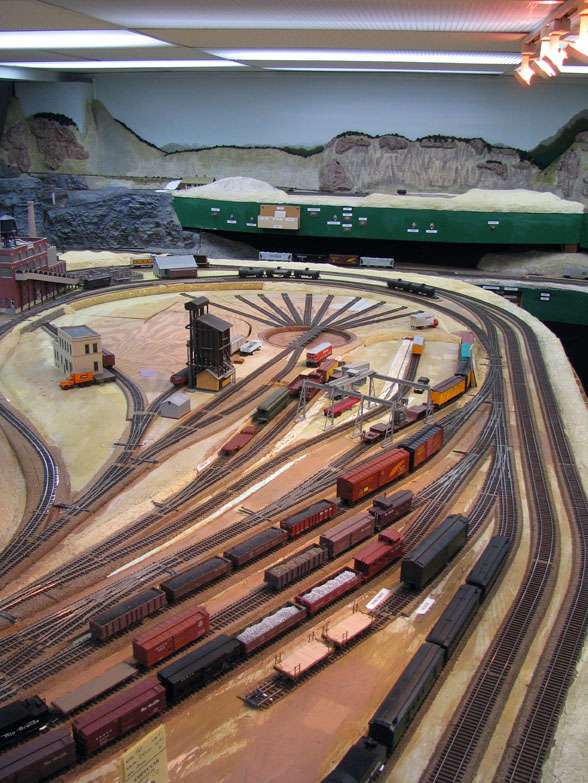 After 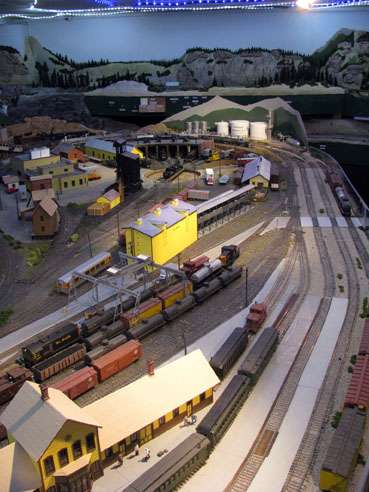 |
|
|
|
Post by mlehman on Nov 13, 2013 6:09:38 GMT -8
This entry is all about trees -- bumpy chenille trees for the most part. I'm somewhere between 4000 and 5000 trees on the layout now. About 1,000 are store bought and the rest are BC. I kind of lost track of exact numbers. In addition to being cheap (about 2 cents each once paint and glue are included), the tiny trees also are allowing me to reposition my store-bought trees further forward, with the bumpy chenille trees filling in the background. I use the green and dark brown bumpy chenille, painting them with a combination of Krylon Italian Olive and Rust-Oleum Moss green. This is Red Mountain Before: 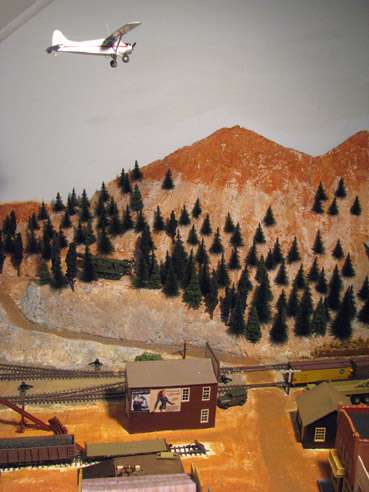 After  Crossing Missionary Creek, Before: 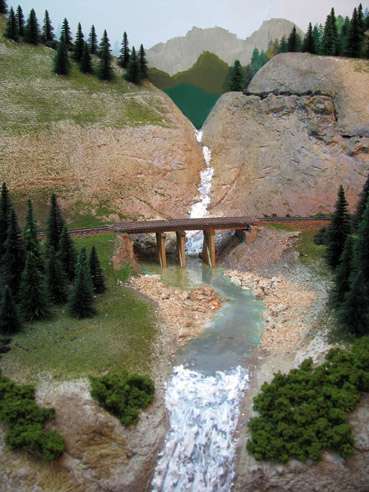 After 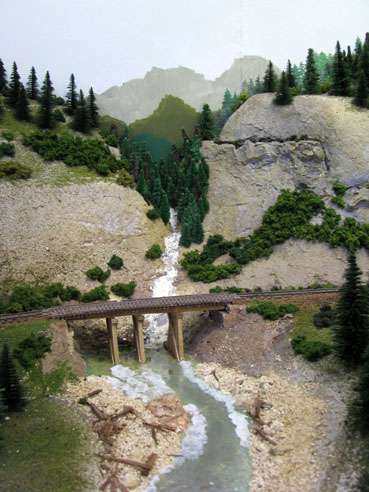 The Silverton Branch passes by Big @ss Mountain (named for its obvious resemblance) Before: 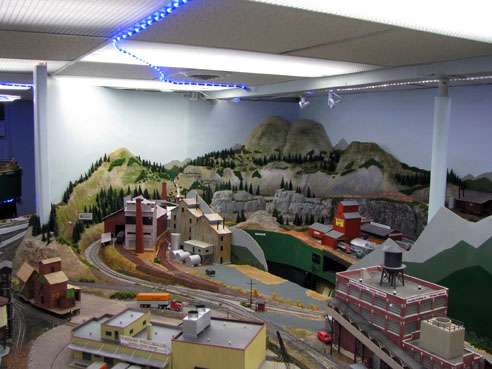 After  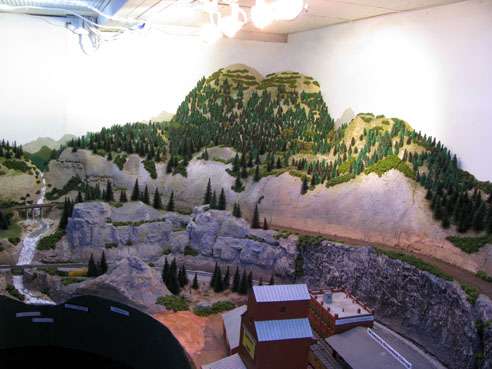 At Tefft, the Cascade Branch heads further into the mountains, Before: 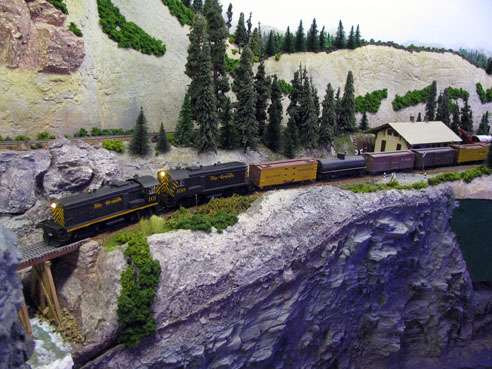 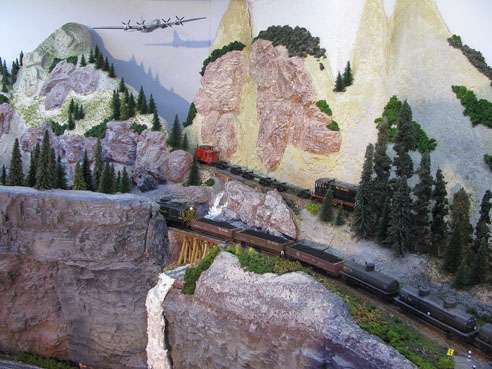 After 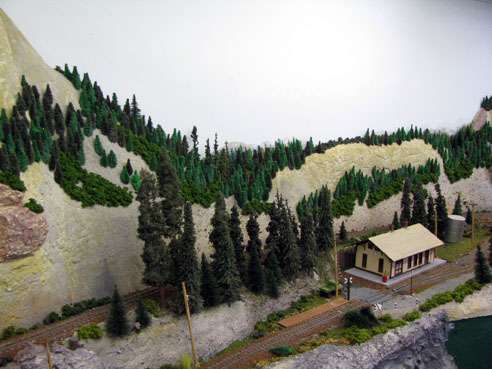 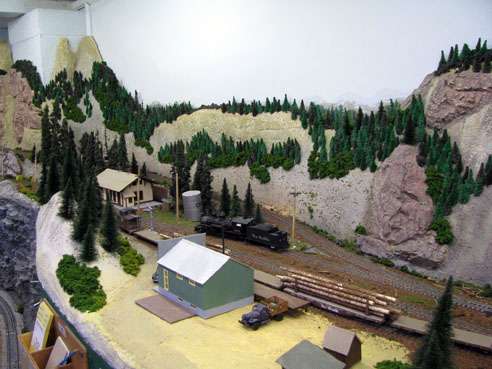 |
|
|
|
Post by mlehman on Nov 24, 2013 11:43:21 GMT -8
For starts, here a better Before pic for the last pic above of Tefft After all the new trees.  And we've officially gone over 6,000 trees on they layout, 85% of them tiny bumpy chenille trees made for about 2 cents each. Here are some Before and After pics. These pics all are centered around Rockwood. Here's a Before pic of the Rockwood area in less timbered times. 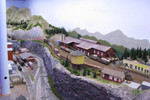 Before your reach Rockwood, you pass through a zone that has a climbing 4" grade that is part of the coved area at the end of the asile through the layout. Here's a distant Before scene just before the trees started to thicken on barren Big @ss Mountain.  The climb is along a path that climbs through the National Forest. Here it is Before, followed by a sequence of pics as I worked my way through the left half of the scene. The right half was previously upgraded, but had a few more of the store-bought trees than this to start. 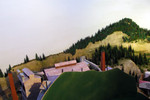 I cleaned off the ground foam bits and recycled the trees elsewhere. 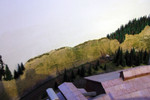 More when I get a chance... |
|
|
|
Post by mlehman on Nov 24, 2013 14:59:22 GMT -8
Sorry about the interruption. I'll also try to get the pics larger, but not sure if that'll work, as ImageShack has made some changes I'm still digesting. Next was the first row of trees, nice and tight against the backdrop. 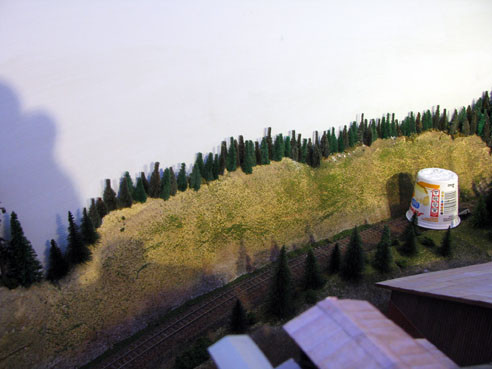 Here you can see the holes punched for the second row of trees. 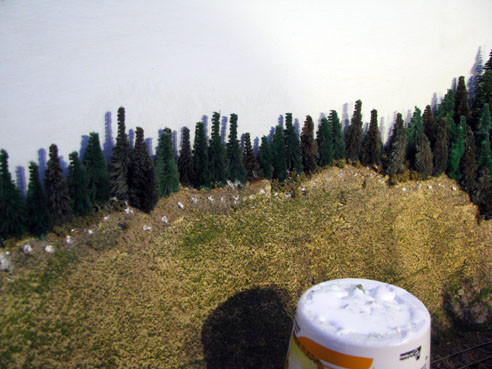 Second row in. 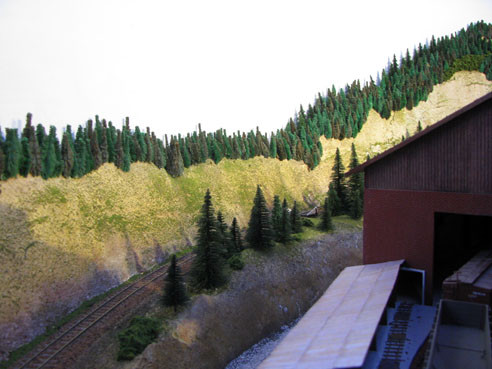 The first two rows should block out the backdrop behind them. Then you just keep adding rows in front, carefully keeping things pretty tight most places. The good thing about these trees is that they work well sticking in to near vertical surfaces while giving texture and depth. Here's how things looked when I finished here for now. 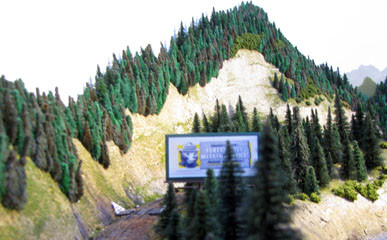 This is my tool kit. 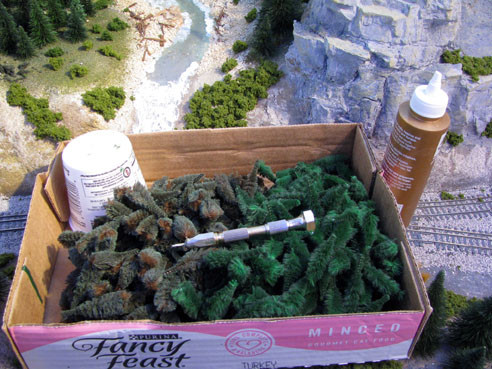 Here's the last large area of tress I finished today above Rockwood. Before 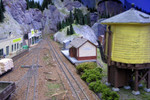 After 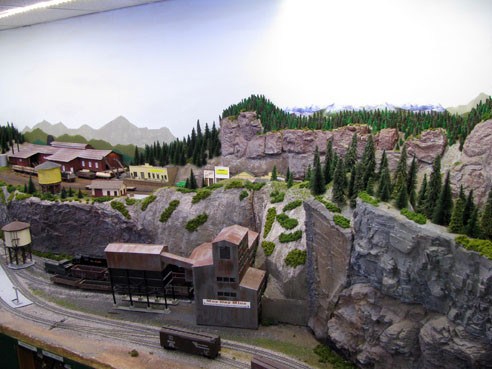 Before  After 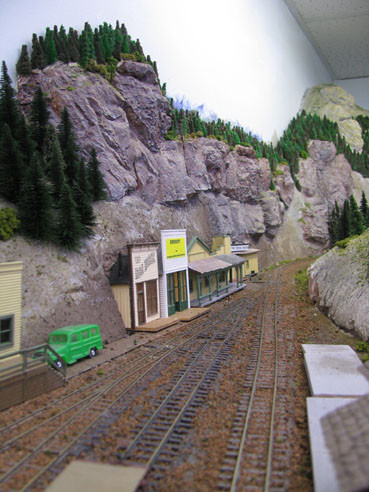 Finally, before the big Greening.   After 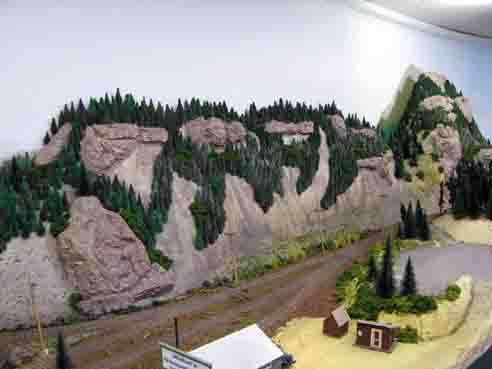 Before  After 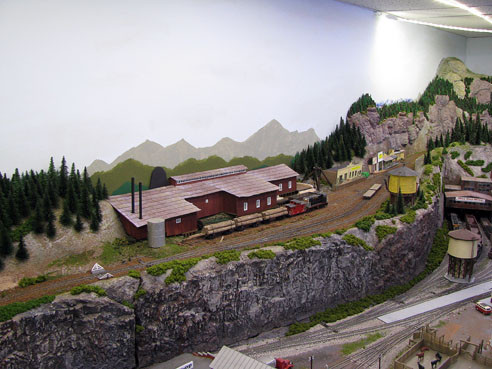 |
|
|
|
Post by mlehman on Nov 27, 2013 20:28:36 GMT -8
It a Thanksgiving Special Edition Before and After. Lots of Trees 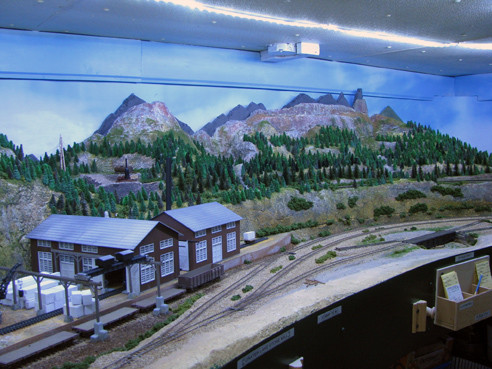 Plus 300 Trees 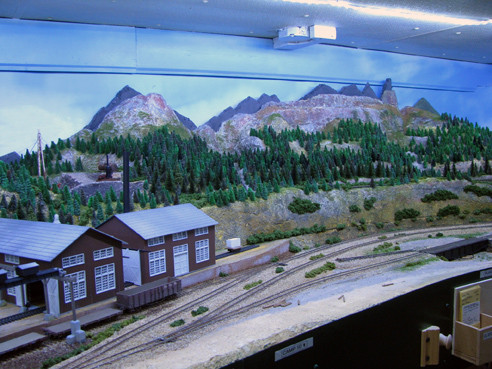 Plus 500 Trees 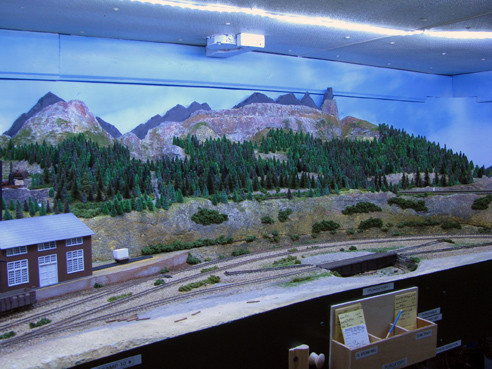 Plus 700 Trees 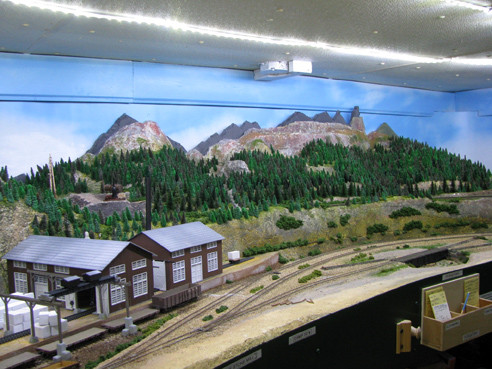 If in doubt, add more trees. |
|
|
|
Post by mlehman on Nov 29, 2013 14:30:58 GMT -8
It's a little like that BBC series where they look at the world in the future as if human beings vanished, leaving the works of humans to molder and be overcome by the forces of nature. Before, a bucolic cabin in the mountains... 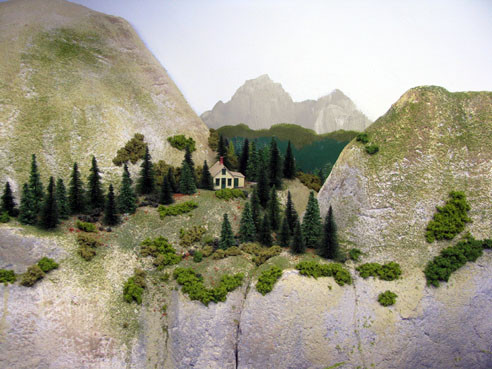 After, where the only human trace left is the railroad.  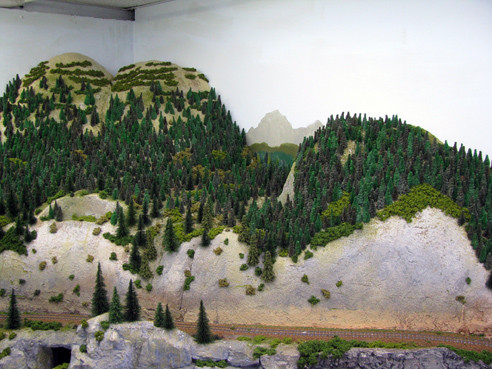 |
|
|
|
Post by mlehman on Dec 4, 2013 21:22:38 GMT -8
This time around, one of the oldest and barest stretches of scenery left on the layout got some ground cover. One leg of the wye at Silverton leads to Red Mountain via the old Silverton RR. The other, well, goes into a tunnel, representing the not-enough-space-for-it Silverton Gladstone & Northerly. It actually forms a continuous loop by coming back out as one leg of the wye at Red Mtn. There are several removable liftouts that form this area. The Barren Before  The Forested After  Just to the left side is an area that previously had larger store-bought trees on it as the Silverton Northern curves to cross a trestle. Replacing them with BC trees gave that corner a depth that wasn't there before. Before (a little cut off on the uphill side)  After  |
|
|
|
Post by mlehman on Dec 9, 2013 12:32:51 GMT -8
I installed manual under-table turnout controls at Red Mountain this weekend that include a switchable "hot" frog per Mike Evans' article in the Nov. 2013 MR. These are the 9th through 12th installs and did not start off pretty... 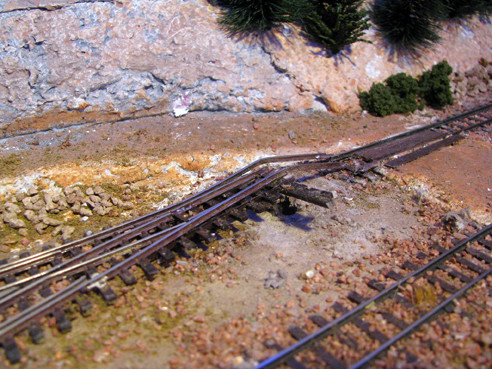 The Before shot shows the Caboose Industries hand throws sitting like exotic tropical slugs next to the turnouts they serve. 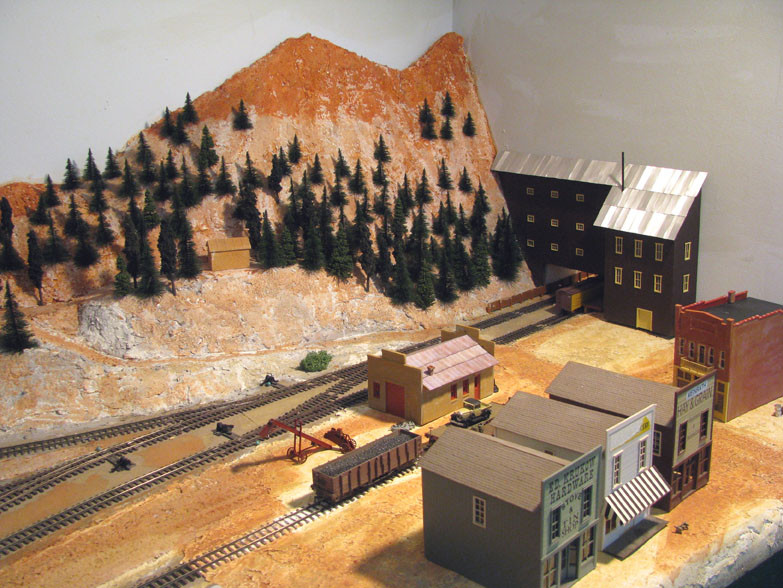 The After shot shows things looking more natural. 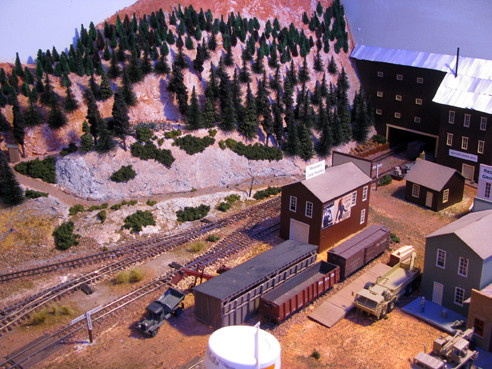 For more on my experience with these and a simple way to "reprogram" the NORMAL turnout position so it is always when the knob is in, see my thread in the MR Layouts forum: cs.trains.com/mrr/f/11/t/224956.aspx?page=1 |
|
|
|
Post by mlehman on Dec 11, 2013 8:22:36 GMT -8
Rockwood is the site of the Mears Lumber Mill, as well as a small town serving the needs of mill workers. Recent trackwork required ballasting and that needed some touch-up. There was a particularly hazardous gap for passengers around the station platform. There were a few fitment issues leftover from the liftout constructed below it, mostly hidden, but would show up in reverse angle shots. Before  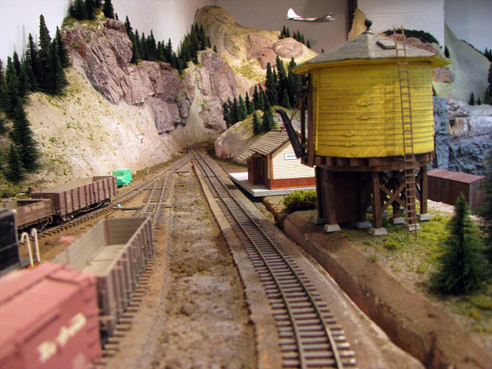 After 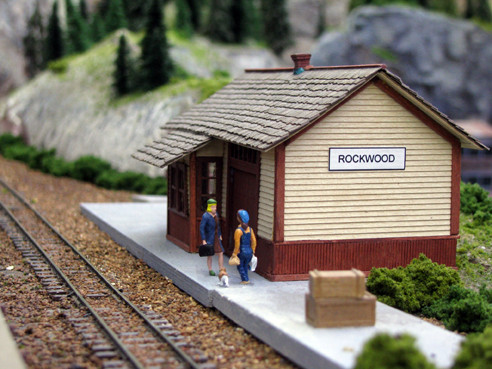 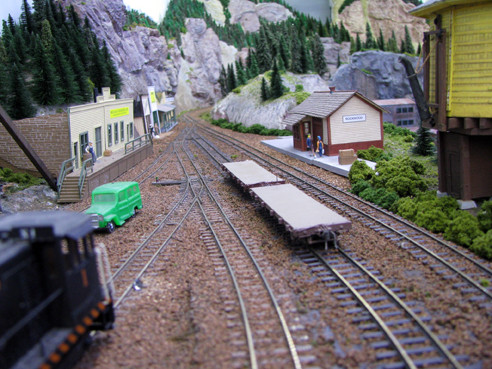 Still a little more trim work to do, but it's looking a lot better. Maybe no one will break a leg now getting off the train.  |
|
|
|
Post by wp8thsub on Dec 26, 2013 12:35:03 GMT -8
There hasn't been any activity in this thread for a couple weeks, so I'll add some photos. This is a scene heavily based on Palisade Canyon, NV, at least right around the truss bridge. The bridge is shorter than its prototype, but the abutments are copied from it full size, and the adjacent tunnel portal is also very close. 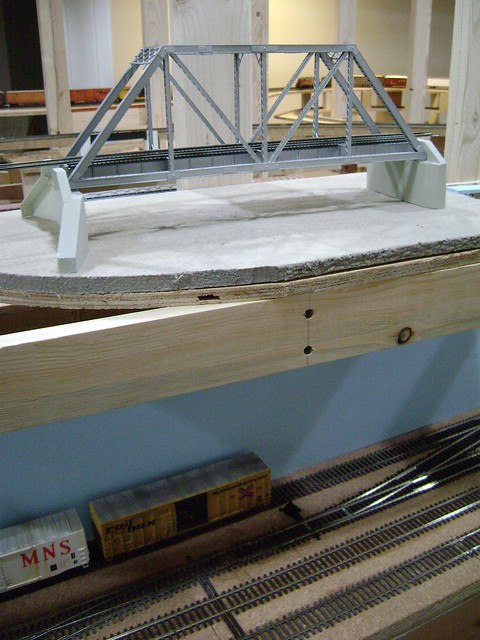 Here's a very early beginning to a bridge scene. This was the mockup stage after benchwork was first installed. The bridge and abutments were salvaged from a previous layout. 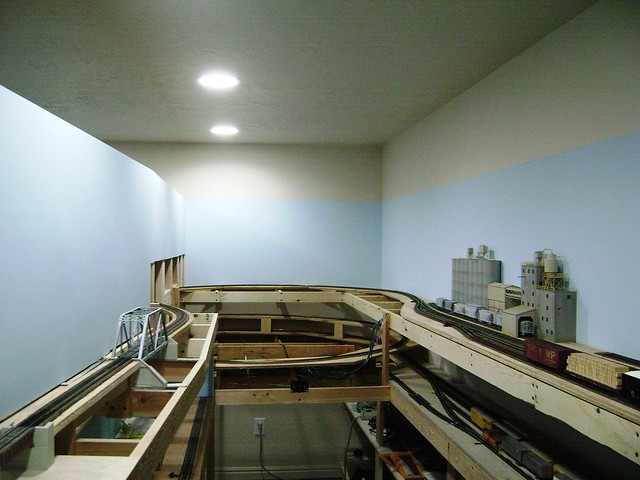 This is how the same location appeared after track and backdrop went in. Note the smaller girder bridge at far left, which is not on the prototype. 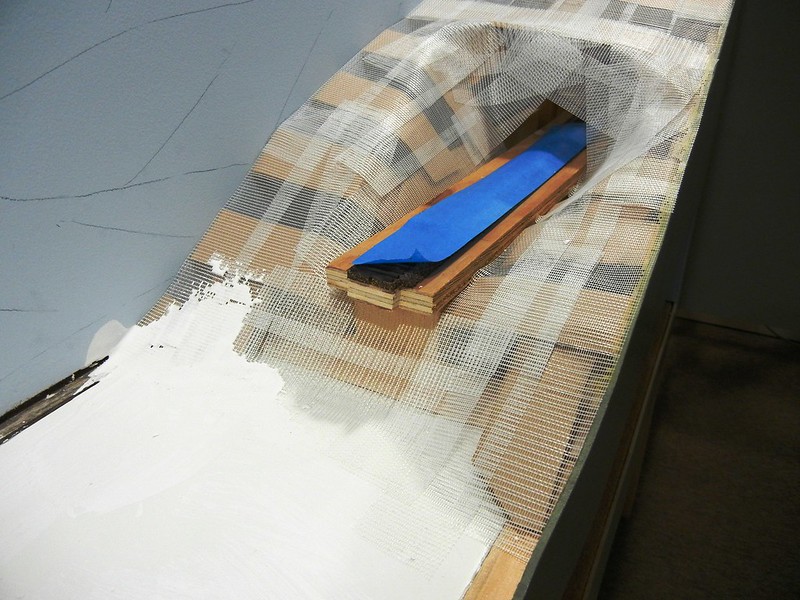 Scenery is underway. The abutments and tunnel portal will be cut into the plaster shell later.  The plaster shell and a temporary backdrop (to test shapes and such) are now in. Note that I didn't complete the fill around the track, as it will be built up from dirt and rock. 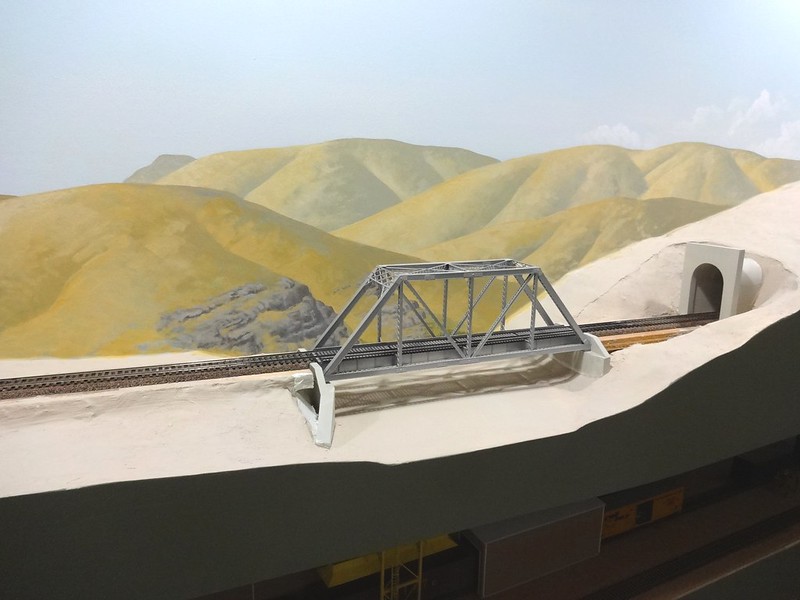 The finished backdrop has been painted, so it's now time for ground cover and the river. 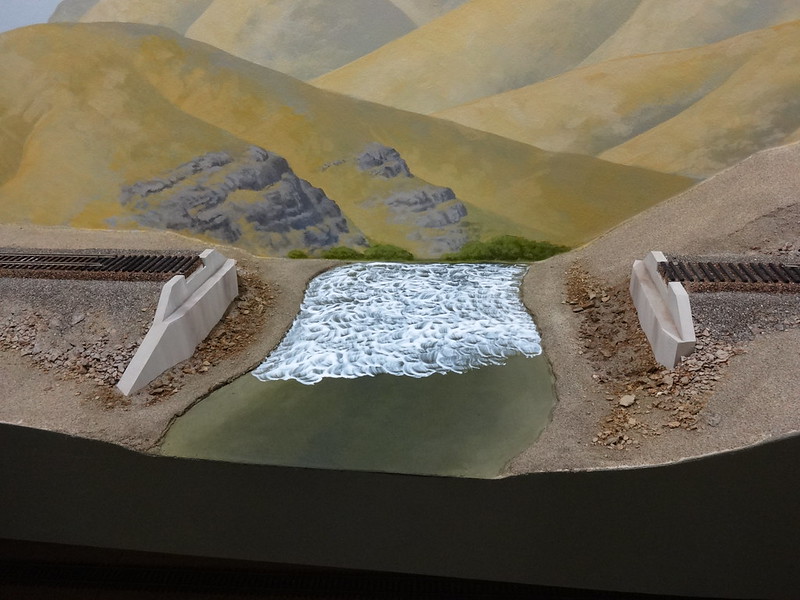 Base ground cover, the fills, and river banks are in. I painted the river bed and added a coat of gloss Mod Podge for ripples. 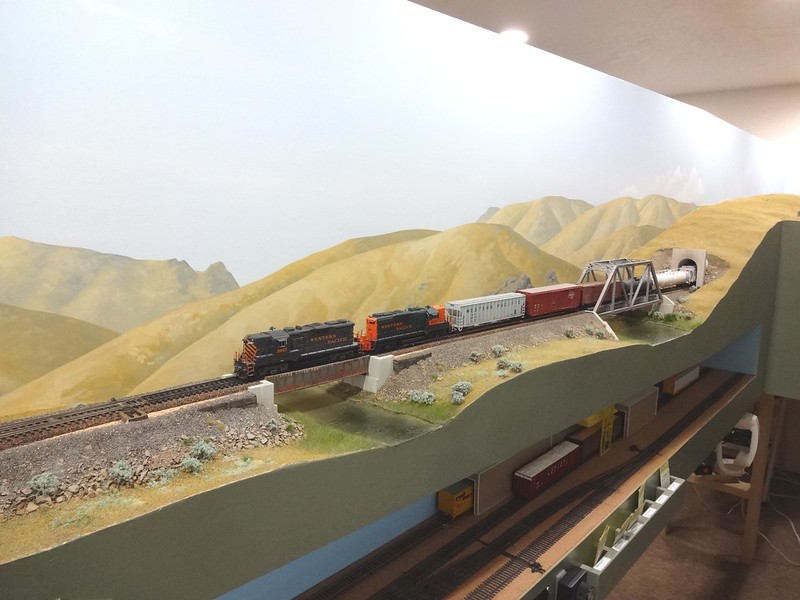 Everything but ballast is done here. I don't have a photo of the truss bridge after ballasting, but do have one of the deck girder. 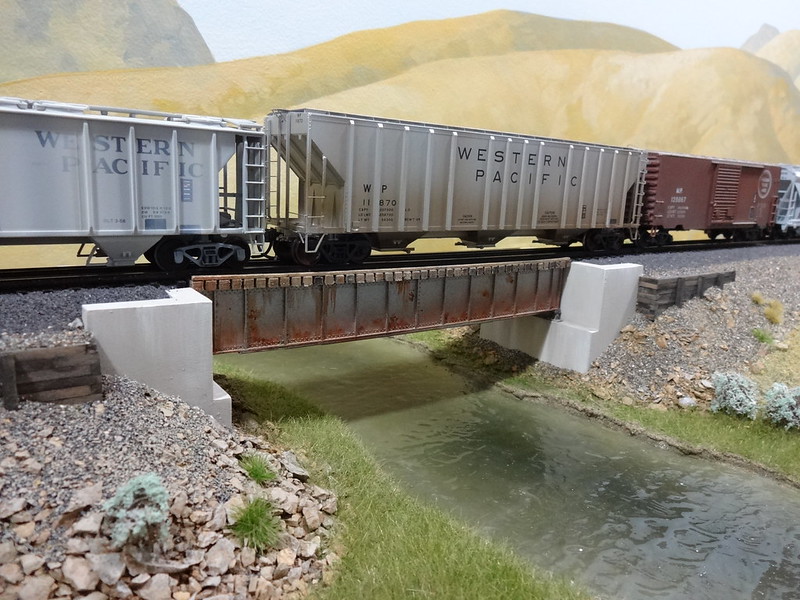 And it's all done! |
|
|
|
Post by mlehman on Dec 26, 2013 20:16:00 GMT -8
Rob,
Great contribution! I really like this scene and it's always instructive to see the underlying anatomy. Thanks for your contribution.
|
|
|
|
Post by mlehman on Jan 2, 2014 8:13:07 GMT -8
Here's a bit different Before and After. It's the same pic, one in the original 72 dpi format and the second in the 300 dpi format I'll be using from now on. Before 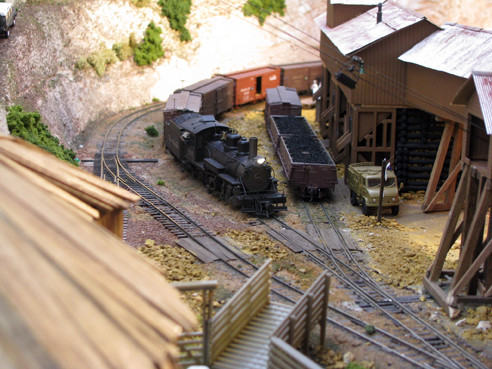 After 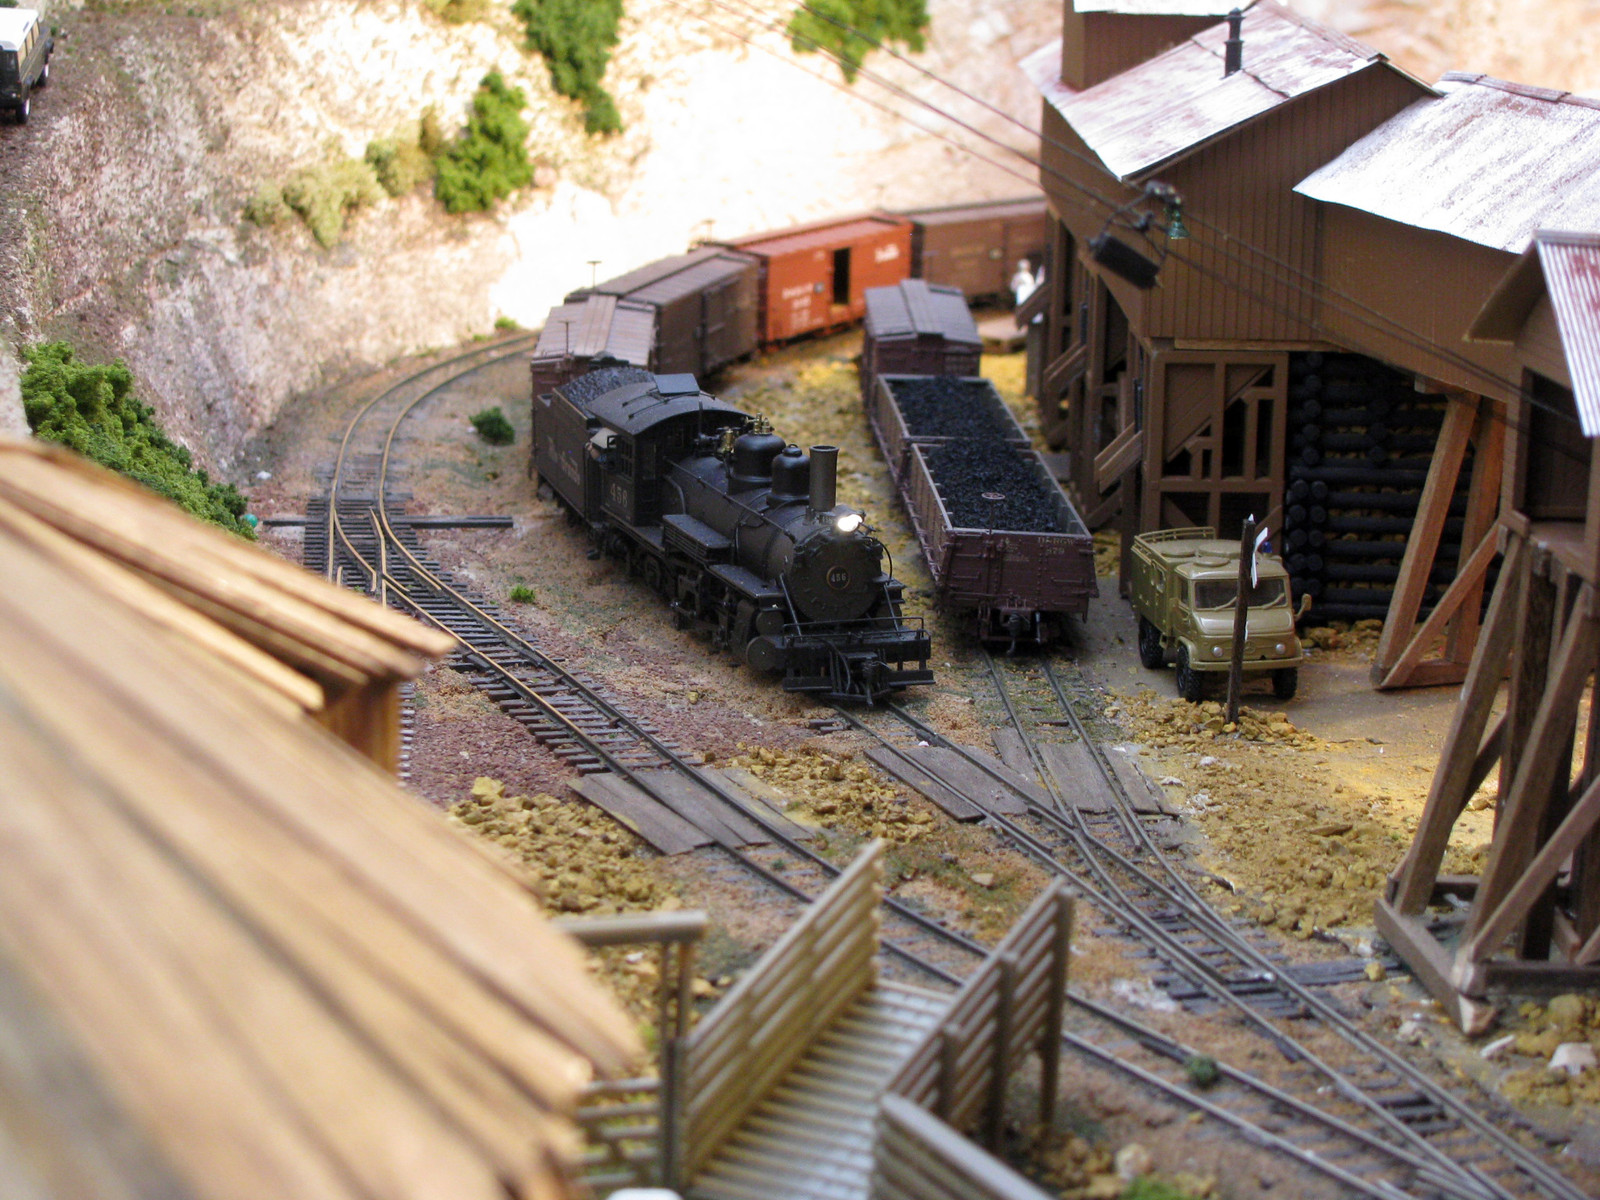 If there are any requests for high res versions of past postings, I'll see what I can do to provide a high res version. |
|
|
|
Post by keystonecrossings on Jan 4, 2014 12:47:49 GMT -8
Before:  Current:  |
|
|
|
Post by keystonecrossings on Jan 4, 2014 12:49:51 GMT -8
Before:  Current:  |
|
|
|
Post by mlehman on Jan 14, 2014 0:14:27 GMT -8
Jerry, Looks like quite the project you have going on there...and making progress!  Thanks for contributing to B&A.  |
|
|
|
Post by riogrande on Feb 4, 2014 5:09:44 GMT -8
Don't know if this is the right place to post because I don't have any after, only just getting started "finally" on a new layout:
Yesterday I built the first two 2x8' benchwork modules which will hold a staging yard with from for up to 11 holding tracks, which I plan to go with 11 for a decent holding capacity. The layout room is small compared to most of the ones shown here, but it best I could do in this high cost of living area - 10 x 18.3'. Track plan in this limited space still needs to be fleshed out but more than likely will just be a giant twice around loop. At least I got a start ... and before I do much more on the benchwork, I'm going to paint the walls a light sky blue so at least there is an appropriate background where there isn't any real backdrop yet. I need to do that before the benchwork gets put in place. The room is finished and has a drop ceiling, with four recessed lights, which will need to be supplimented with fluorescent lighting.
This layout will be semi-modular so it can be taken apart and moved if necessary. - the first major piece done totals after being bolted together will be 2'x16'. After the walls are painted I'll add end modules to the first two, but again, before I can go much further, I'll need to design the visible (above staging yard) track plan. I'm going old school and using 1/2 inch OSB as the base for the staging yard sandwiched with 1/2 inch homasote and put a layer of paint to seal it against moisture. I prefer to put the track down with Atlas track nails or spikes, which allows me to pull it up if adjustments are needed. I saved all my track from the last layout so at the start, I should have most of what I will need - thankfully since I hear about all the shortages and increases in prices.
|
|
|
|
Post by mlehman on Feb 4, 2014 6:11:07 GMT -8
Jim, I'm looking forward to seeing the space. Not really big, but I'm sure it'll give plenty of satisfaction.  Don't forget to snap a few shots of Before, or you won't have them After, even if you don't want to post them until later. |
|
|
|
Post by riogrande on Feb 4, 2014 7:03:26 GMT -8
Believe me, even a 10x18 space seems major to me after only being able to temporarily set up an test track oval in front of the sofa! I really need to get a new battery for the old digicam, but I should be able to charge it up long enough to get a few pictures.
|
|
|
|
Post by riogrande on Feb 10, 2014 11:31:37 GMT -8
|
|
|
|
Post by mlehman on Feb 10, 2014 12:05:57 GMT -8
Jim, I like it  Windows are up nice and high. Looks like its around 6'6" ceiling height? |
|
|
|
Post by riogrande on Feb 10, 2014 12:47:13 GMT -8
Thanks!
The ceiling is 7'4" high, so plenty of head room. Only four recessed lights right now but I plan to add fluorescent fixtures. In picture #2 there is a 3.5'x7.5' space between the passage from the stairs to the laundry, which is nice because if I fill up the 10x18.3' all the way around the perimeter, there is still an open space beside it. The room had been used by the previous owner as a TV room - the white patch on the wall was where a flat screen TV hung and there was an electronic rack over the sump pump box in the corner.
I've built the bench-work so it will just clear that sump pump box with a surface height of 42 inches. I plan on building a scenic'ed area over the top, and around 6 - inches or so clearance, which will hopefully leave enough access to re-rail cars in the staging area but not create a major grade to climb.
The old color is a dark beige brown which had to go. I decided on a light sky blue color to brighten the room up and provide a sky backdrop on the walls around the layout, to which I could eventually paint some clouds on possibly. I chose "Clear Blue Sky" in the Valspar paint at Lowes - and wanted to keep it light as the sky lower down is a lighter shade of blue compared to higher up which is deeper. Unfortunately there is circuit breaker box in the middle of the wall but a panel more or less obscures it. The Ceiling is drop type already in place so all I needed was a coat of paint.
|
|
|
|
Post by riogrande on Feb 18, 2014 11:23:41 GMT -8
Progress report: Finished painting the train room proper. Bench-work is going up now, have three modules assembled and plan to go get some lumber as to do a 4th for the wall left of the windows. Only track planned so far is the storage/staging yard on the bottom level under the windows. Once the two outside modules are in place, I'll put down the wood and Homosote sandwich. 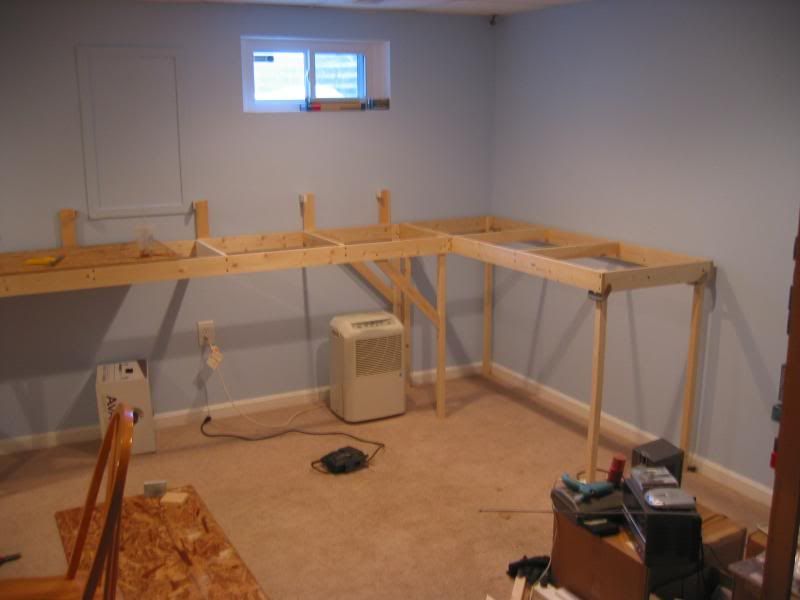  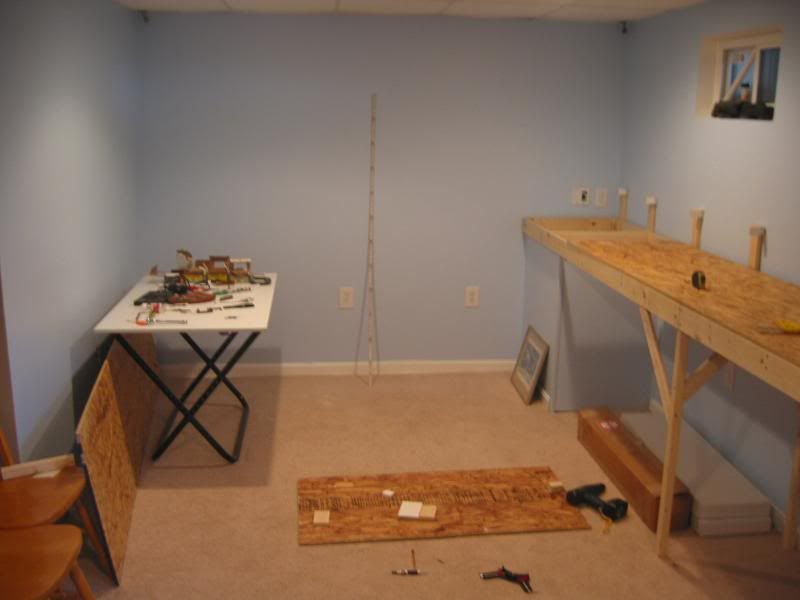 |
|