|
|
Post by bnsffan on Mar 4, 2014 7:12:12 GMT -8
Some of the postings in this topic reminded me of something that happened years ago. I was demoing a product that we were delivering to a government agency (can't say which one). We had included a feature that the agencies tech experts did not believe could be included. When I started the demo I told them I had some bad news and good news. The bad news was I had forgotten to tell my team that it was impossible to include (classified) so they had included it. The good news was we could remove the feature at no extra cost. They decided to keep the feature.
Respectfully,
BNSF Fan
|
|
|
|
Post by mlehman on Mar 4, 2014 12:06:06 GMT -8
Let me know what kind of solution you come up with for the BLI CZ cars. I have a bunch (go figure) and I agree that they are way too bright out of the box. Scott Scott, Had a chance at lunch to take a look at the CZ cars again. Looks like they're using half-wave current pickup to feed the two LEDs in the dome car I opened. One LED points each way down a "mirrored ceiling" array that distributes the lighting down each direction from the center of the car. The little board has an extra spot for another resistor, maybe for the tail lighting in the round-end dome? The current is managed by two 330 ohm resistors. I subbed in 1500 ohm resistors and it looks much better. I took a few pics, will take more when I dig into the next one tonight. Eliminating flicker will be a challenge to fit. For that, a bridge rectifier, a cap and another resistor will be needed. I could see hacking to make my big ol' FWB-15 work, but I'm wondering if there is something smaller that will work, maybe one of those flat bridge rectifiers? But that will take some experimentation, as I've had bad luck trying to use one of the instead of a FWB-15 to light LEDs. Still will be a very tight fit. There is an extra hole on each side of the circuit board that is available to pick up track power from, so that part is easy. |
|
|
|
Post by kentuckysouthernrwy on Mar 4, 2014 12:22:29 GMT -8
|
|
|
|
Post by mlehman on Mar 4, 2014 22:47:28 GMT -8
|
|
|
|
Post by wendtsc on Mar 5, 2014 1:29:30 GMT -8
Thanks Mike, I'll have to check out that thread when I have some time.
Scott
|
|
|
|
Post by mlehman on Mar 9, 2014 20:03:53 GMT -8
Now that I've dealt with the CZ cars, I worked my way through some other issues and misc installs. Here's a few pics of a generic install in an old Con-Cor "CZ": lightweight sleeper. Nothing special to start with, badly needed Kadees and weight. It had metal wheels, but I may have subbed them in at some point when it was out of the box. I installed two units of LEDs after doing some crude partitioning for view blocks. It was just too darn bright, even with a flat black interior! Here you can see the upward pointing lights in the middle, plus one pointing downward at one end to illuminate the bathrooms a little brighter. You can also see the bridge rectifier and cap hiding. [sorry about the blurriness of the first pic...it gets better] 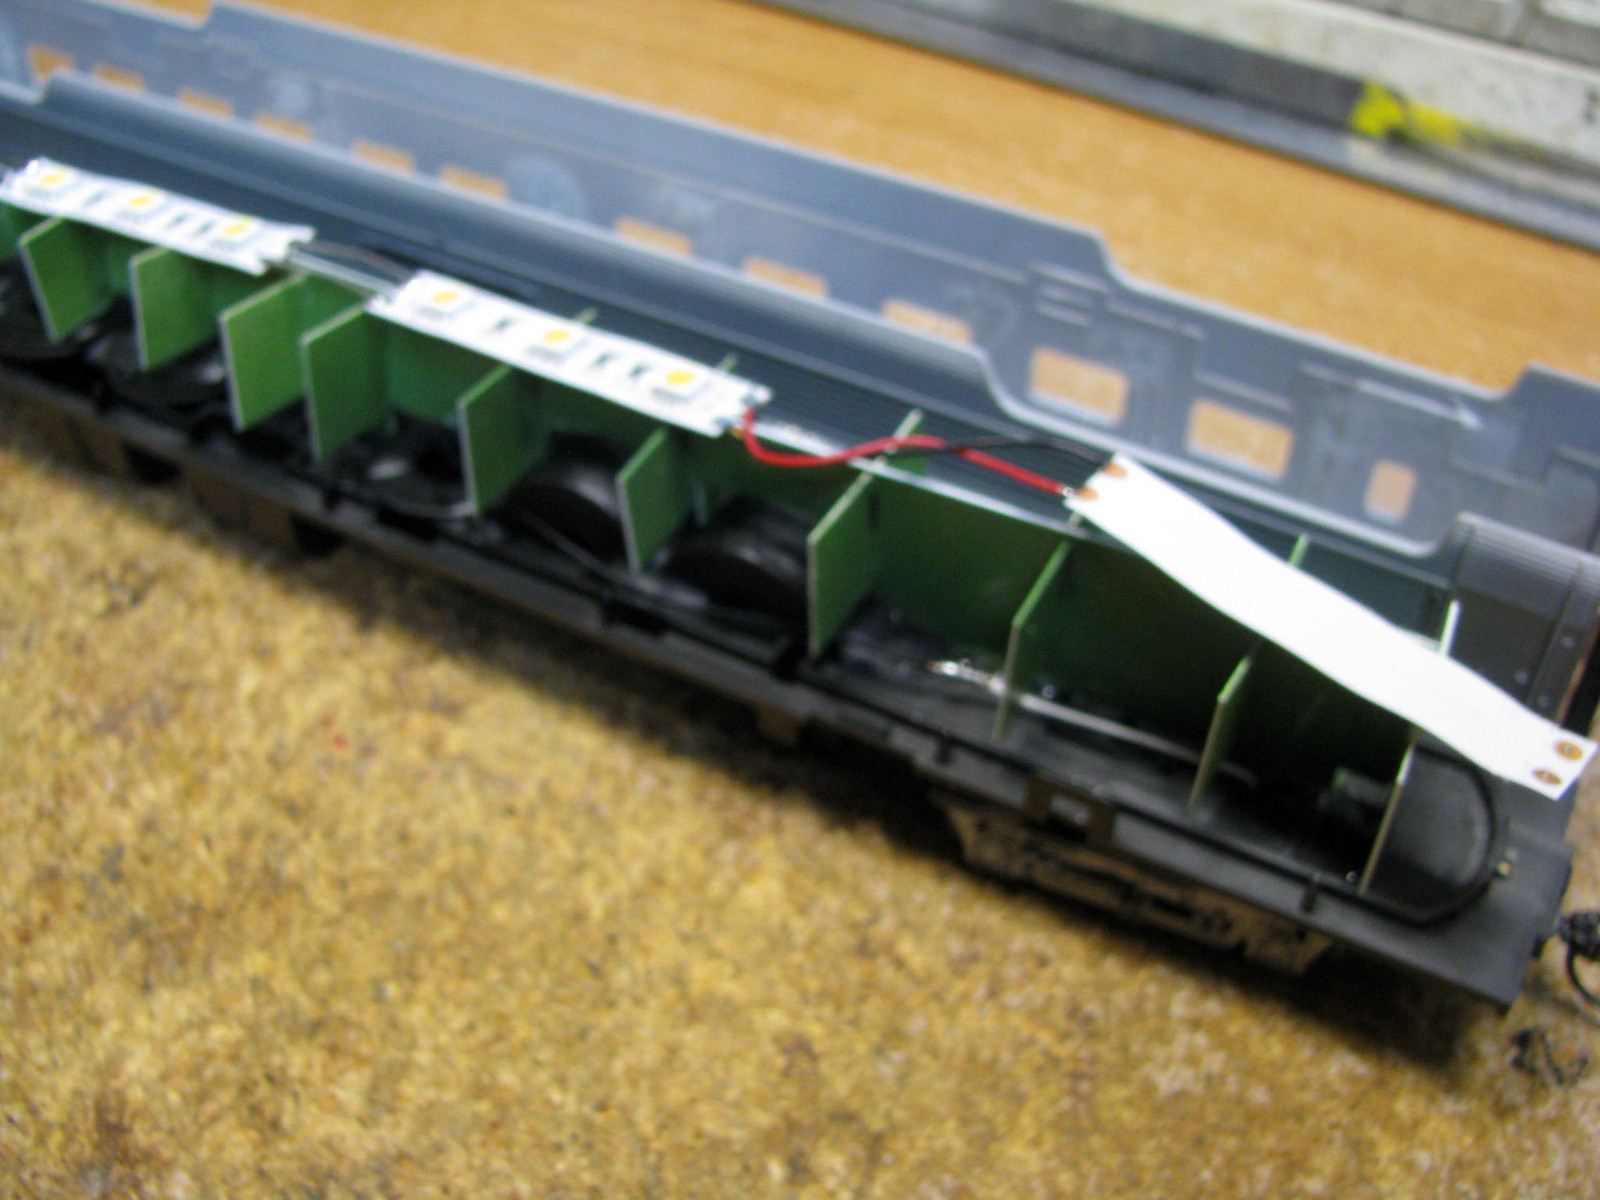 Now, most passengers are asleep with a little light peeking through around the edges of the windows. 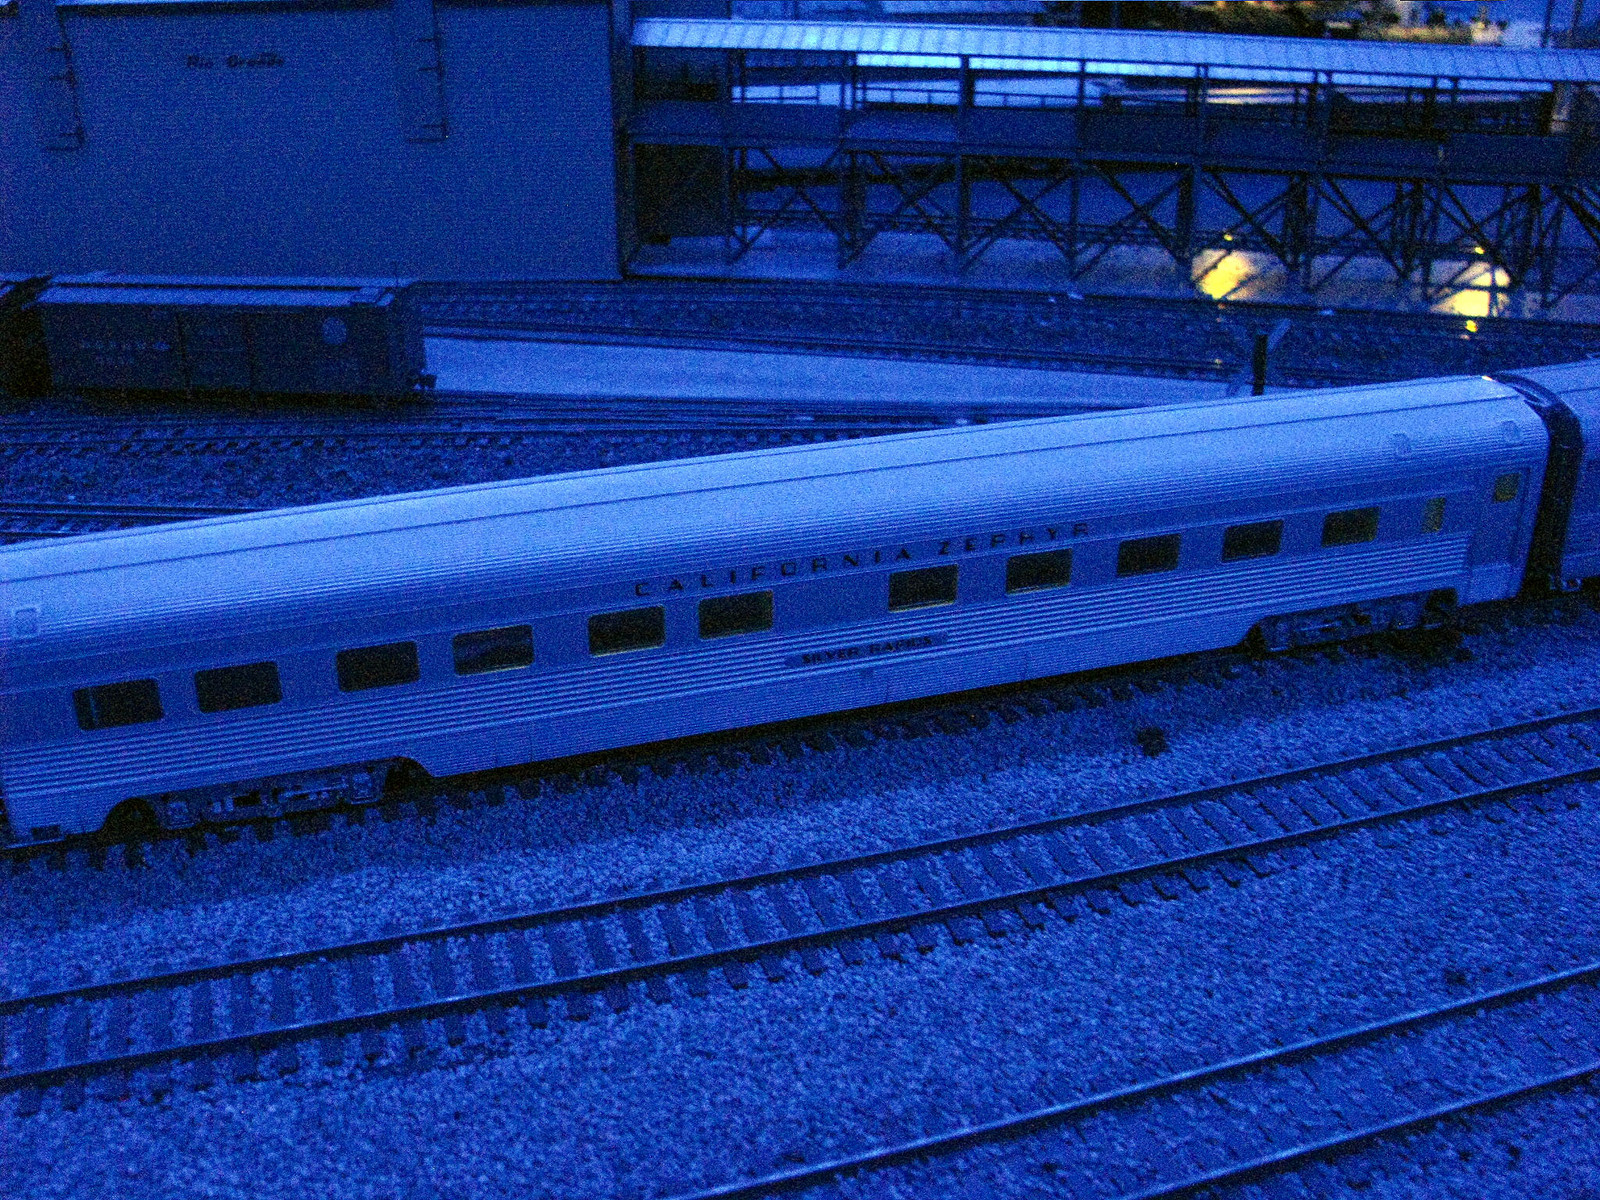 My Walthers coach as first installed. Too bright!: 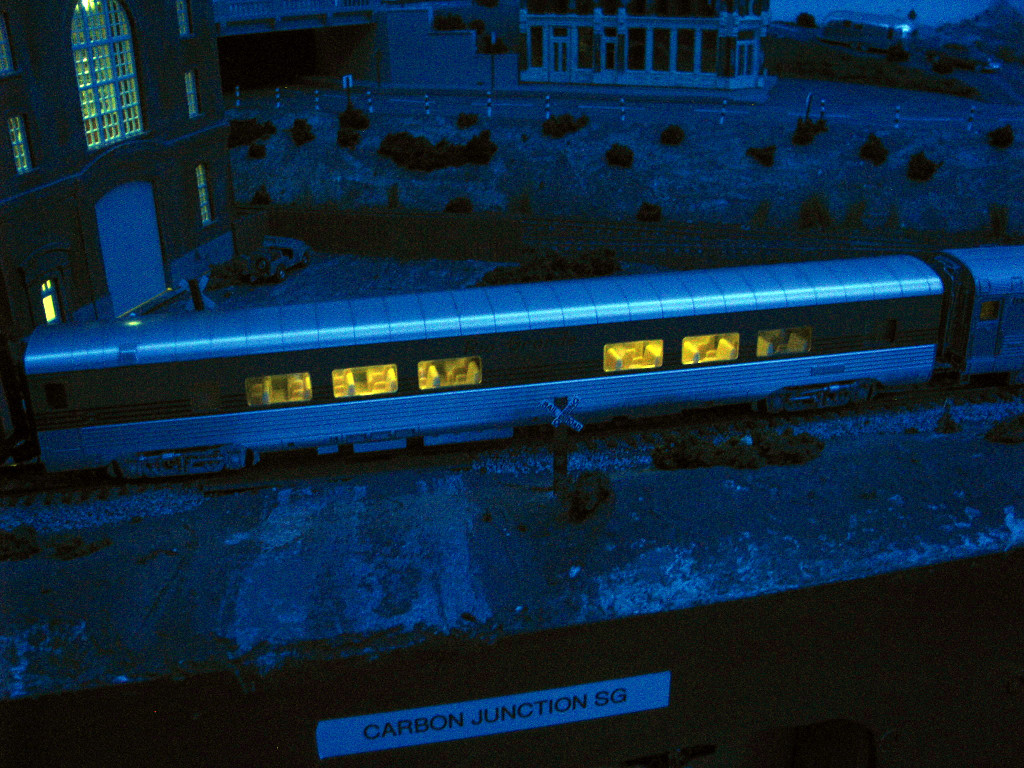 The Walthers car only received two LED units the first time around and light was too uneven, also. It was pointing down, attached to a couple of sticks. 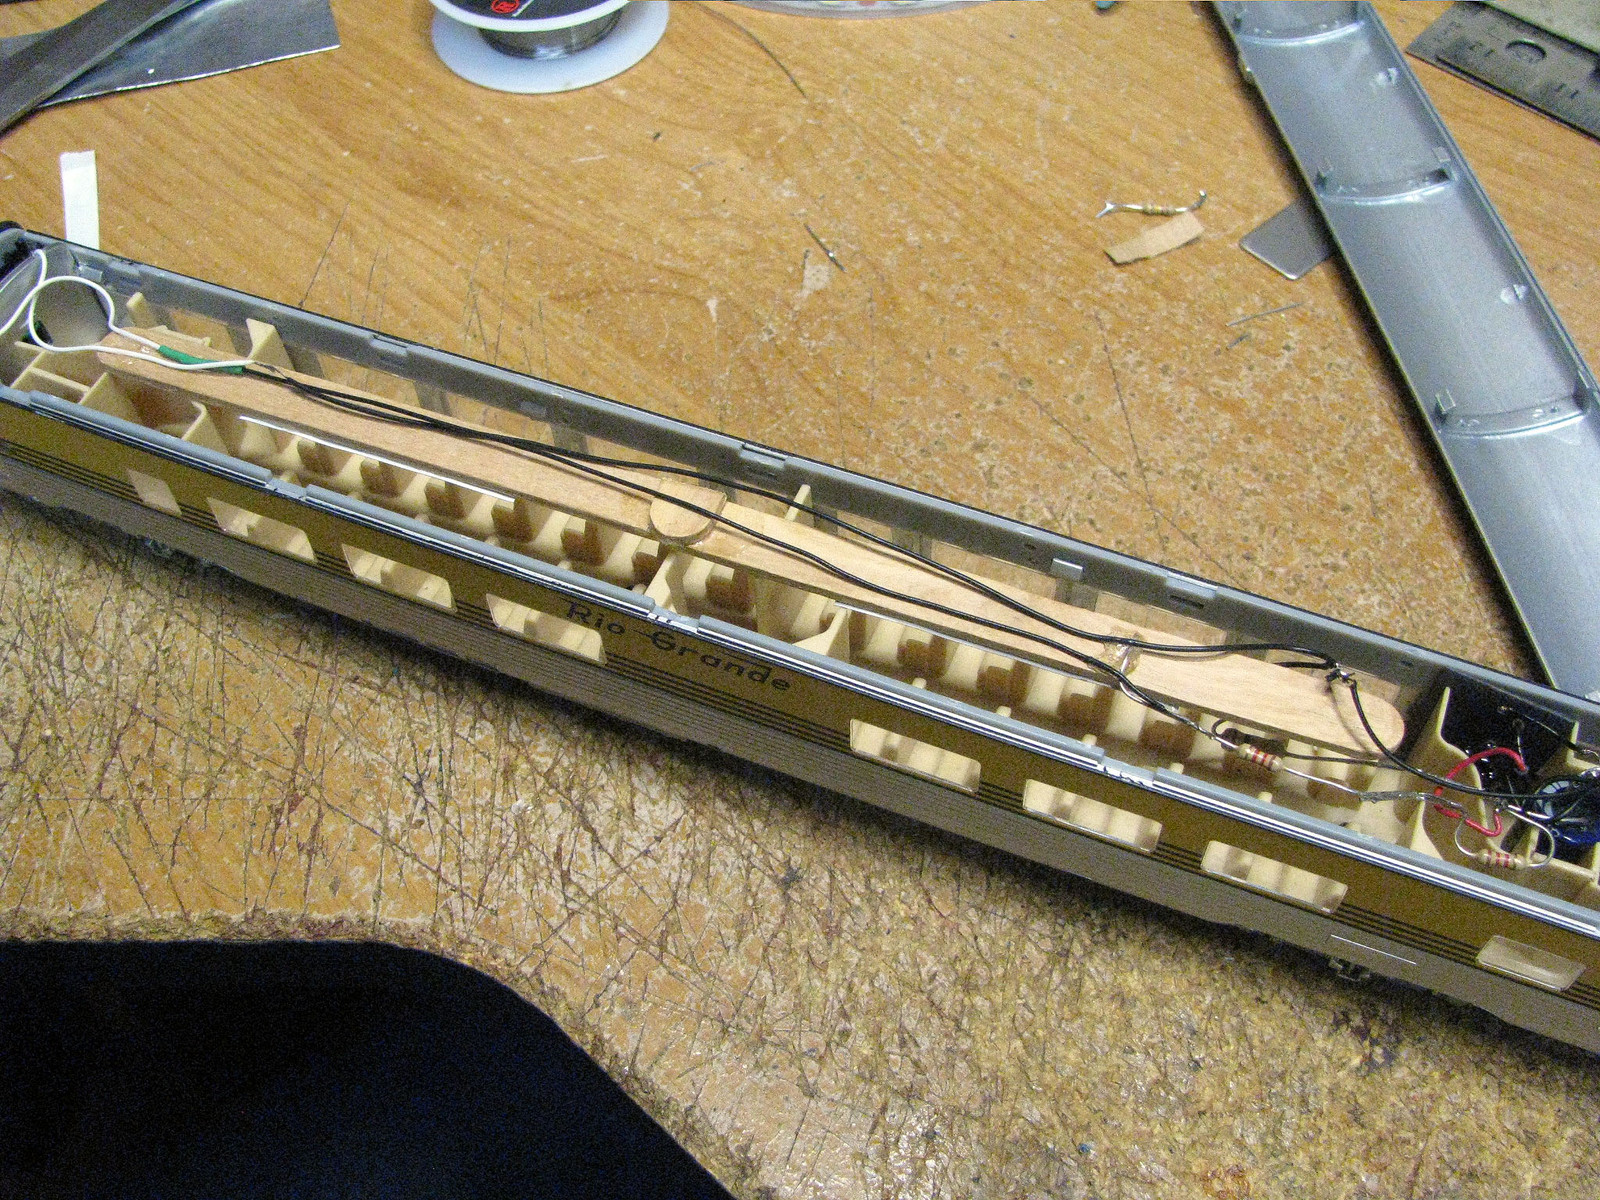 After flipping the sticks and LEDs over, then the roof needed a little black tape to disguise the lights shining up! But things looked a lot better back on the layout at night. 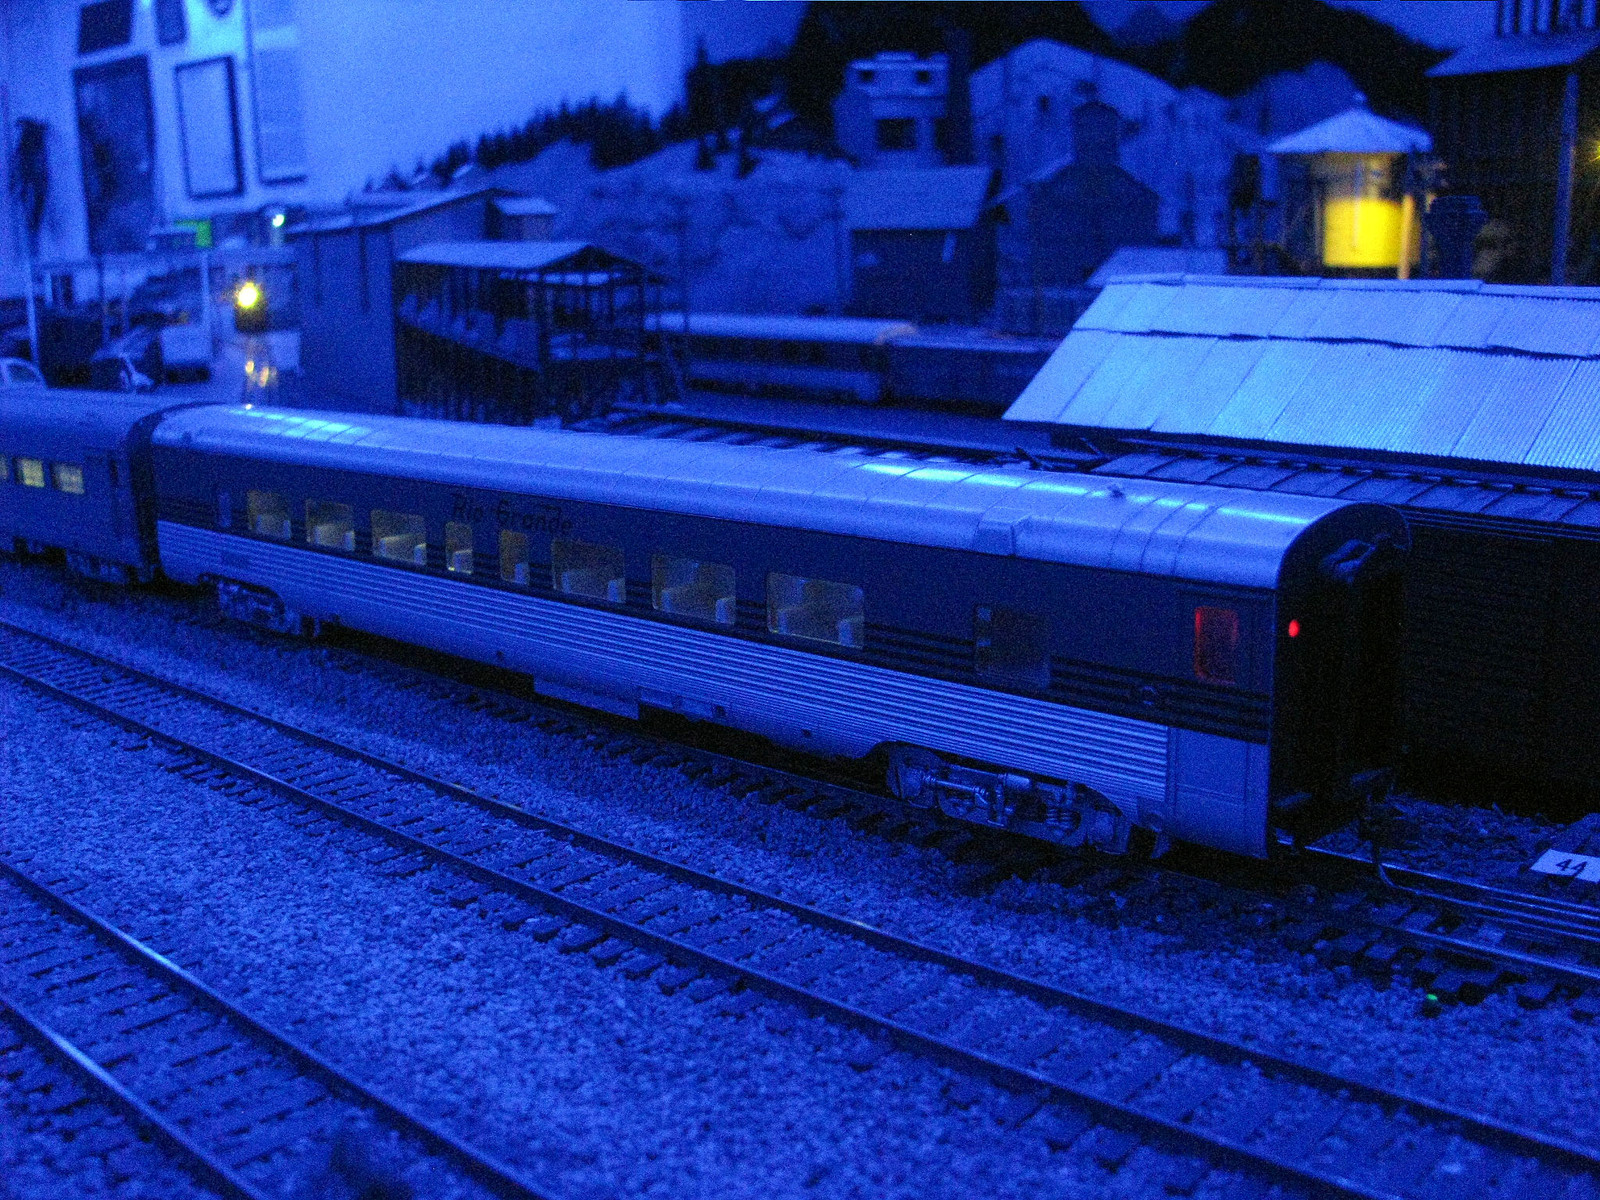 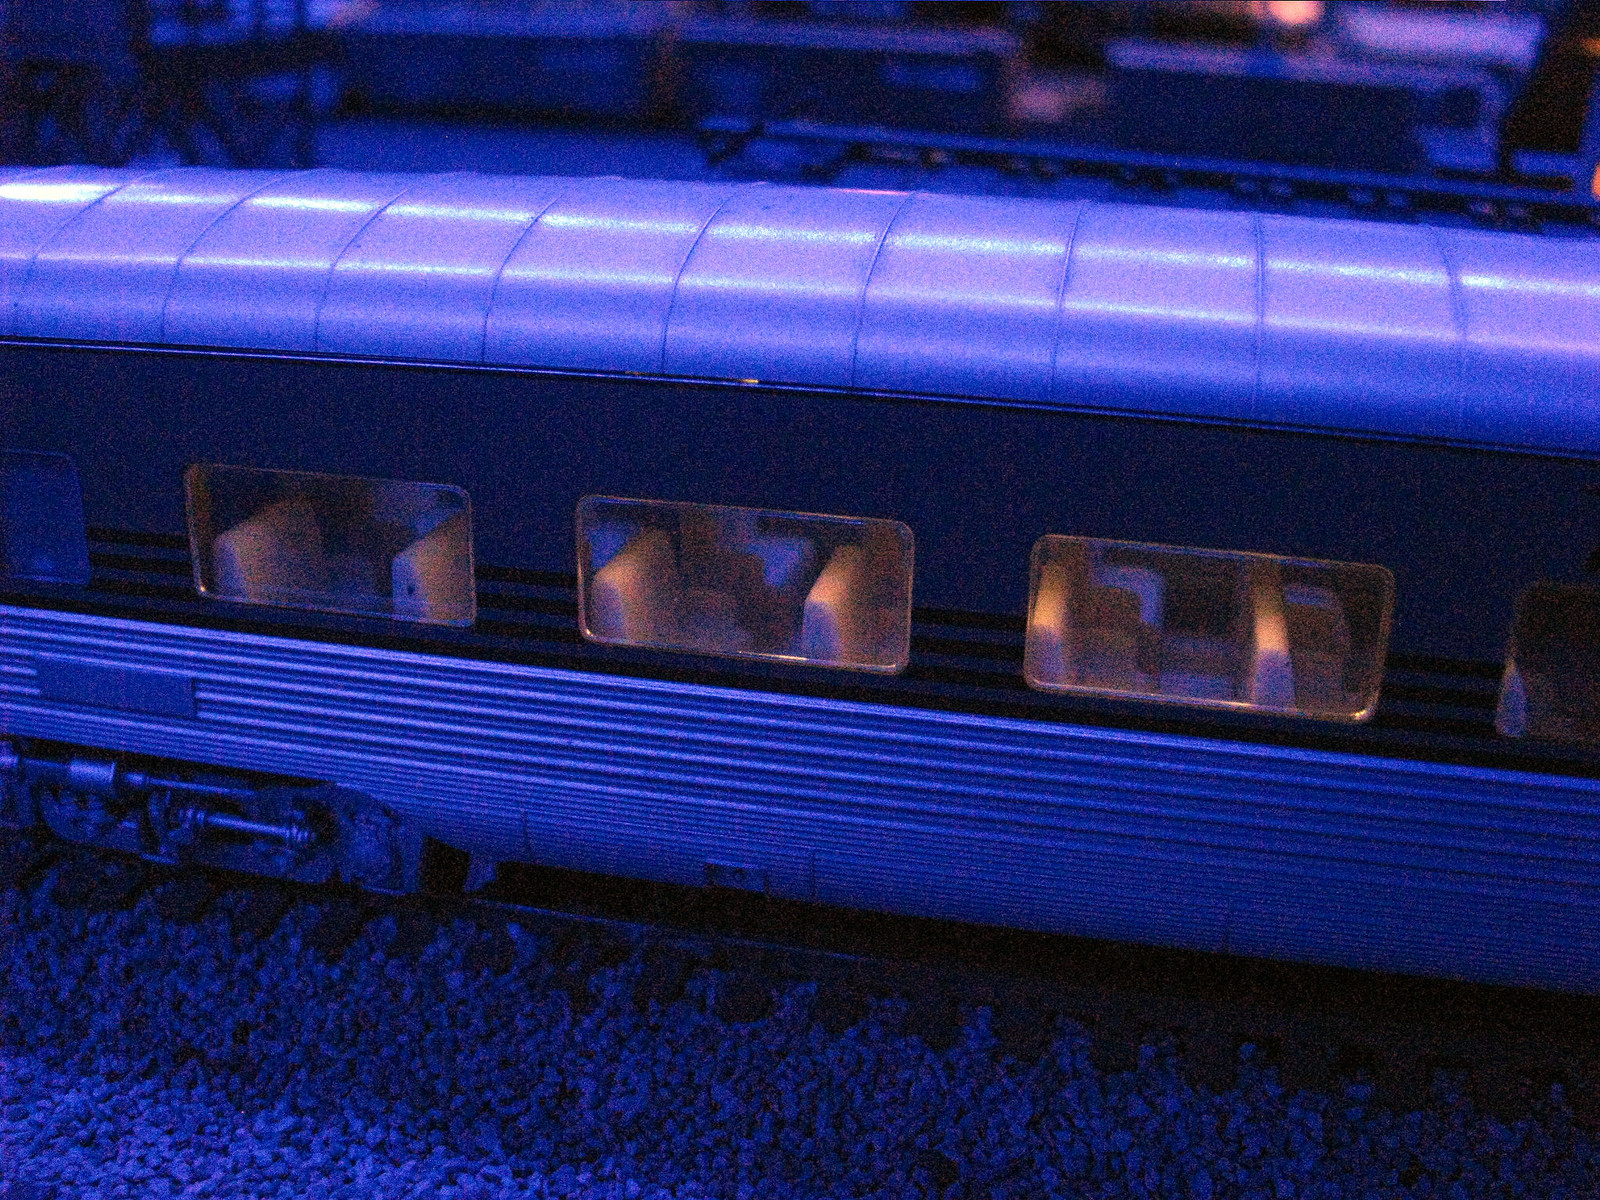 Similar problem with a Pullman. It usually accompanies my troop train or shipments of that "special" stuff from down at the nuke plant. It was too bright, but also needed divided light better arranged. As first done. 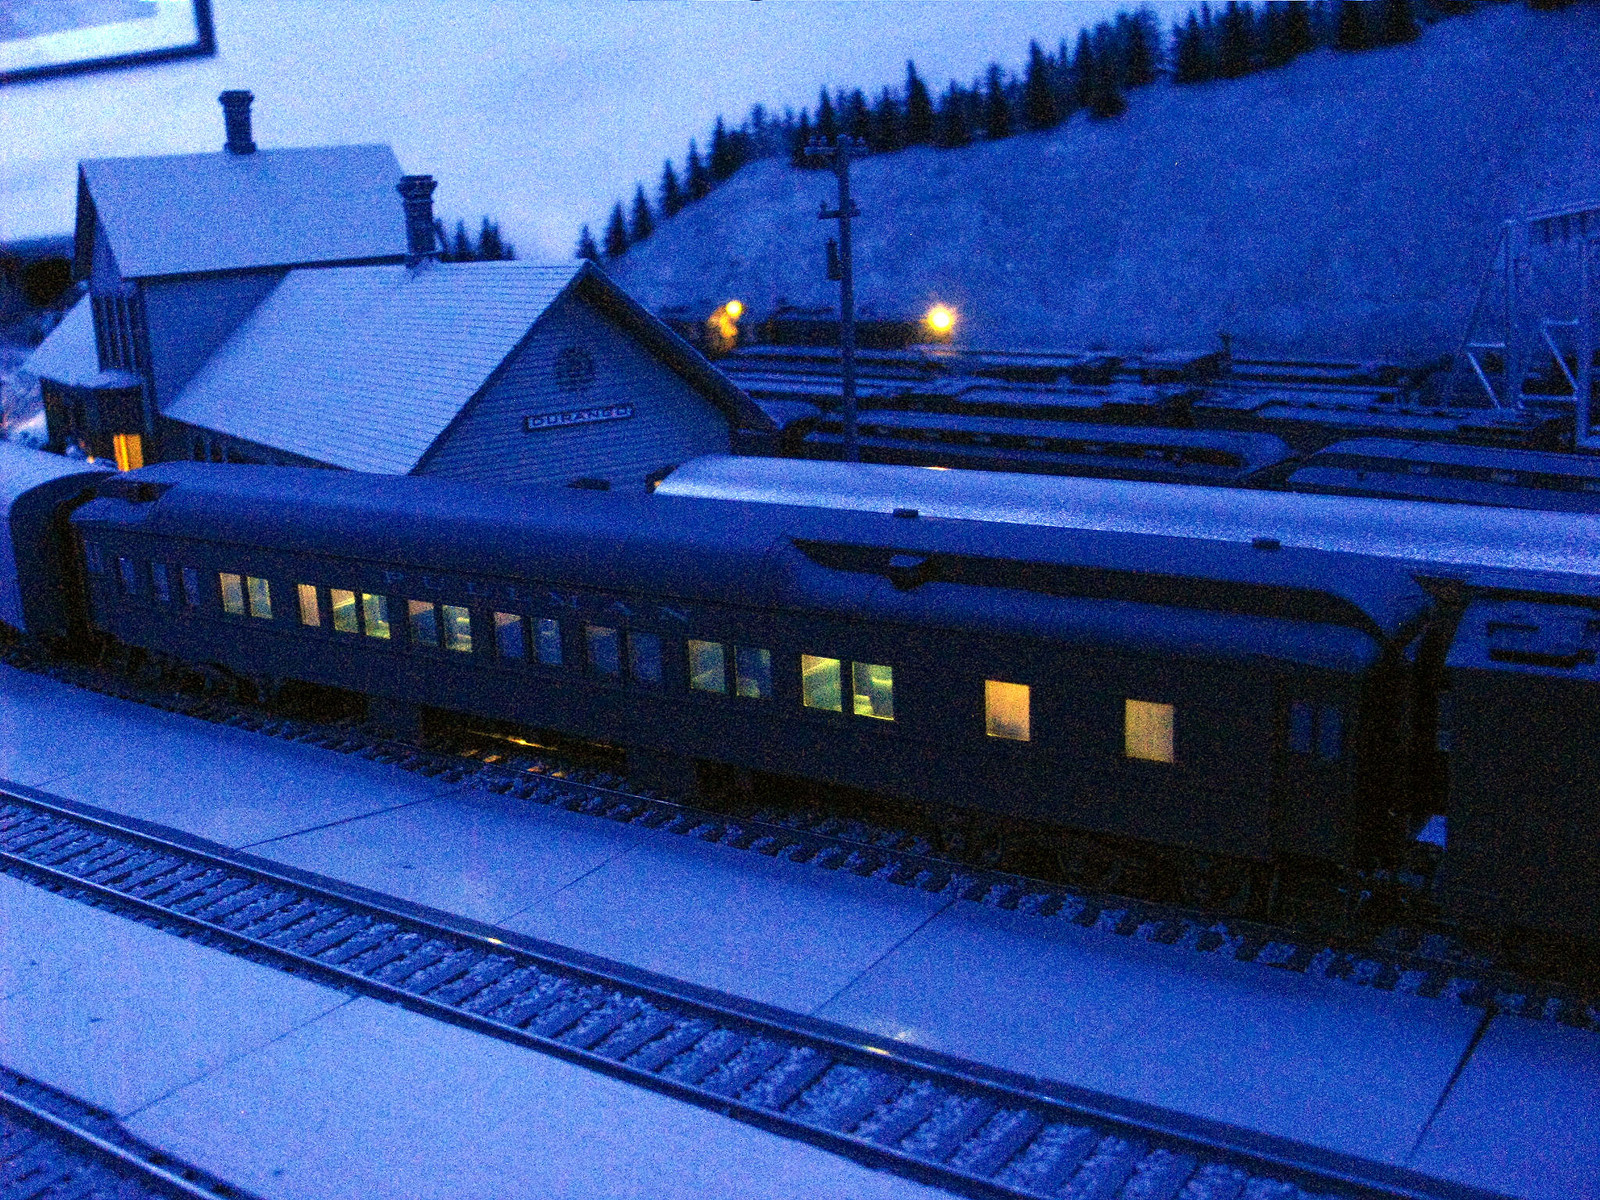 I added a third LED unit, pointed at the ceiling. This time the black ceiling worked to tone done the light, but still needed a few bits of black tape. 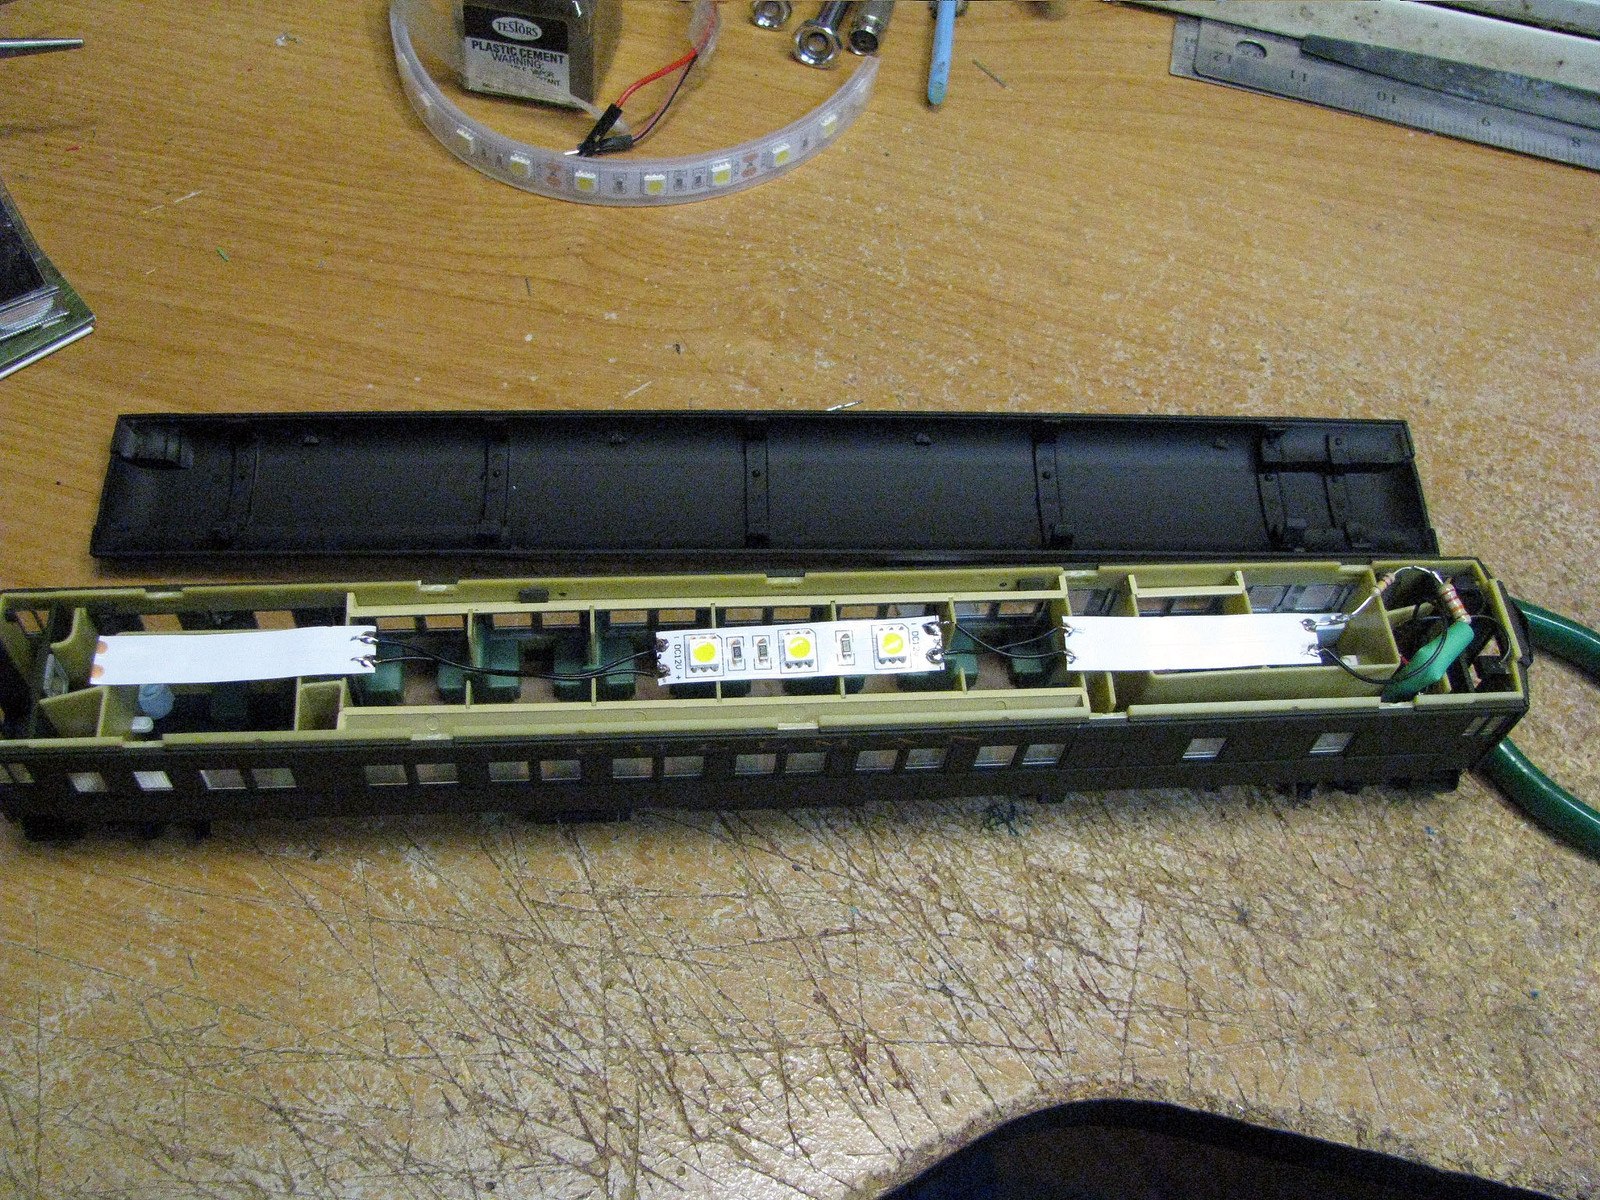 To be continued... |
|
|
|
Post by mlehman on Mar 9, 2014 20:04:39 GMT -8
The resulting magnificent dim. 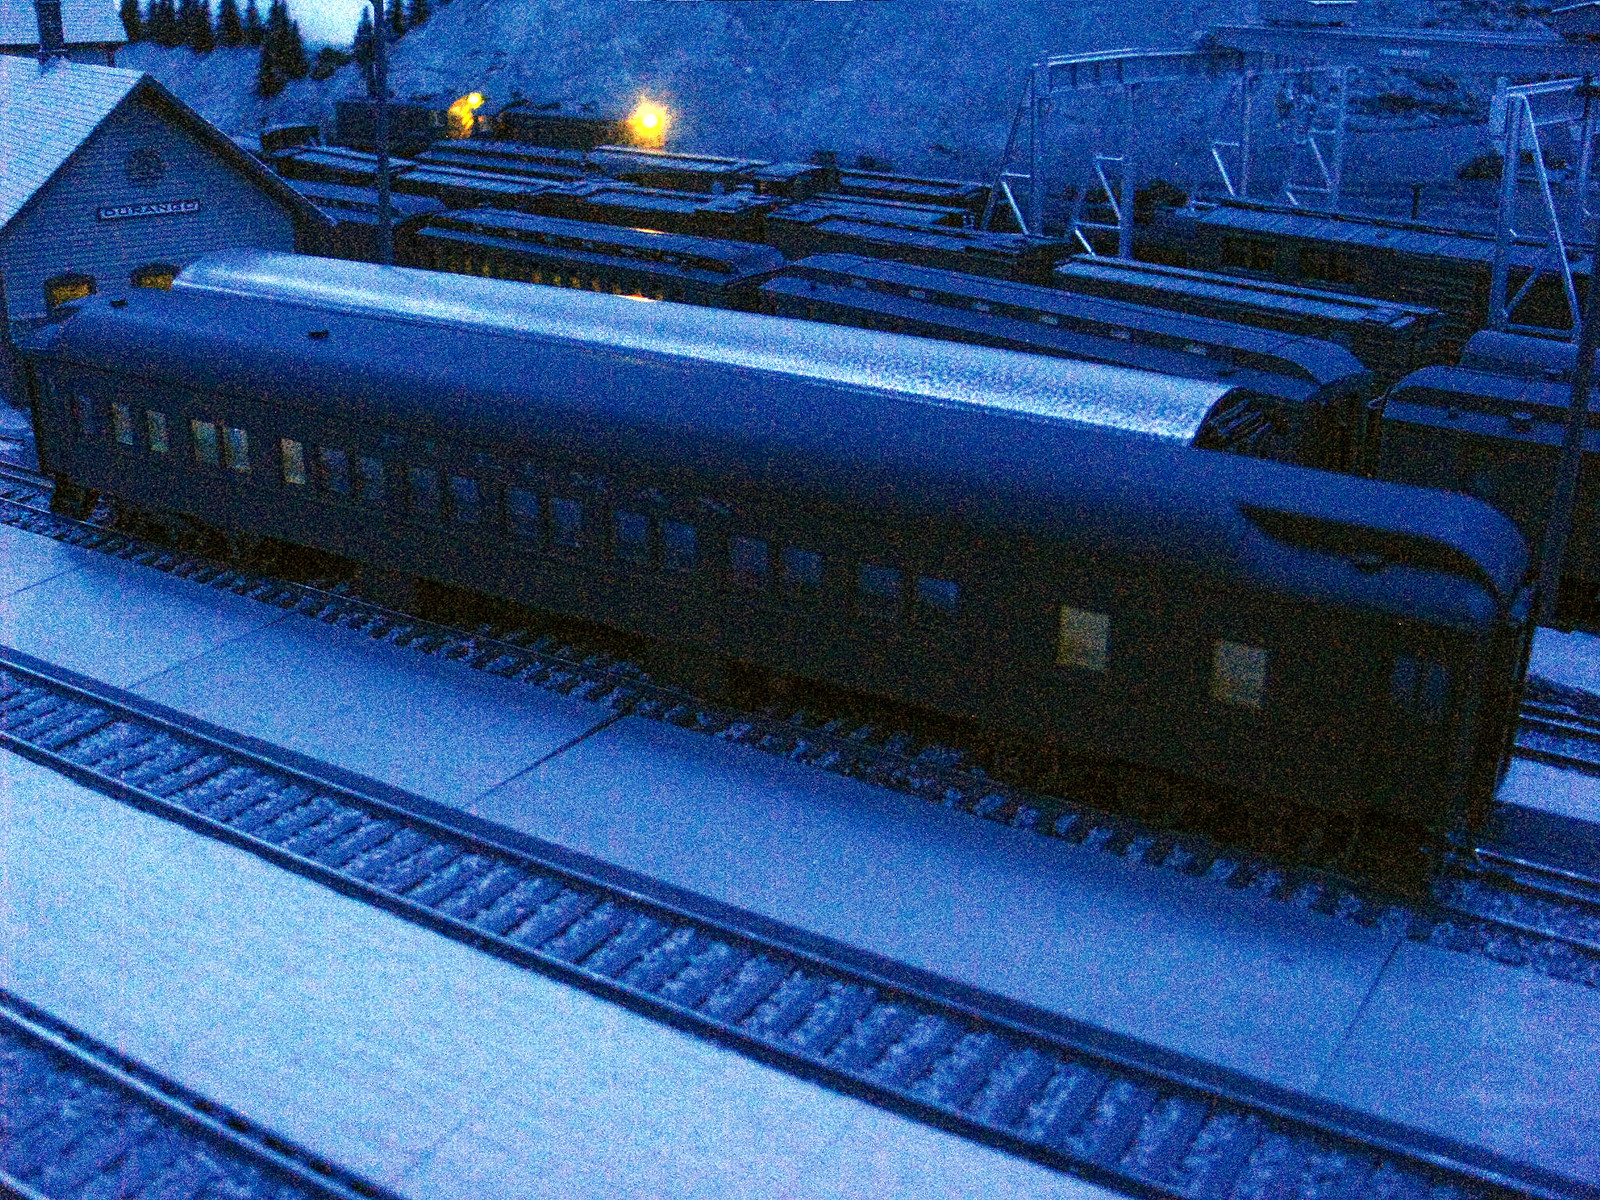 The center with its 16 berths is still lit, but as if being used for sleeping and other quiet off-duty activities. 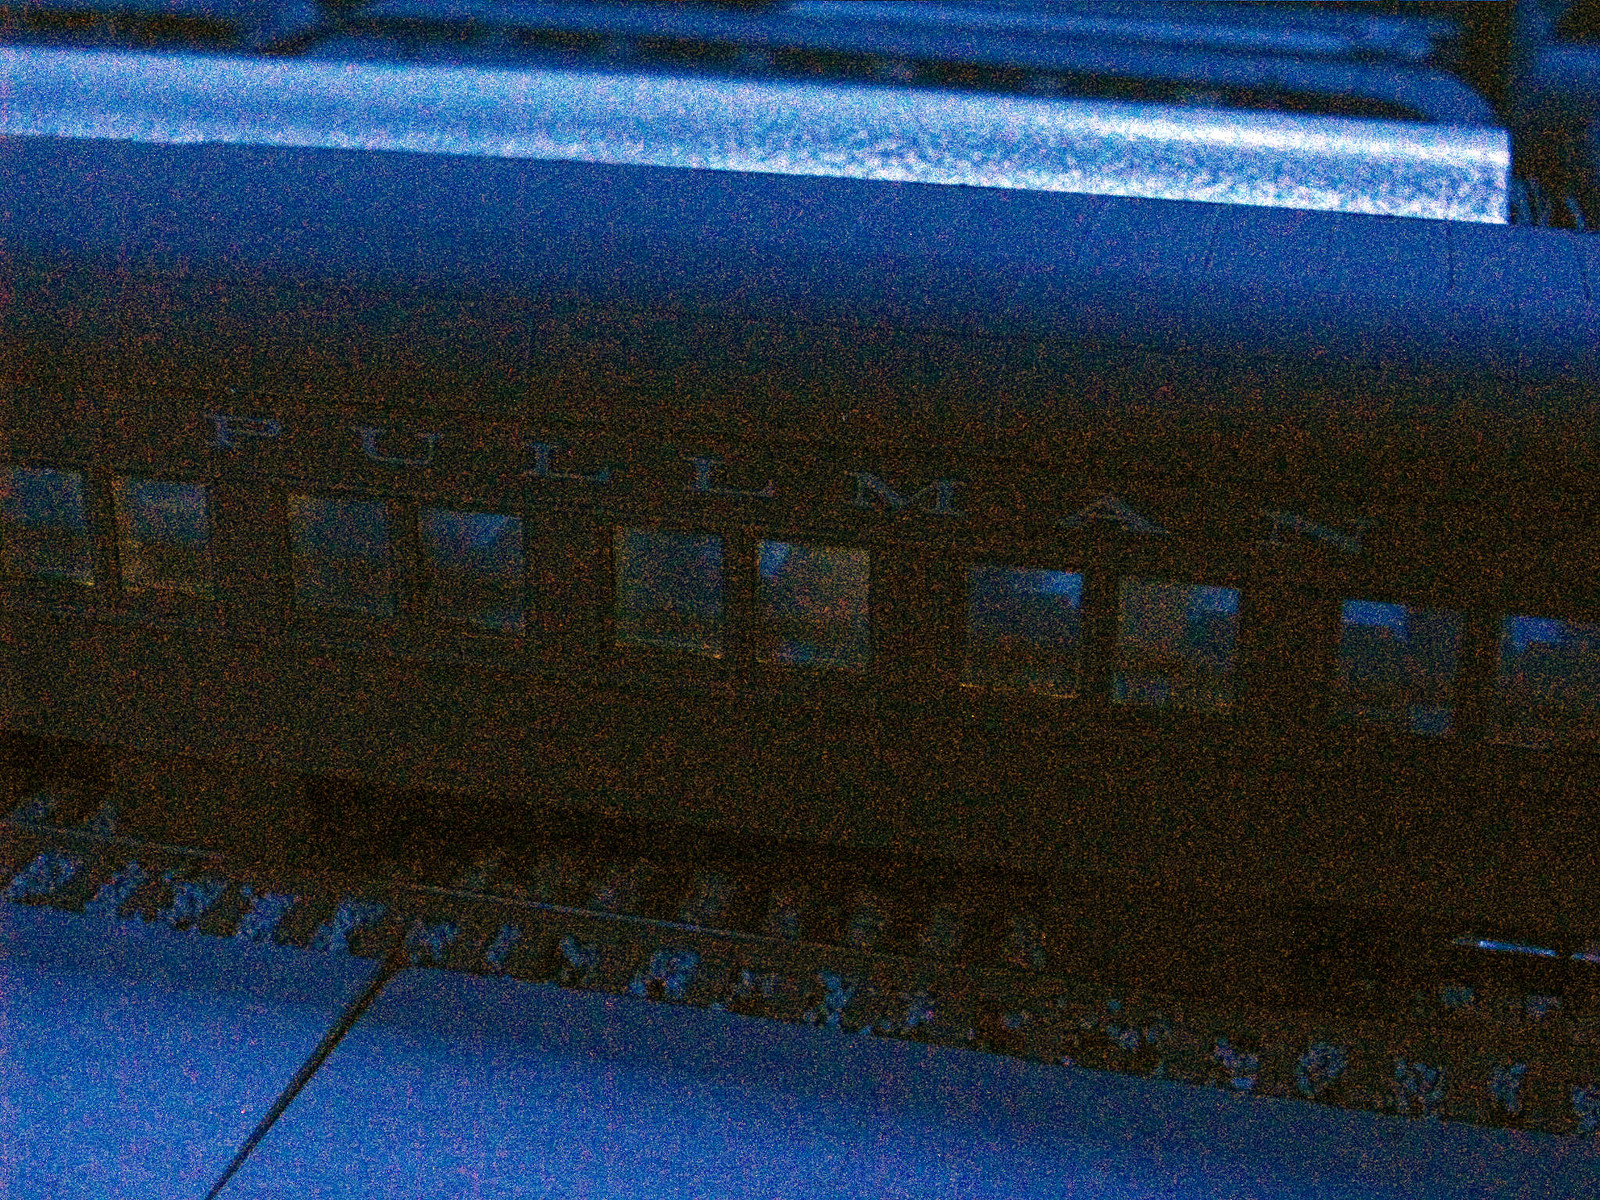 One end has the large men's restroom, which is lit with those shaving, showering and whatever at all hours, being most uses are the sort that require some part of those aboard to be on duty 24/7. 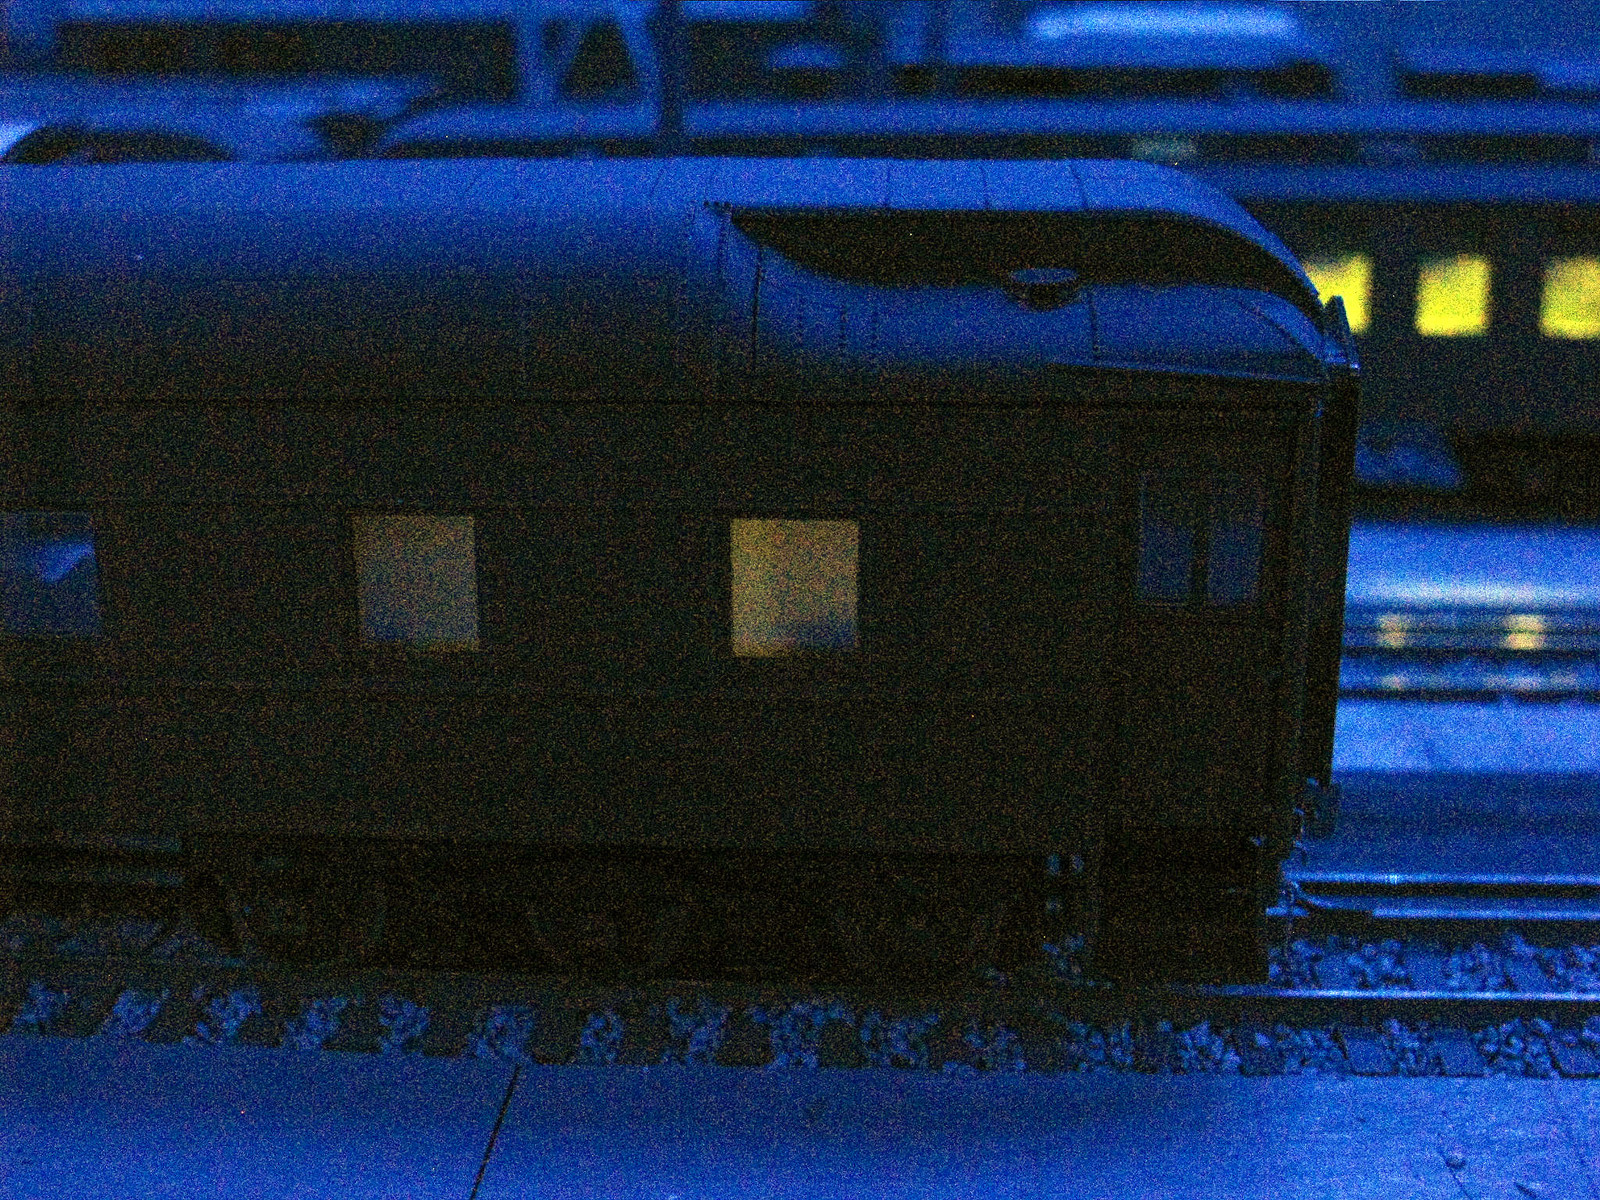 The other end with the bedroom is used as the commander's office or train command post. It's more softly lit than the restroom, but brighter than in the sleeping quarters. 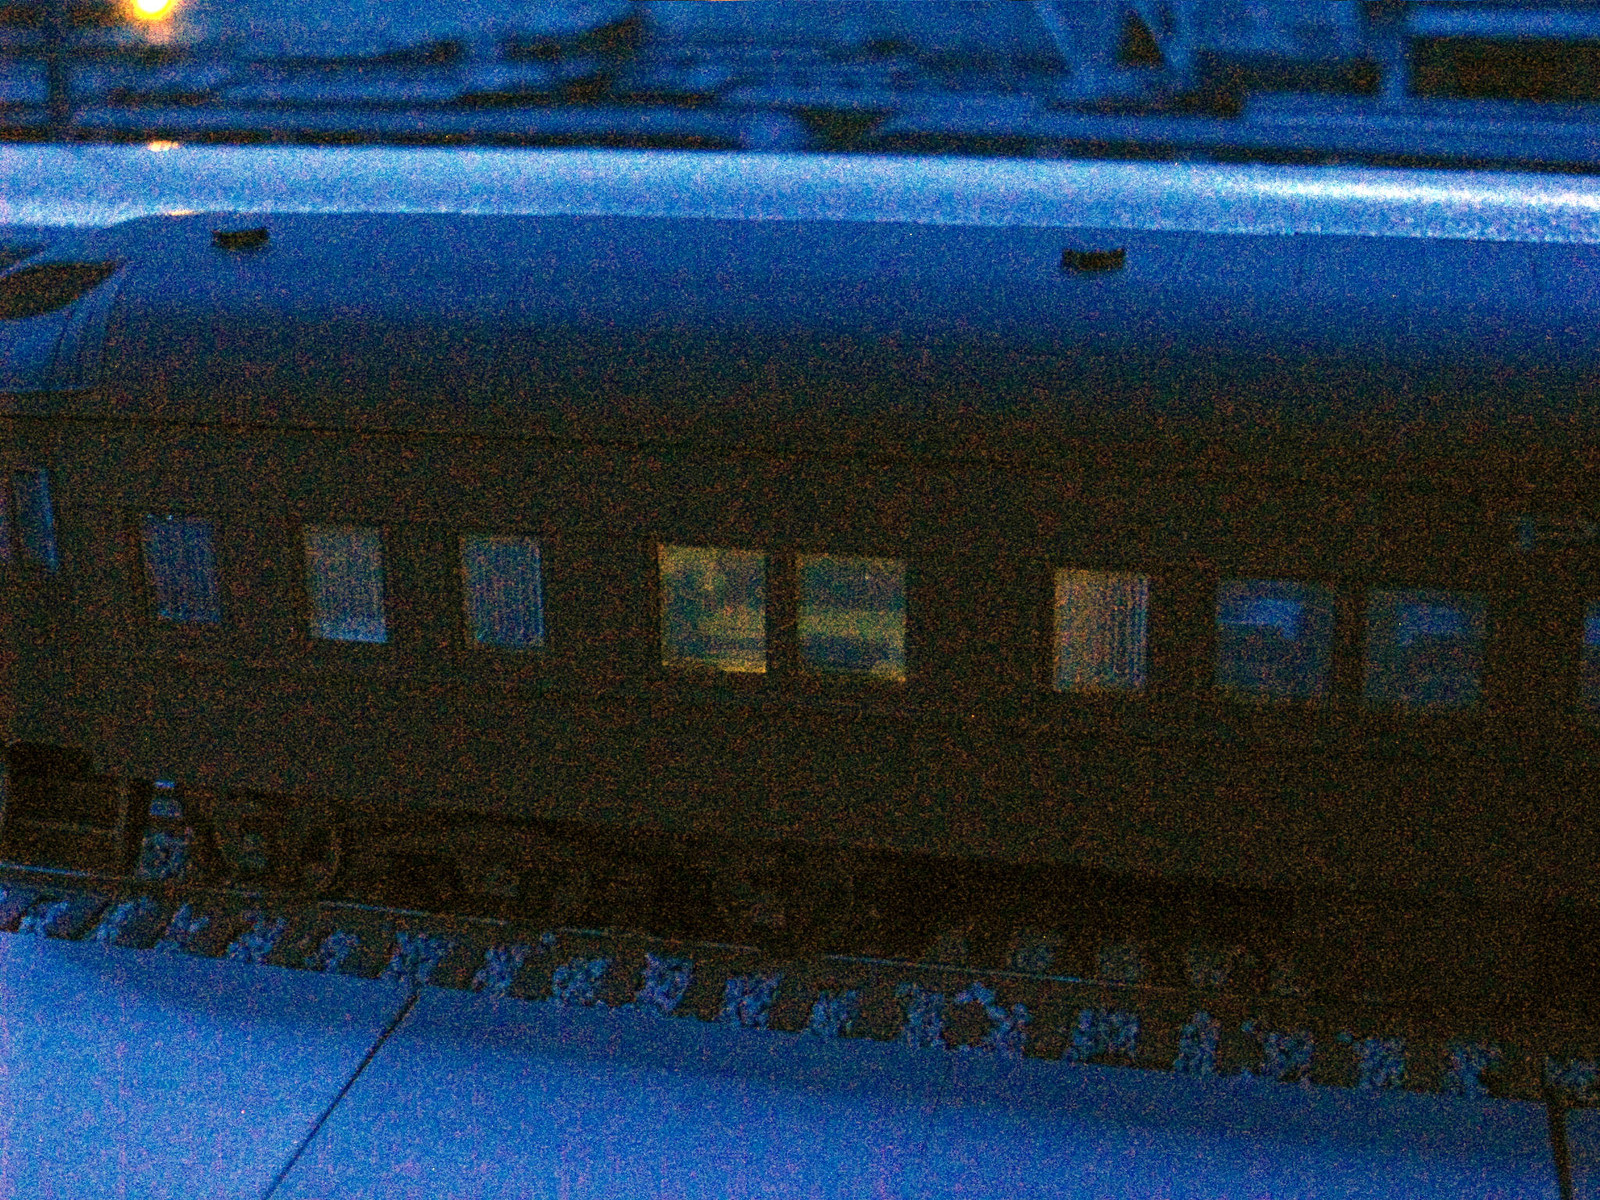 Speaking of 24/7 duty, the mail moves at night and usually requires adequate illumination to do the work. 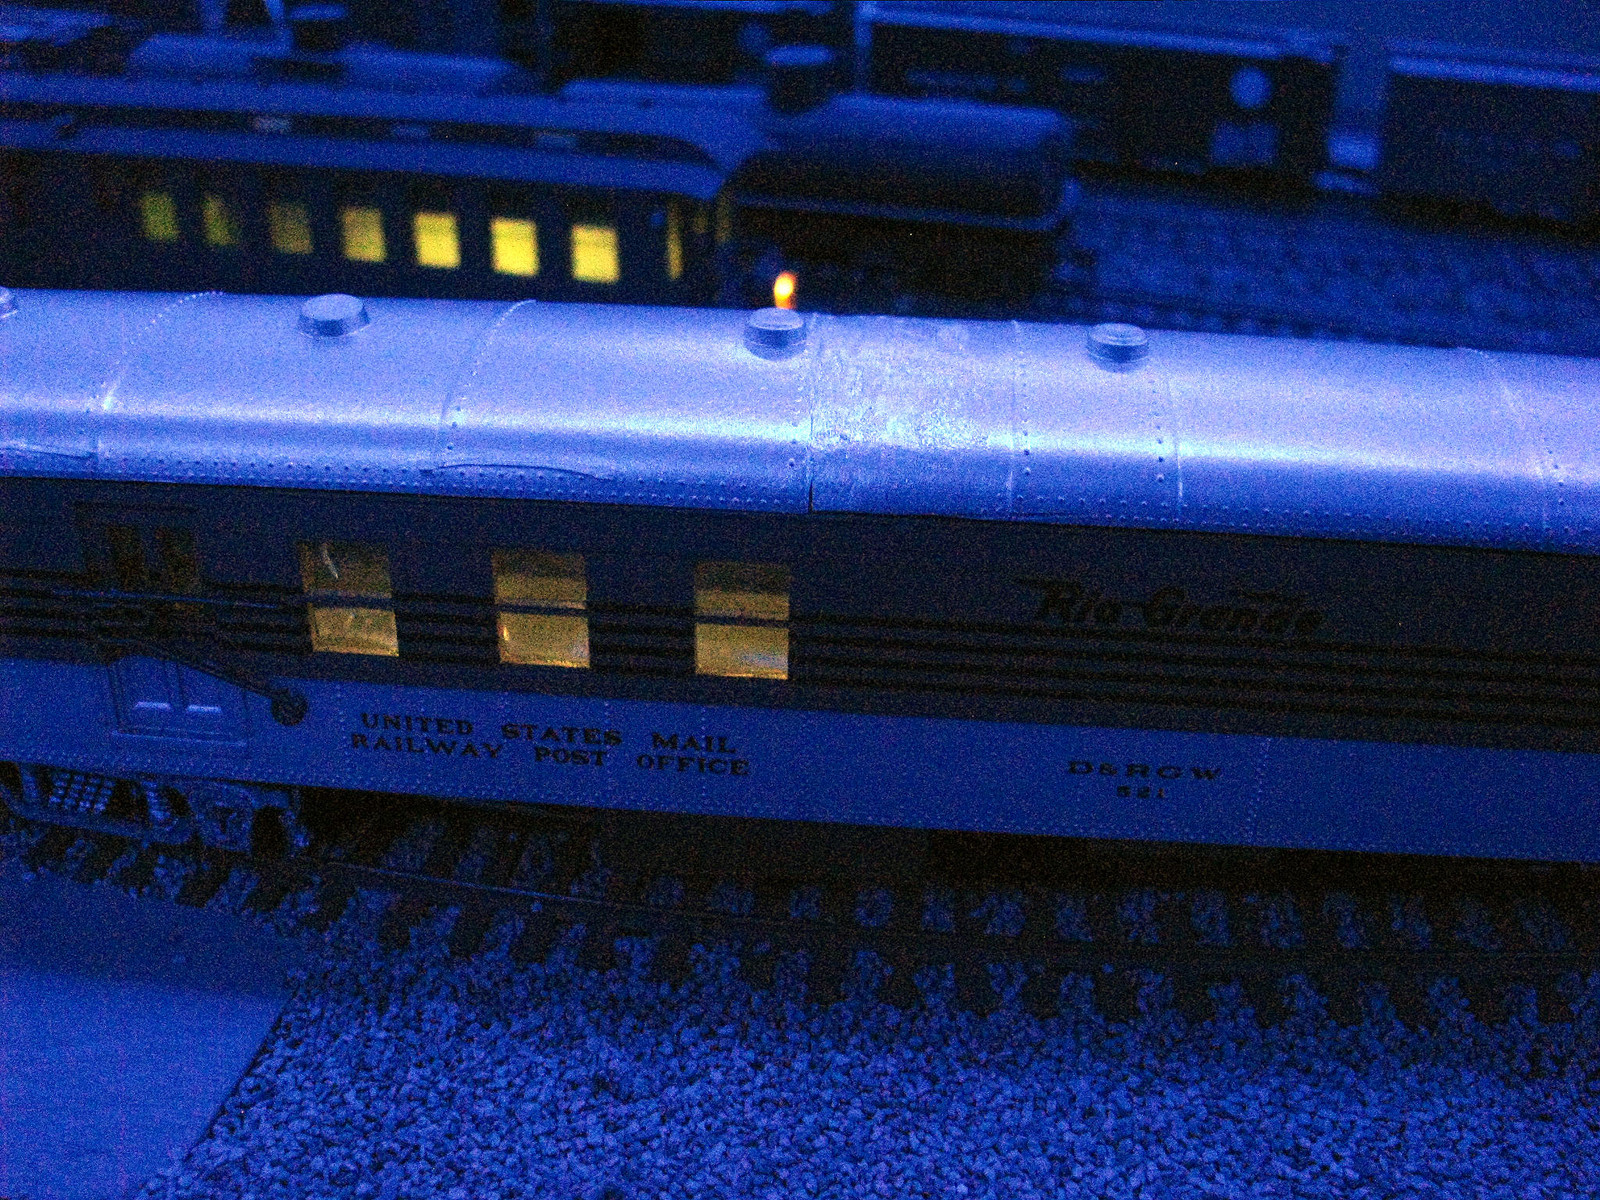 I also added lighting to a couple more narrowgauge RPOs, one a LaBelle kit and the other a spiffy PSC RTR. Here's the way I add wipers to various car that don't have built-in contacts like the Walthers and BLI cars. 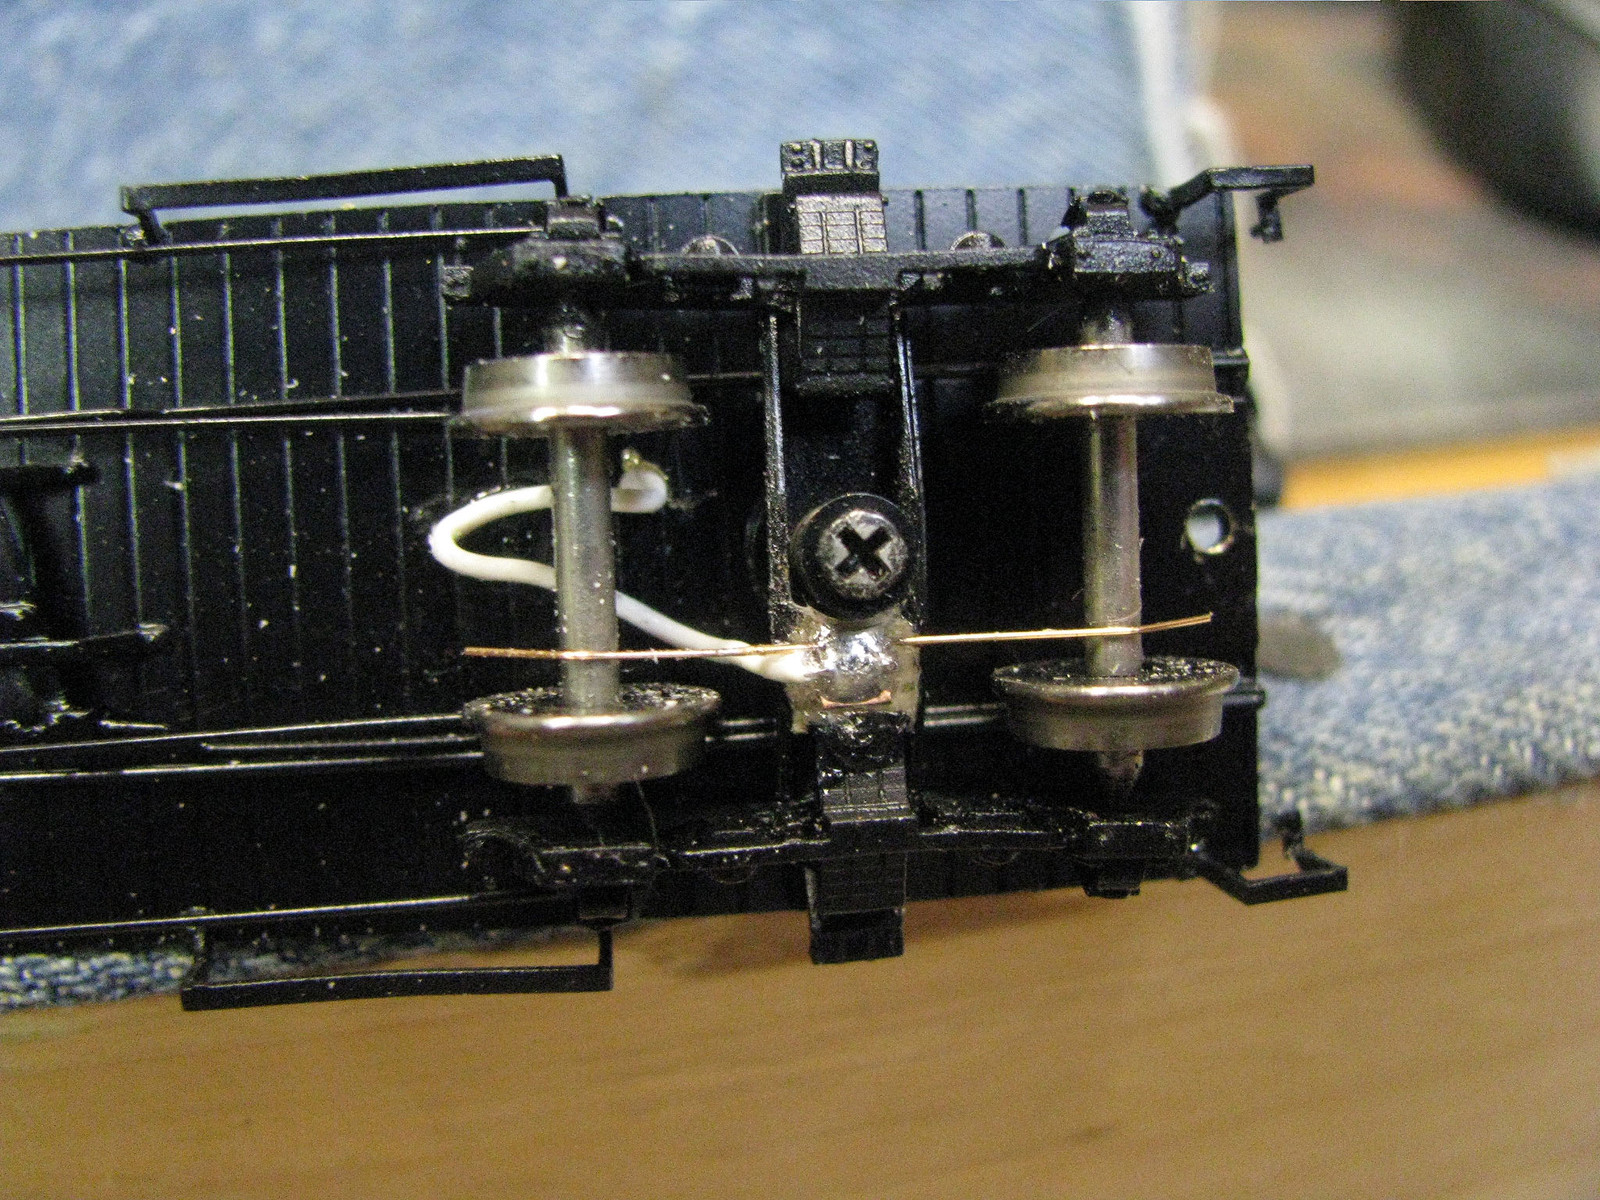 Here's the lighting install on the PSC chassis. 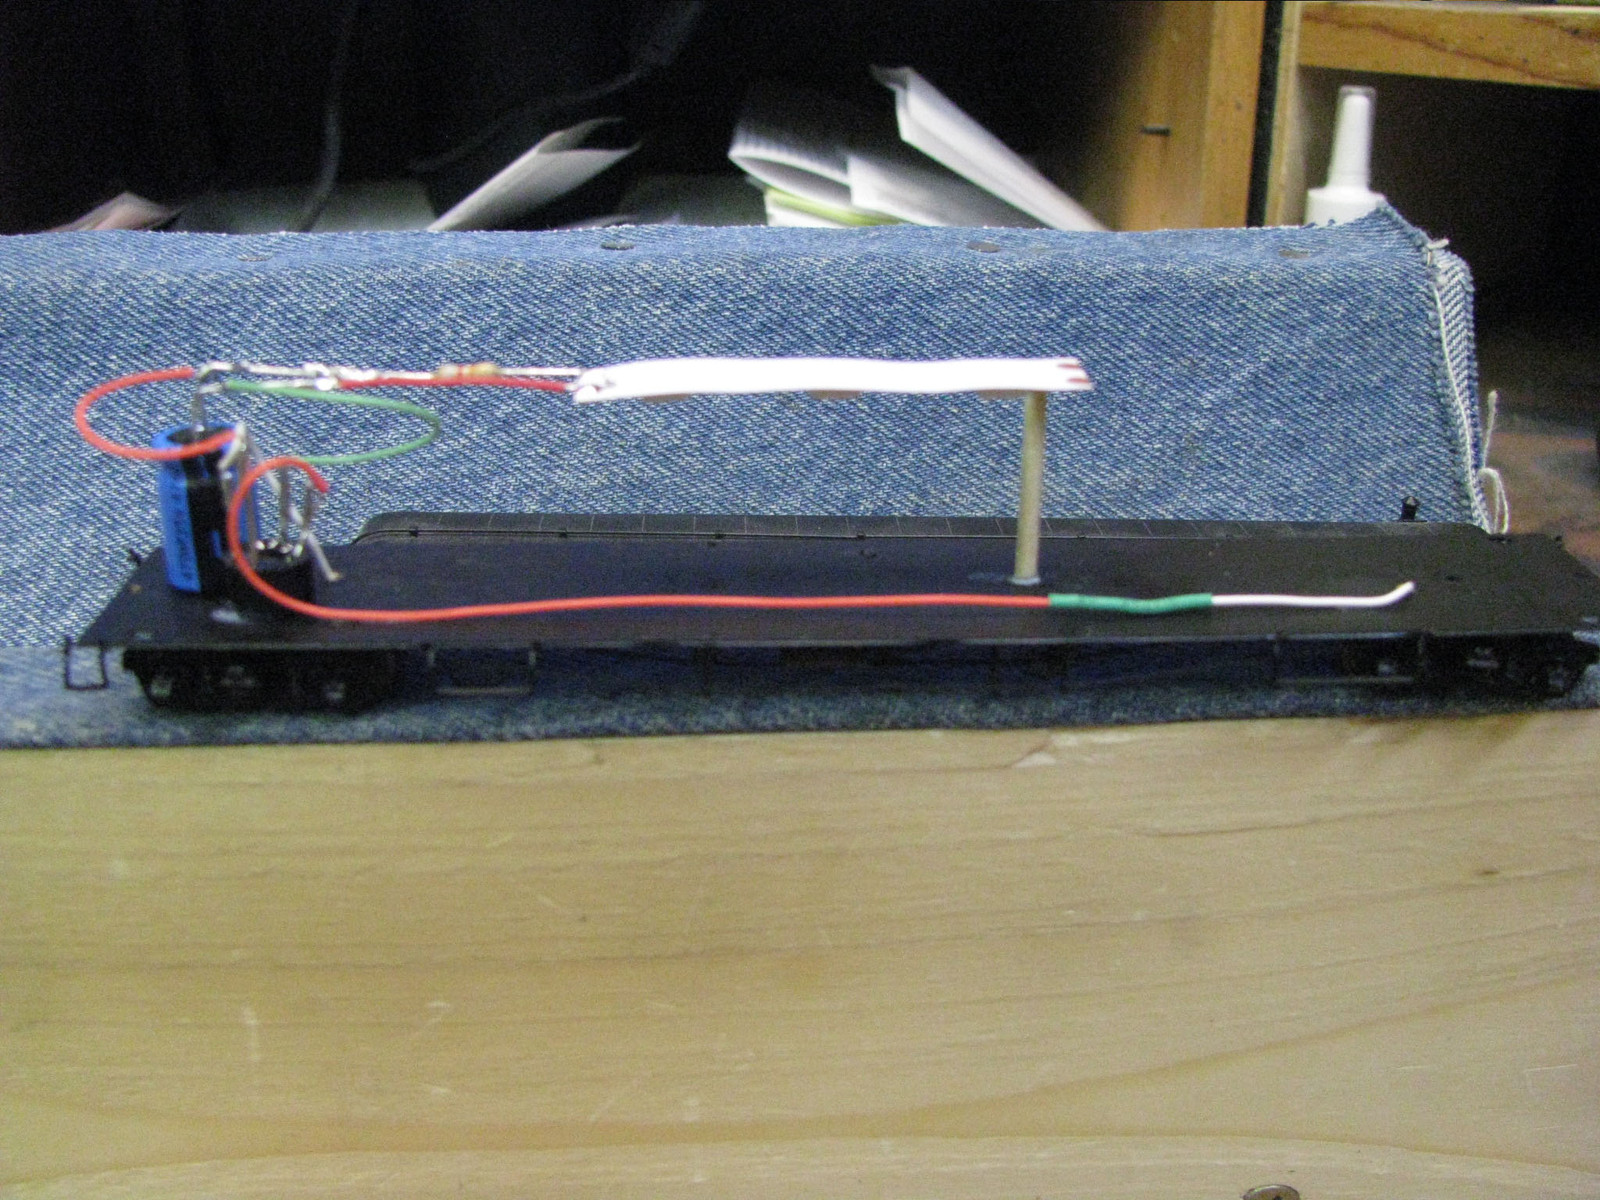 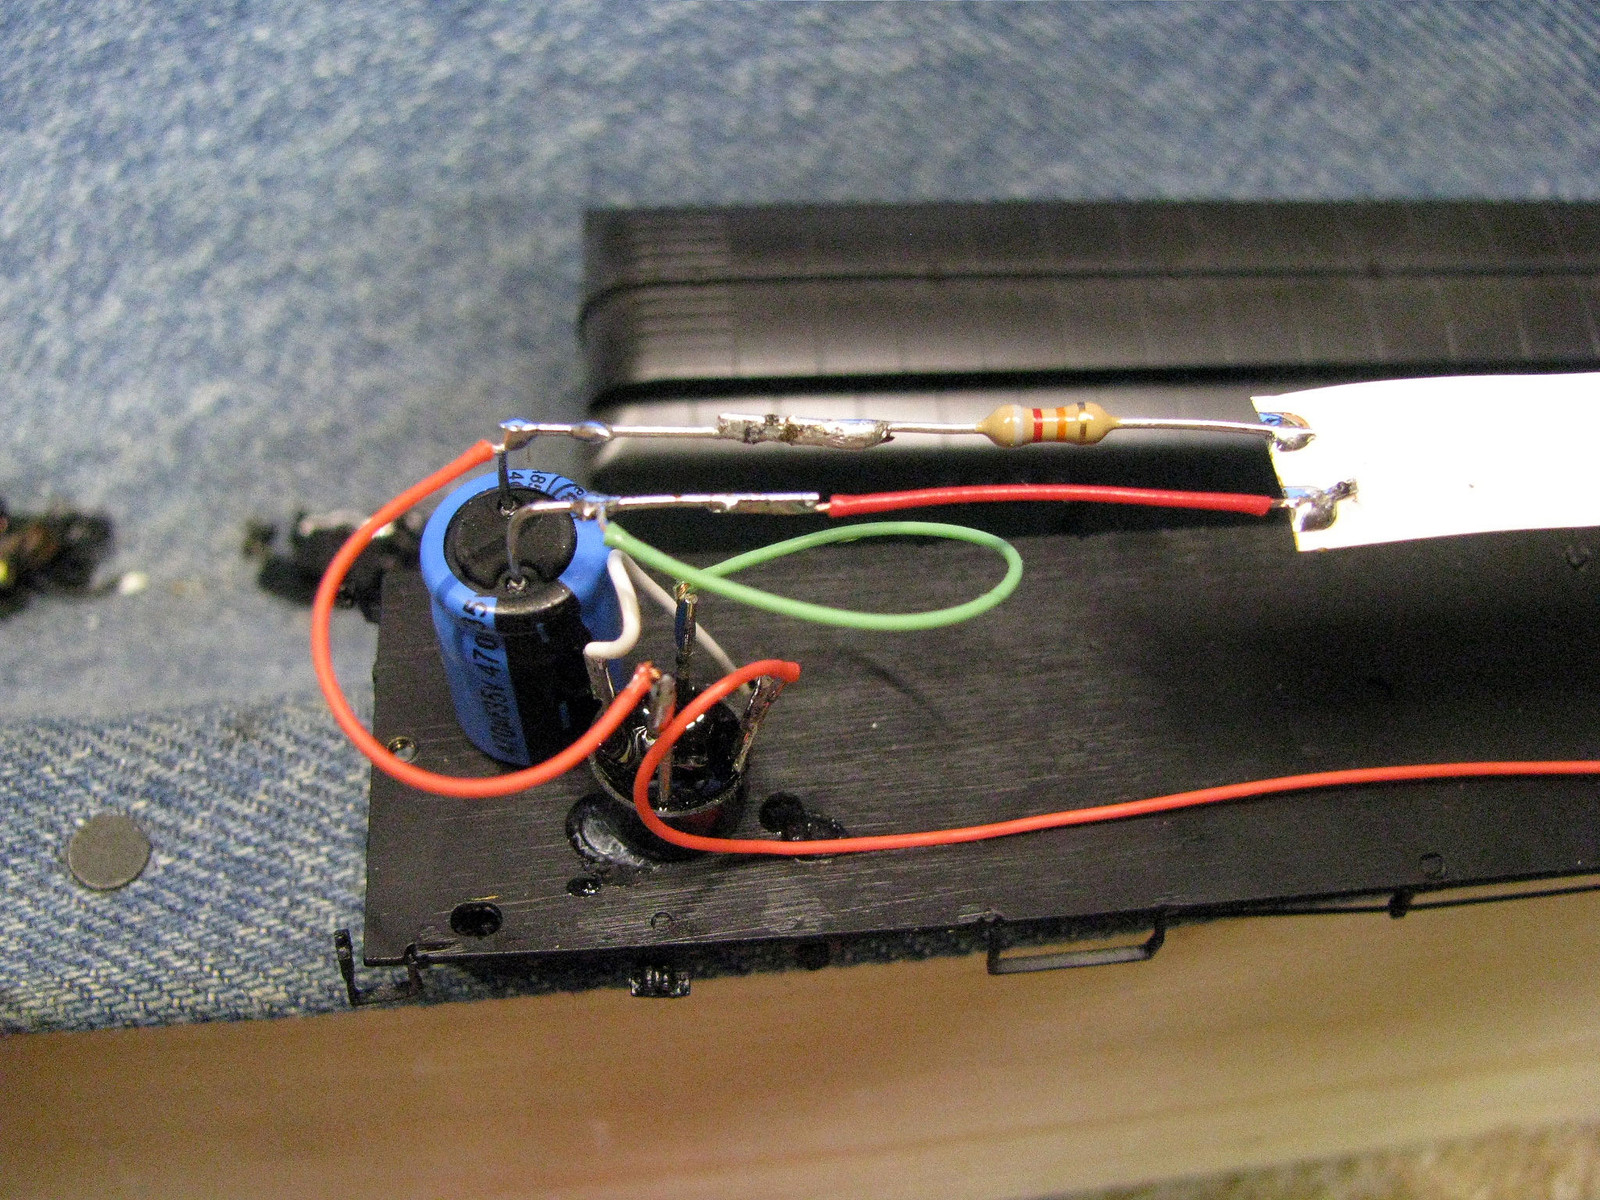 I'll add a few more pics later. |
|
|
|
Post by antoniofp45 on May 3, 2014 4:16:31 GMT -8
Mlehman,
Excellent thread and outstanding that you've shown modelers a lower cost alternative to interior lighting. This thread is "over-saturated" with great info so I'm going to read through all of it slowly as I still consider myself an "electronics klutz" and sometimes feel intimidated with the technology.
One quick question regarding the LED strip from Radio Shack.
Do you know if it is available in a bright or "milk" white color? For those of us many of the post WWII Budd cars utilized fluorescent lighting and this is a feature I want to model on my Alcladded SCL units.
|
|
|
|
Post by mlehman on May 3, 2014 5:36:13 GMT -8
SNIP
One quick question regarding the LED strip from Radio Shack. Do you know if it is available in a bright or "milk" white color? For those of us many of the post WWII Budd cars utilized fluorescent lighting and this is a feature I want to model on my Alcladded SCL units. Antonio, Thanks for the appreciative comments.  Right now, the RS LED strips come in just the one version of white, plus red and multicolored. The white is pretty clean, no yellow or blue overtones. It's easy to check out whether the exact color temperature will work for you, because the package features one 3-unit strip with a switch and battery so you can light them up right there in the store. Careful though, it'll put your eye out it's so bright!  Once you see that -- or stars, because of the persistence of vision effect  -- you'll understand why I tone them down with so much resistance. For simulating bright lighting, they'll do fine if the color temp suits you. One thing that is neat about the reduced lighting level I use is that when the room lights are on "daytime" you don't really notice the interior lighting is on unless you look closely. Along with the very low draw of the LEDs, this really eliminates the need for a switch or decoder IMO, although you could certainly do either if that's what you prefer. |
|