|
|
Post by mlehman on Oct 26, 2014 5:47:13 GMT -8
Yes, it's a very short train... 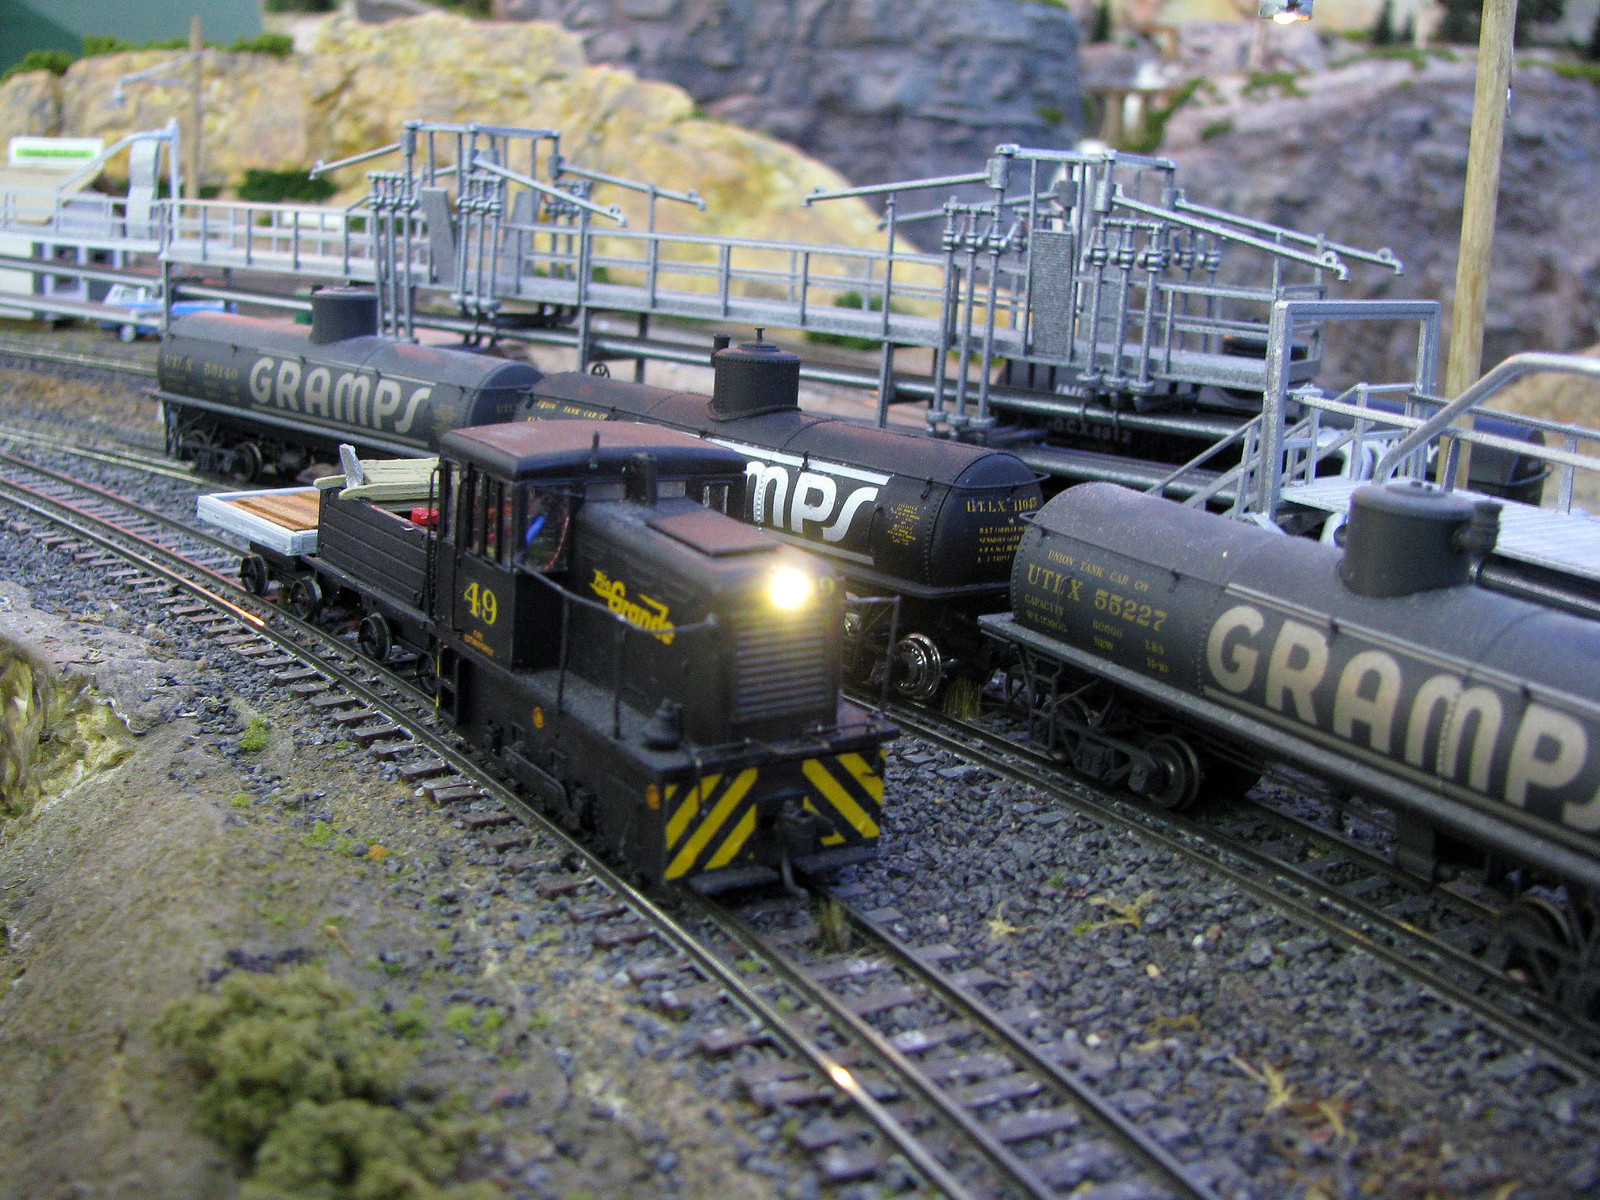 The loco is the Grandt 23-ton GE. The cars are based on the PSC 31280 flatcar with 20" wheels. 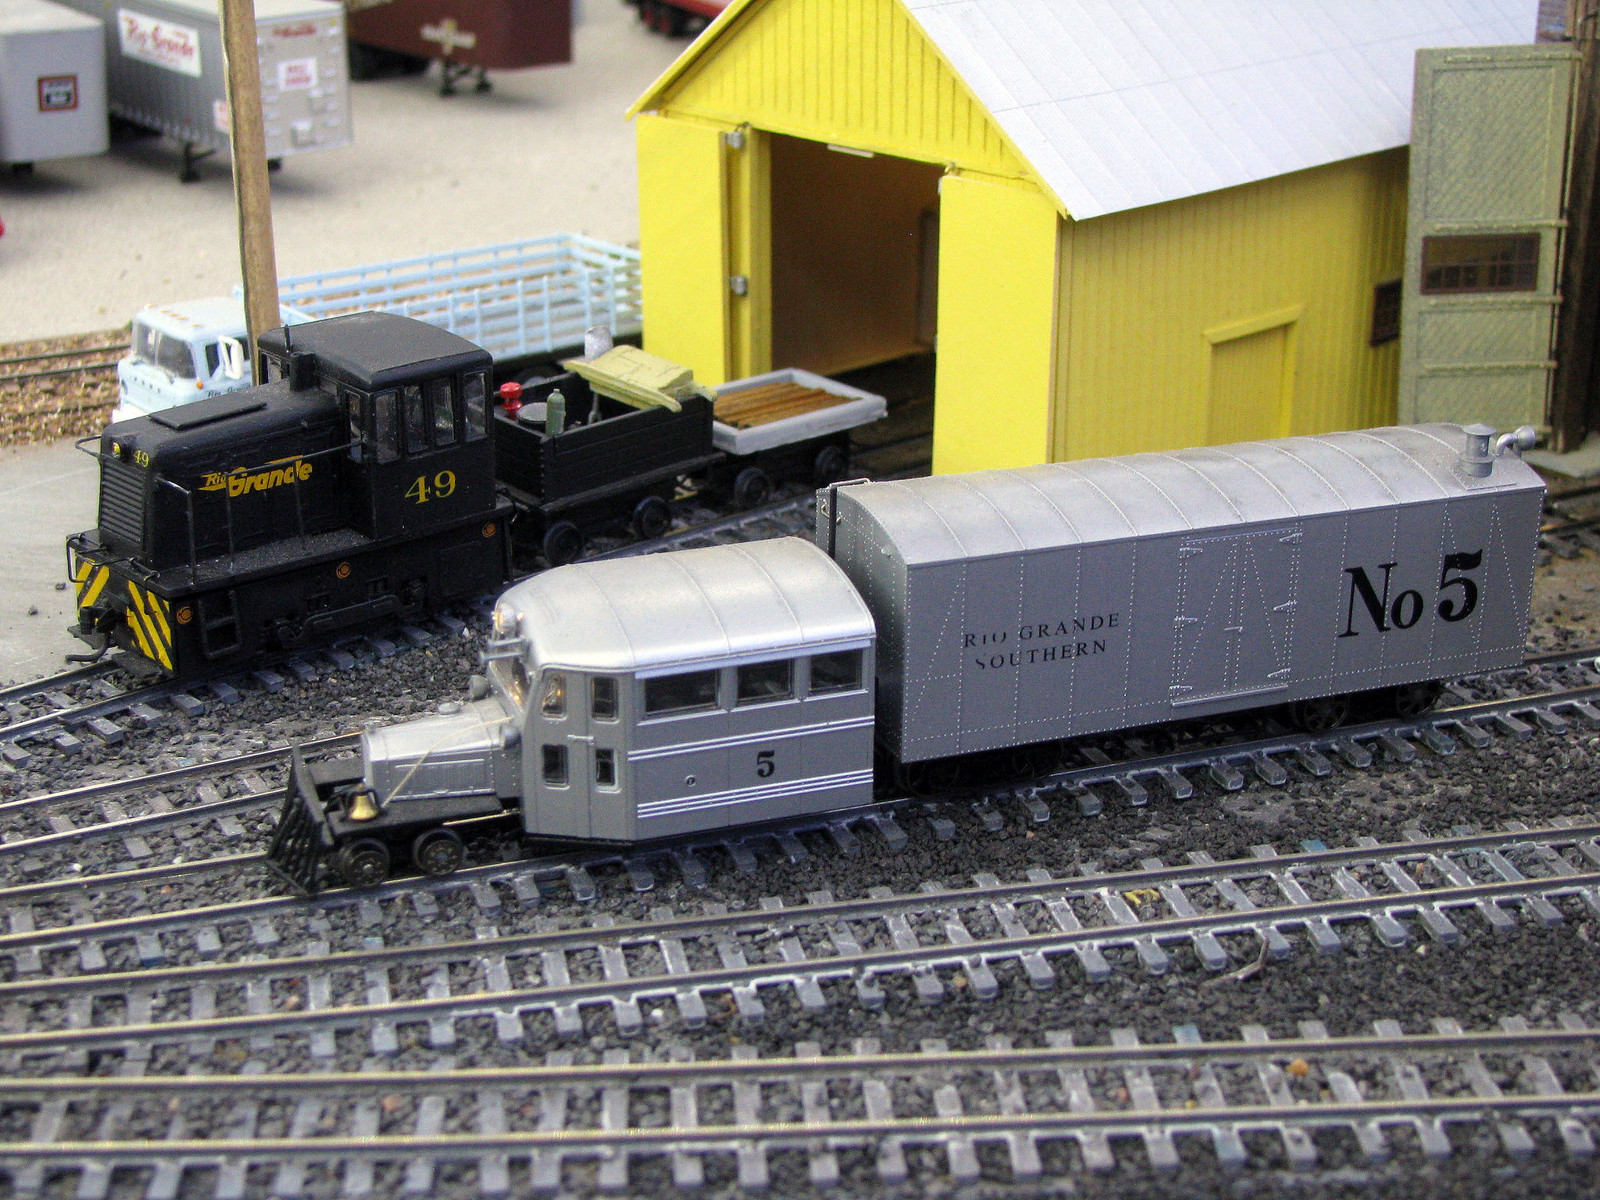 RGS 40 switching at Red Mountain  On the return trip to Silverton, Switching the Wilde Mine at Sheridan. 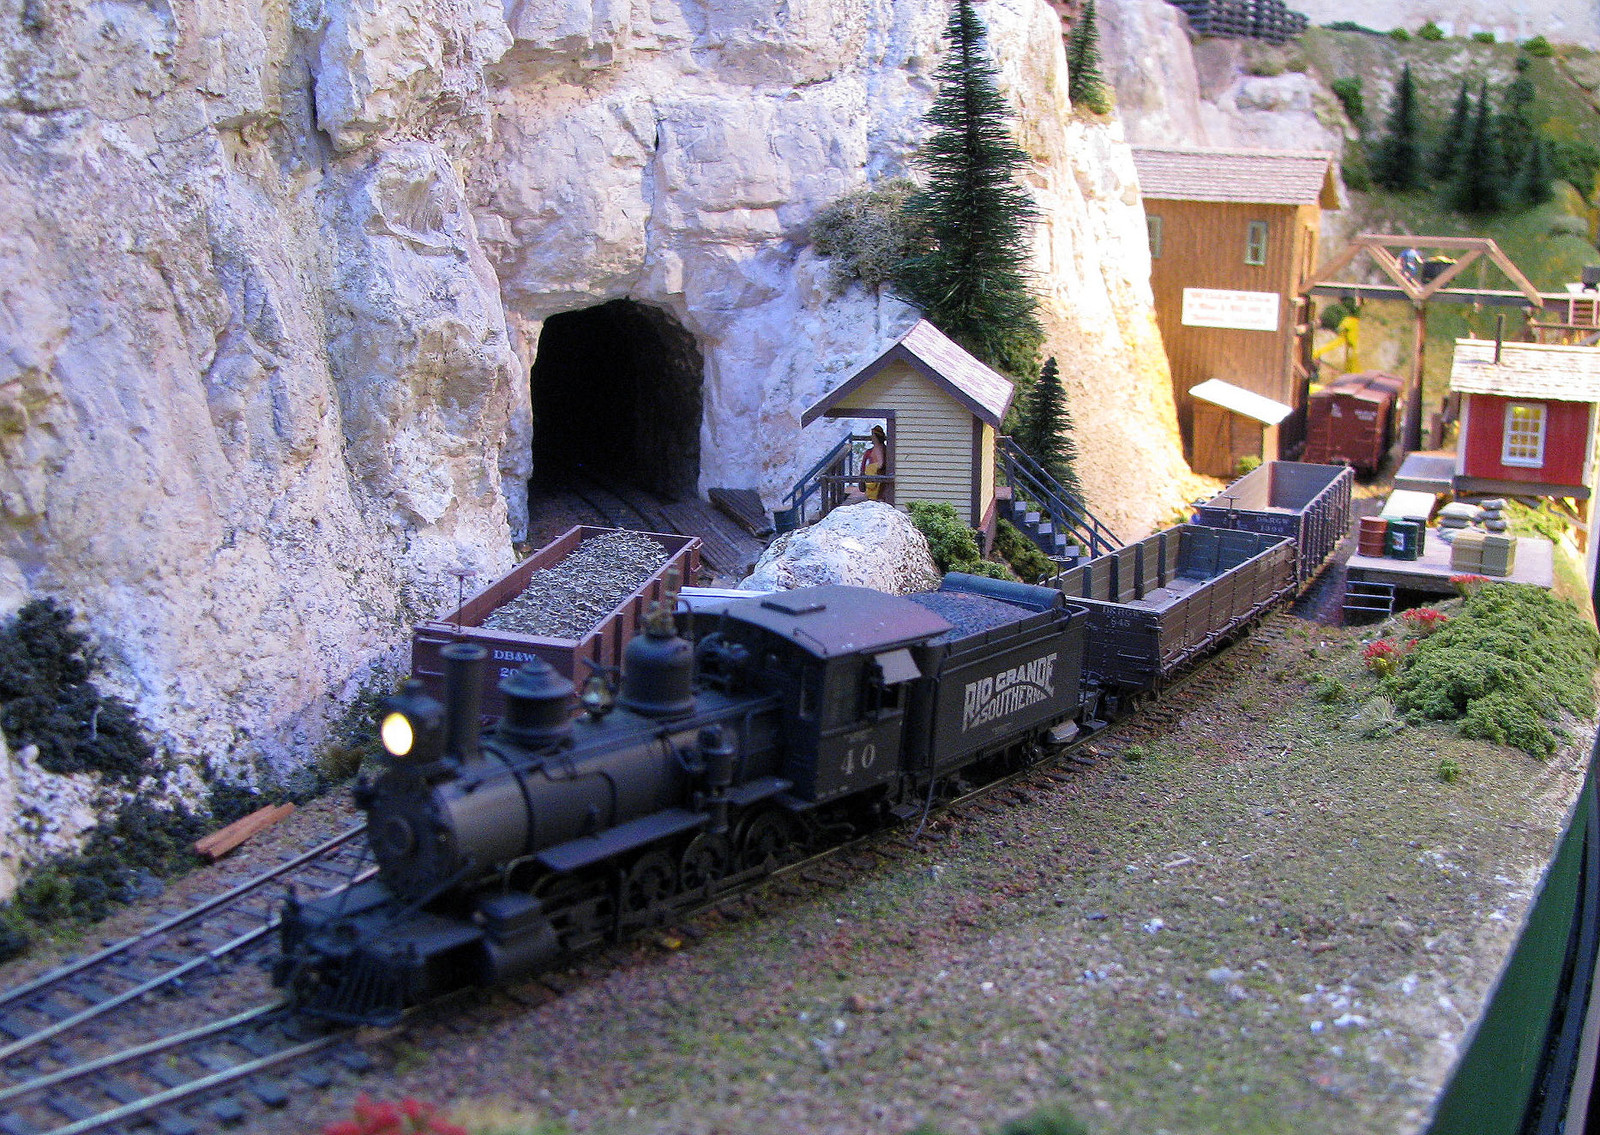 Found my leftovers from the Tichy 200-ton crane kit I bashed into OZ some time back. I did have a suitable hook, so built a block for it and finished up this project.  |
|
|
|
Post by dti406 on Oct 26, 2014 6:38:38 GMT -8
I did not finish any cars this week as four cars are in the middle of decaling right now but I have some construction pictures of in progress work on some cars.  ExactRail PS4427 Covered Hopper Kit, I had previously posted the beggining pictures this shows the completed underside of the car with the bolsters, discharge gates and air line all installed on the car.  This is the B end of the car with all the brake gear including the hardest part of the retaining valve air line that runs from the ABD Valve to the Retaining valve up next to the Brake Wheel. Also installed all the grabs, brake wheel platform and brake wheel.    This is a Tichy Panel Side Hopper Kit with an extension that was used for hauling grain from the Anderson's Elevator iin Maumee, OH to the Export Elavator in Toledo, OH. The cars came from the Wabash (N&W) after the merger and were repainted from Wabash to the Anderson's unique scheme. I had started on this car over 20 years ago, but just pulled it out of the box to complete this last weekend. After starting back on it I found out why I quit on the kit as I had made a major error in constructing the kit. I finished the kit this week as best I could and will be painting it this weekend. As I have 9 more of these to build the next car will be correct as I have learned a lot on car construction in the last few years.  Here is the start of work on the next kit, but I am building the car differently than the instructions so as to better install all the brake gear and airlines on the B end of the car. Thanks for looking! Rick J. |
|
|
|
Post by TBird1958 on Oct 26, 2014 8:09:18 GMT -8
Work and the band are keeping me pretty busy of late, probably through the end of the year, plus the weather has changed over to mostly rain after a glorious summer - so outdoor photography will be a rare event for awhile. D&RGW 60509 is one of 10 cars purchased from Pullman Standard in 1954 for auto parts service, I think for the GM pool. All the info I have on these cars indicates they were delivered in this paint scheme, tho they may have been repainted by the railroad at some point in the '60s. The model is a Kadee 9'door PS-1 that has had it's ladders partially cut down and it's roofwalk removed, and while it comes close to the prototype, there is a slight difference panel dimensions and in the "DF" letters could be slightly larger and more slanted. I replaced the original friction bearing trucks with Kato 70 ASF roller bearing types per the prototype. Overall I'm pretty happy with it as the model has the distinctive notched sill and really nice detail right from the box - Bravo, Kadee! the model was painted with TCP colors, in this case I mixed the orange then glossed, decaled, glossed, then dulled. I weathered it with colored pencils and chalks.   |
|
|
|
Post by kcjones on Oct 26, 2014 8:52:06 GMT -8
Well I thought I would get started on the first of three. I'll see how this one turns out before I start on the other two.  A general overall look at the 636 laying on my woorkbench. The beginnings of a nightmare. The first thing I wanted to do was to make the frame look thicker like the prototype. I am gluing .100 strips to both sides of the frame and will paint to match. The side frames should just clear. . The hardest part is getting to the rear truck. Speakers have to come out to get to the top truck clip.

A closeup of the frame strip. With the trucks modified, this should take care of the gap problem. .

The rebuilt truck. I filed down the pad on the bolster about half way being sure that my file stayed flat and level. Material is very soft and comes off quickly. I also drilled out the gear holes as Mr. English has suggested with a .51 drill. Be VERY careful. As noted earlier, this material is very soft. One quick pass is all that it takes. I almost ruined one truck. Hopefully all I need now is the new tank that Bowser is working on. I may wait and see what improvements are made to the new trucks that Mr. English is also working on. I am hoping that the new trucks take care of the height problem as well. My other two can wait if improvements are on the way. One will stay IC and the other one will become an AV unit.
Have a great week guys.
JLoggans
Vancouver WA
|
|
|
|
Post by fr8kar on Oct 26, 2014 13:56:51 GMT -8
Really impressive work by all! Great photo weekend so far. I've been working on several freight cars the past few weeks and finally got some photos taken: This car was built mostly by my daughter with the final details, paint and decals done by me. After realizing I had numbered it incorrectly for a car with the short horizontal stiffener, I changed the second digit from a 4 to a 1. Here I've begun the weathering process: 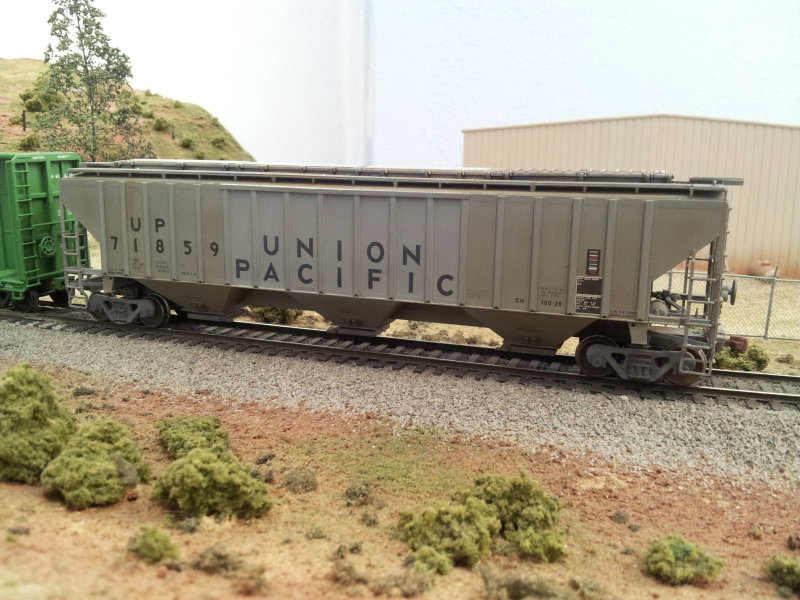 This is a Hi-Tech baby hi-cube lettered with Dan Kohlberg decals. I replaced the draft gear with Moloco parts and added trucks from (I think) Exactrail. The paint is a mixture I made to match a chip I took off a BN locomotive: 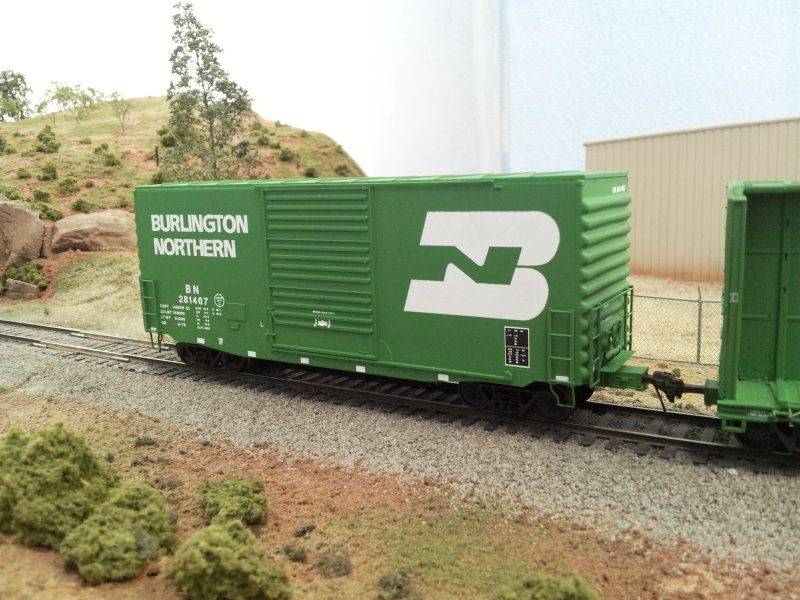 Finally, here is a project I started years ago and let languish once the Exactrail model was announced. It's a 63' centerbeam made from a cut down Walthers car with Moloco draft gear and brake components. I lettered it with Microscale decals and painted it with the same mix I used for the hi-cube car:  |
|
|
|
Post by mrsocal on Oct 26, 2014 14:13:25 GMT -8
Fra8kar these are all great looking but... the need for some weather on them is big time. All are great looking builds. Just the extra mile makes them personal! Thank you and the family for posting up.
|
|
|
|
Post by fr8kar on Oct 26, 2014 15:14:33 GMT -8
Scotty, thank you. You're right. I just got the paint and decals on them a couple days ago. Weathering will come in time! The first pass of dust is done on the hopper, but that's it so far. I got the keyholes painted and dullcoat applied on the centerbeam last night, so it's about ready, too.
|
|
|
|
Post by riogrande on Oct 26, 2014 16:37:15 GMT -8
Awesome photo's all. Of course the lightly weathered 70's era Rio Grande box cars are my favorite - it would be great to see those run in a train some day on a layout!
|
|
|
|
Post by kcjones on Oct 26, 2014 17:54:52 GMT -8
First of all I'd like to say what a wonderful job on the centerbeam. The tie down cables just make the whole car perfect. And now the results from my earlier post...SUCCESS!!! Well almost..Lowering the fuel tank is a big improvement and little or no gap left. Will replace the tank when the news come out tho. One funny thing tho. I had put everything back together and put it on the layout for a test run. Fired her up...sounds great. notch 1....nothing!!! Just sat there. I could here gears running and the motor was turning, but it just sat there. Now what? Didn't see anything wrong except the wheels were not turning. Just then I looked over to the workbench...You know it ain't goin move with out the drive shafts..you dummy!!! Tear down and put back together. SUCCESS!!! 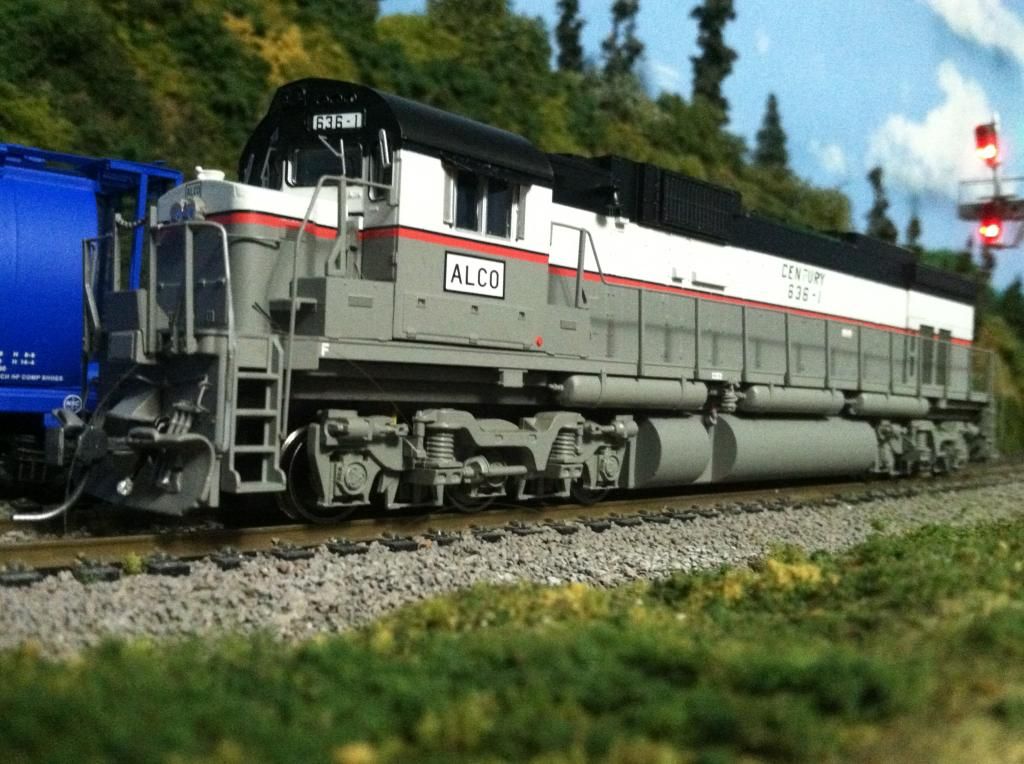 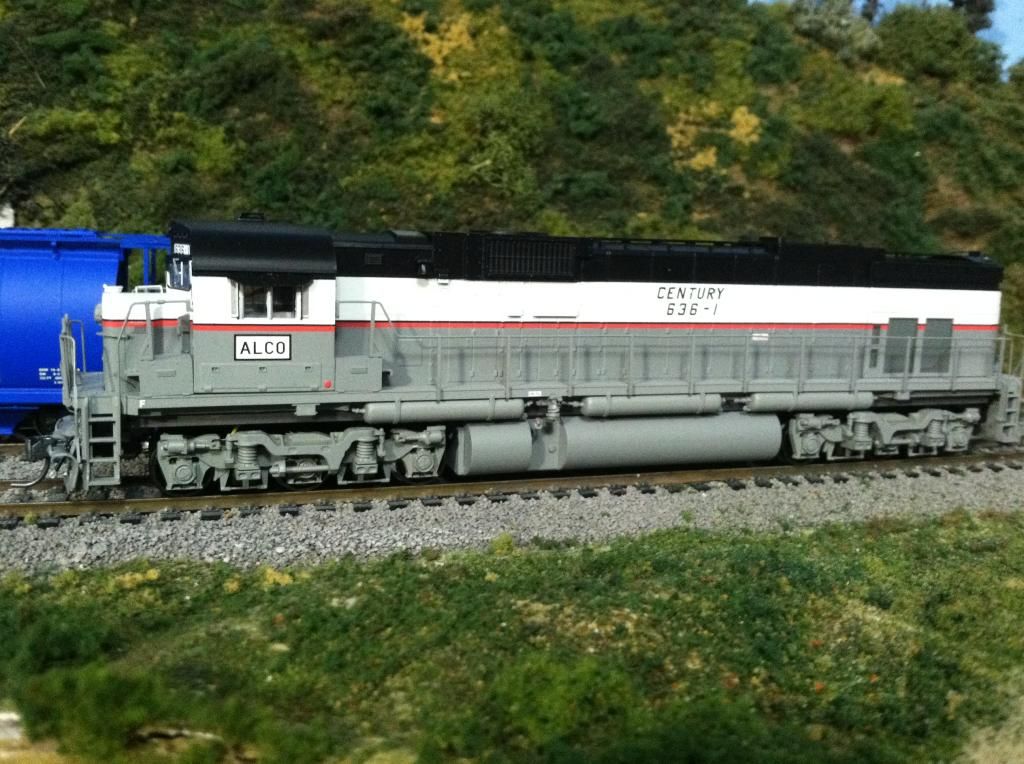  Before  After JL Vancouver WA |
|
|
|
Post by Mark R. on Oct 26, 2014 18:33:33 GMT -8
JL - I've seen this on a number of the new 636's .... at the side sill, it looks like a bind between the cab front and the battery box (they are both lifted where they meet). Can you see any problems in the fit there, or are they just not pressed down tight ?
Mark.
|
|
|
|
Post by kcjones on Oct 26, 2014 21:01:05 GMT -8
Mark,
I noticed that the whole model was bowed. Plus the cab has a bad droop. I noticed that the air tanks were hitting the top of the fuel tank. When I dropped the tank, a great deal of the bow came out. It does appear that there is a pinch point between the cab and the battery boxes. I think that the cab is a tad to wide at the base. When I break down the IC unit to be painted, I am going to very gently file the back of the boxes at the frame and see what happens. I'll keep everyone updated and will let you know.
JL
Vancouver WA
|
|
|
|
Post by TBird1958 on Oct 26, 2014 21:47:50 GMT -8
Great looking work! Love the BN and UP cars, the C-636 too, a little work brought it to life!
|
|
|
|
Post by sd80mac on Oct 27, 2014 8:50:13 GMT -8
Some fun at the club last week with a new Genesis NS GP50 and an Atlas B23-7. I love 90's era NS!  |
|
|
|
Post by grandeguy on Oct 27, 2014 13:05:05 GMT -8
Hello..................Some in progress shots of a Free-mo module I am working on. Loosely based on Palisade Nevada SP/UP. More to come.

Attachments:
|
|
|
|
Post by riogrande on Oct 27, 2014 15:21:59 GMT -8
A couple of progress shots with the second level going in over one end of staging finally:   I couple more photo's are in the project archive section in the Layouts Before and After topic. Cheers, Jim Fitch |
|
|
|
Post by atsfan on Oct 27, 2014 17:56:41 GMT -8
The century engine looks much better lowered to the rails.
Good work.
|
|
|
|
Post by fr8kar on Oct 27, 2014 20:03:58 GMT -8
Hello..................Some in progress shots of a Free-mo module I am working on. Loosely based on Palisade Nevada SP/UP. More to come.
View Attachment Looking forward to it, grandeguy! |
|
|
|
Post by buffalobill on Oct 28, 2014 13:04:20 GMT -8
Ryan, like the job on the Center Beam car, really nice. The cables, and the brake rods really make it. I started two from the Walthers cars a couple of years ago, and gave up when Exact Rail announced theirs. Still have not done the cables, or weathered mine. I had never seen one of the Hi-Tech cars done it BN green. Looks great. Too bad there were only a limited number of the prototypes out there.
TBird love the Rio Grande box, particularly the side sills. Were those added later by the railroad, or were they Pullman modifications to the standard design. Looks great. The muted weathering really makes the car. Mike, like the goose, and KC really like the C-636 height reduction job. Looks good. Makes we want one, though its out of my era.
Bill
|
|
|
|
Post by catt on Oct 29, 2014 11:48:28 GMT -8
The Grande Valley Railway received another rebuilt grain car today.This one was originally built by TYCO Industries in 1976. It was refurbished in the Midwest Trainsportation Services shops (owner of the Grande Valley Railway).This brings the number of rebuilt grain cars to 7 with hopes of finishing 5 more before the end of 2014.  |
|
|
|
Post by kcjones on Oct 29, 2014 12:51:45 GMT -8
MR Catt,
Good job on on the hopper. You better watch your back, though. That mean ol monster might hear about your TYCO car and want to cut it in half!!
JL
|
|
|
|
Post by bar on Oct 30, 2014 11:52:27 GMT -8
First of all I'd like to say what a wonderful job on the centerbeam. The tie down cables just make the whole car perfect. And now the results from my earlier post...SUCCESS!!! Well almost..Lowering the fuel tank is a big improvement and little or no gap left. Will replace the tank when the news come out tho. One funny thing tho. I had put everything back together and put it on the layout for a test run. Fired her up...sounds great. notch 1....nothing!!! Just sat there. I could here gears running and the motor was turning, but it just sat there. Now what? Didn't see anything wrong except the wheels were not turning. Just then I looked over to the workbench...You know it ain't goin move with out the drive shafts..you dummy!!! Tear down and put back together. SUCCESS!!! Before After JL Vancouver WA That happened to me a couple of decades ago with a Gilbert RSD-16. My local hobby shop succeeded in finding a pair of U-joint driveshafts next state over -- maybe from Lee English! Still have it/them. |
|


