|
|
Post by antoniofp45 on Jun 5, 2012 18:01:15 GMT -8
8-)Hi guys, Have been pondering this for a while. As I've been metalizing passenger cars, I've been asked more than once for suggestions on how to realistically create the black rubber window on the classic Budd cars that seals the window glass in place and is typically visible as on the Budd unit on this photo: www.newenglandrailfans.com/apps/photos/photo?photoid=82542129I give complements to Rapido for capturing this feature on the Canadian. BLI did as well on their Cal-Zephyr. Quite noticeable and adds another nice element of realism. A friend of mine suggested painting the edges of the Walthers window glazing strips on the raised "glass" pieces that go in to the window openings with a black Sharpie marker. I've done this but I just don't see much of a difference. I started wondering if, perhaps, decals could be the answer? They would have to be quite narrow in width and be available in a small variety of sizes. This is one of the Walthers units that I metalized back in 2010. I will be adding details to this and the other cars and if possible would like to add the "window gaskets".  Would appreciate thoughts/ideas/comments. Thanks guys  |
|
|
|
Post by railthunder on Jun 5, 2012 20:19:35 GMT -8
You'll need PolyScale Engine Black. The Engine Black is important as when it dries it will look like rubber. I use a micro brush - the small sponge on the end of the plastic stick. Then carefully dipped it in PolyScale Engine Black. I gently brush it around the edges of the insert "glass" of each of the windows. Keep a damp paper towel handy as if you get some on the window you can easily wipe it clean. This will take a while but the results are stunning. I typically do one side then set it aside to dry. I've also had good luck with two coats by putting on a thin coat then going back and doing it again. As you can see by my SCL Tavern Lounge Observation the windows when done right from tinting, shades, and gaskets can take the average Walthers passenger car and make it a great looking car. Some additional thoughts. Do the windows last after you finished decaling and sealing the sides. Since you'll be doing the windows painting the interior really brings out the car as well. Happy Railroading! Attachments:
|
|
|
|
Post by antoniofp45 on Jun 6, 2012 13:12:04 GMT -8
RailThunder, Thank you! I'll give it a go and let you know how it turns out. I have a Walthers SCL Tav-Ob unit like yours and am looking forward to metalizing it. I'll paint the interiors and add the blinds. Interesting that on the prototype, there were vertical curtains on the rear section Something interesting. Look at the vertical curtains in this photo. Even through the tinted glass, they appear white. www.hebners.net/amtrak/amtOBS/amt3342a.jpgYet on this photo, the curtains are green! No mistaking as the window shades are nearby, which are obviously white! www.railpictures.net/photo/350117/Like our friend, Carl, has often stated. Modeling the SCL can be a challenge. |
|
|
|
Post by onequiknova on Jun 6, 2012 14:20:11 GMT -8
I realize your talking about plastic cars with the gasket molded into the glass, but I thought I'd share what I did on my brass Twin Cities Zephyr. I cut a small "shelf" into the tip of a Sharpie with an Xacto blade, making the shelf as wide as the gasket I want. You insert the tip of the Sharpie into the window opening and run the "shelf" along the edge. Then, after decaling, I seal everything with acrylic clear. 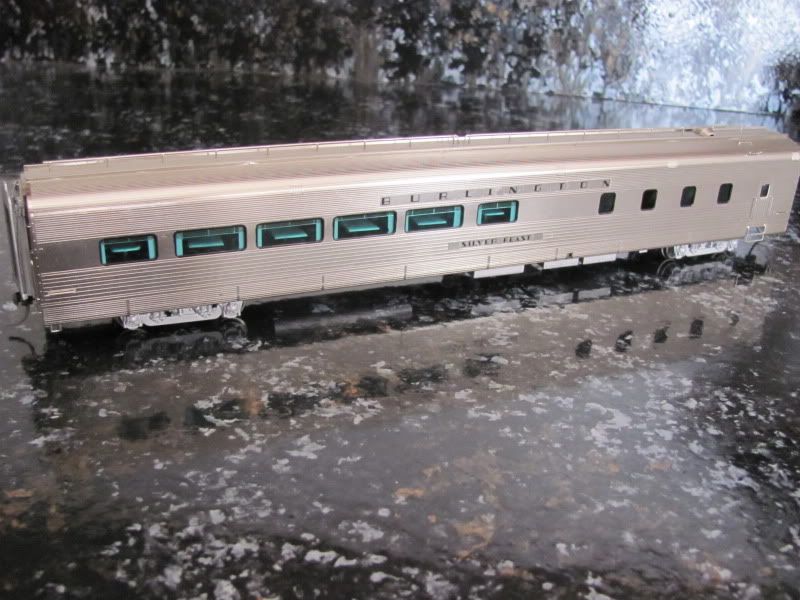  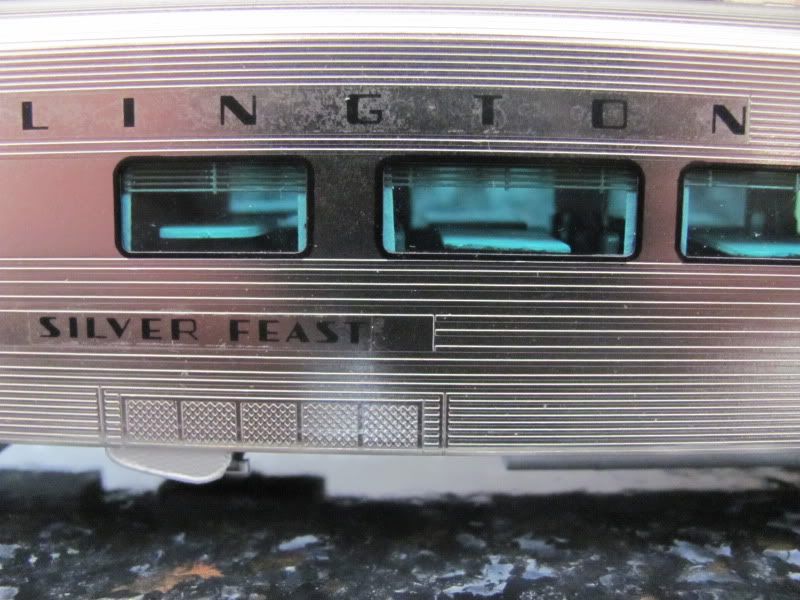 On a related topic. I also replicated the pre war Budd car's aluminum window frames with careful masking and an air brush. The effect is more noticeable in person. See here for a prototype picture. www.railwayclassics.com/images/CBQ12/CBQB04.jpg 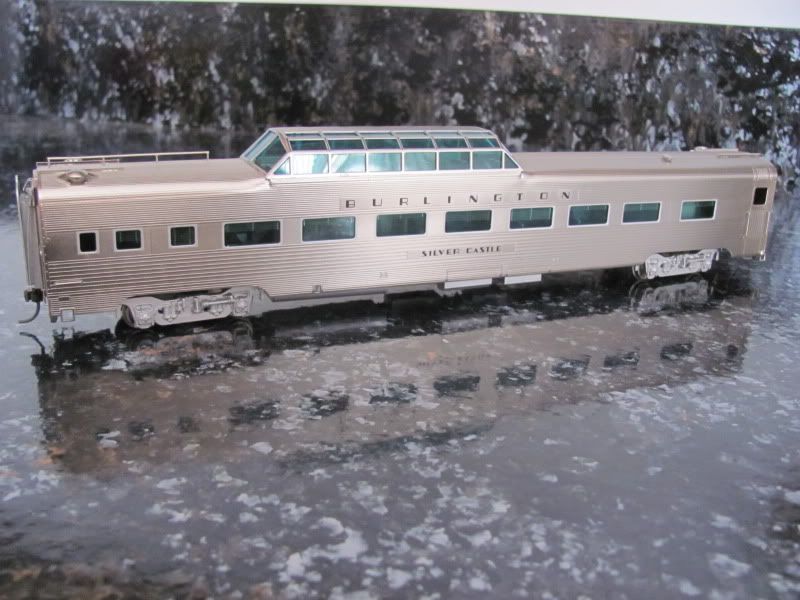 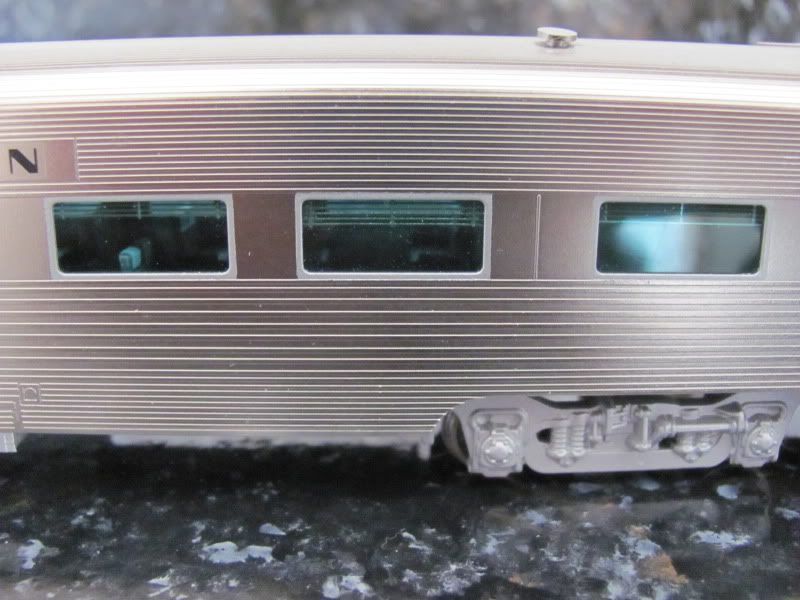 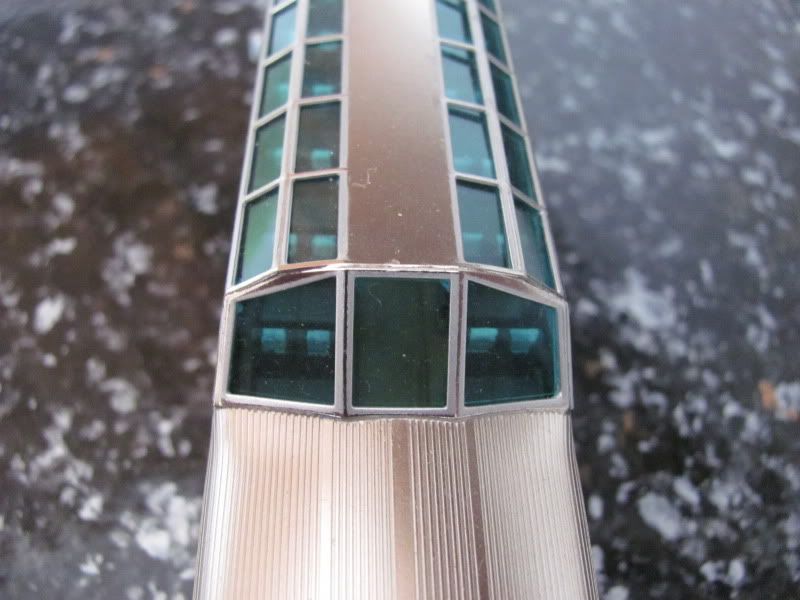 |
|
|
|
Post by railthunder on Jun 6, 2012 15:00:36 GMT -8
RailThunder, Thank you! I'll give it a go and let you know how it turns out. I have a Walthers SCL Tav-Ob unit like yours and am looking forward to metalizing it. I'll paint the interiors and add the blinds. Interesting that on the prototype, there were vertical curtains on the rear section Something interesting. Look at the vertical curtains in this photo. Even through the tinted glass, they appear white. www.hebners.net/amtrak/amtOBS/amt3342a.jpgYet on this photo, the curtains are green! No mistaking as the window shades are nearby, which are obviously white! www.railpictures.net/photo/350117/Like our friend, Carl, has often stated. Modeling the SCL can be a challenge. I left out the rear end curtains description. I used blue painters masking tape at the edge of the windows. Since I did this car a couple years ago I've came across the picture you provided and will likely redo the rear window curtains to a closer green color. I think the Sharpie Zephyr cars look great Onequiknova! My only concern with doing my ACL/SAL/SCL passenger cars with a Sharpie was if you goof up it's hard to take off. How did you correct errors with the Sharpie? The airbrushed aluminum frames also look great. |
|
|
|
Post by onequiknova on Jun 6, 2012 15:20:25 GMT -8
Thanks.
Mistakes were rare with this method, since the tip of the marker rides along the inside edge of the window, but if a mistake was made, an alcohol soaked paper towel takes it right off. Since I was working with nickle plating the alcohol isn't a problem, but it may not be a good idea on a painted surface.
Once you have a car done, seal it with acrylic so the ink stays.
|
|
|
|
Post by edwardsutorik on Jun 6, 2012 17:19:34 GMT -8
|
|
|
|
Post by antoniofp45 on Jun 7, 2012 2:35:37 GMT -8
Wow! I'm glad I joined this forum. Railthunder, Onequinova..............thanks!
How about if I try both of your methods? I've got Engine Black paint and Microbrushes on hand as well as several Sharpies. I'll give them a go.
Edward,
Thanks regarding Jerry Glow. I had checked his website 2 months back and he had posted a message that he was not producing decals at that time. But it appears now that he's back up and running. I'll definitely keep him in mind as an option. He might be able to help me as I need Penn Central "worm" decals for the Bachmann Metroliners I'm upgrading and metalizing.
|
|
|
|
Post by antoniofp45 on Jun 8, 2012 2:56:37 GMT -8
Hmmmmm..... While I normally fabricate window shades from white Plastruct styrene, I've never made vertical curtains before. I would like to make curtains that have visible pleats. I vaguely remember seeing curtain "decals" in the Walthers catalog a few years ago and wonder if those would look believable? I'd rather have something that's 3-D. www.railpictures.net/photo/350117/ |
|
|
|
Post by railthunder on Jun 9, 2012 8:12:11 GMT -8
Hmmmmm..... I just realized that, while I normally fabricate window shades from white Plastruct styrene, I've never made vertical curtains before. I would like to make curtains that have visible pleats. I vaguely remember seeing curtain "decals" in the Walthers catalog a few years ago and wonder if those would look believable? I'd rather have something that's 3-D. www.railpictures.net/photo/350117/Somewhere I remember seeing some dark green tape - maybe electical tape? Another thought is use Scotch Tape and paint non sticky side the green color and trim, fit, stick it in. Anyhow I might be inclinded to try using pencils to get the curtain crease and shadowing on the curtains on the sticky side of tape and stick it in the window area. I'm sold on using tape though as the green tinting makes the shade and curtain hues darker. |
|
|
|
Post by calzephyr on Jun 9, 2012 8:30:05 GMT -8
I realize your talking about plastic cars with the gasket molded into the glass, but I thought I'd share what I did on my brass Twin Cities Zephyr. I cut a small "shelf" into the tip of a Sharpie with an Xacto blade, making the shelf as wide as the gasket I want. You insert the tip of the Sharpie into the window opening and run the "shelf" along the edge. Then, after decaling, I seal everything with acrylic clear. On a related topic. I also replicated the pre war Budd car's aluminum window frames with careful masking and an air brush. The effect is more noticeable in person. See here for a prototype picture. www.railwayclassics.com/images/CBQ12/CBQB04.jpg Thanks for the pictures and procedure. It really does look good and shows the older cars can be upgraded and look very nice. Other methods were mentioned such as tape. Draftman type tape is available in several fine widths and comes in many colors but is very hard to apply in this type of situation and might come off if it is not sealed properly. Larry |
|
|
|
Post by antoniofp45 on Jun 10, 2012 7:12:12 GMT -8
Regarding the curtains, I'm considering purchasing this item from Walthers next time I place an order www.walthers.com/exec/productinfo/195-707I realize now that in the links I posted on the above posts, the white curtains were in the observation car during the early Amtrak era while the green curtains were in place during the SCL time period. If I go with the City Classics decal sheet, I may have to settle for the white curtains since it doesn't appear that green is available. I particularly like the ones that are drawn back as this would allow my interior greater exposure. |
|
|
|
Post by onequiknova on Jun 10, 2012 11:32:37 GMT -8
Antonio, your question on curtains made me remember something I tried a while back. I was never happy with the etched venetain blinds, like the ones I used on my zephyr cars in this thread. When the blinds are pulled up, they shouldn't be see through. With that in mind I used Microsoft paint to make blinds by alternating horizontal lines of light tan, dark tan, light tan, dark tan, etc etc. I even included vertical lines to represent the strings that hold the blinds together. They were pretty convincing, but unfortunately, I did them for my Dad, and don't have anything here to take pictures of. Anyway, to my point. I whipped up some curtains in MS paint and applied them to a scrap shell.  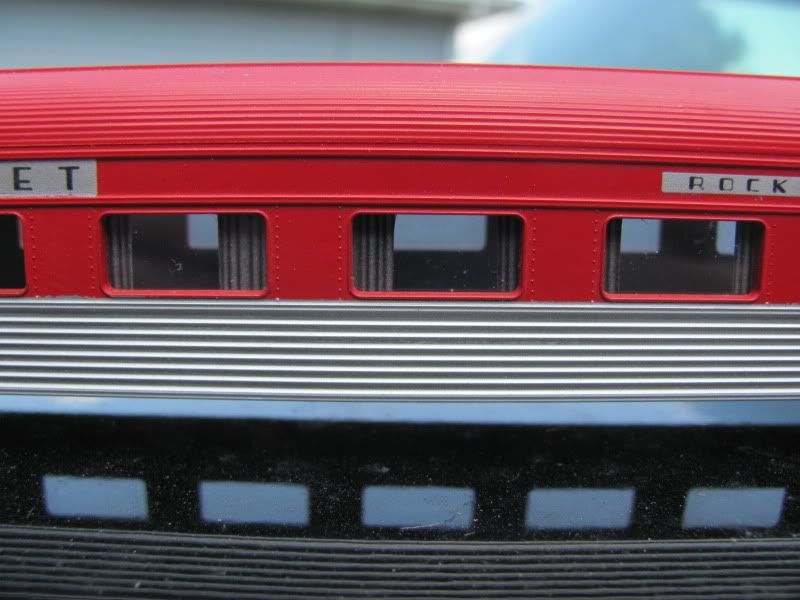 This was just a quicky. Now that they're applied to the model, I think it would look better with the vertical lines lightened up some and maybe spaced closer together. The good thing about making them yourself is you can make them any color you want. If you want the 3D effect, perhaps get some N scale Budd and or Pullman fluting from Union station products and paint it the appropriate colors. |
|
|
|
Post by onequiknova on Jun 10, 2012 12:25:31 GMT -8
Playing around with different colors. This is just printed on regular paper, if I were to do this for an actual model, I'd print it on matte photo paper. Due to the limitations of MS paint and my printer, this is about as tight of a pleat as I can make. With a little time, a pulled back curtain could probably be made. 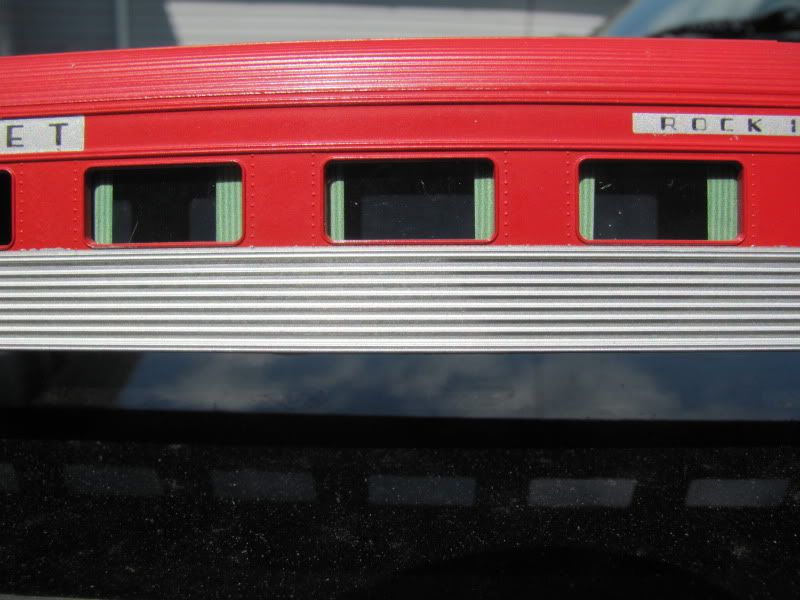 |
|
|
|
Post by edwardsutorik on Jun 10, 2012 13:34:35 GMT -8
WOW! Some absolutely great ideas here. Thanks, all.
Ed
|
|
|
|
Post by onequiknova on Jun 10, 2012 14:41:53 GMT -8
This is the basic jist of my venetain blind idea. This took me all of 5 minutes to make in MS Paint and print. At one time I had a whole page of blinds drawn out, but have lost it. 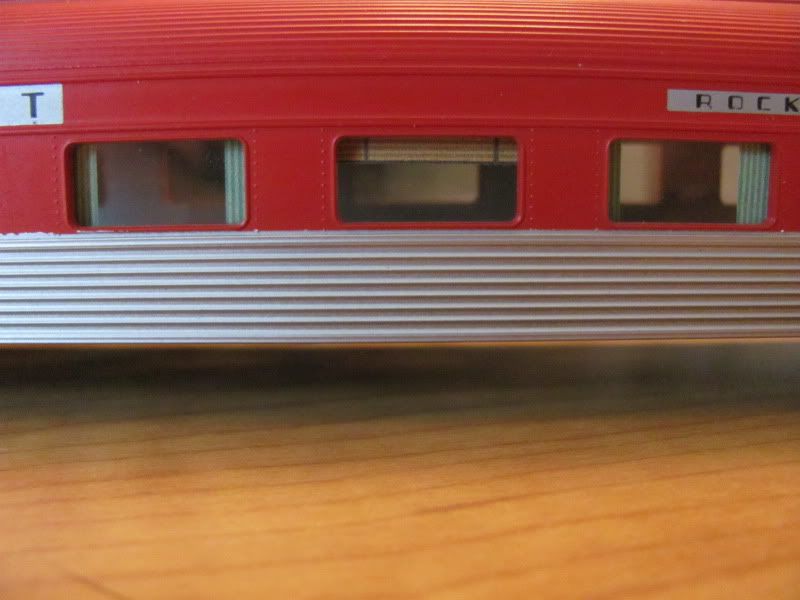 |
|
|
|
Post by rhpd42002 on Jun 10, 2012 14:43:38 GMT -8
Not only some great ideas, but some excellent passenger car modeling going on, too!!  Very, very nice.  |
|
|
|
Post by antoniofp45 on Jun 11, 2012 15:36:39 GMT -8
Once again........ "WOW!" There is a lot of talent here! Those curtains look great and the cool factor being that it could be done at home with an inkjet printer. I have the "GIMP" program which has some of the same features as the "PAINT" program. I've already picked a shade of green and trying out different widths of lines to see which looks the best. Thanks guys for your very helpful replies. Some of these tips, along with photos, should be sent to Model Railroader Magazine. Excellent examples of creativity.   |
|
|
|
Post by calzephyr on Jun 11, 2012 15:53:28 GMT -8
Once again........ "WOW!" There is a lot of talent here! Those curtains look great and the cool factor being that it could be done at home with an inkjet printer. I have the "GIMP" program which has some of the same features as the "PAINT" program. I've already picked a shade of green and trying out different widths of lines to see which looks the best. Thanks guys for your very helpful replies. Some of these tips, along with photos, should be sent to Model Railroader Magazine. Excellent examples of creativity. Antonio It is time some of these ideas and tips be sent to the magazines as articles to allow others the use these ideas. Larry |
|
|
|
Post by onequiknova on Nov 13, 2012 14:30:35 GMT -8
Funny this thread popped up again. I was brain storming last night as I was trying to fall asleep, thinking of a way to make the window gaskets for my Budd Bilevel project. I was originally thinking of using decals, but I wanted some kind of relief like the real gaskets have. That's when I remembered that metal etching kit I bought from MicroMark a while back.
I figure it would be pretty basic artwork for a first time etcher. Especially since I need 48 of the same sized gasket.
|
|
|
|
Post by liengineerbob on Nov 13, 2012 17:03:54 GMT -8
I was going to try and do the same thing. I even went as far as drawing up the "artwork" for it. I just couldn't get everything to line up perfectly since every print you make from your printer is not 100% the same. It cause the etching to come out uneven and ragged around the edges. If you have better success, please let me know how you did it!!
|
|
|
|
Post by onequiknova on Nov 13, 2012 17:33:15 GMT -8
Were you trying to etch from both sides? I figure a simple etching like this could be done from only one side. Of coarse this is coming from someone who has only read about etching.
|
|
|
|
Post by antoniofp45 on Nov 14, 2012 2:45:51 GMT -8
John, Could you please give some details about the etching process? What's involved? Costs? Were you trying to etch from both sides? I figure a simple etching like this could be done from only one side. Of coarse this is coming from someone who has only read about etching. |
|
|
|
Post by dhs12001 on Nov 14, 2012 13:49:58 GMT -8
Going back a few posts suggesting painting and sharpies, sparked a memory of technical drafting pens. I have not done this but I think, using guides, the windows edge could be drawn with fine lines using a 2x0 or 3x0 pen tip. The drawbacks are ink/finish compatibility and gasket lines not being raised. Also if there were many varying window sizes on the particular car, too many guide templates would be required. Still….
Dave Street
|
|
|
|
Post by onequiknova on Nov 14, 2012 14:12:39 GMT -8
John, Could you please give some details about the etching process? What's involved? Costs? As soon as I figure it out, I'll let you know. |
|
|
|
Post by sd80macs on Nov 14, 2012 14:49:14 GMT -8
|
|
|
|
Post by liengineerbob on Nov 14, 2012 15:23:39 GMT -8
Were you trying to etch from both sides? I figure a simple etching like this could be done from only one side. Of coarse this is coming from someone who has only read about etching. I was etching from both sides. That may have been part of the problem too. I just gave up using the photo etching set after having several disappointing results. I still am not sure if it was my fault, the sets fault, or a combination of the two. I guess if I wanted, I could sit and fool with it some more, but some of the items that need to be replenished aren't that cheap. I often wonder what type of etching machine must be used to make some of the super fine parts we see out there on our models today. It sure isn't a simple $80 machine!! |
|
|
|
Post by sd80macs on Nov 14, 2012 15:59:50 GMT -8
Were you trying to etch from both sides? I figure a simple etching like this could be done from only one side. Of coarse this is coming from someone who has only read about etching. I was etching from both sides. That may have been part of the problem too. I just gave up using the photo etching set after having several disappointing results. I still am not sure if it was my fault, the sets fault, or a combination of the two. I guess if I wanted, I could sit and fool with it some more, but some of the items that need to be replenished aren't that cheap. I often wonder what type of etching machine must be used to make some of the super fine parts we see out there on our models today. It sure isn't a simple $80 machine!! Watch this video. It will show how production etchings are made. |
|
|
|
Post by onequiknova on Nov 14, 2012 16:07:02 GMT -8
Single sided etchings are possible if all you want is a one dimensional part like a window gasket. Just look at some of Detail Associates etchings for example. The ones stuck to a rubbery black material.
|
|
|
|
Post by sd80macs on Nov 15, 2012 7:26:28 GMT -8
Single sided etchings are possible if all you want is a one dimensional part like a window gasket. Just look at some of Detail Associates etchings for example. The ones stuck to a rubbery black material. That wont work if you want and detail on the gaskets. if its just a simple oval shaped etching then you can do that but if you want to make rivets or bolt heads in them then you have to etch from both sides. Does anyone have a picture of the window gasket and what it looks like in real life. |
|


