|
|
Post by onequiknova on Nov 15, 2012 14:35:13 GMT -8
Single sided etchings are possible if all you want is a one dimensional part like a window gasket. Just look at some of Detail Associates etchings for example. The ones stuck to a rubbery black material. That wont work if you want and detail on the gaskets. if its just a simple oval shaped etching then you can do that but if you want to make rivets or bolt heads in them then you have to etch from both sides. Does anyone have a picture of the window gasket and what it looks like in real life. I understand you need to etch from both sides if you want any kind of three dimensional etching, but the gaskets I want to produce are just your basic black rubber gasket, Like the ones in this link... www.flickr.com/photos/photos_by_laurence/3161626202/lightbox/ One thing I like about doing a single sided etch for this is I can eliminate the frets and just let the parts stick to the carrier sheet. A soaking in acetone and you have your part without having to cut the delicate gasket from the fret. Just like D/A's etched wind deflectors. Of coarse this is just speculating since I have yet to actually etch anything yet.  |
|
|
|
Post by sd80macs on Nov 15, 2012 15:45:43 GMT -8
That wont work if you want and detail on the gaskets. if its just a simple oval shaped etching then you can do that but if you want to make rivets or bolt heads in them then you have to etch from both sides. Does anyone have a picture of the window gasket and what it looks like in real life. I understand you need to etch from both sides if you want any kind of three dimensional etching, but the gaskets I want to produce are just your basic black rubber gasket, Like the ones in this link... www.flickr.com/photos/photos_by_laurence/3161626202/lightbox/ One thing I like about doing a single sided etch for this is I can eliminate the frets and just let the parts stick to the carrier sheet. A soaking in acetone and you have your part without having to cut the delicate gasket from the fret. Just like D/A's etched wind deflectors. Of coarse this is just speculating since I have yet to actually etch anything yet. that should work then, now you have to figure out the material and thickness for the project. sounds interesting either way and curious how the MM set will work out for this. |
|
|
|
Post by sd80macs on Nov 16, 2012 8:13:22 GMT -8
SD80macs..............
Wow! Very impressive!
I've got some vacation time coming up and am going to Google this process and read up on it. I do understand that for increasingly detailed parts more complex machines are required which, in turn, requires much more money.
I hope that you and some of the modelers here that perform photo etching would be willing to post a thread with photos of some samples (along with info on experiences and opinions on the pros and cons of this process.)
Several times over the past decade I emailed detailing manufacturers about the possibility of producing "See-Thru" radiator grills for the GE U-Boats ( particularly the U-18, U-33, U-36 series). I either received vague answers or no replies at all.
If you go to the links i posted above and go to Hollywood Foundry they have some nice PDF tutorial you can download that describes how you should do it. I have been thinking of doing sets for various GE diesels along with walkway tread but finding info and correct dimensions is hard. I don't have many models so cant measure them and you cant really make parts exactly like the prototype as you will find out that the parts don't fit the model to to some vague tolerances. Right now I am making a set of etchings to detail the Atlas AEM-7 and have sets for AC and DC versions of the loco as I have several I would like to do but finding good drawings or blueprints of the dynamic brake resister clusters on the roof is hard, so I am stuck at this point. Also trying to find a contact at Amtrak that can help me out but not much luck there either. |
|
|
|
Post by antoniofp45 on Mar 5, 2013 3:58:01 GMT -8
Hi guy,
I had a thought and am wondering: To make your curtains look like they're tied or pulled back; would cutting one side of the curtain to an "hour glass shape" work? I'm at the point now where I'm ready for curtains and am exploring these ideas again.

Playing around with different colors. This is just printed on regular paper, if I were to do this for an actual model, I'd print it on matte photo paper. Due to the limitations of MS paint and my printer, this is about as tight of a pleat as I can make. With a little time, a pulled back curtain could probably be made. 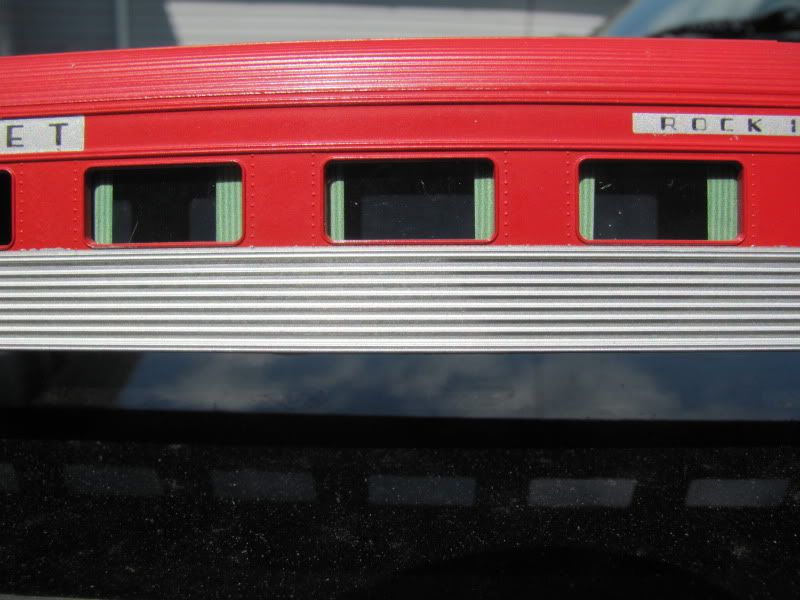
|
|
|
|
Post by kentuckysouthernrwy on Mar 5, 2013 10:20:49 GMT -8
I've used black and silver sharpies, as well as hand painted as on my obs car:  Silver sharpie on the window frames in the RSD-15 I posted a few days ago. It would be time consuming but you could also use Bare Metal Foil in chrome, stainless or black. The large stainless bar across the back of my obs is Bare Metal Foil. You need a VERY sharpe #11 blade. I've used it on thin trim on 1:24 model cars with great results. |
|
|
|
Post by antoniofp45 on Mar 8, 2013 3:02:50 GMT -8
Kentucky,
Thanks for the tips on the window trim. Yes, it does look like a lot of work but that's part of the fun isn't it?
|
|
|
|
Post by calzephyr on Mar 13, 2013 16:50:23 GMT -8
John
Nice job on the Zephyr cars! Thanks for sharing.
Larry
|
|
|
|
Post by calzephyr on Mar 13, 2013 16:52:48 GMT -8
I've used black and silver sharpies, as well as hand painted as on my obs car: Silver sharpie on the window frames in the RSD-15 I posted a few days ago. It would be time consuming but you could also use Bare Metal Foil in chrome, stainless or black. The large stainless bar across the back of my obs is Bare Metal Foil. You need a VERY sharpe #11 blade. I've used it on thin trim on 1:24 model cars with great results. Great look,. I use the bare metal for several applications but it is hard to use in small areas. Larry |
|


