|
|
Post by stevef45 on Jun 1, 2015 22:55:58 GMT -8
While working on my 2 Genesse and Wyoming units I stumbled across a few pics of the FWWR on railpictures. They immediately got my mind going and wanting to do them. I had a Athearn SD45 drivetrain and needed just a shell to do the SD40M unit. A member on here was able to help me with that. I then said F it and bought a RTR SD40-2 for the other unit. So here are 2 dash 2/3 builds im currently working on. FWWR 2018 (My personal favorite cuz of the snoot nose) 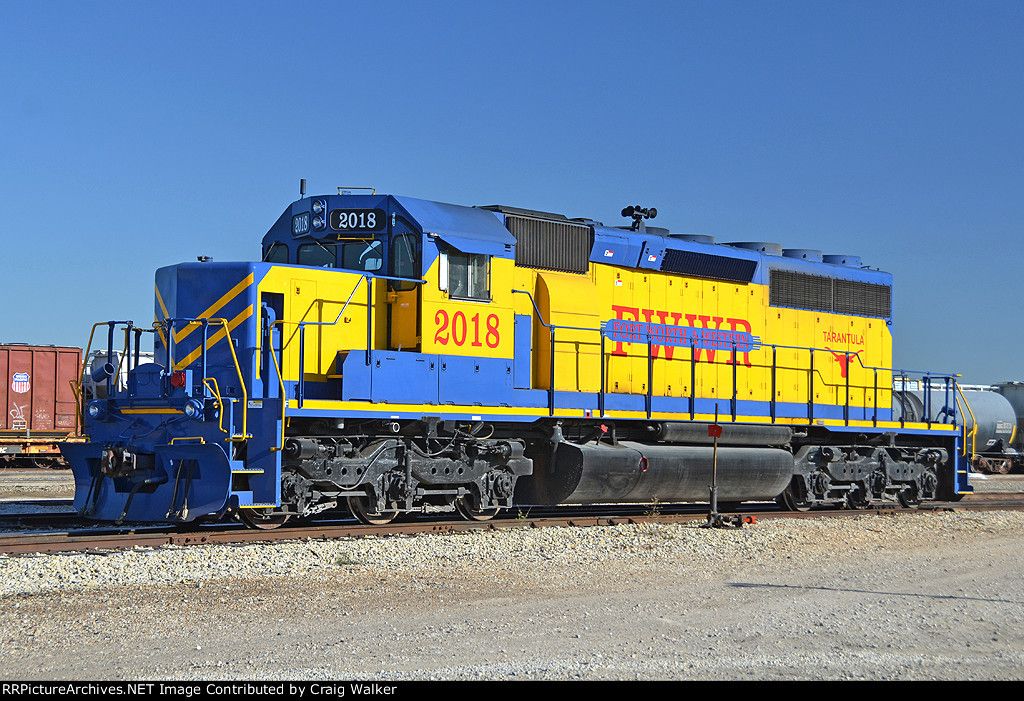 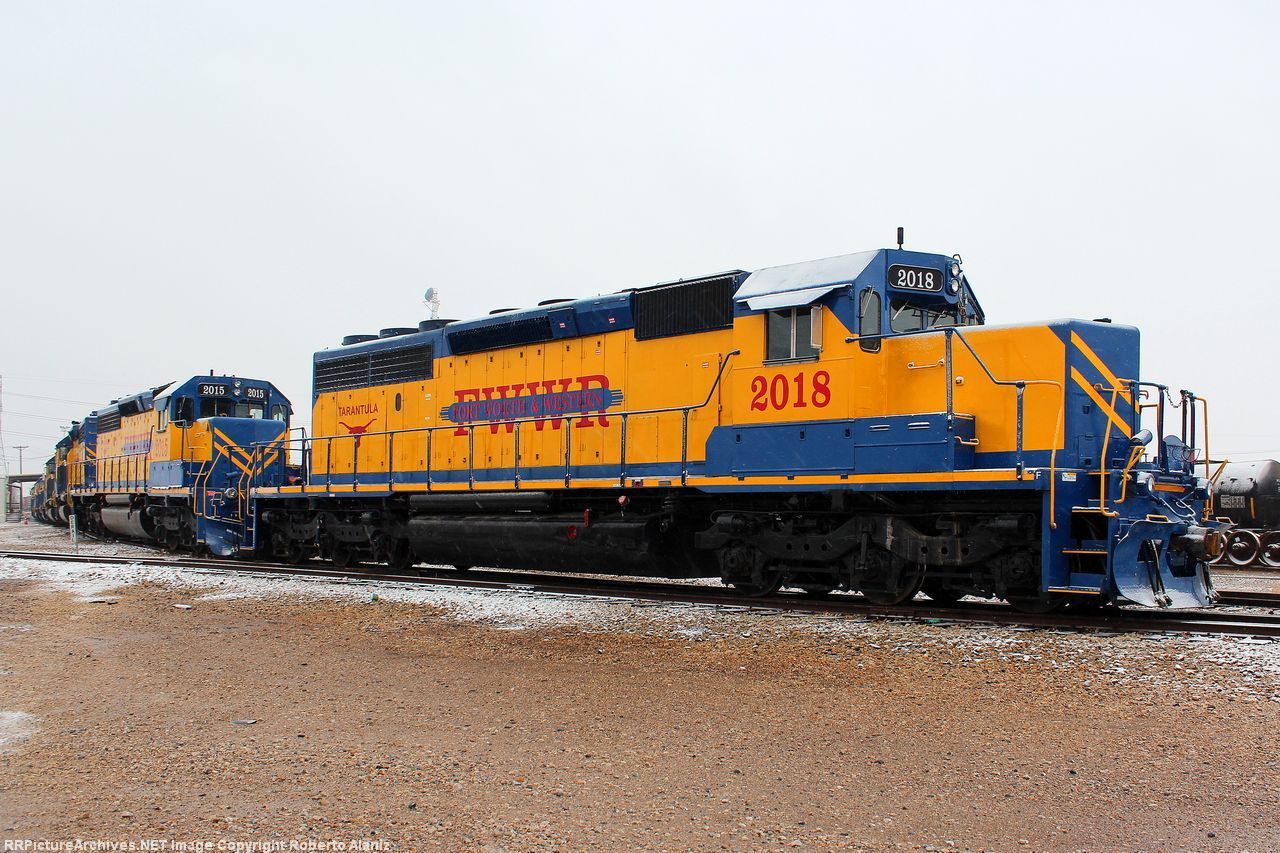 The model prior to being stripped of factory athearn paint 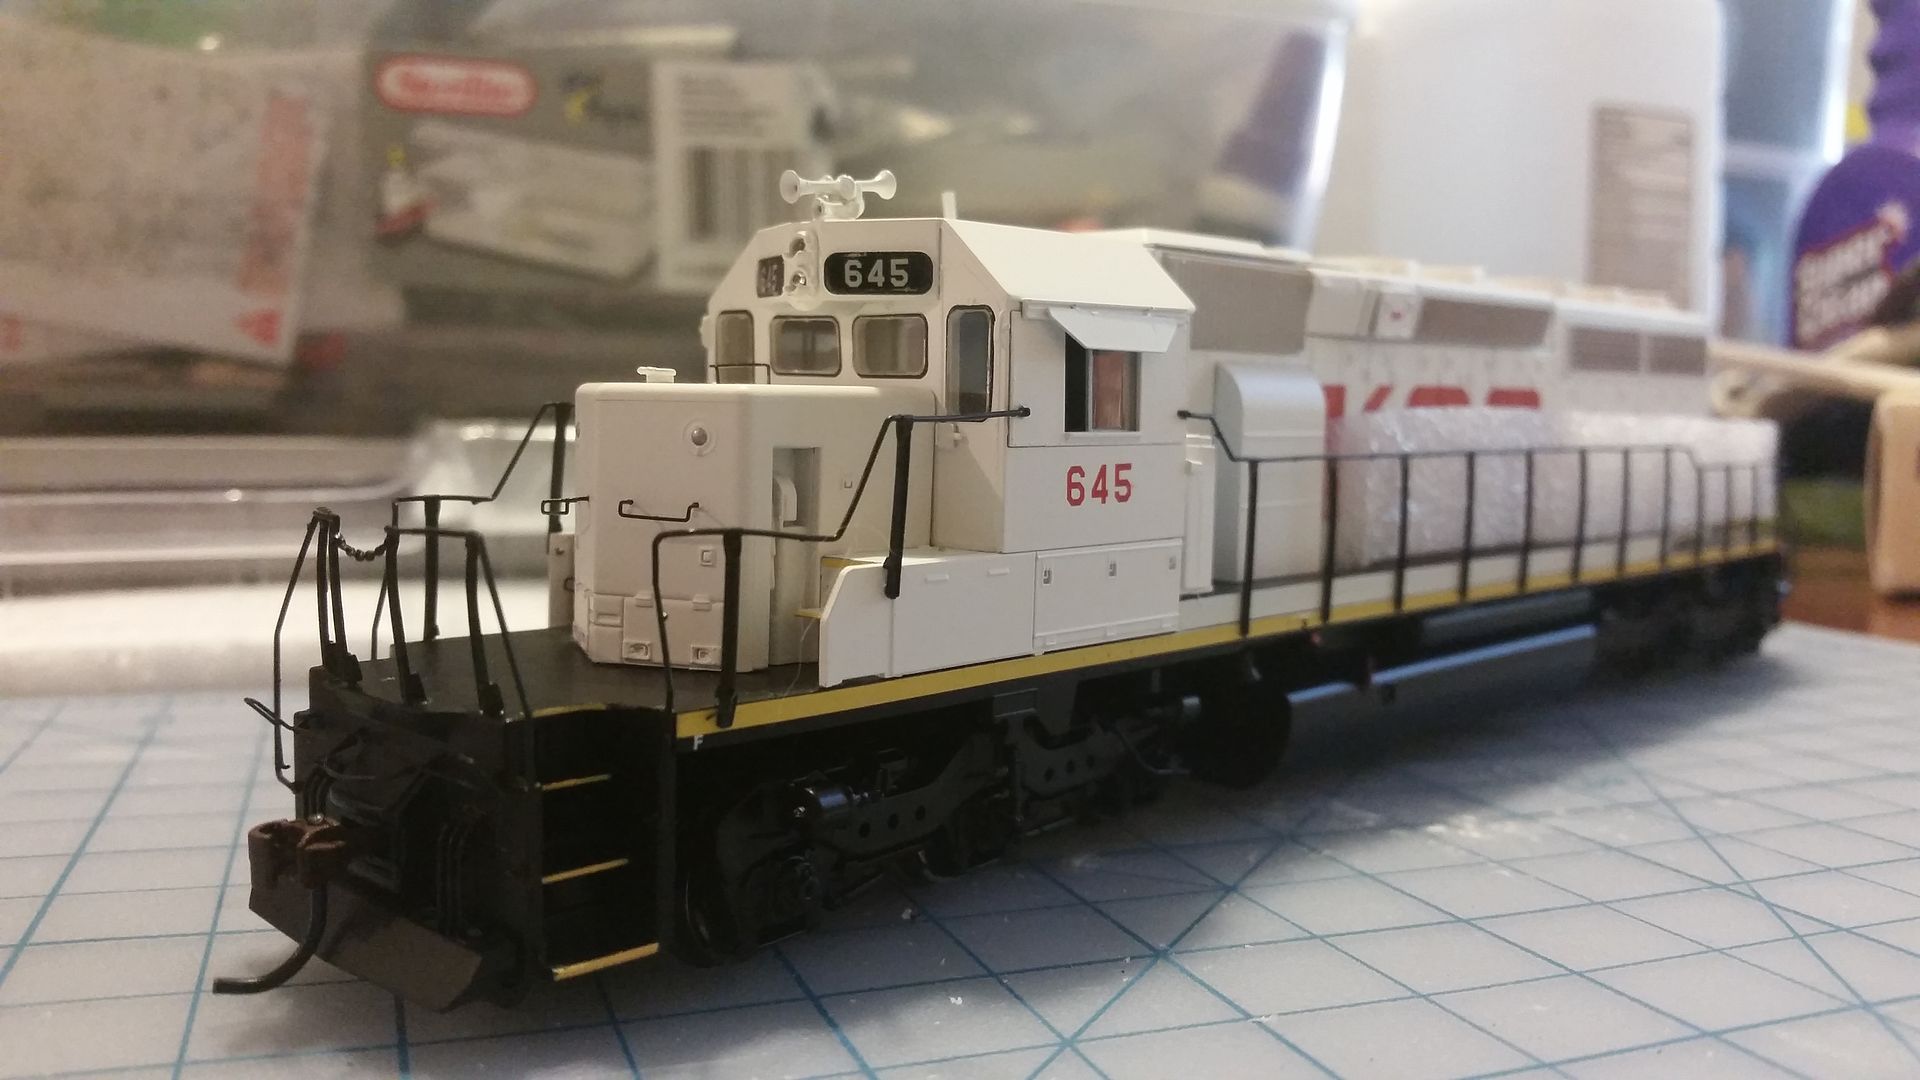 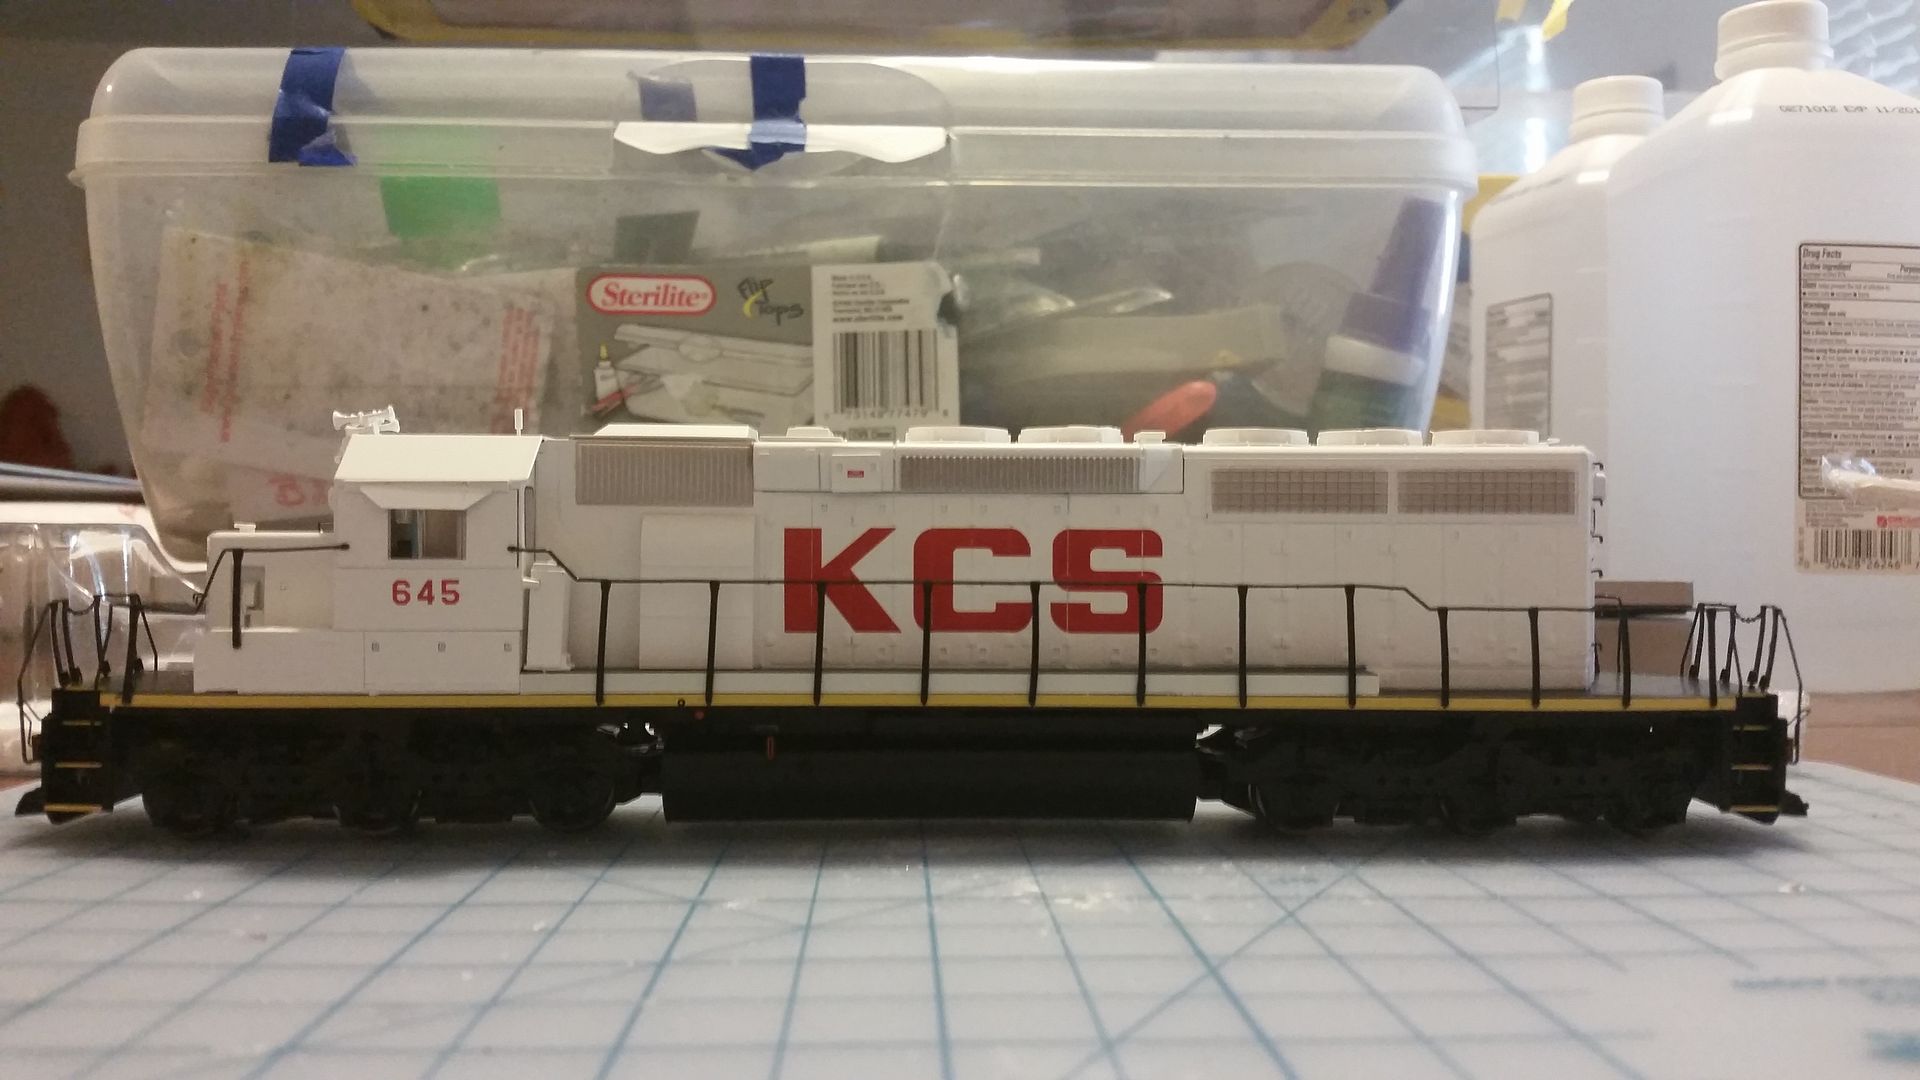 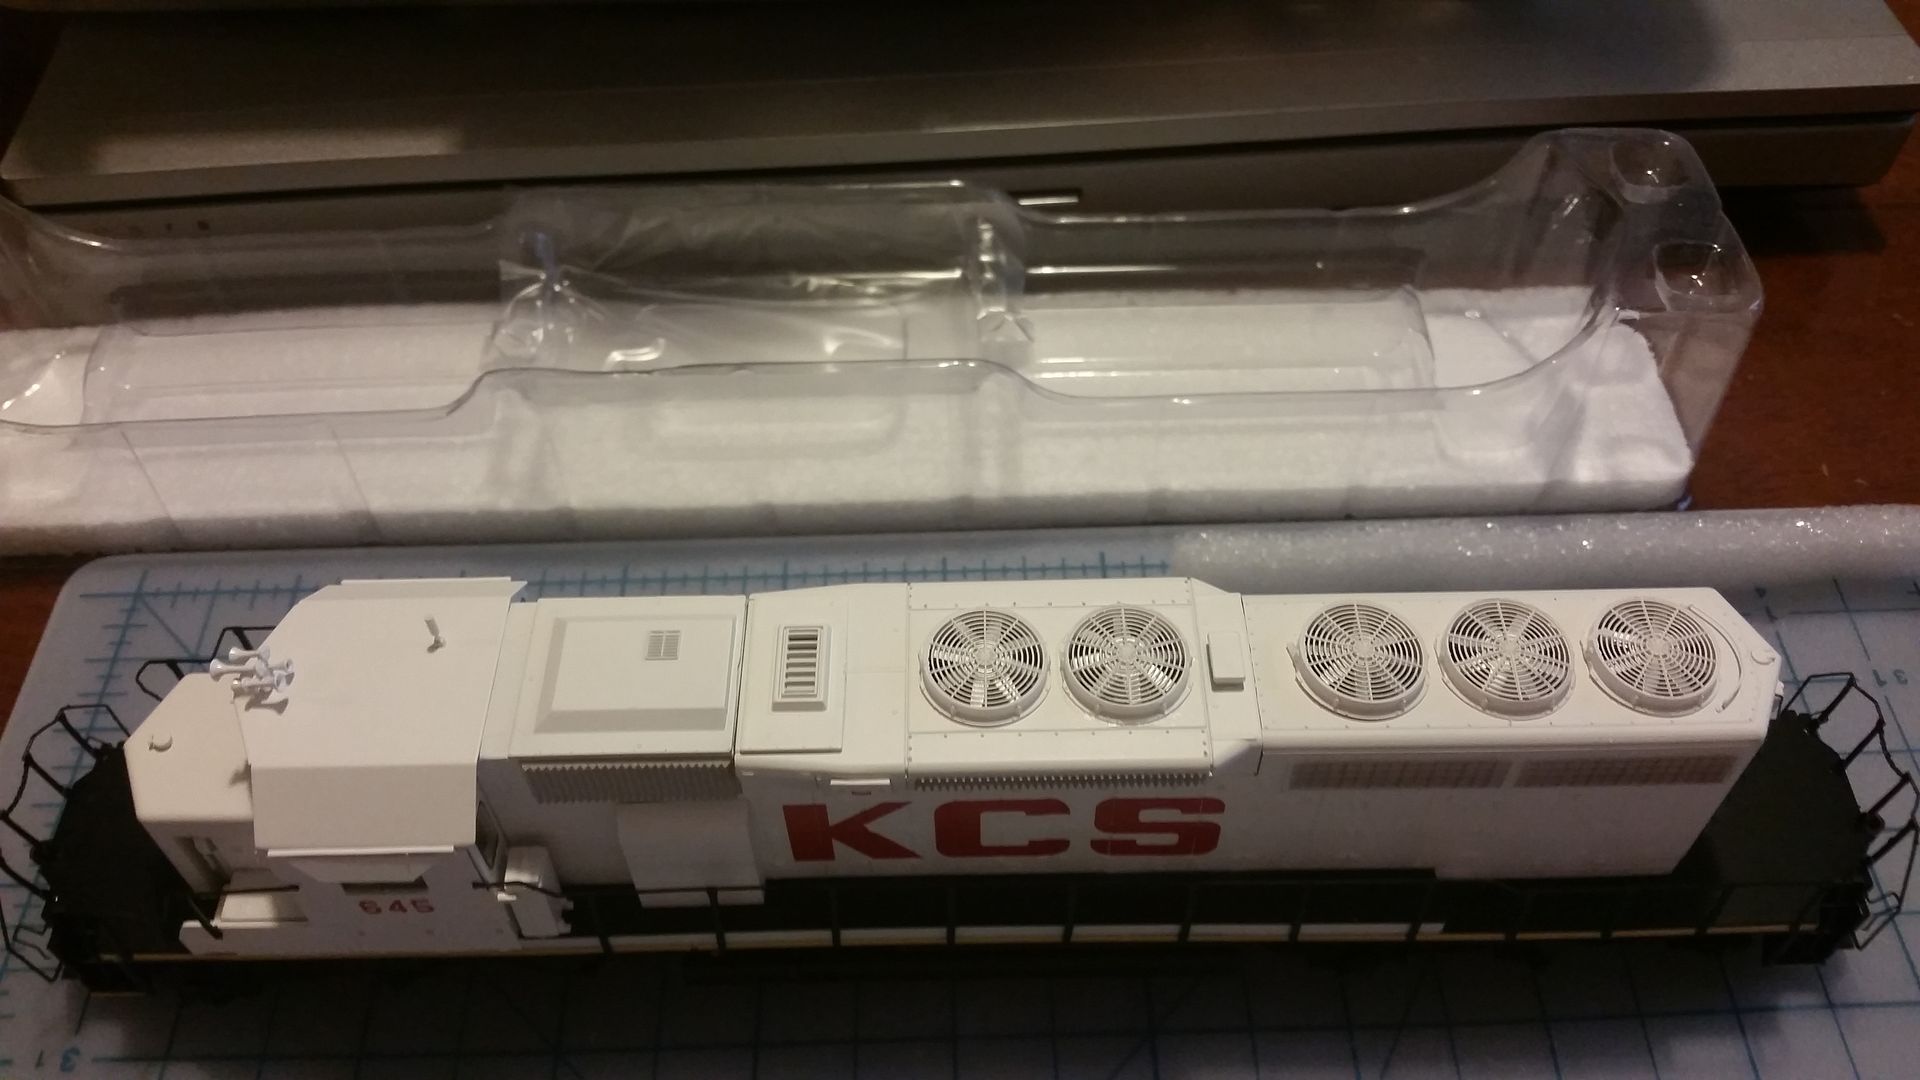 Into the dip with sister unit 2024 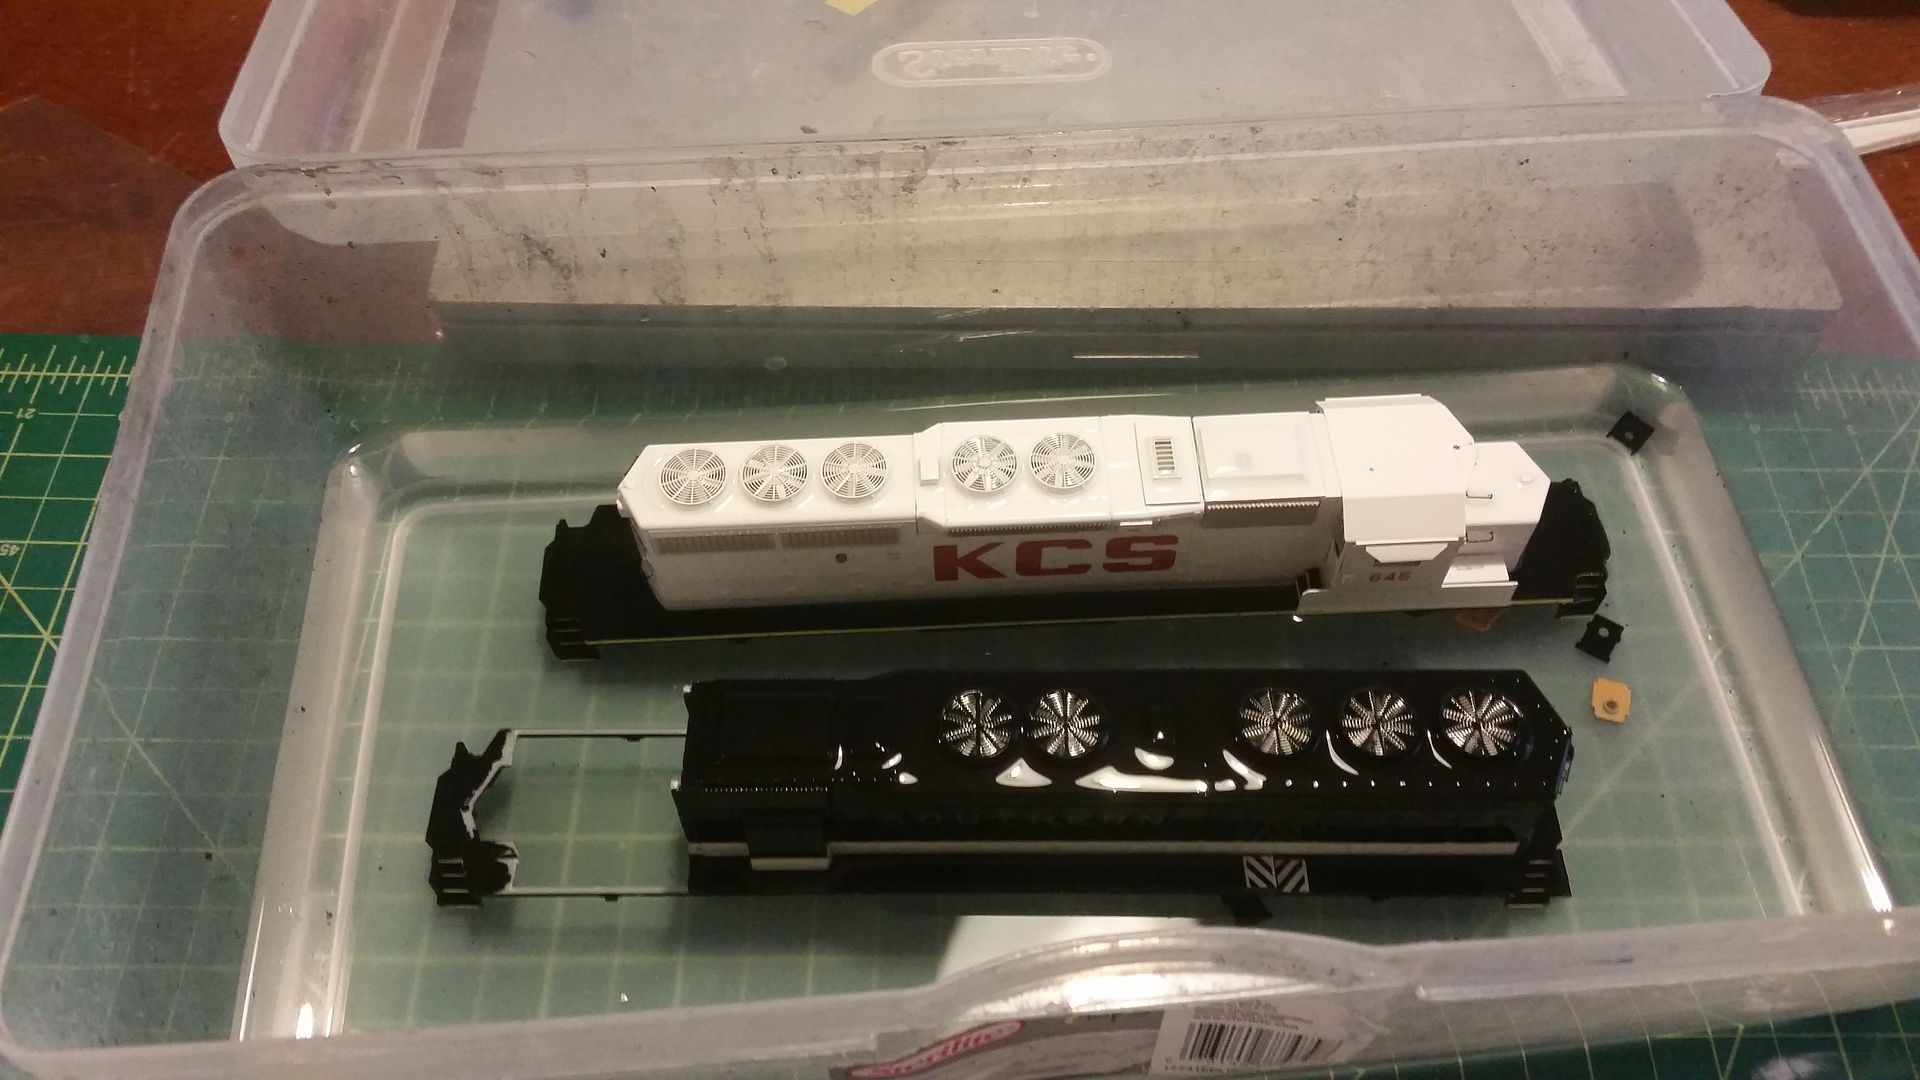 Cannon 116" nose assembled and being test fit. 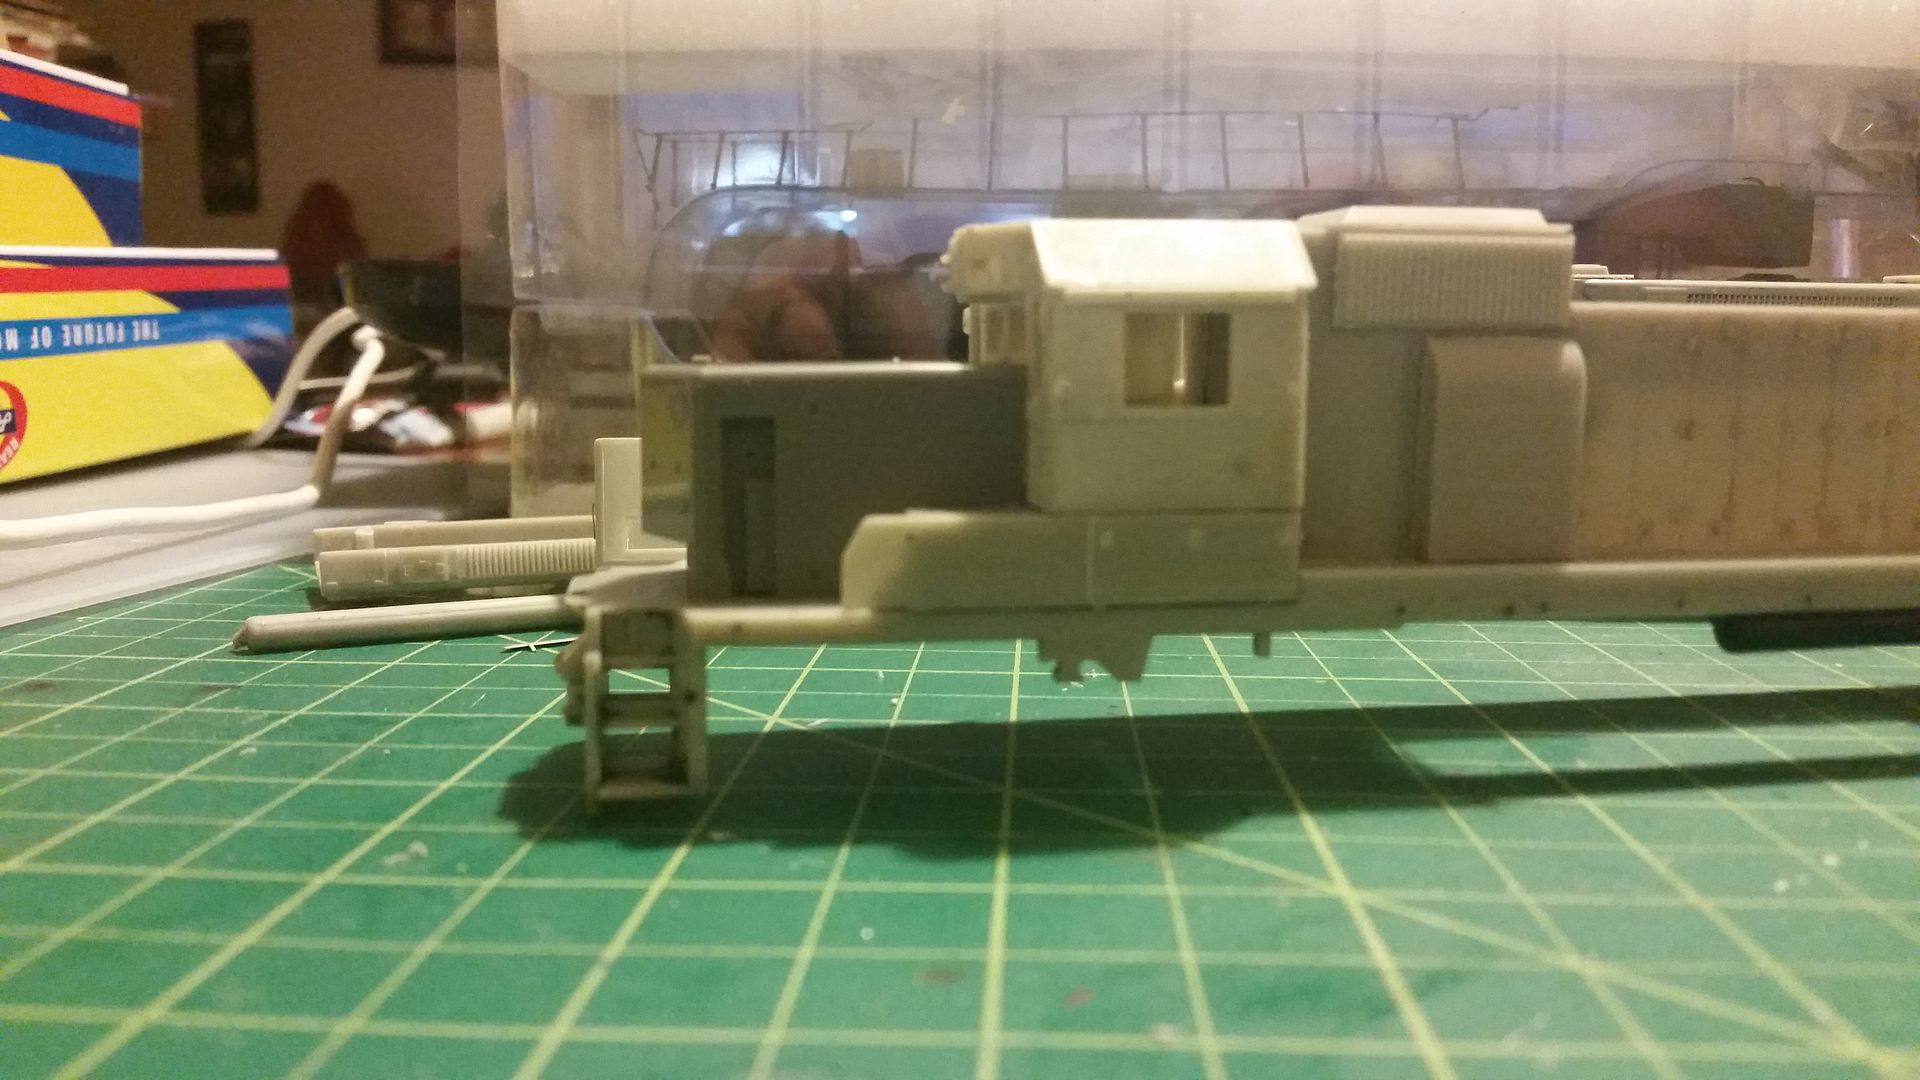 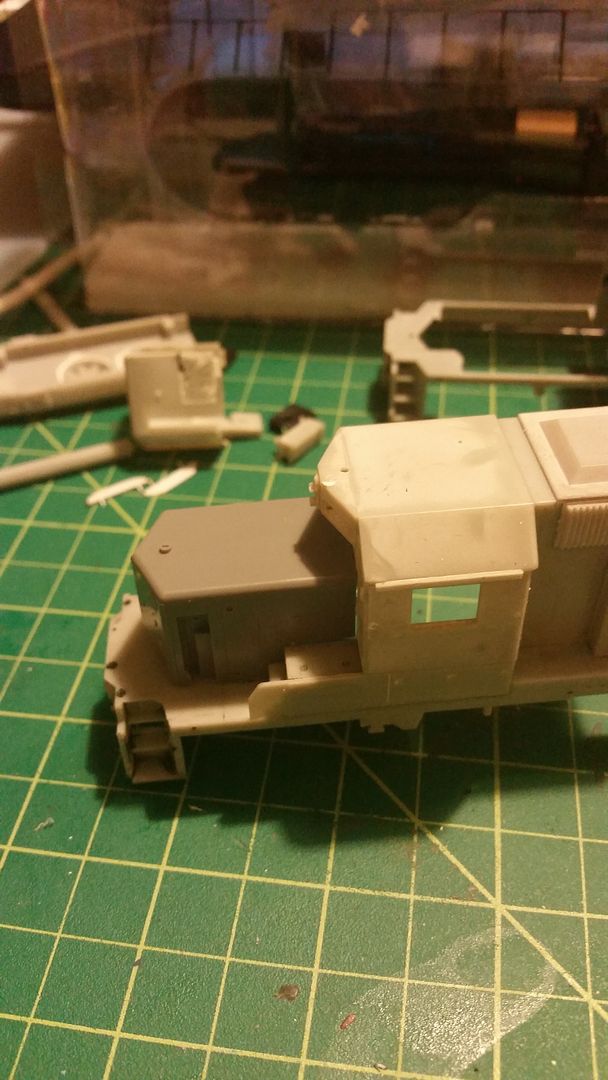 With the new nose, it just didn't look right mating up to the Athearn sub base and cab. So thankfully i had a sub base and cab kit. Out with the old sub base. 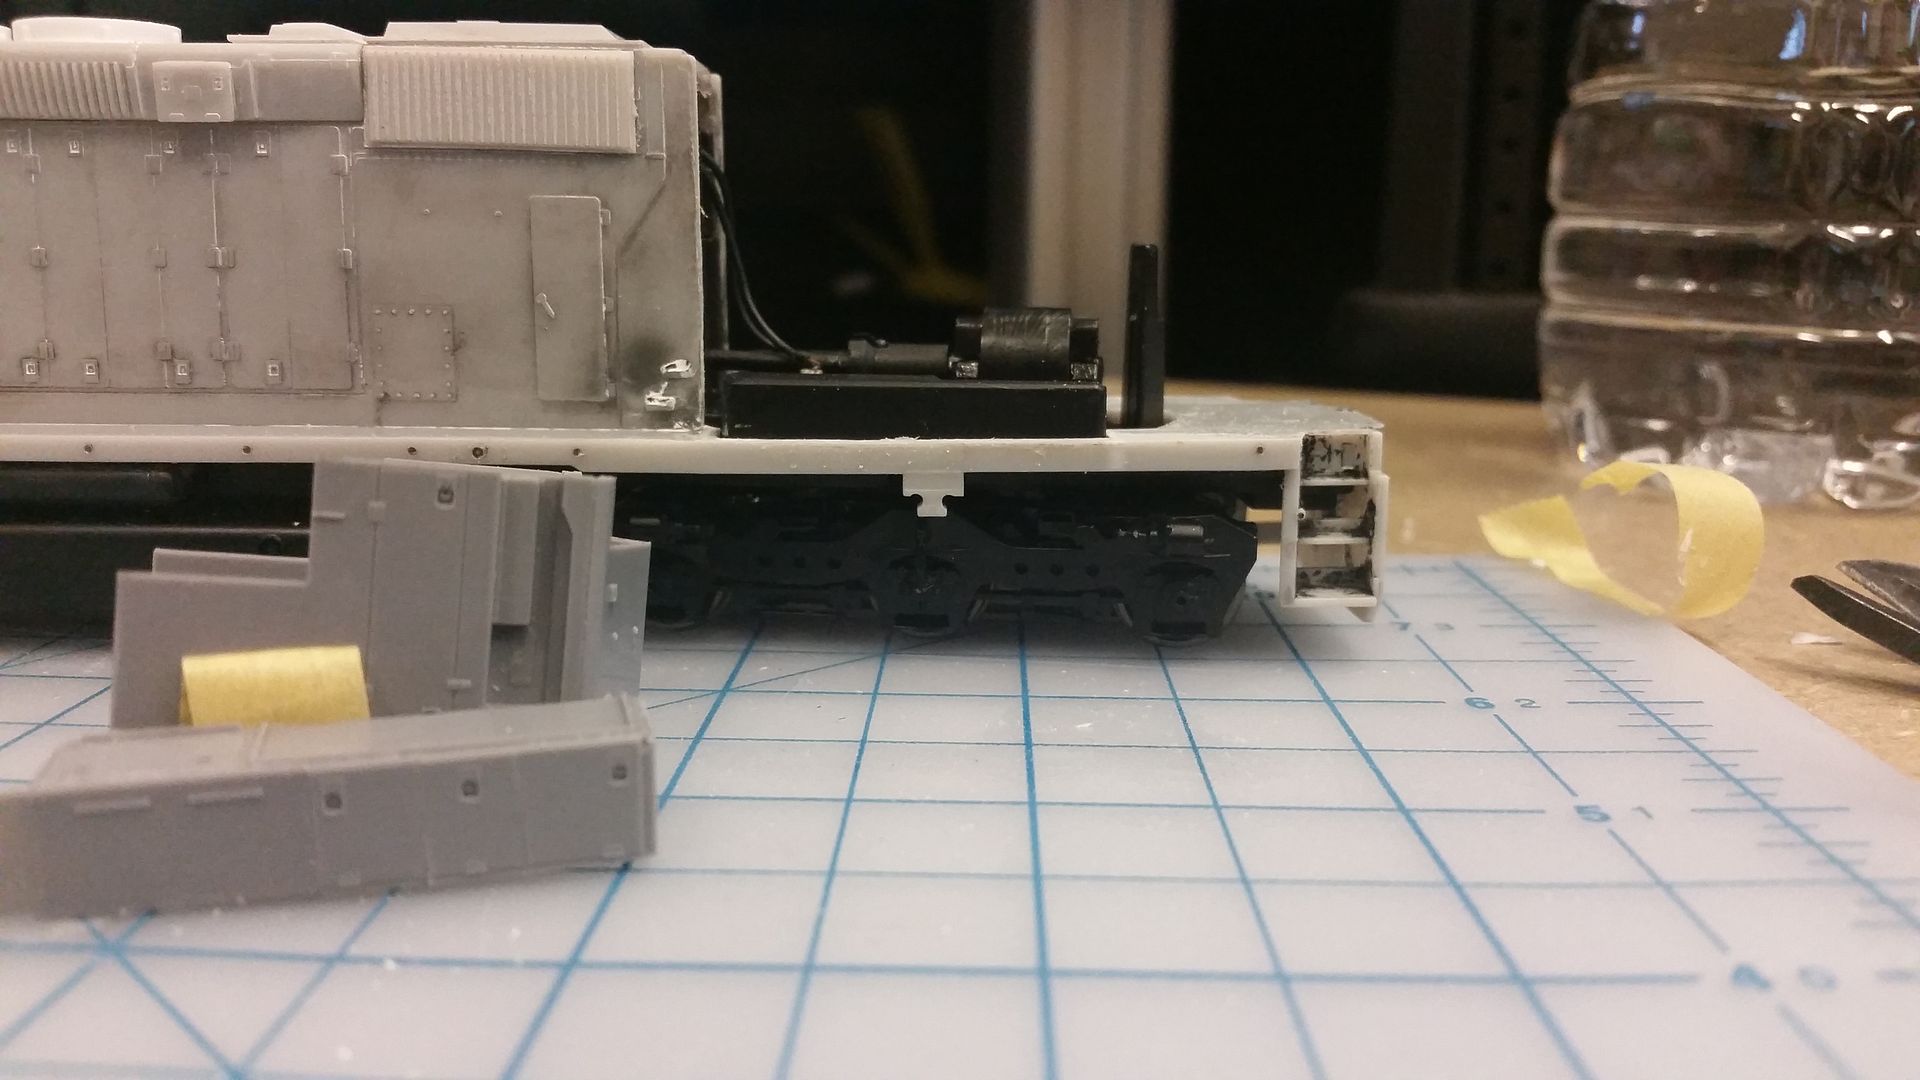 New one assembled 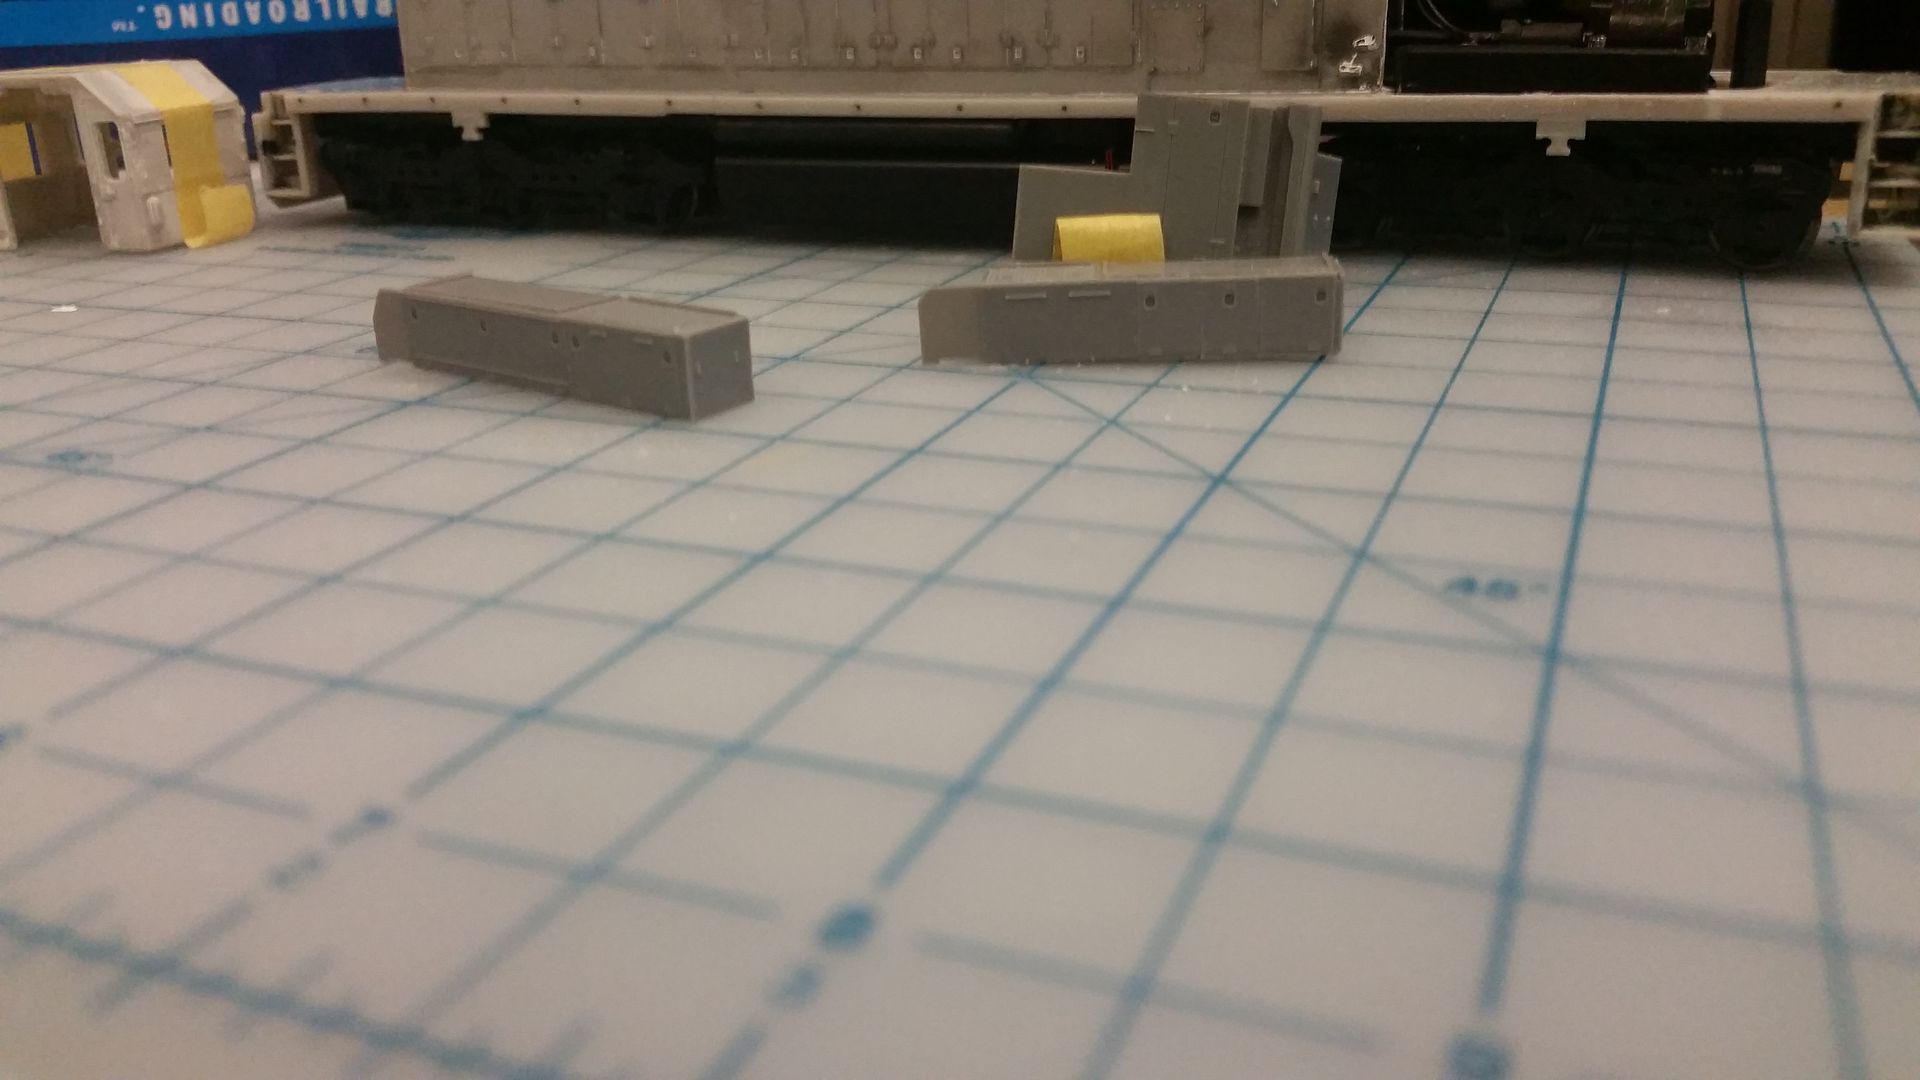 New one test fit with nose and Athearn cab 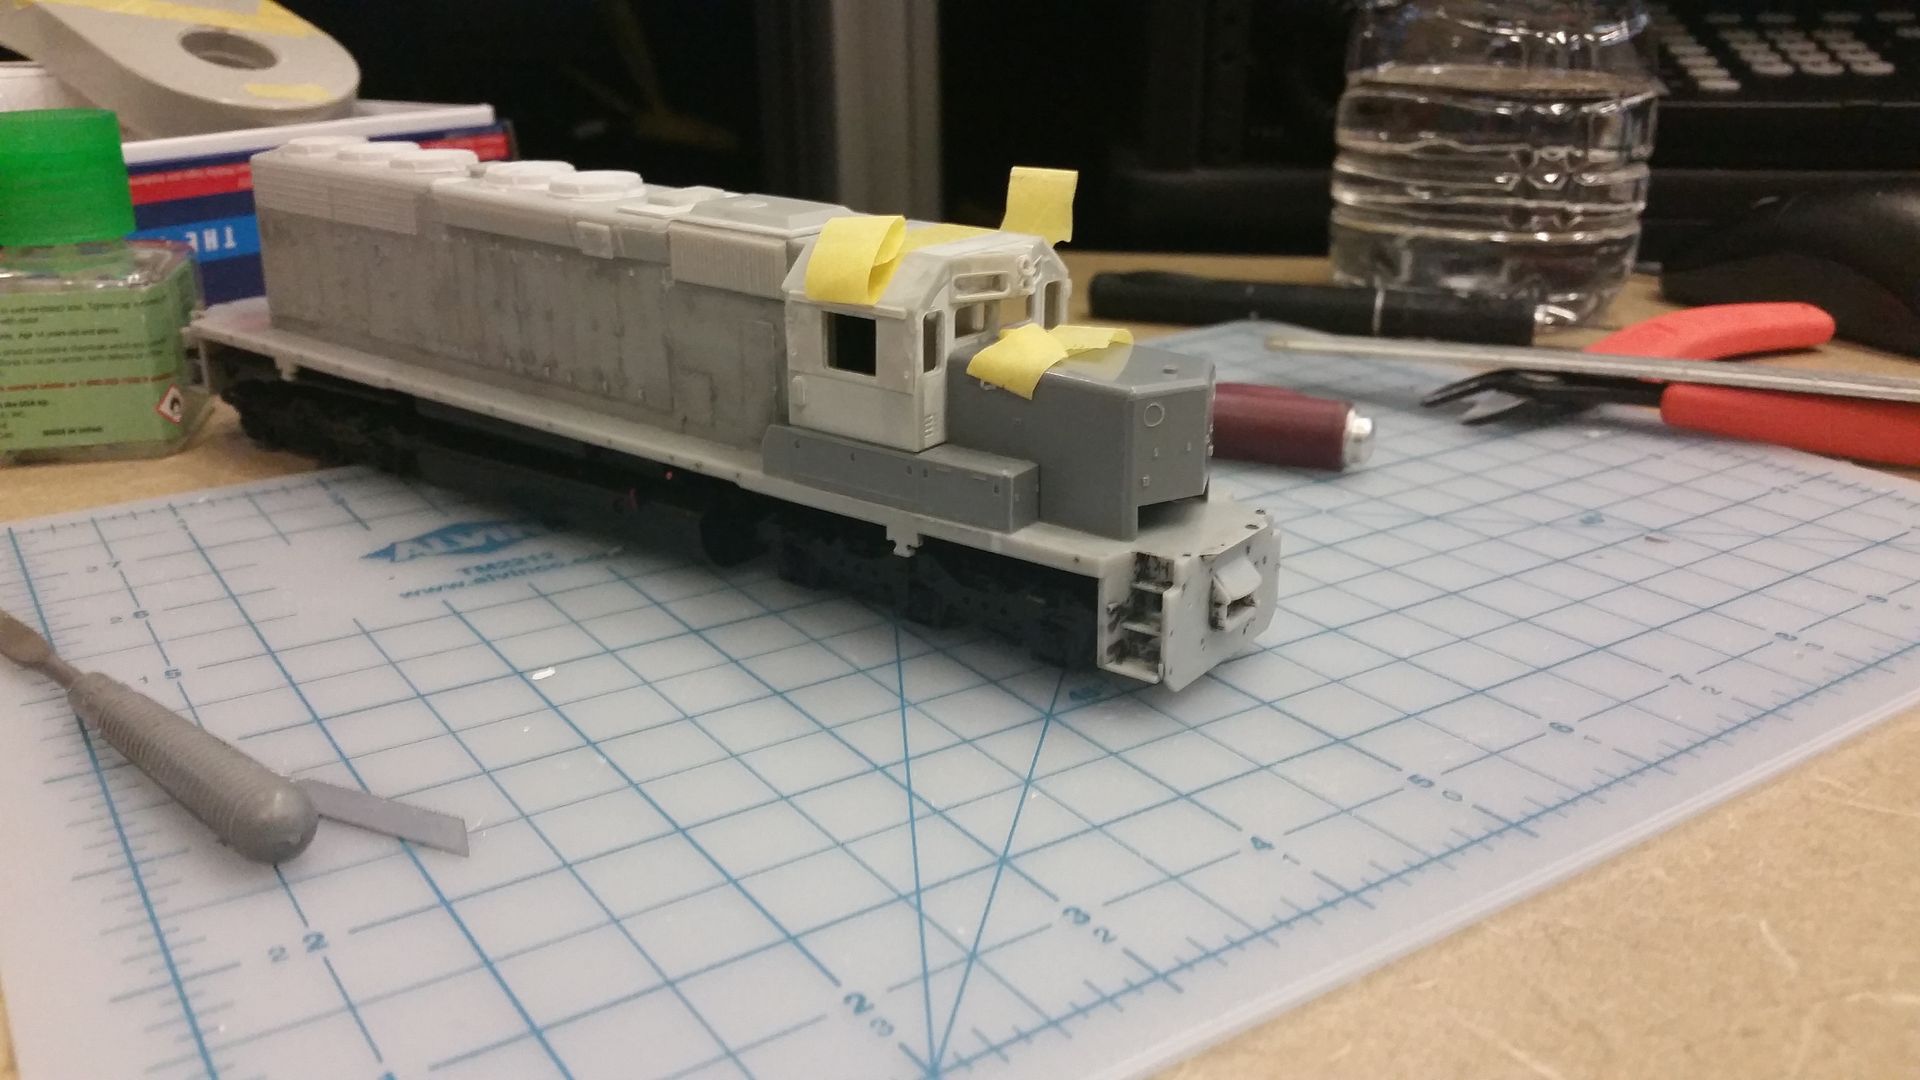 Buh bye Athearn cab 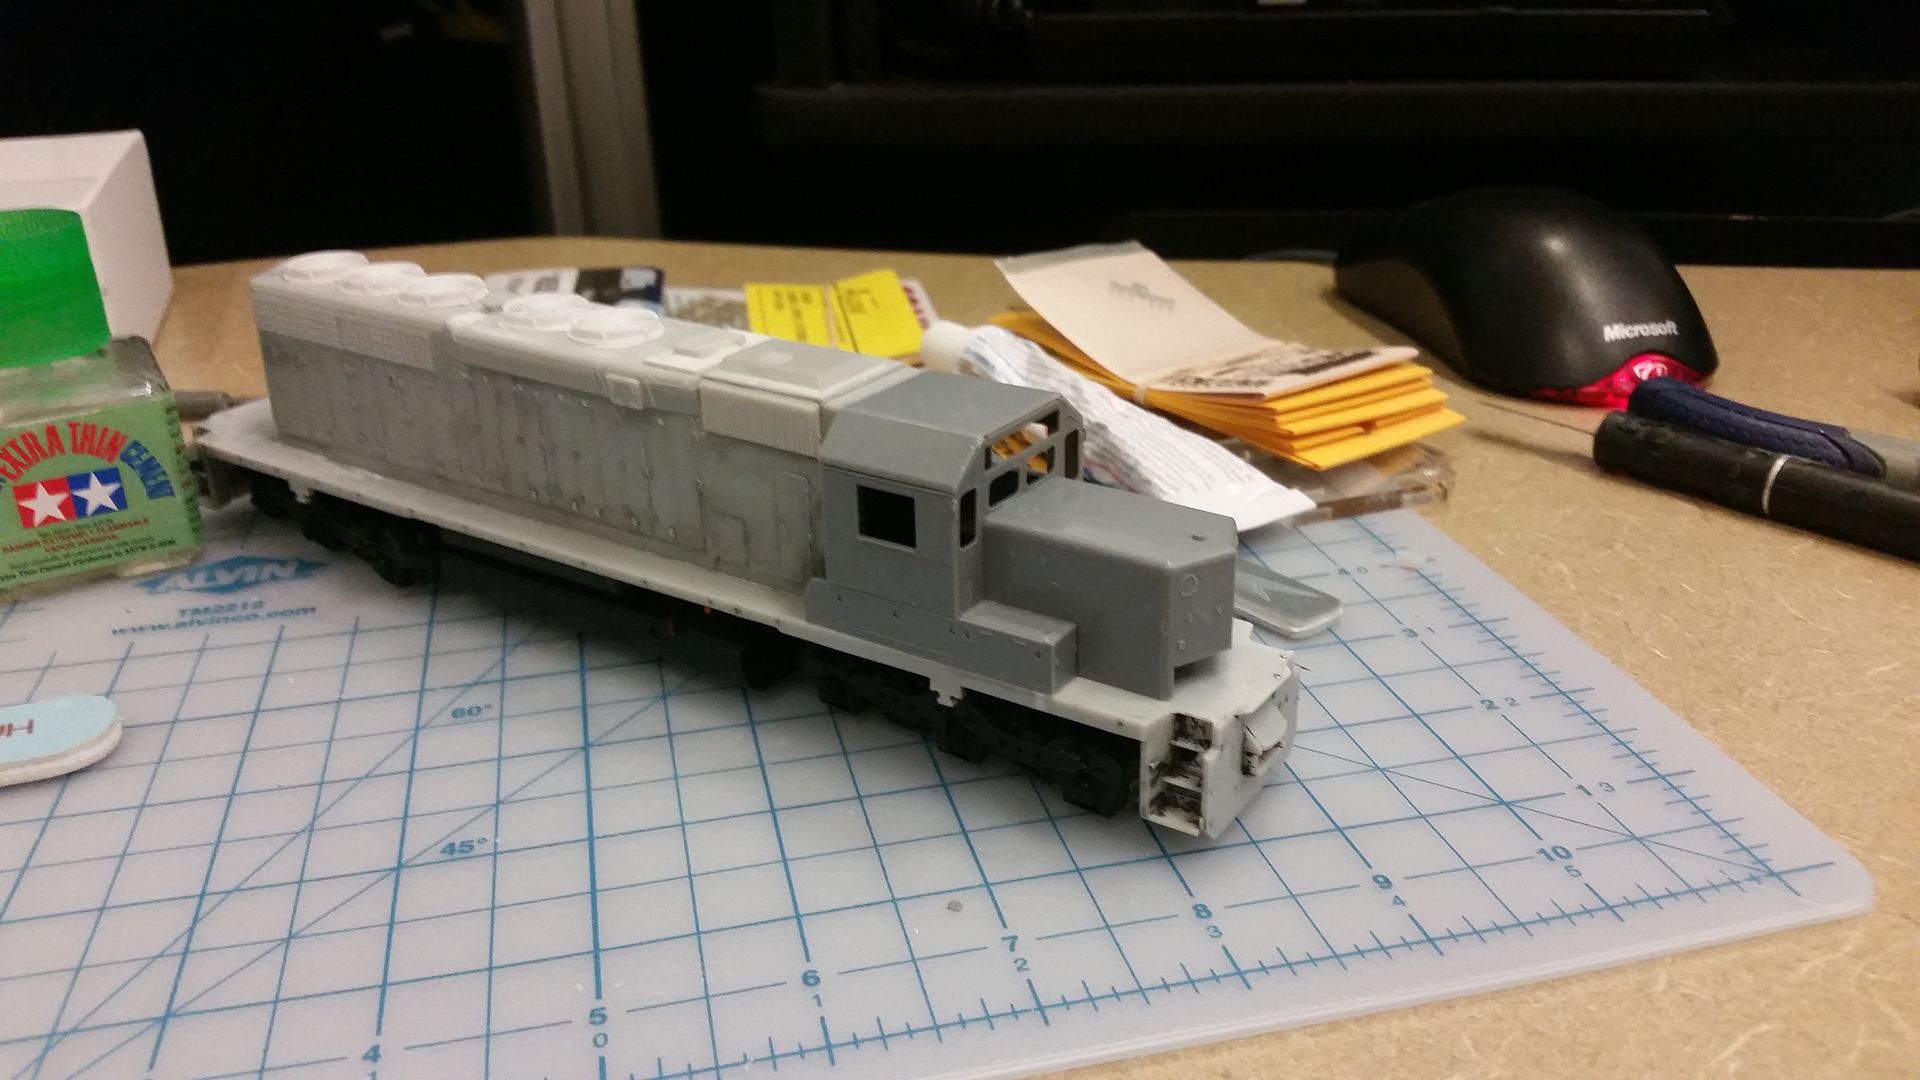 Side by side with sister unit. 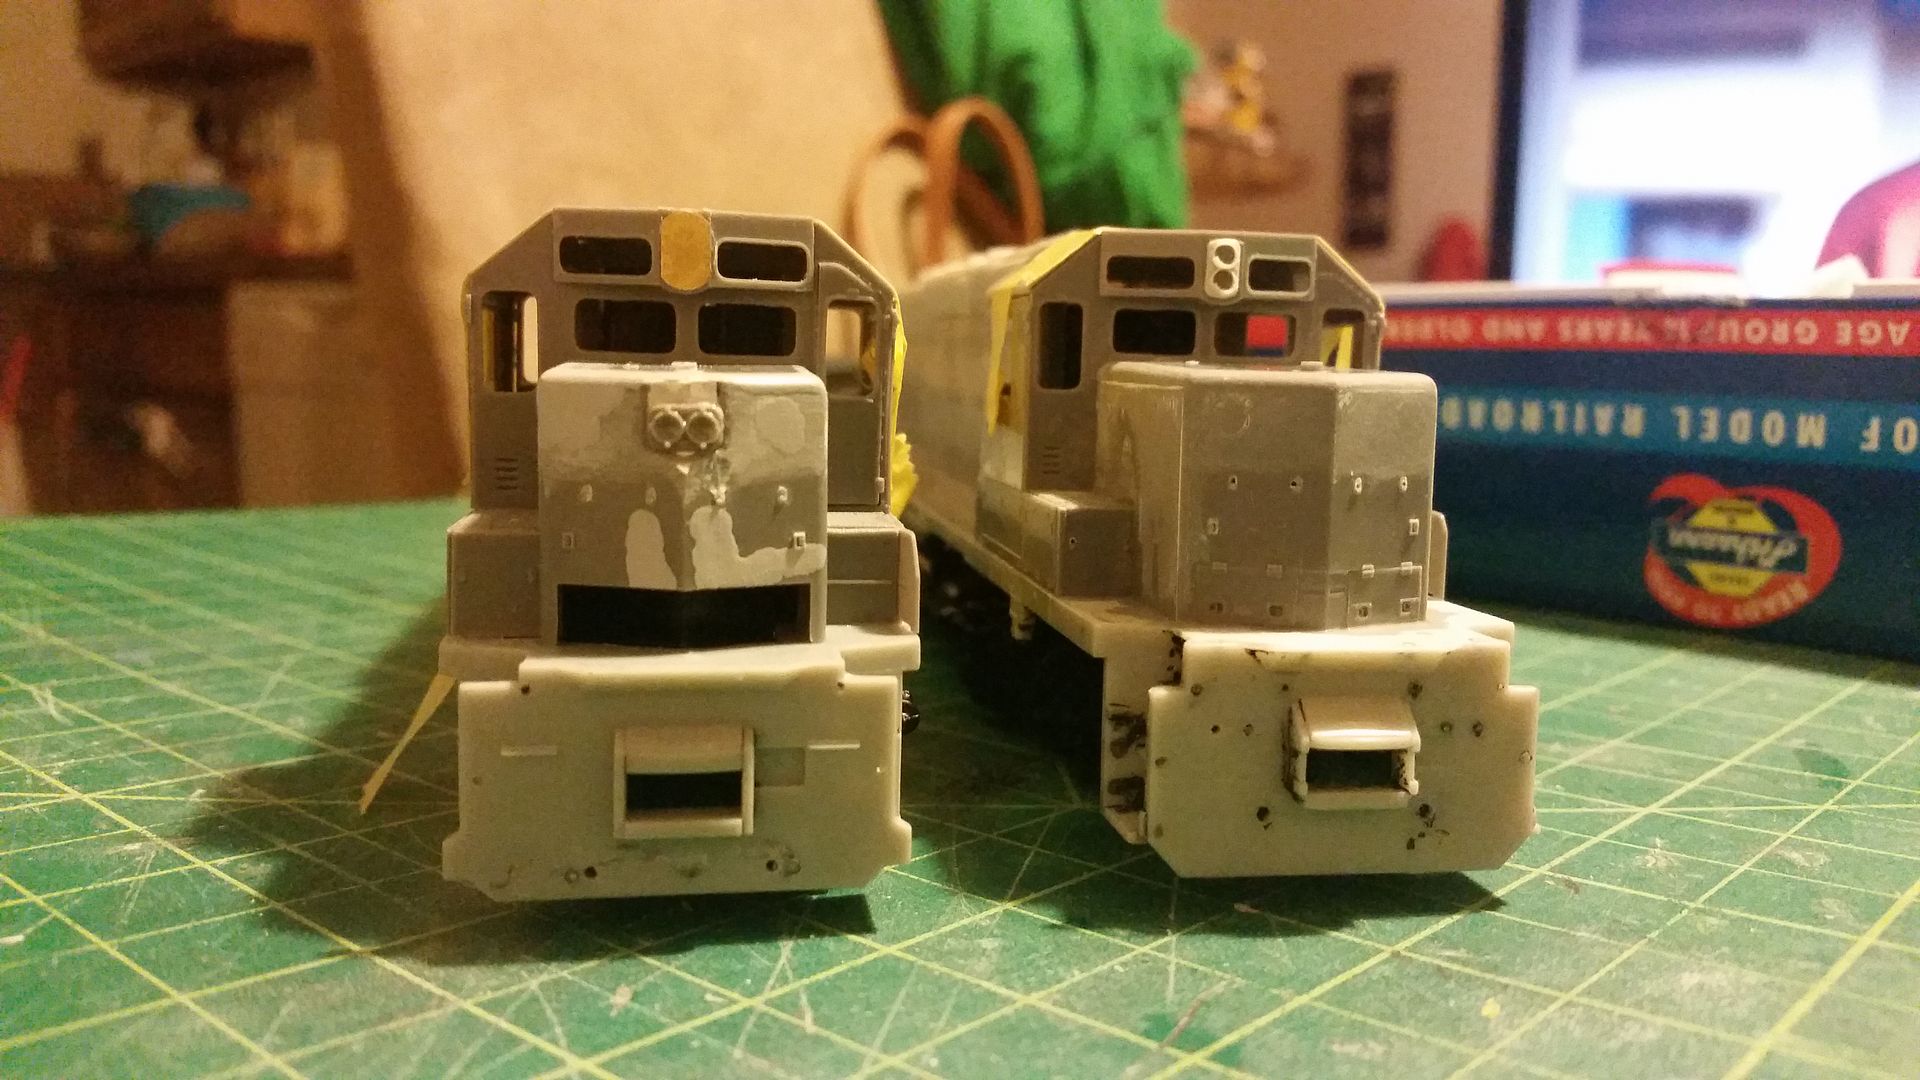 The snoot version is nearly complete. I just gotta run the horn piping from the cab to the long hood, mount the horn on a stand and add tread plate. Not sure if im going to really go nuts with detailing the underside. I could always do it later on. Now the sister unit, 2024 a former Soutern Pacific SD45. |
|
|
|
Post by stevef45 on Jun 1, 2015 23:05:49 GMT -8
Now the sister unit, 2024 a former Soutern Pacific SD45. 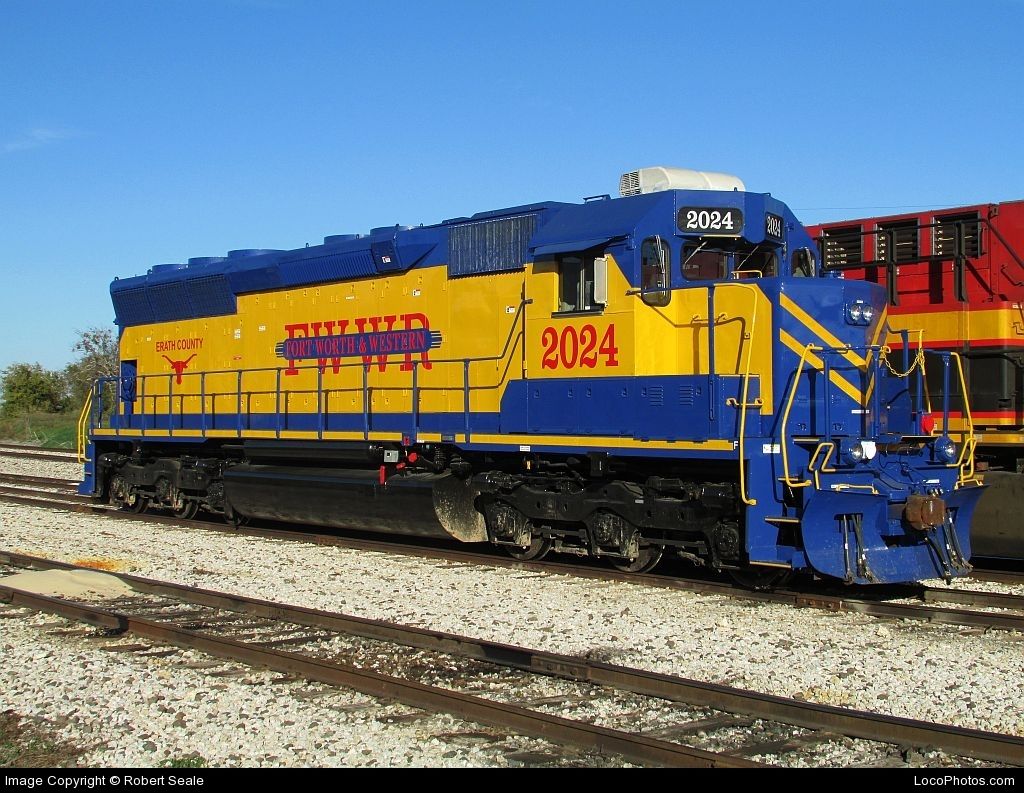 Not the same roadnumber, but the front is identicle so you can get the idea. 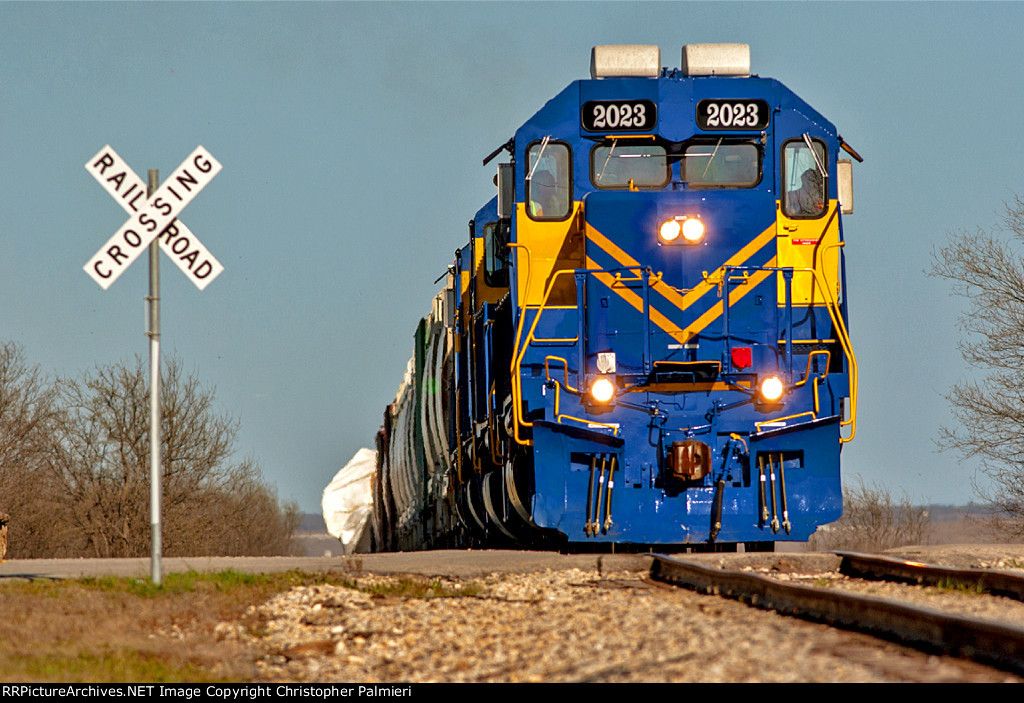 The Athearn highhood shell that got a nose job. 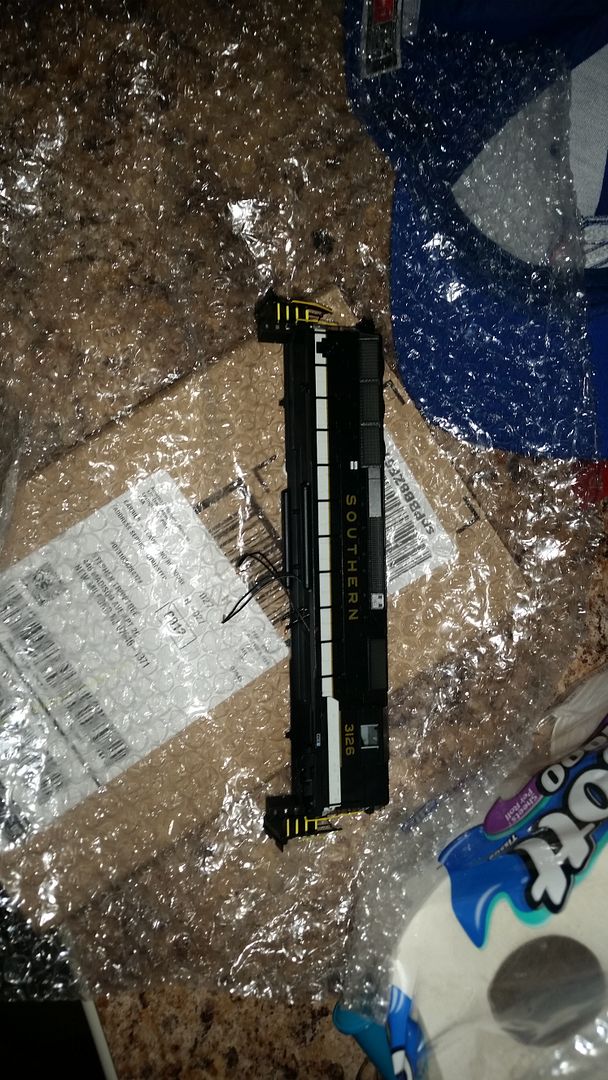 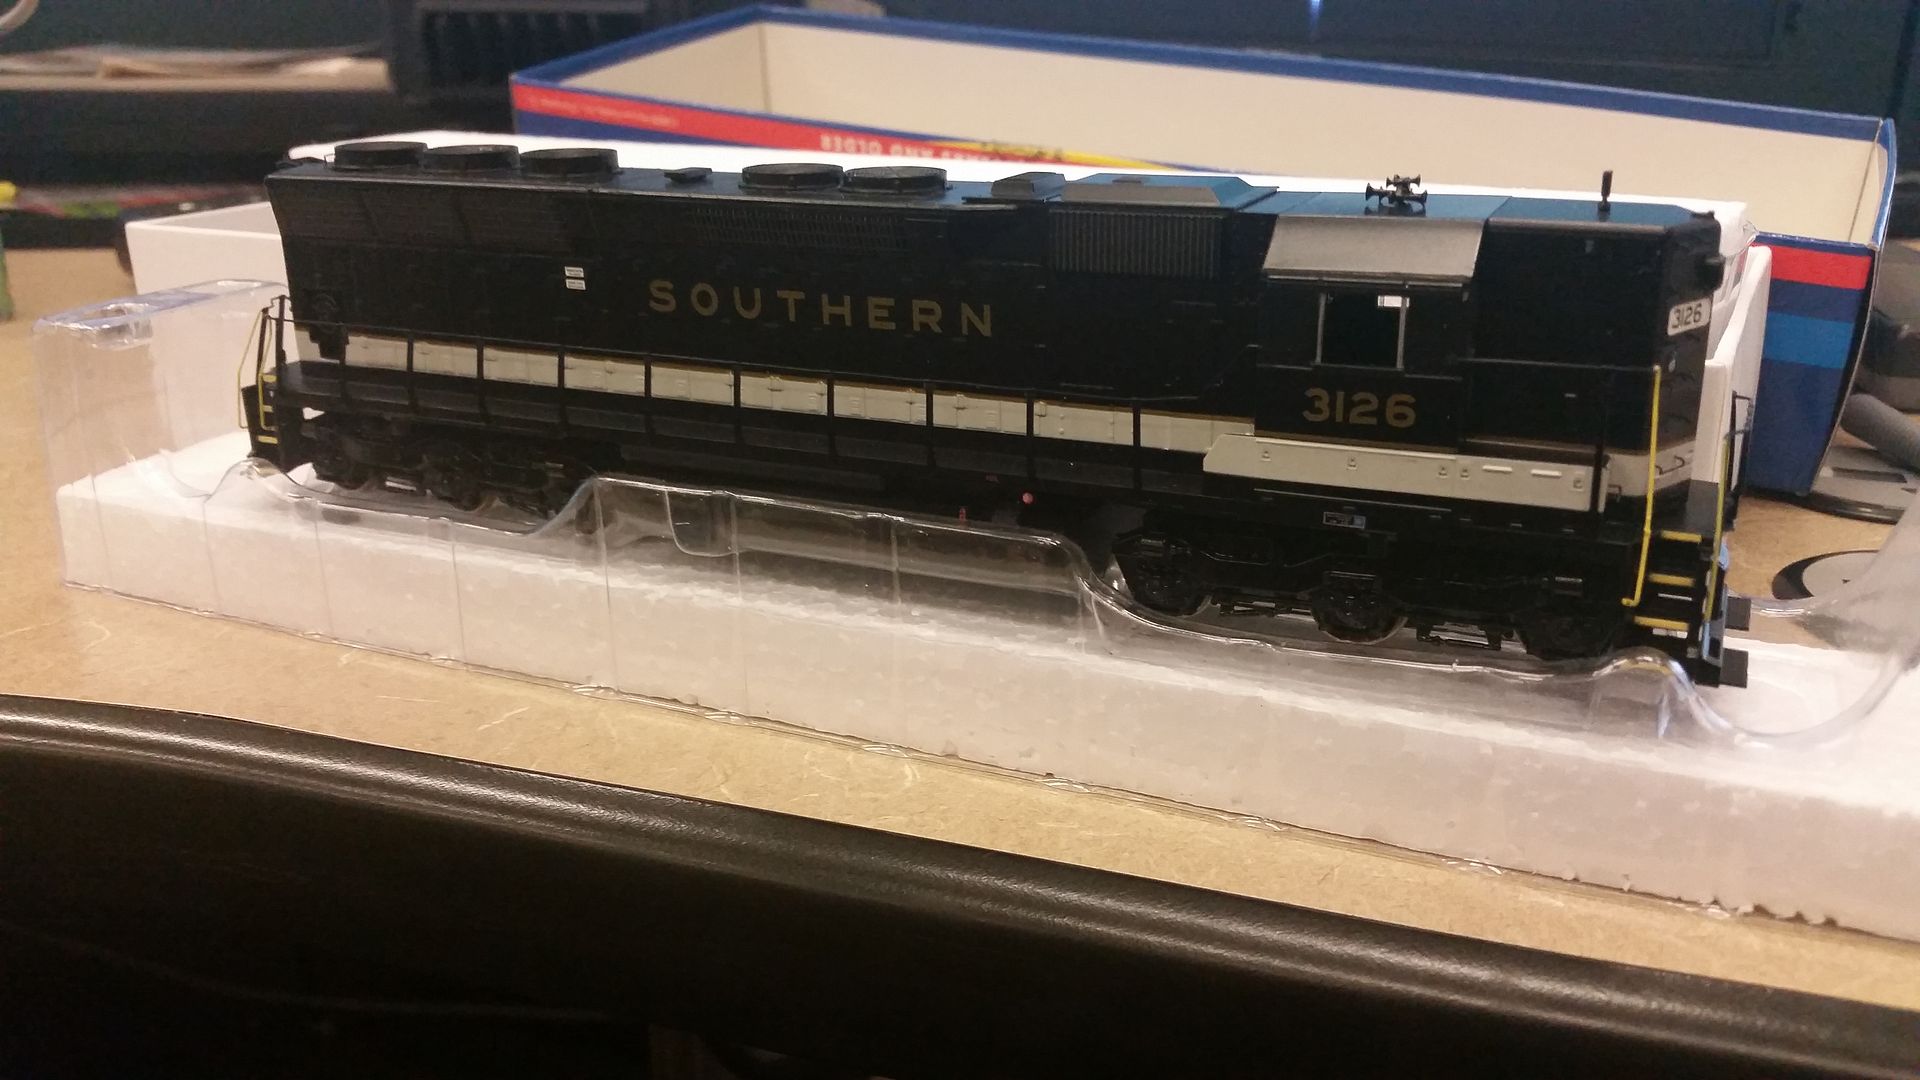 Again in the dip also showing the cut off sub base.  Things didn't line up with the factory sub base so that's why it was cut out, you can see the gap on the nose where it mounts. 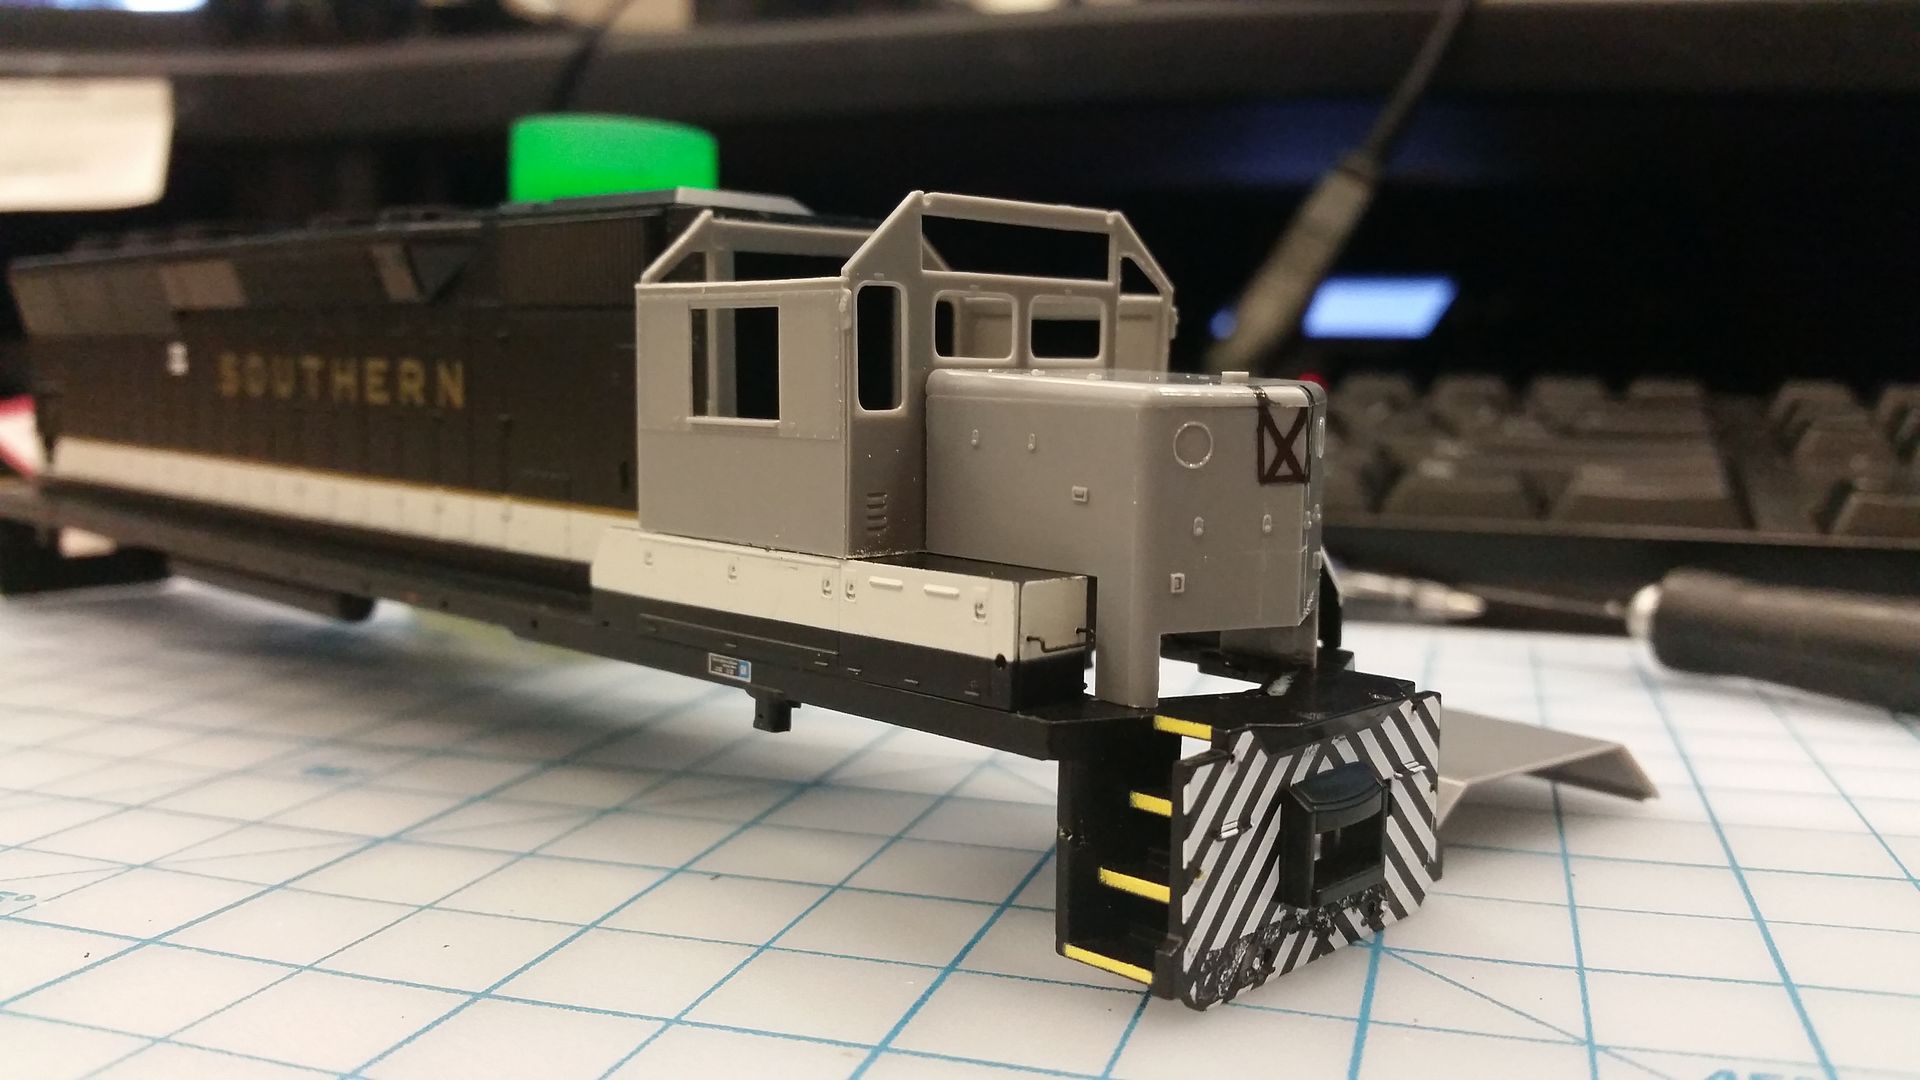 Cannon 81" nose assembled and marked where it will be cut open to simulate where the former SP light package was. 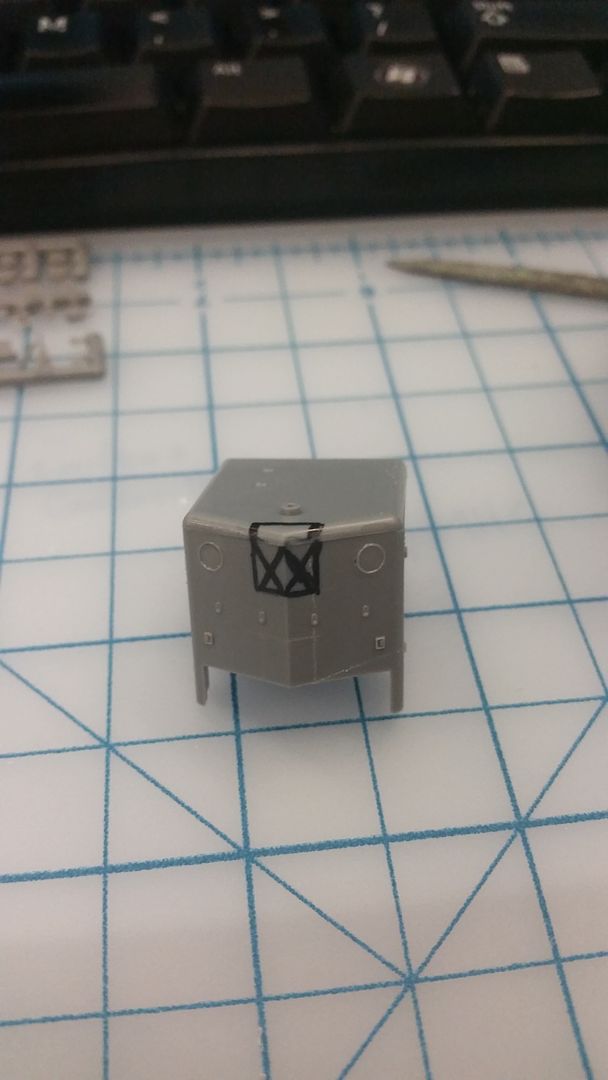 Nose/cab/sub base all glued together. 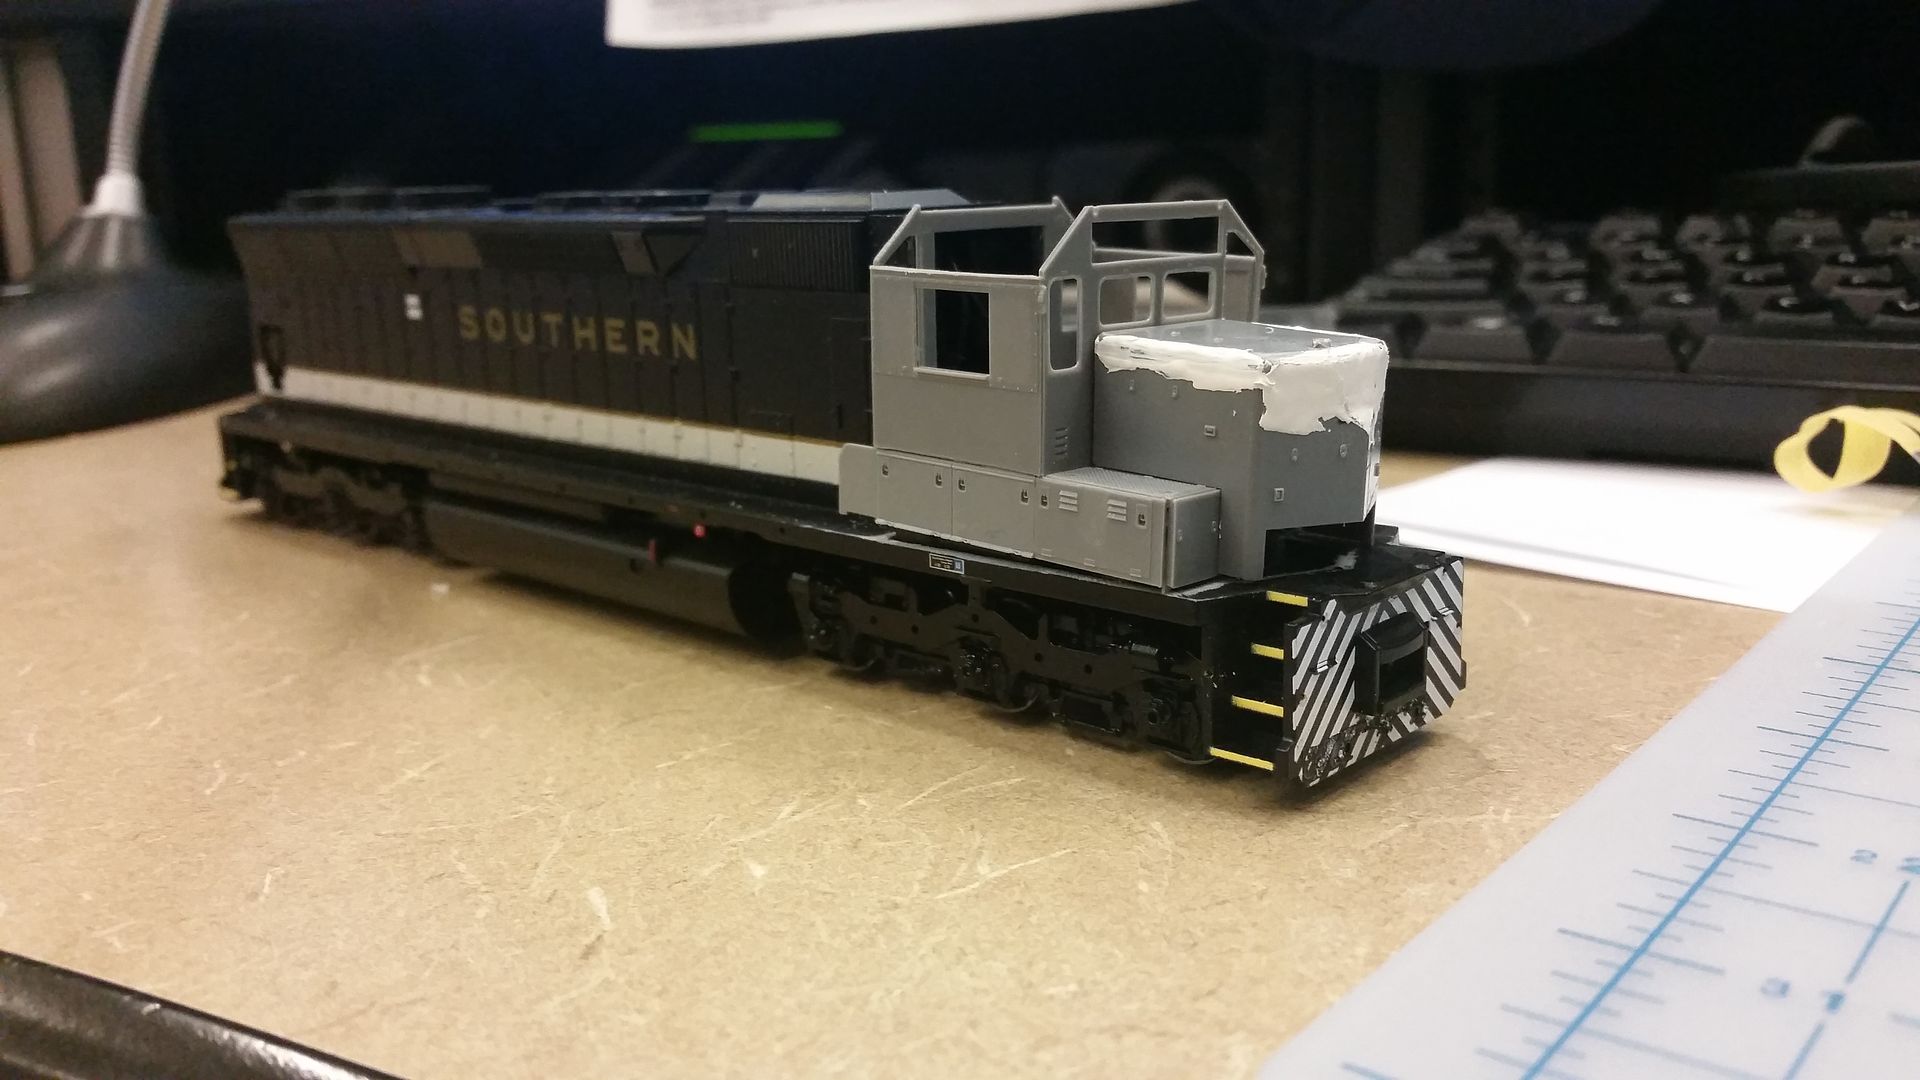 Rear SP light cluster from DA glued on. 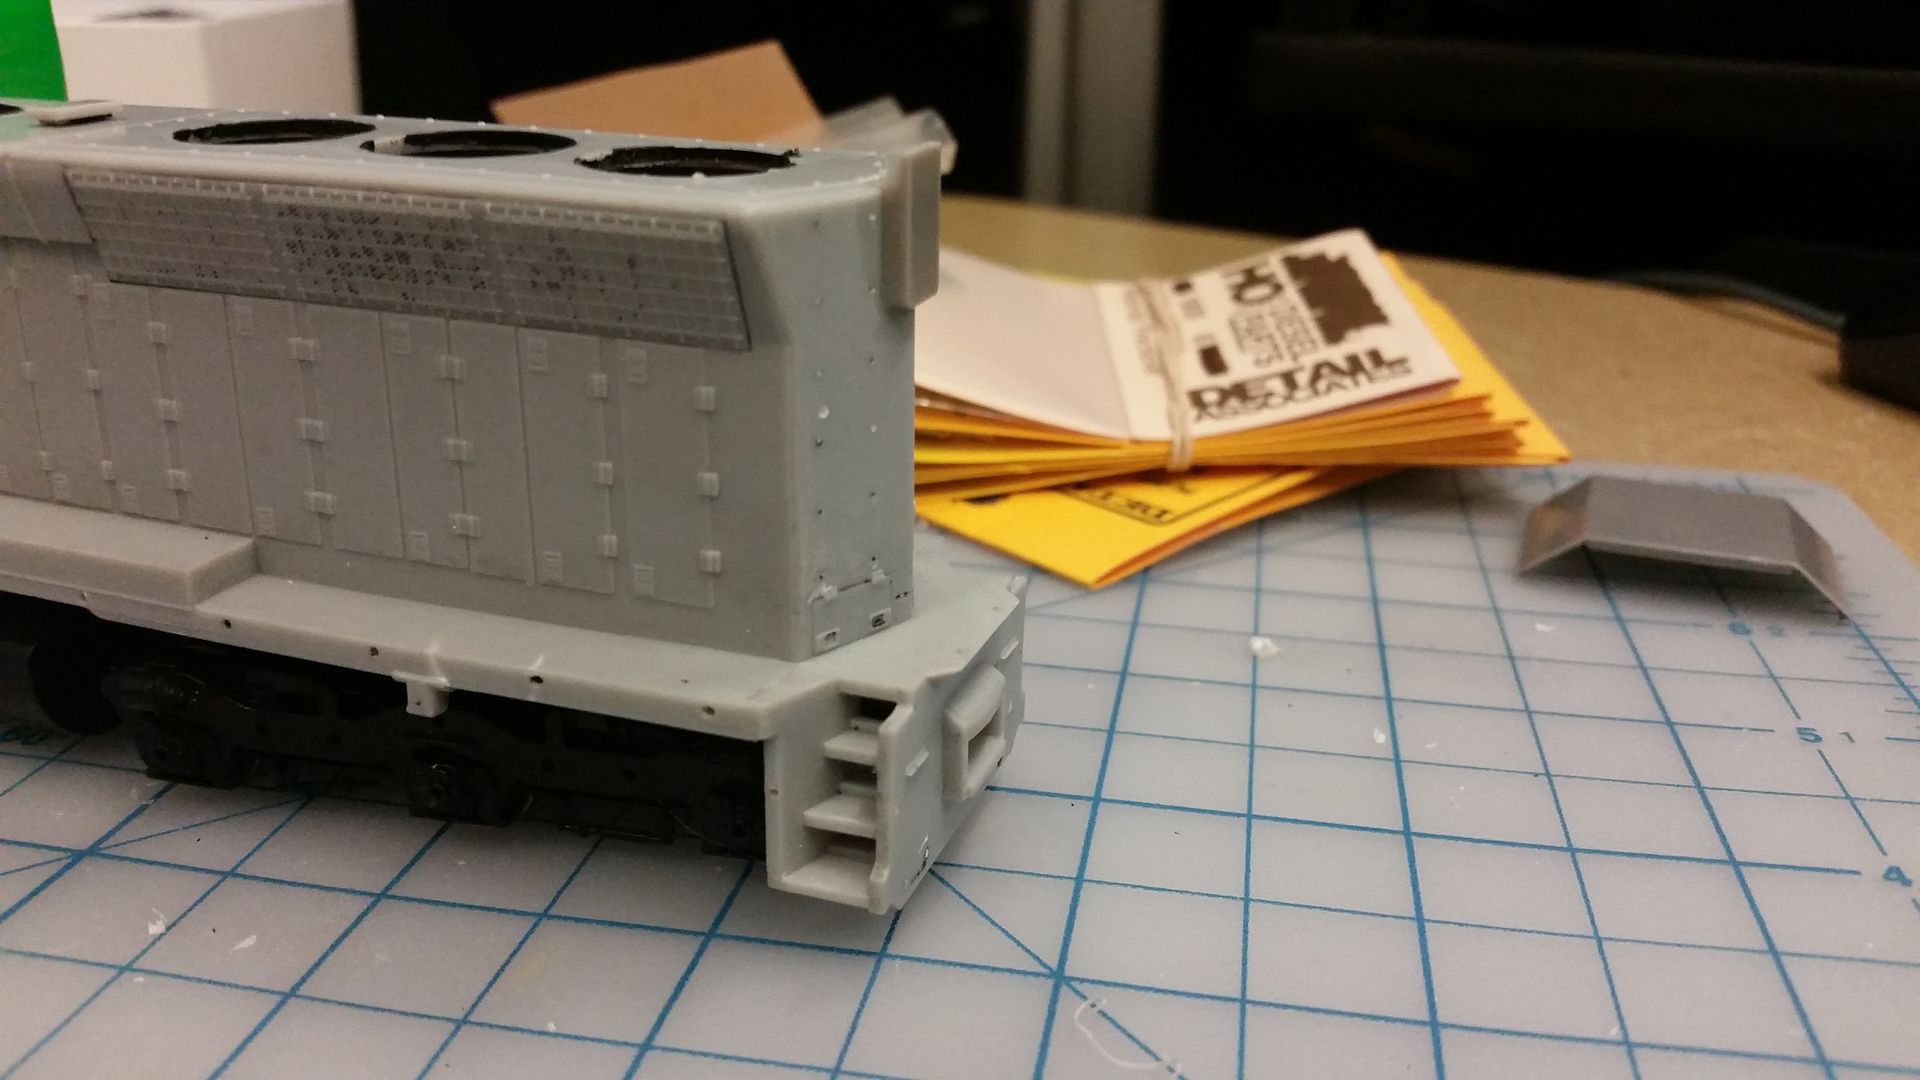 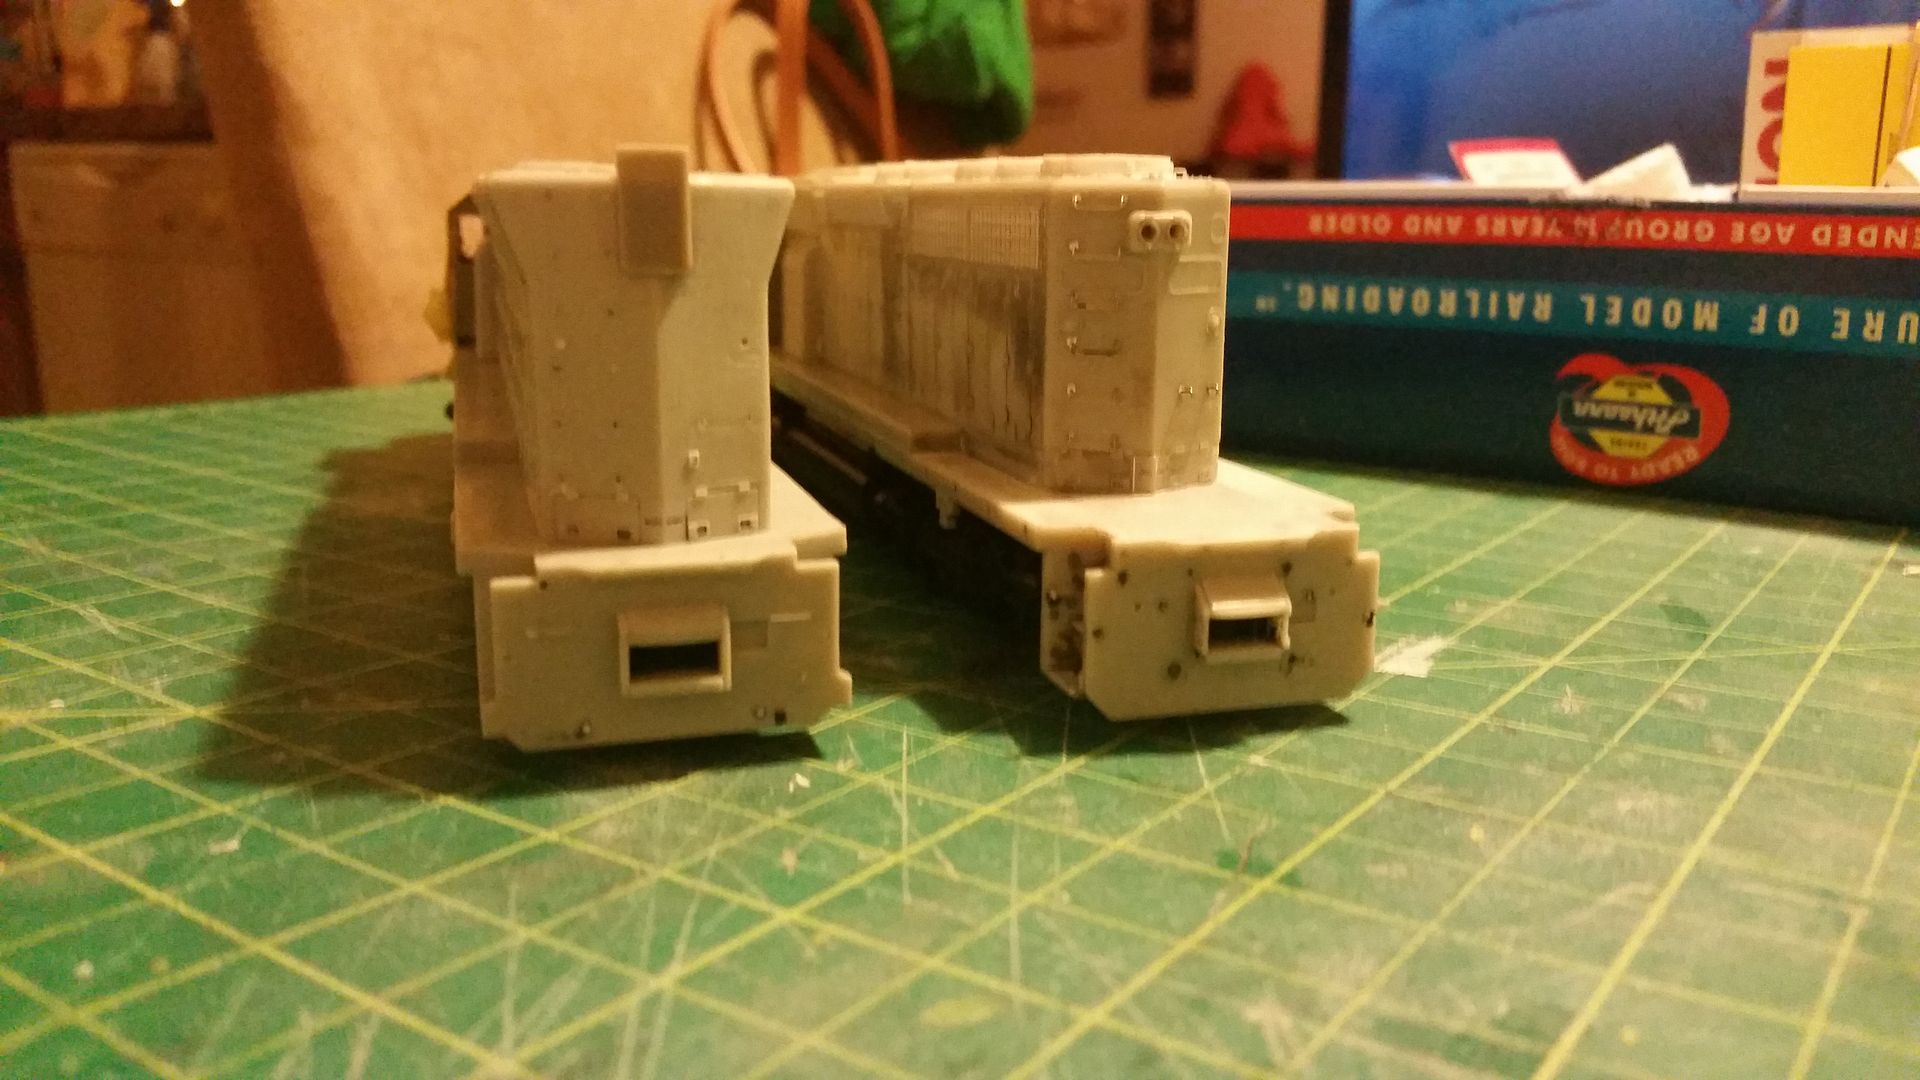 Almost done, etched steps put in and nose light on. 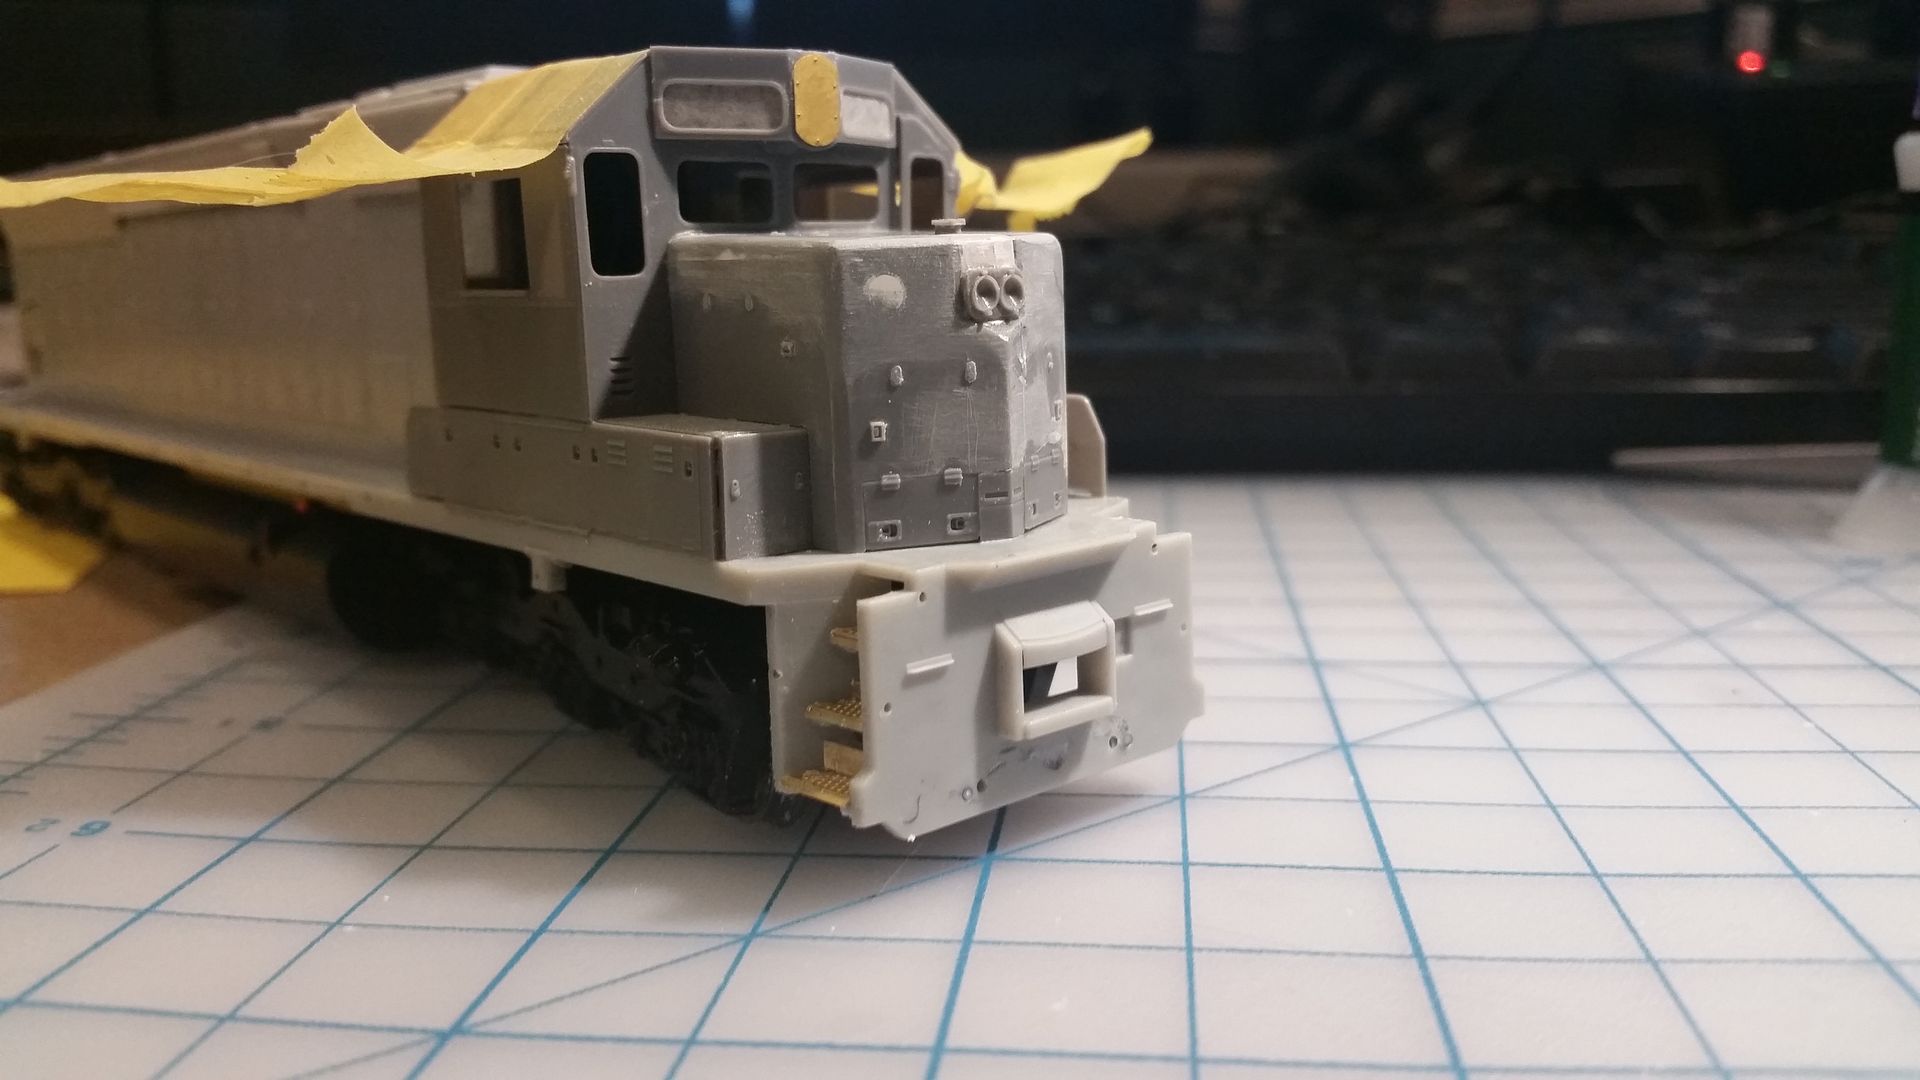 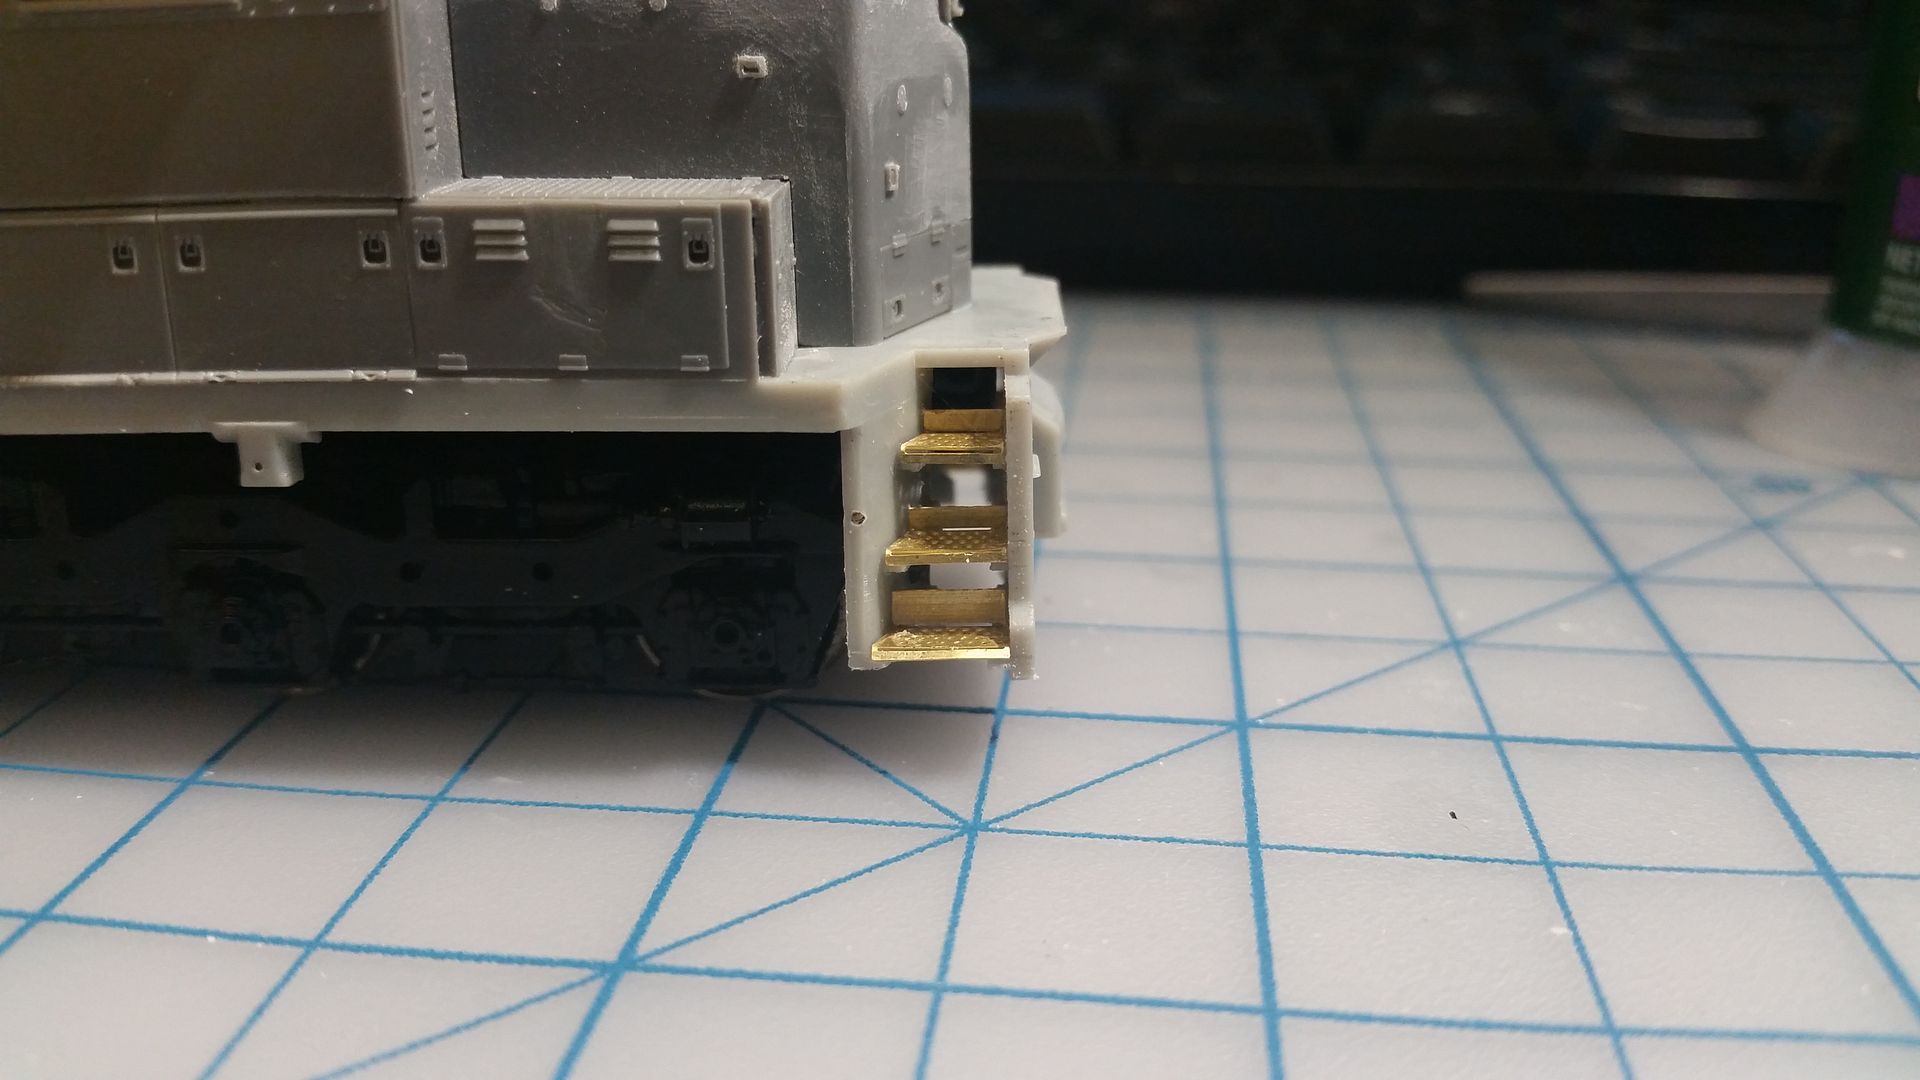 Roof top A/C units added 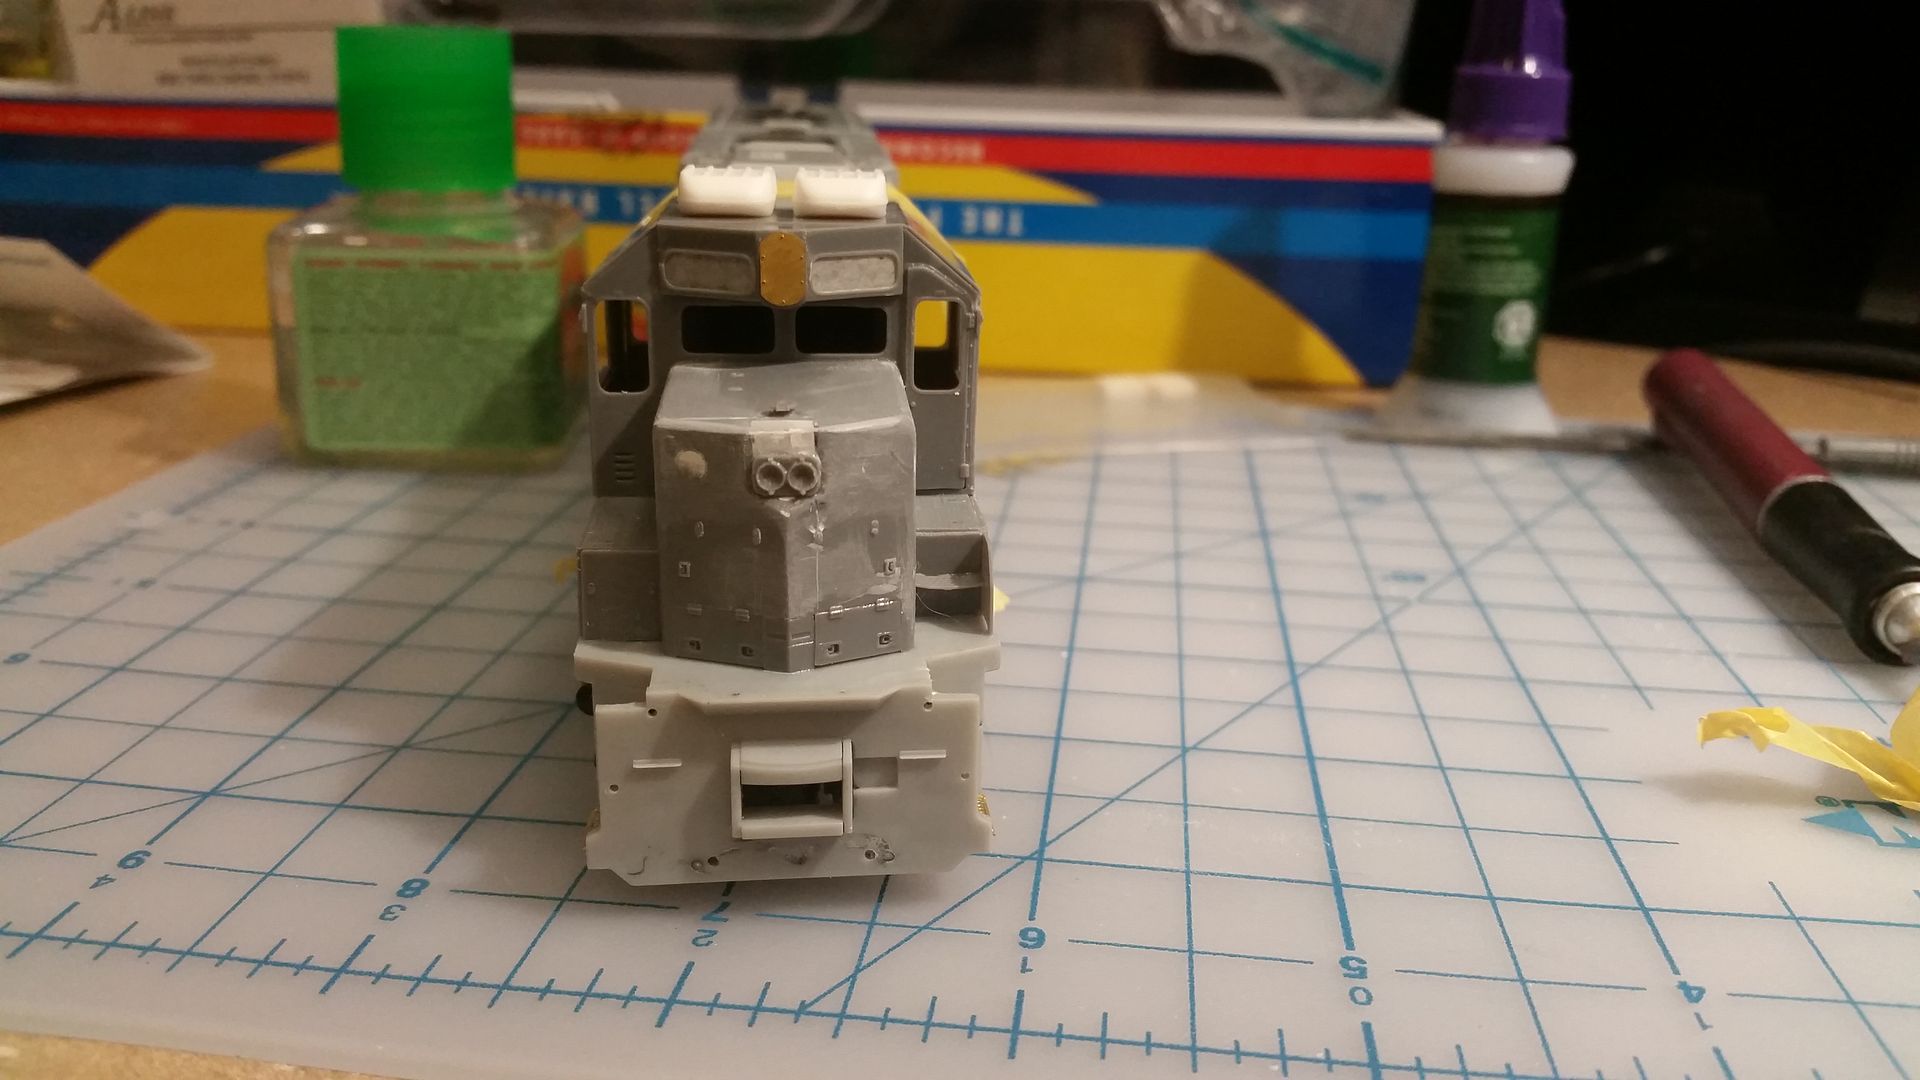 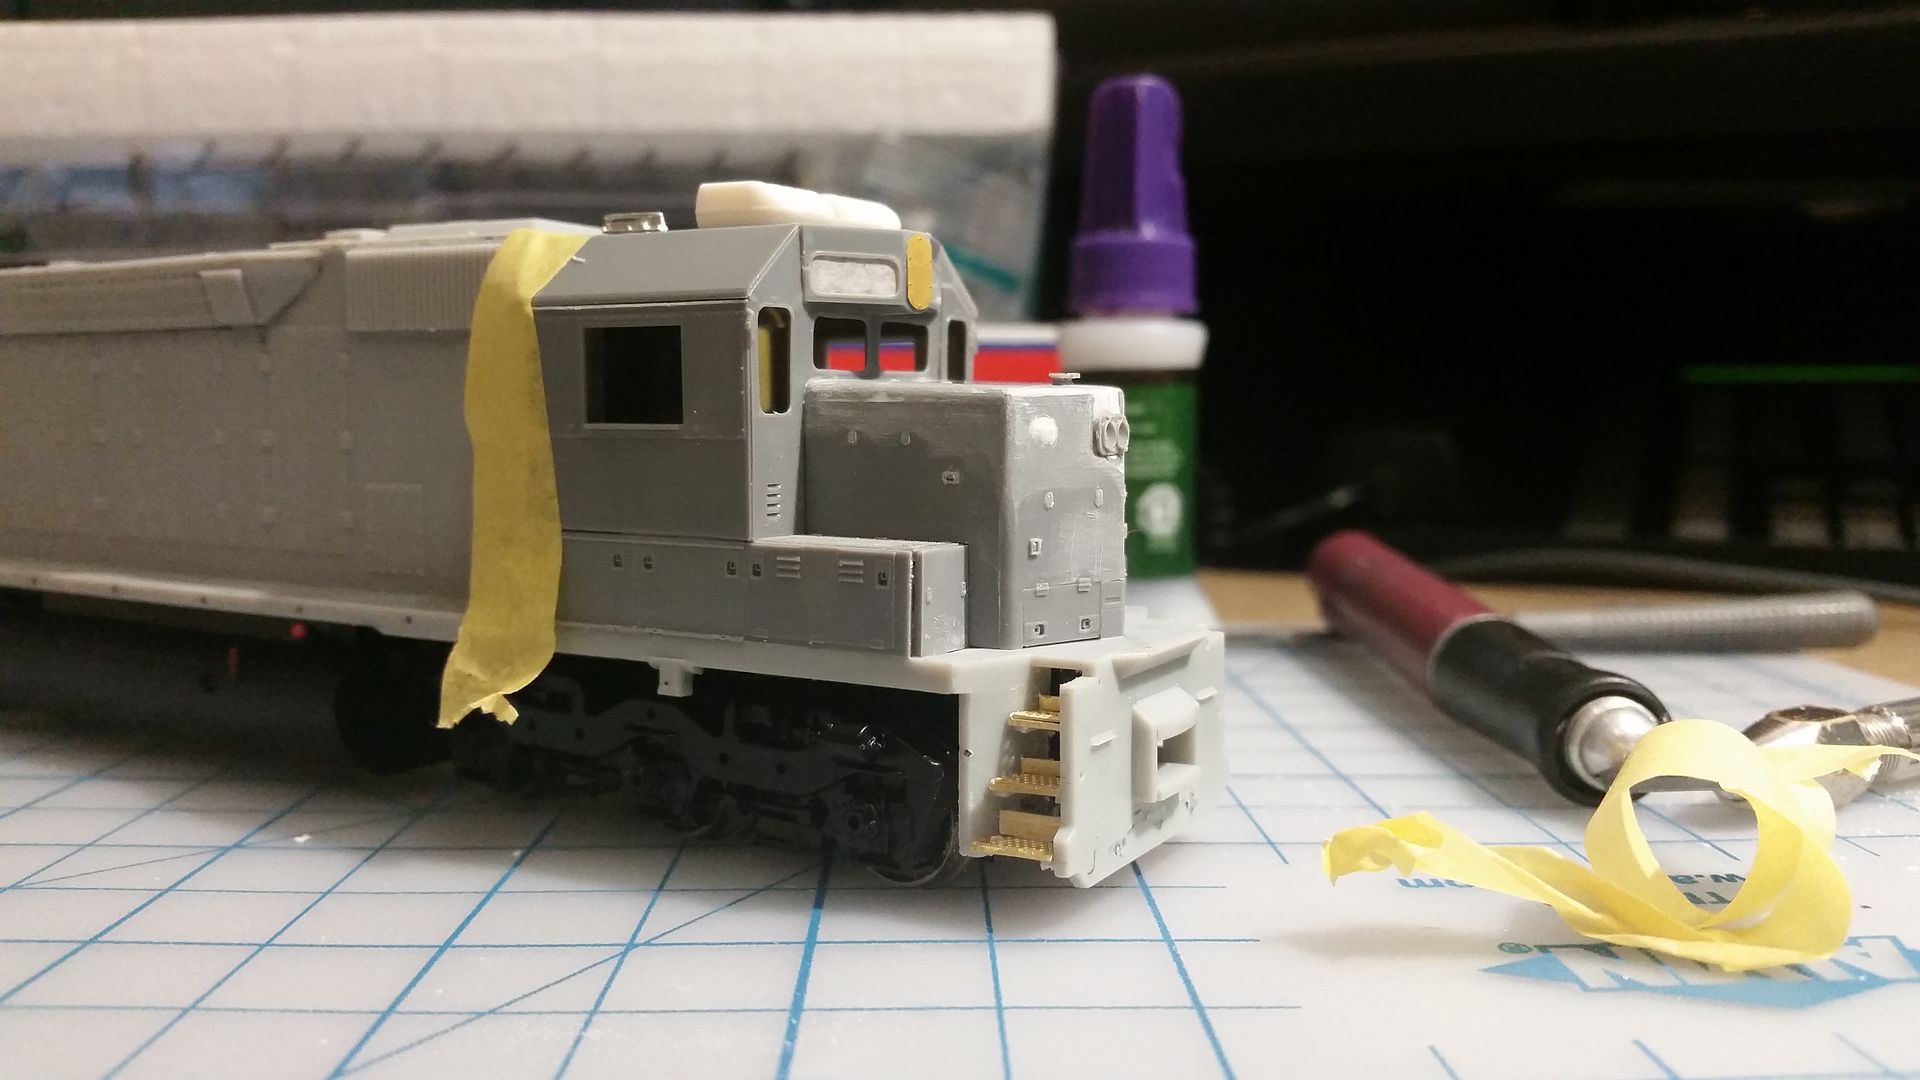 |
|
|
|
Post by stevef45 on Jun 1, 2015 23:12:48 GMT -8
When im done with these units and the 2 G&W units, I may do 1 or 2 i think its Lake State railway. I just like doing these SD40-2's that have cool paint schemes. That or terminal railway in Washington state.
|
|
|
|
Post by atsfan on Jun 2, 2015 4:51:19 GMT -8
Nice
Paint job looks non easy to apply ?
|
|
|
|
Post by dti406 on Jun 2, 2015 10:27:36 GMT -8
|
|
|
|
Post by stevef45 on Jun 2, 2015 20:12:03 GMT -8
|
|
|
|
Post by enginseer on Jun 3, 2015 4:05:54 GMT -8
When im done with these units and the 2 G&W units, I may do 1 or 2 i think its Lake State railway. I just like doing these SD40-2's that have cool paint schemes. That or terminal railway in Washington state. I have long thought of doing a few locos from the Lake State.
I really like their paint scheme and logo as found on 6302 for instance.
I'm from Michigan and have a thing for mittens.
I hope you do this later scheme and will look forward to seeing it on this site!
|
|
|
|
Post by nightmare0331 on Jun 3, 2015 13:05:56 GMT -8
that's a sharp looking paint scheme.
Can't wait to see these finished Steve!
Enjoy!
Kelley.
|
|
|
|
Post by stevef45 on Jun 3, 2015 18:50:38 GMT -8
I emailed highball graphics about trying to get the smallest sheet possible with the new names that FWWR has come up with. The FWWR decal sheet doesn't have the name of the SD45 im building. I also asked about Lake State, Tacoma rail and Aberdeen, Carolina and Western railroads as other possibilities. Like on the freelanced facebook group im part of. I like to buy other guys decals for freight cars to do on different freight cars. I like to build things that are different. Anyway, here are a few updated pics. I added safety tread to the snoot nose and etched steps. The rear porch is discolored cause I heated it up to flaten it a bit. 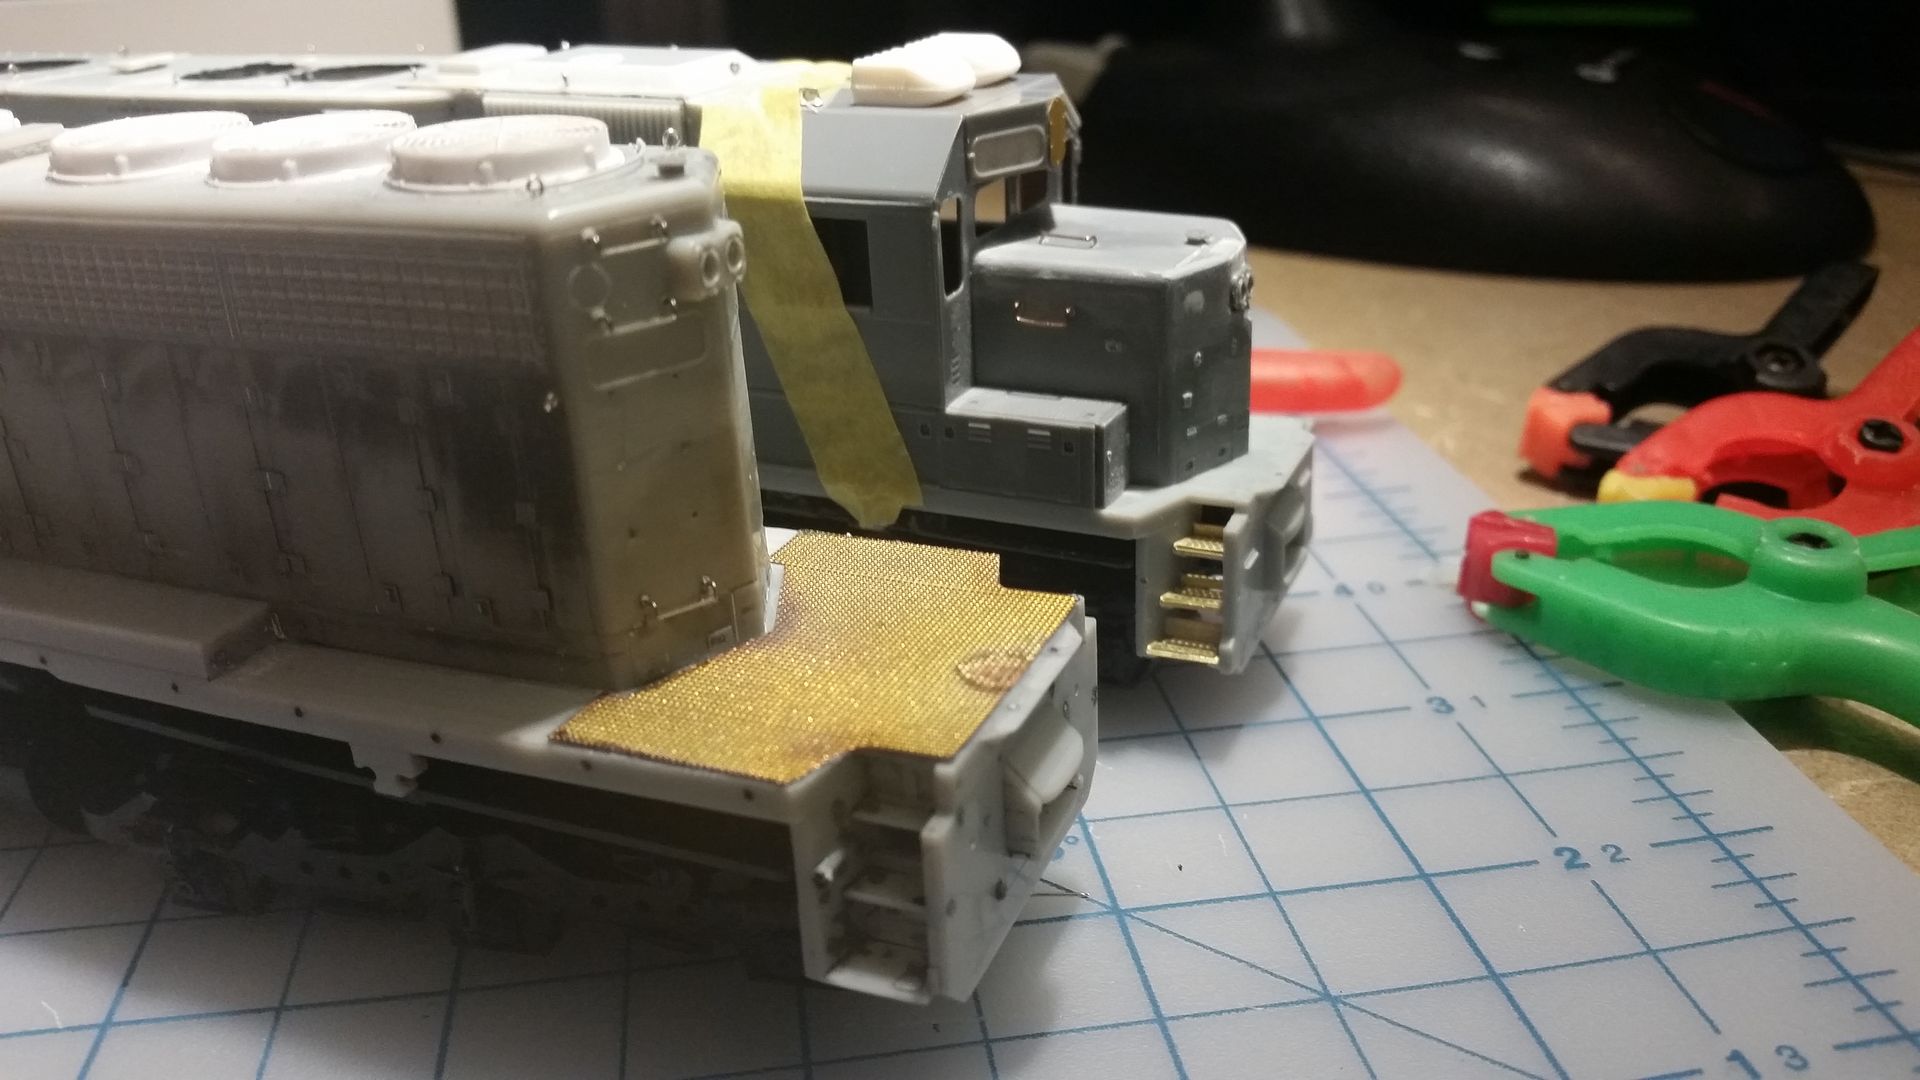 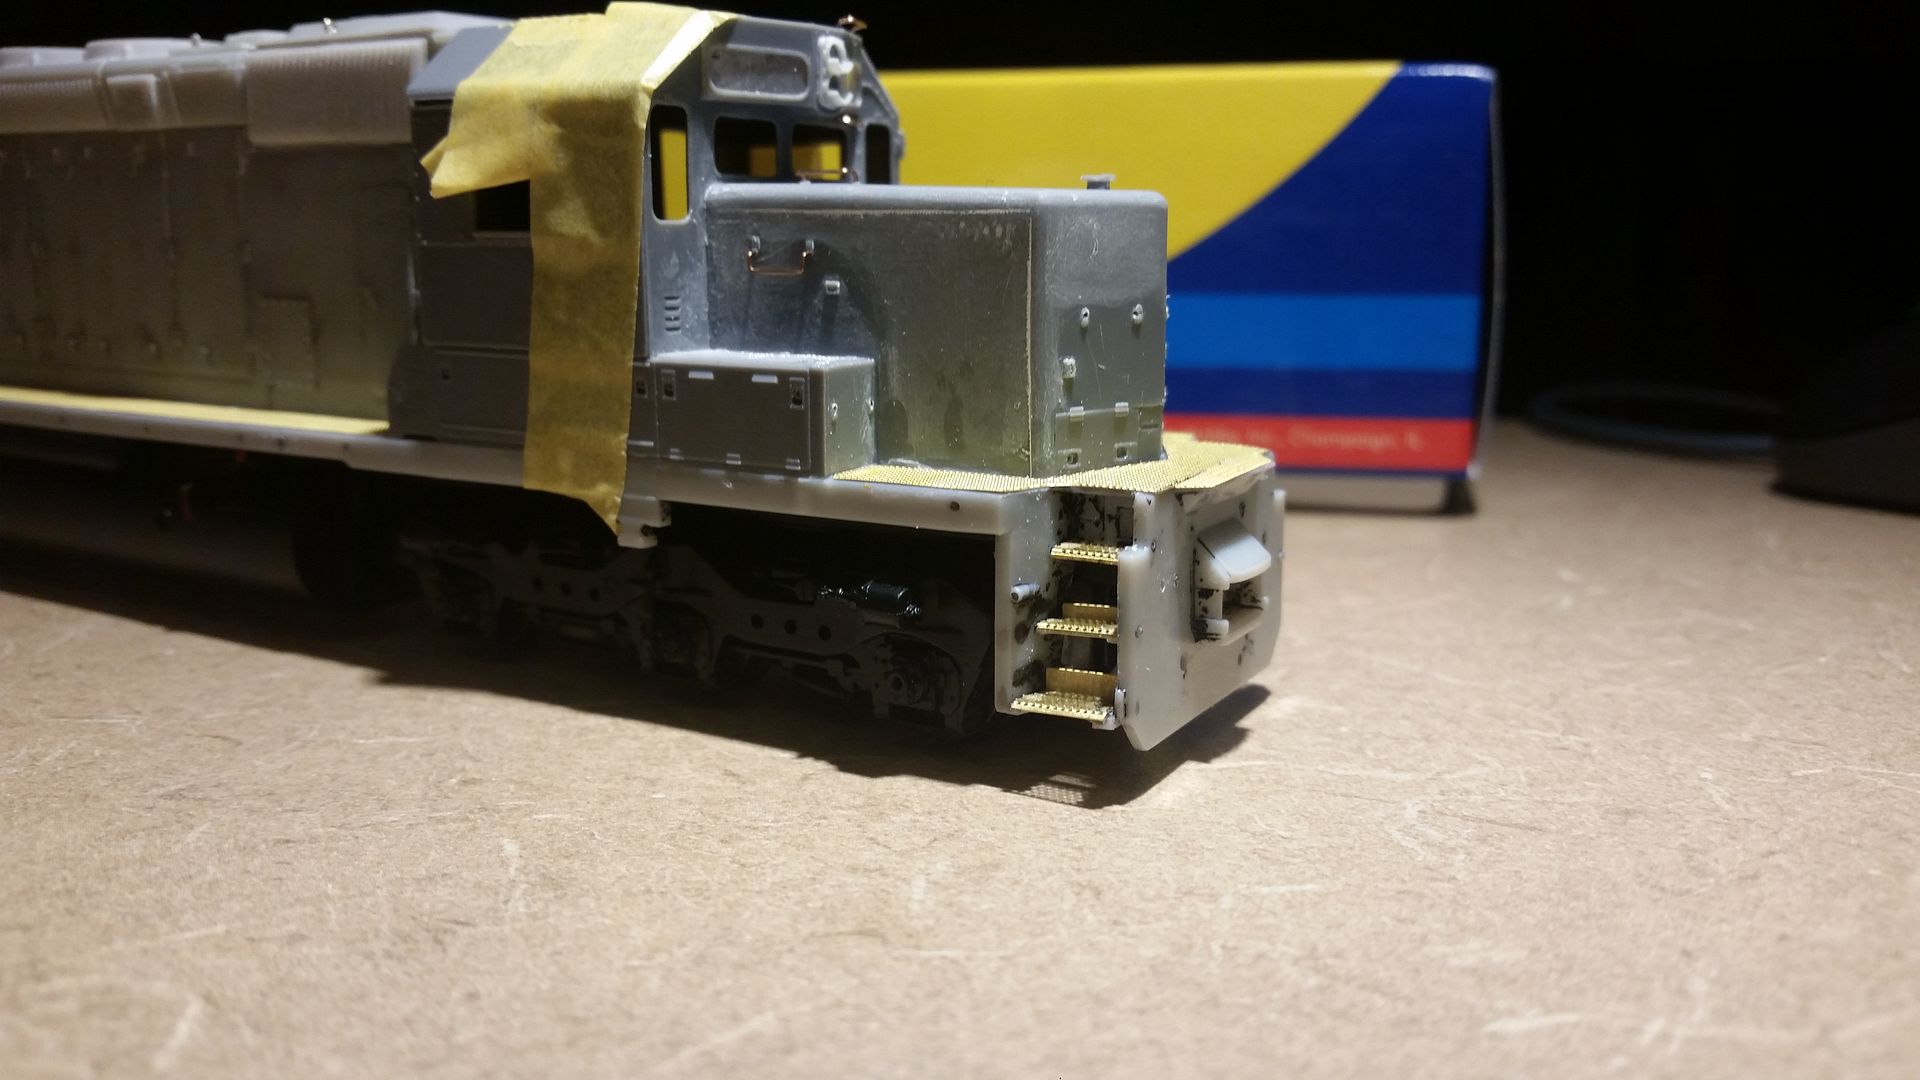 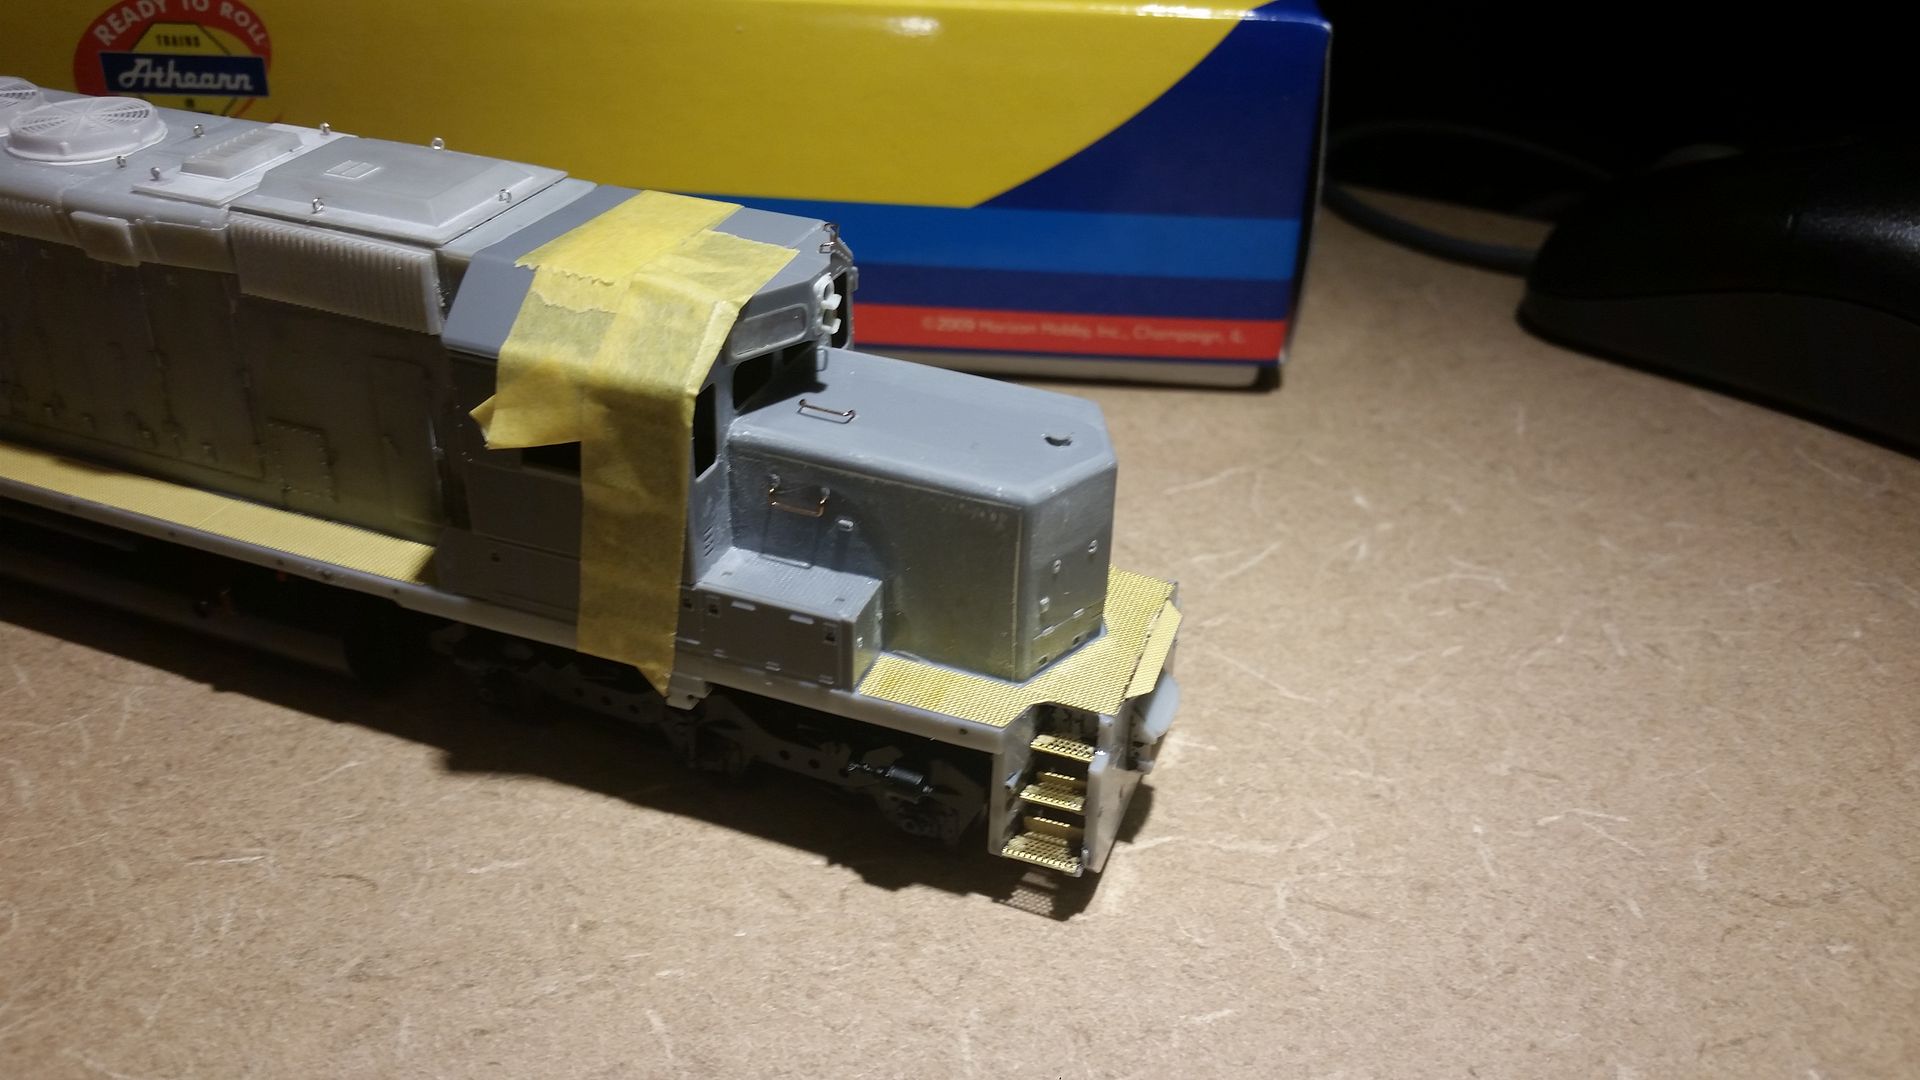 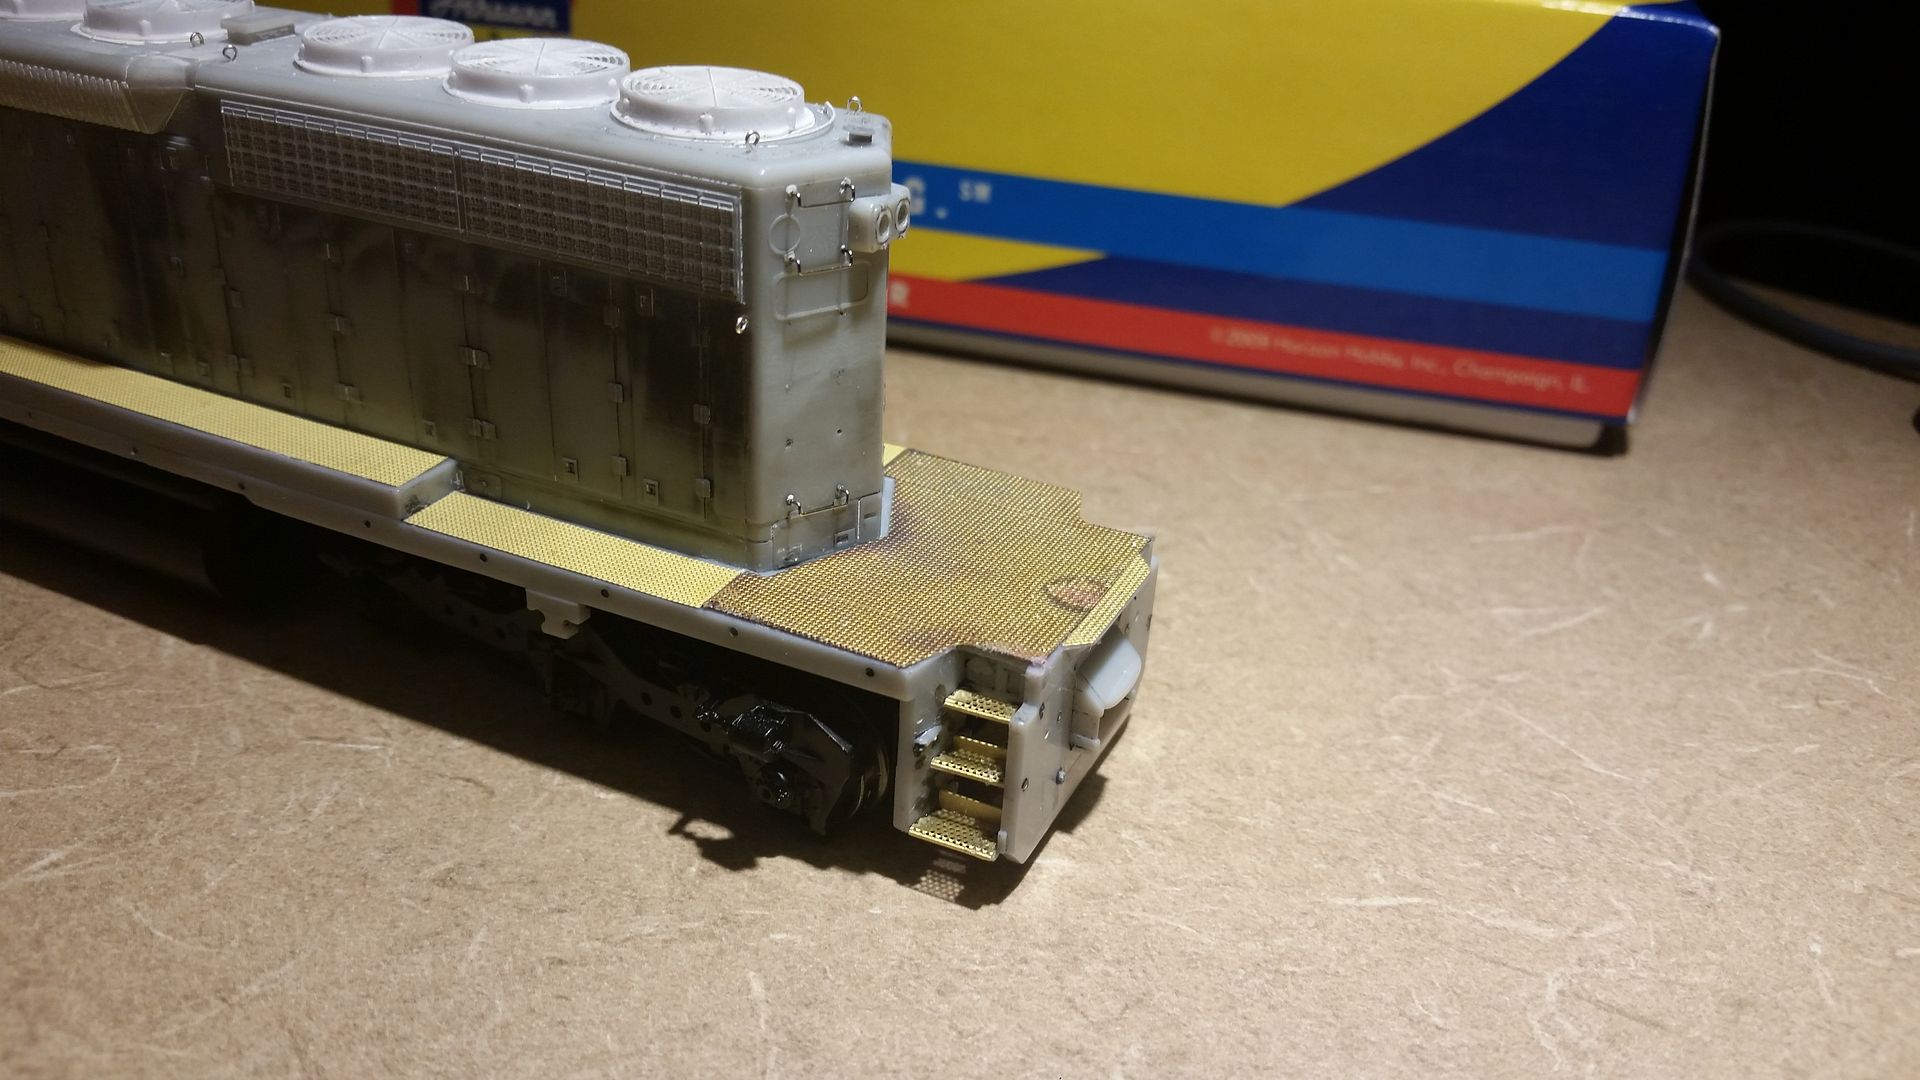 The SD45 is going to be a PITA to get tread for it. There is a company that has something I can use, but not sure if I want to pull the trigger yet. |
|
|
|
Post by canrailfan on Jun 3, 2015 19:20:29 GMT -8
Steve,
Enjoying the progress photos, these will be sharp-looking units when they're done. Always thought the snoots were the best looking SD40-2s.
Have you considered the Archer Surface Details treadplate? I find it much easier to use than the brass treadplate.
David
|
|
|
|
Post by peoriaman on Jun 4, 2015 10:59:40 GMT -8
Have you considered the Archer Surface Details treadplate? I find it much easier to use than the brass treadplate. I agree. HIGHLY recommended! |
|
|
|
Post by stevef45 on Jun 4, 2015 17:17:12 GMT -8
i might have to take a look at them. Do you guys have any pics of the tread before paint?
|
|
|
|
Post by stevef45 on Jun 5, 2015 23:32:02 GMT -8
Ok, need a lil help on this part. I tried to make this nubs but they didn't come out right. Any idea on the best way to make them? If the nubs that are used on the outside of hte long hood and half nub looking thing to lift the long hood. 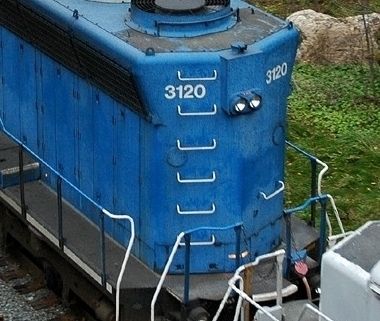 Anyway, did a lil more the other night with the horn piping from the top of the cab to the horn located on the db hatch. 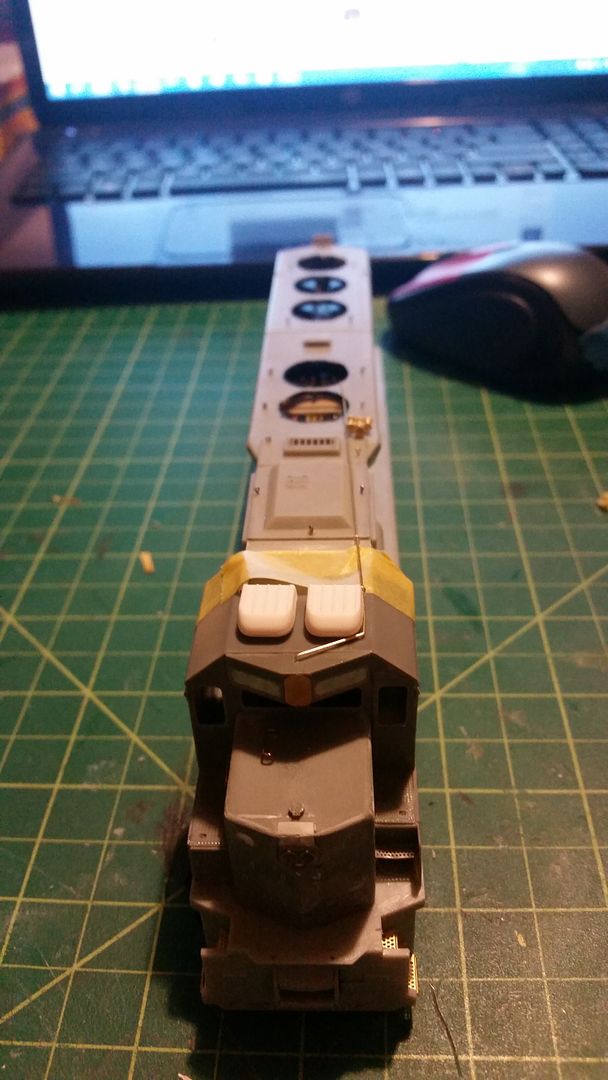 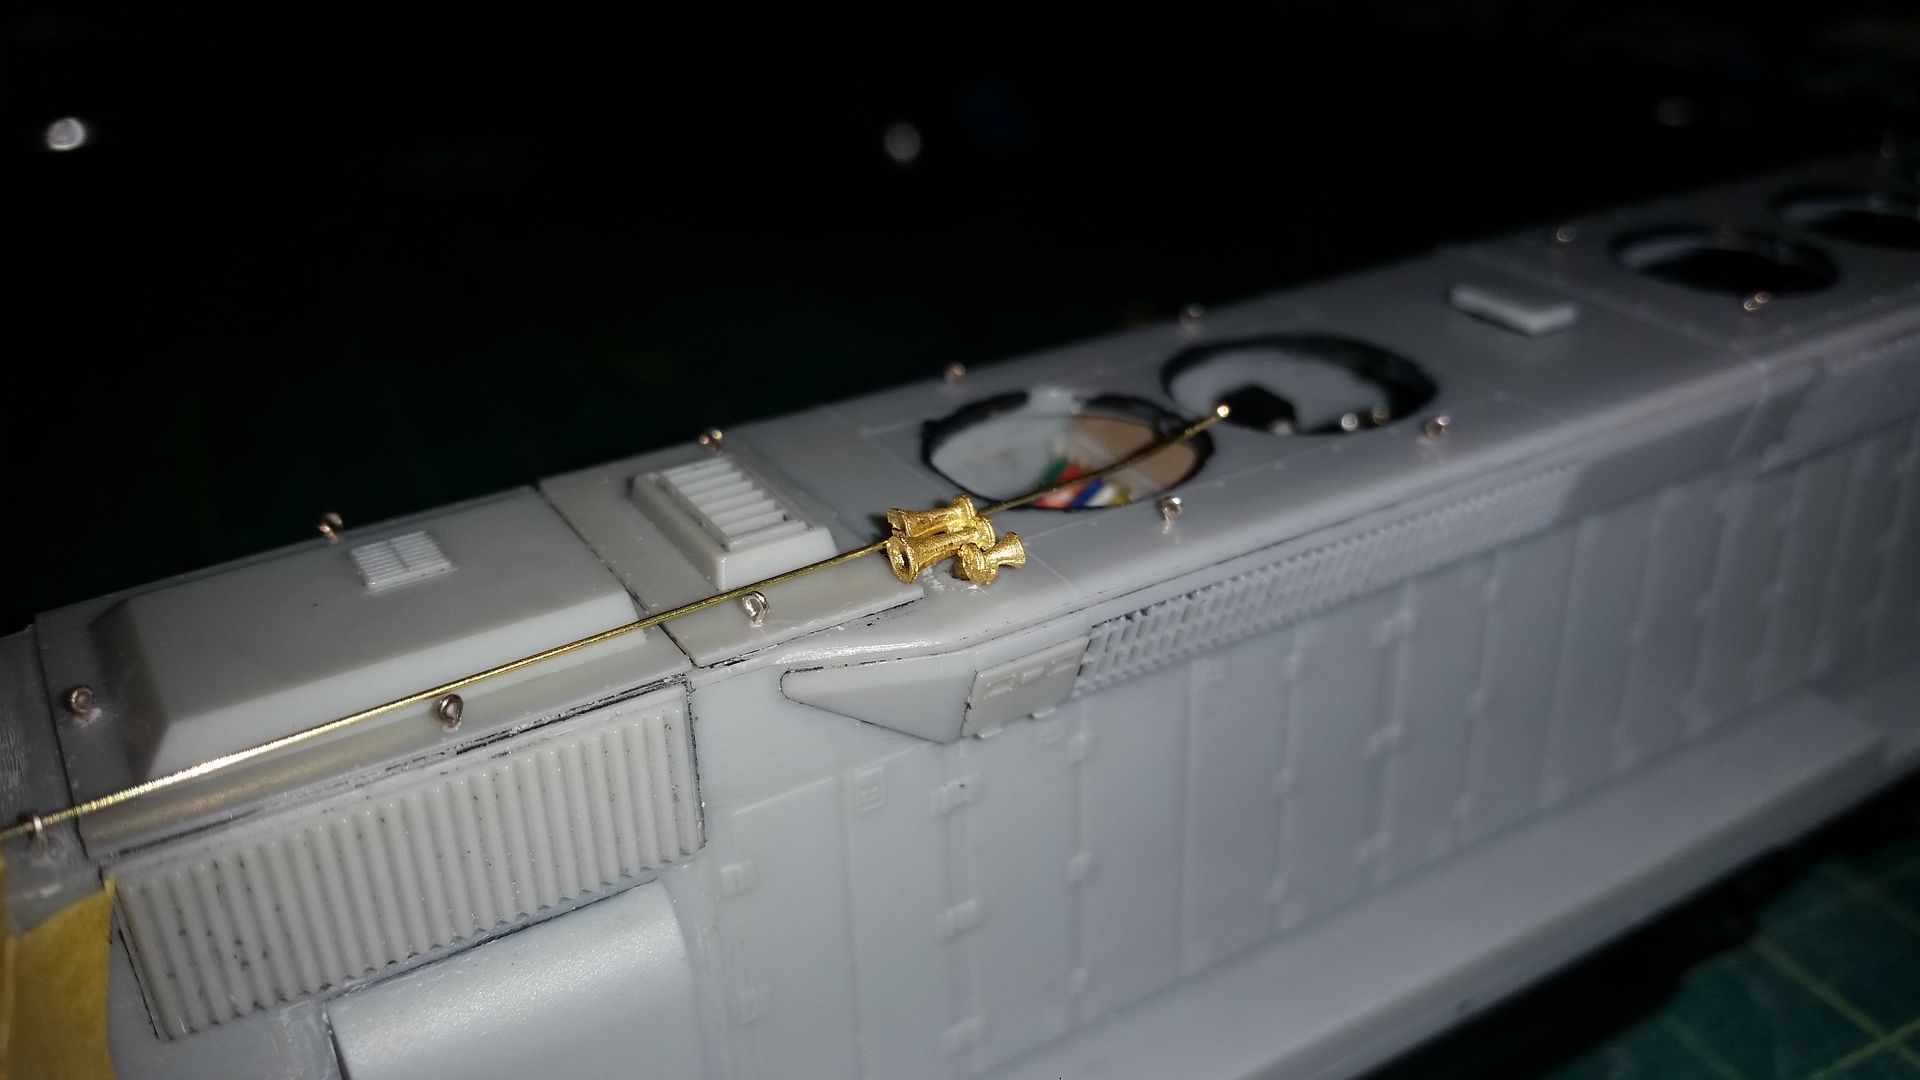 |
|
|
|
Post by stevef45 on Jun 16, 2015 0:08:05 GMT -8
Added the P3 horn from DW which looked better to me then the cal-scale one, which looked over sized even though it had the correct bell arrangement. 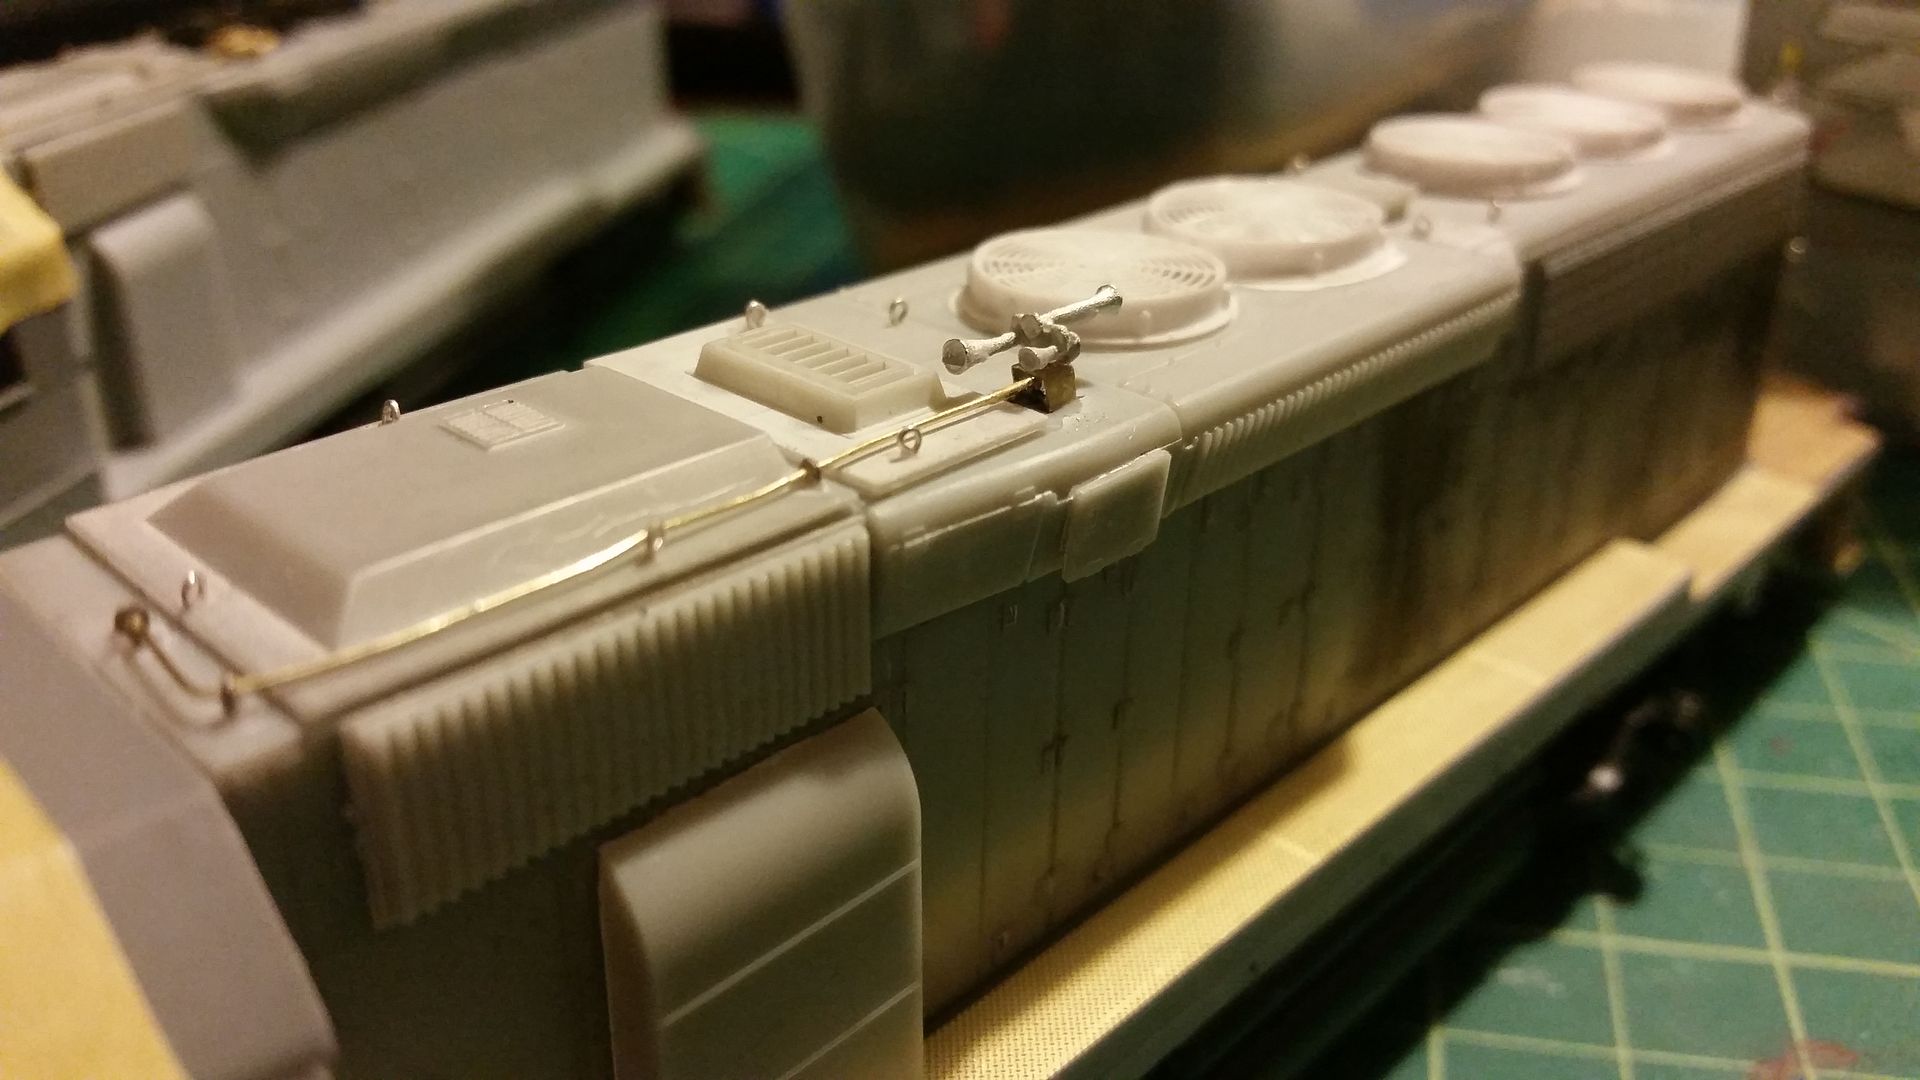 The brass wire i used i ended up bending and warping by accident, but looking at one of hte pics it actually looks good since the hose used on the prototype is all messed up. 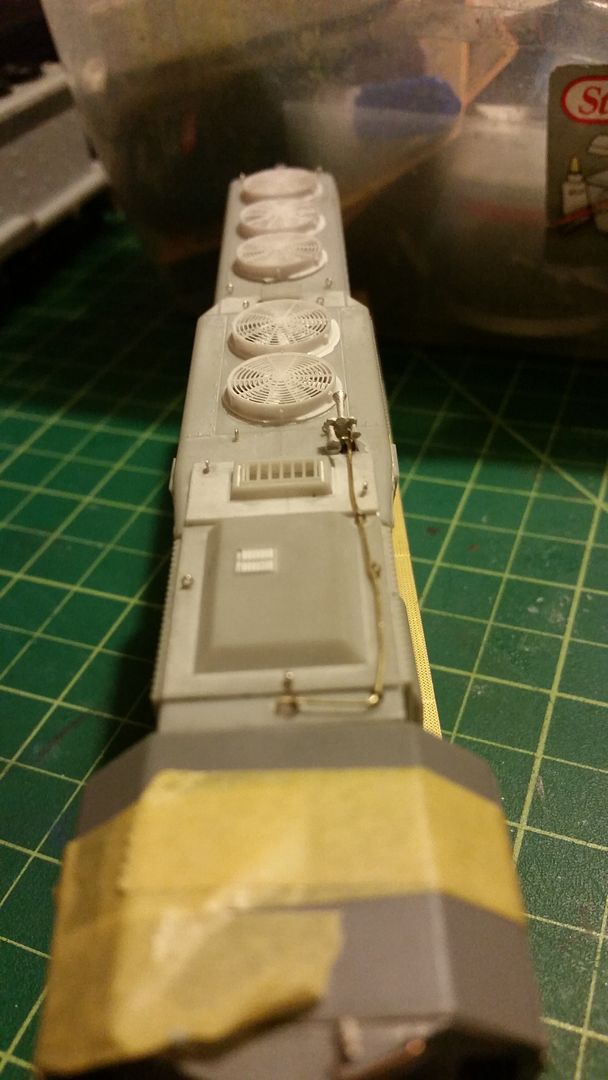 Plow added to 2024 along with cut levers and mu hoses 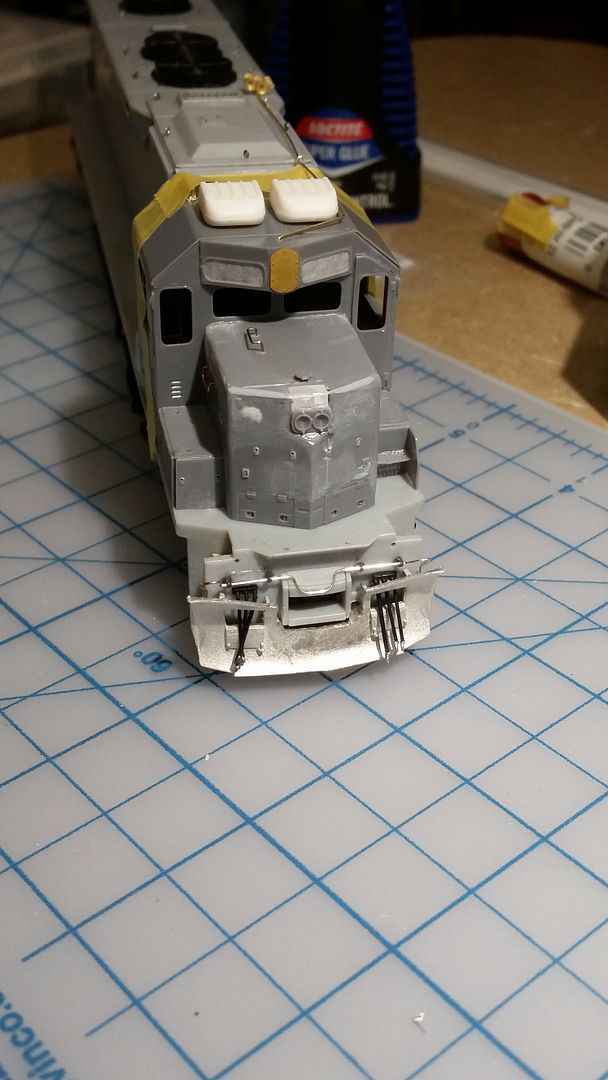 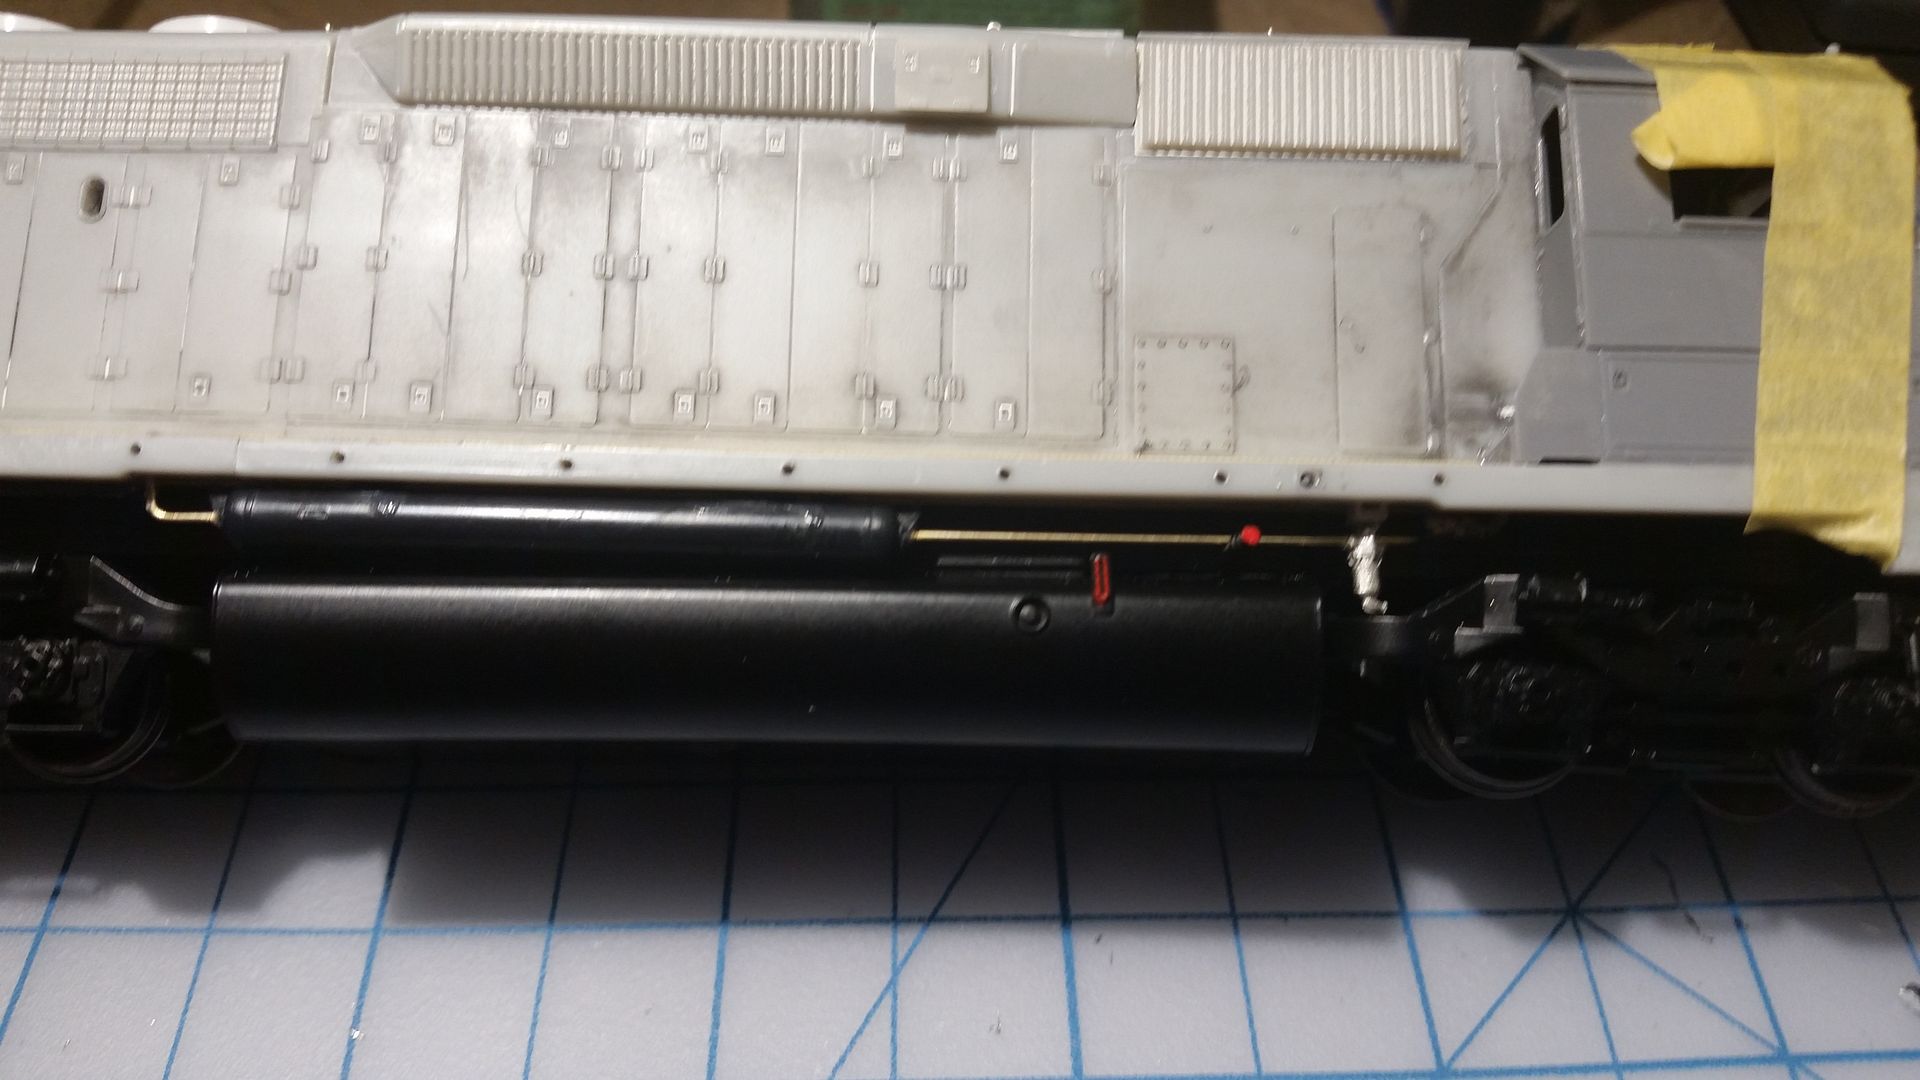 |
|
|
|
Post by stevef45 on Jun 17, 2015 17:30:26 GMT -8
Almost complete!!!! Added DA cut levers to the rear also mu hoses. 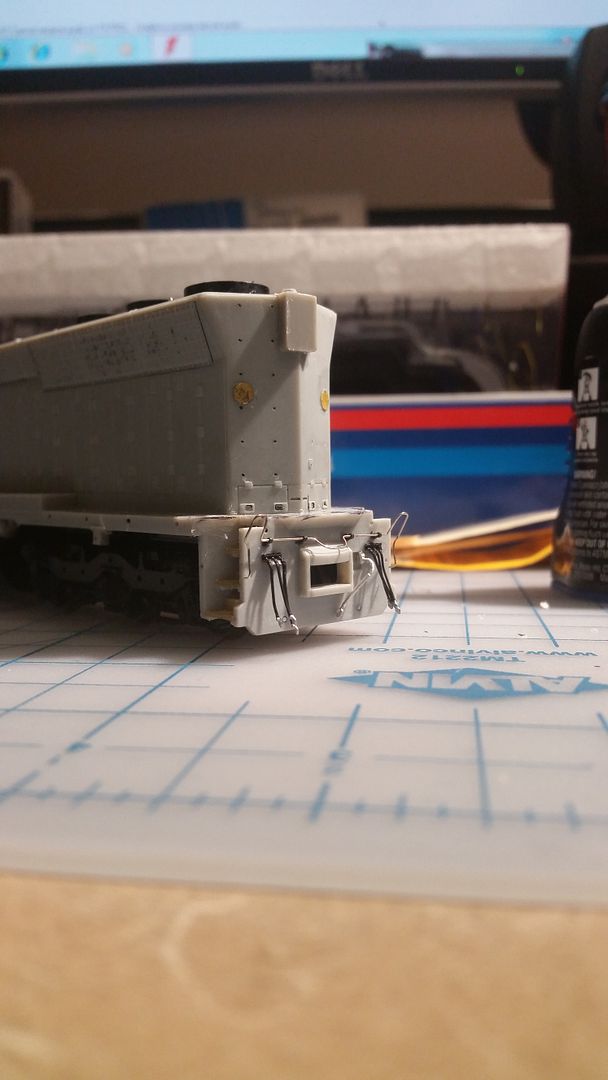 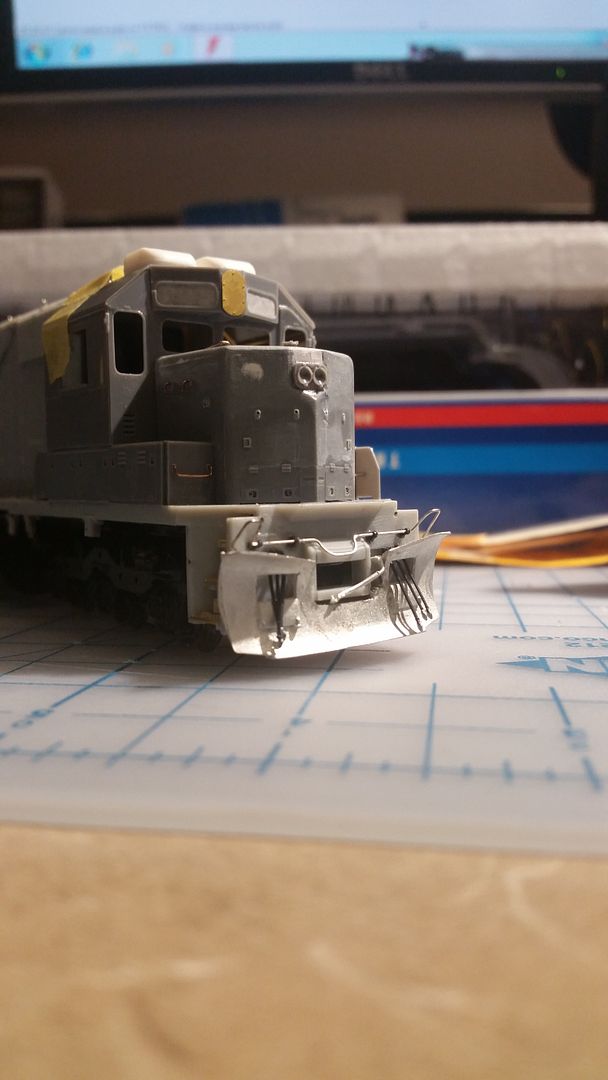 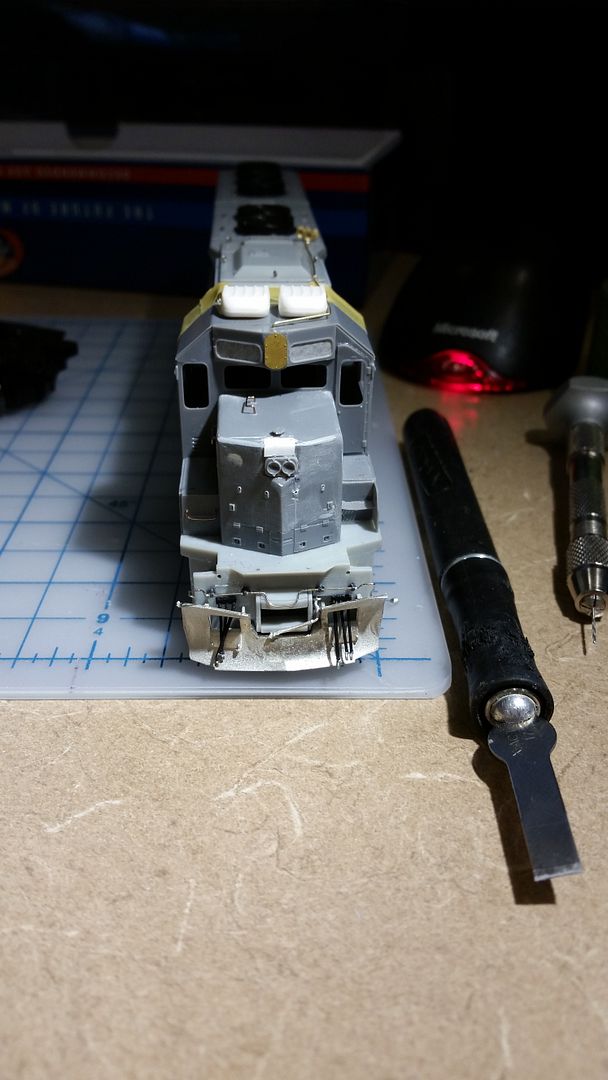 2018 is almost complete also. I am going to remove the athearn cut lever that I put back, im not liking it at all. I'll reuse the mounting holes for the DA ones. I'll also square up the bottom outside corners of the plows. To round for me. 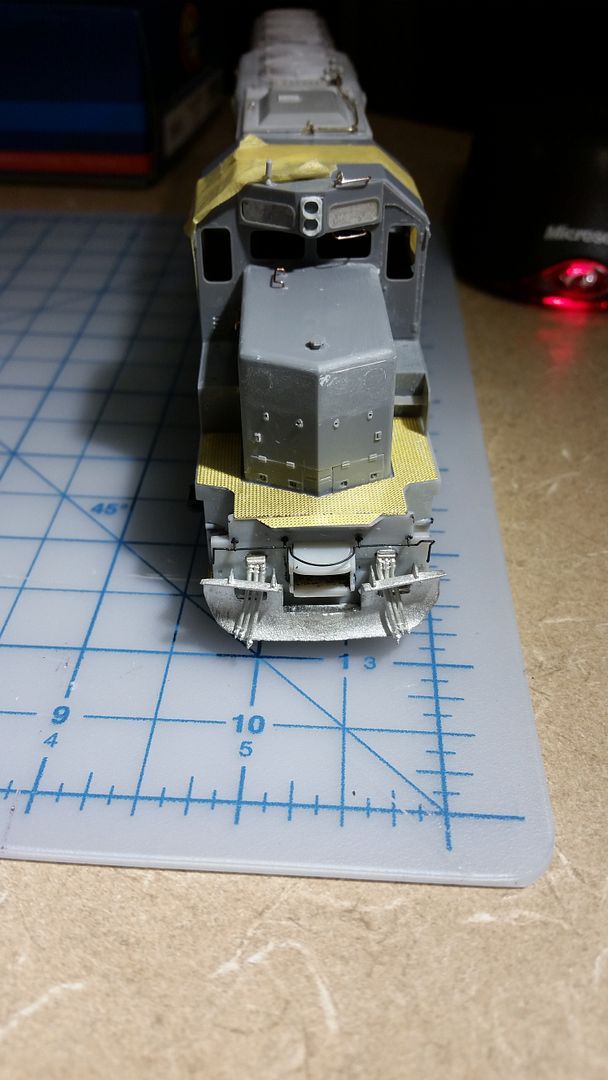 This model came with a factory athearn speed recorder or wheel slip indicator, no idea what it was. But its brass and was only pushed into the factory opening over the bearings. So I pulled it out and moved it to the #1 axle and snipped off the small piece of wire and bent up a new piece to represent the prototype. 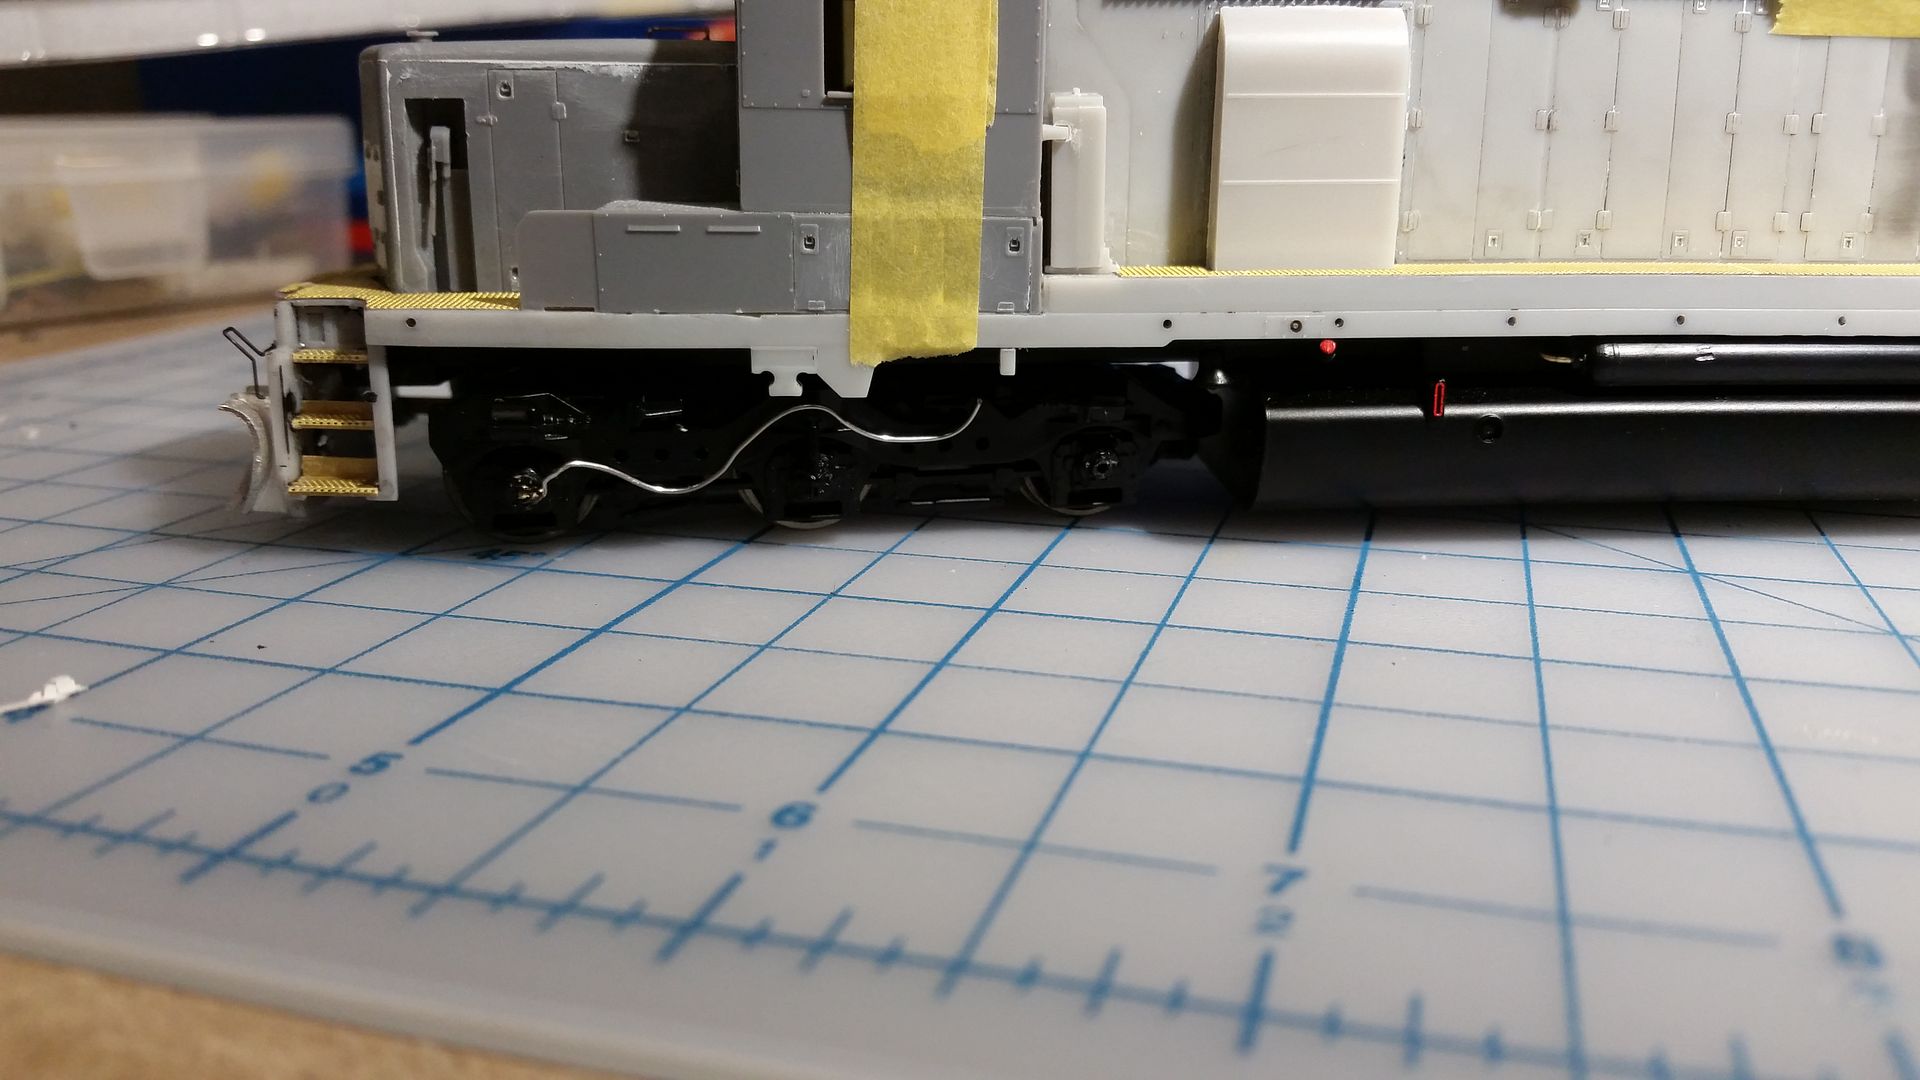 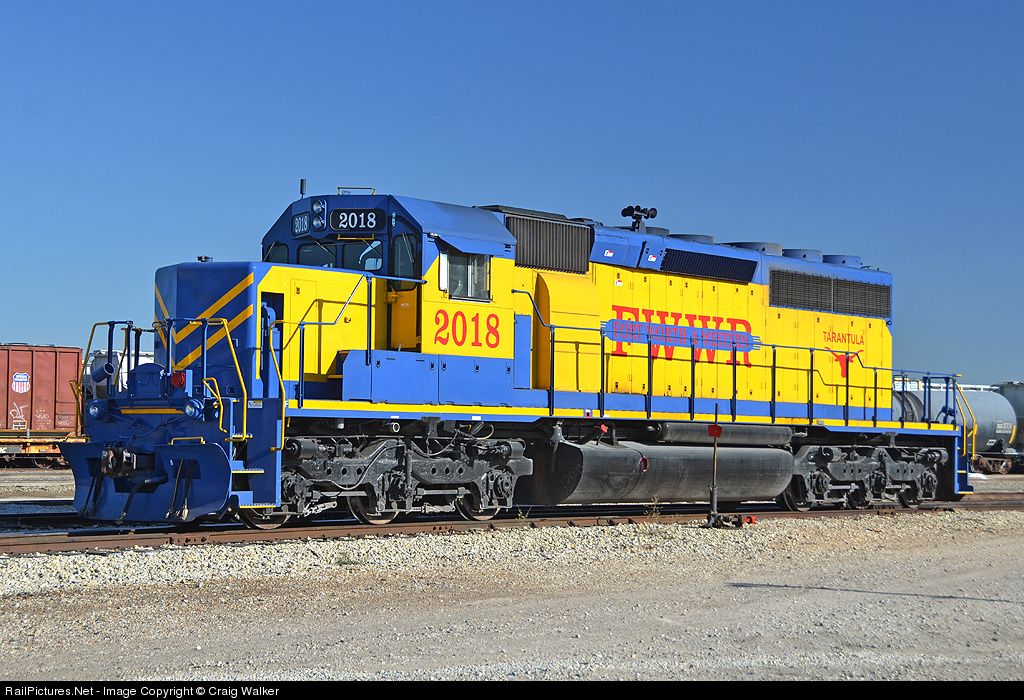 |
|
|
|
Post by mrsocal on Jun 18, 2015 4:04:23 GMT -8
Your efforts are really making these look good. I am looking forward to seeing this in primer where all the detail should just pop.
|
|
|
|
Post by stevef45 on Jun 22, 2015 0:57:50 GMT -8
|
|
|
|
Post by nsc39d8 on Jun 22, 2015 2:32:57 GMT -8
Steve,
Sorry for posting earlier about the lift tabs, I used Athabasca Scale models part number 1001. Nice sheet of several different items. I got mine from Highball Graphics.
Very nice work so far!
|
|
|
|
Post by stevef45 on Jun 25, 2015 23:42:43 GMT -8
Steve, Sorry for posting earlier about the lift tabs, I used Athabasca Scale models part number 1001. Nice sheet of several different items. I got mine from Highball Graphics. Very nice work so far! Looks like highball is out of stock. Those would've been PERFECT!!!! |
|
|
|
Post by canrailfan on Jun 26, 2015 6:32:48 GMT -8
Hi Steve,
FWIW, Athabasca's own site (http://www.athabascashops.com/) shows item 1001 in stock, under 'Products/All Scale Items', price is CAD $8.95 which would be about US $7.00 these days.
They take PayPal and I can't see shipping being much for an etched sheet of brass.
Thanks for the interesting project, looking forward to seeing these 'in paint'.
David
|
|
djh4d
Full Member
  
Posts: 205
|
Post by djh4d on Jun 26, 2015 7:33:29 GMT -8
What coupler cut bars are you using?
Thanks,
-Dave
|
|
|
|
Post by alcoc430 on Jun 26, 2015 8:28:57 GMT -8
That's some nice work. thanks for sharing
|
|
|
|
Post by stevef45 on Jun 26, 2015 20:35:46 GMT -8
What coupler cut bars are you using? Thanks, -Dave detail associates. i'd have to dig up teh part number. |
|
|
|
Post by stevef45 on Jun 27, 2015 19:54:46 GMT -8
im tossing around the idea of doing another one of the SD45 carbodied ones. But this time i'd probably do it in the athearn rtr with value sound. Just sucks they aren't offering undecorated's.
|
|