|
|
Post by antoniofp45 on Dec 19, 2014 3:55:33 GMT -8
Hi Crew!
Started this thread since the current Athearn Quality Thread is at 9 pages.
I appreciate Rahna-Outbakred Jim's informative post regarding Athearn RTR locomotives having the old RPP tooled shells, which were very good back when first produced but now considered dated. I admit that I still plan on purchasing the RTR SD45s I mentioned on the other thread, only because of the specific features combined with the paint schemes I've been wanting for a good while. Other than those, my locomotive purchases will be from Rapido (come on FL9!) Atlas, and Intermountain (unless Athearn produces an SDP40F).
To those of you that have purchased RPP-shelled Athearn RTR units, please consider posting photos and information of the units that you've upgraded and/or detailed. Although I enjoy reading, I still subscribe to the "A picture is worth a thousand words!" mantra.
Thanks guys 
|
|
|
|
Post by nebrzephyr on Dec 19, 2014 7:35:54 GMT -8
Here's an ex-RPP GP60M that was released by Athearn. I added a bunch of detail to the model, including replacing the air tanks with full profile ones. Added working ditch lights, fuel tank detail, truck details, etc, etc. I did NOT fix the incorrect nose headlights as I could not locate the old Sunrise Enterprises casting which would have made it correct. As a side note it appears Fox Valley's announced GP60M has the same mistake on the nose headlight. Bob  |
|
|
|
Post by Great-Northern-Willmar Div on Dec 19, 2014 7:53:16 GMT -8
RPP shells are providing the two hoods for my Union Pacific DD35. I replaced the crude RPP doors with Cannon. The fans are Cannon as is the exhaust with base, inertial air filter housing, blower housing, radiator grilles and inertial air intakes. About the only RPP detail left is the dynamic brake housing and grids.  RPP got the spacing and the placement of the radiator roof fans WRONG so I corrected them. The fans will be Cannon  RPP's tooling of the doors is awful. The knuckle busters are shallow and over sized. The hinges are much too large. The doors are also not the correct size. The are too wide and too short. Cannonized side.  Non-Cannonized side. This is when I learned the RPP GP35 is about a scale foot too short in height. For the DD35 the traction motor blower housing beneath the doors on this side will be cut away and I'll be able to install the Cannon Doors.  |
|
|
|
Post by Great-Northern-Willmar Div on Dec 19, 2014 8:02:03 GMT -8
Forgot to add that the radiator grilles on the RPP shell are wrong. Too short and shifted to the rear. I Cannoned these and corrected the placement.
|
|
|
|
Post by stevef45 on Dec 19, 2014 22:52:30 GMT -8
NYSW 3018 is a SD40-2 i did. Added lots of DW/DA and some cannon parts. Front handrails are around somehwere. 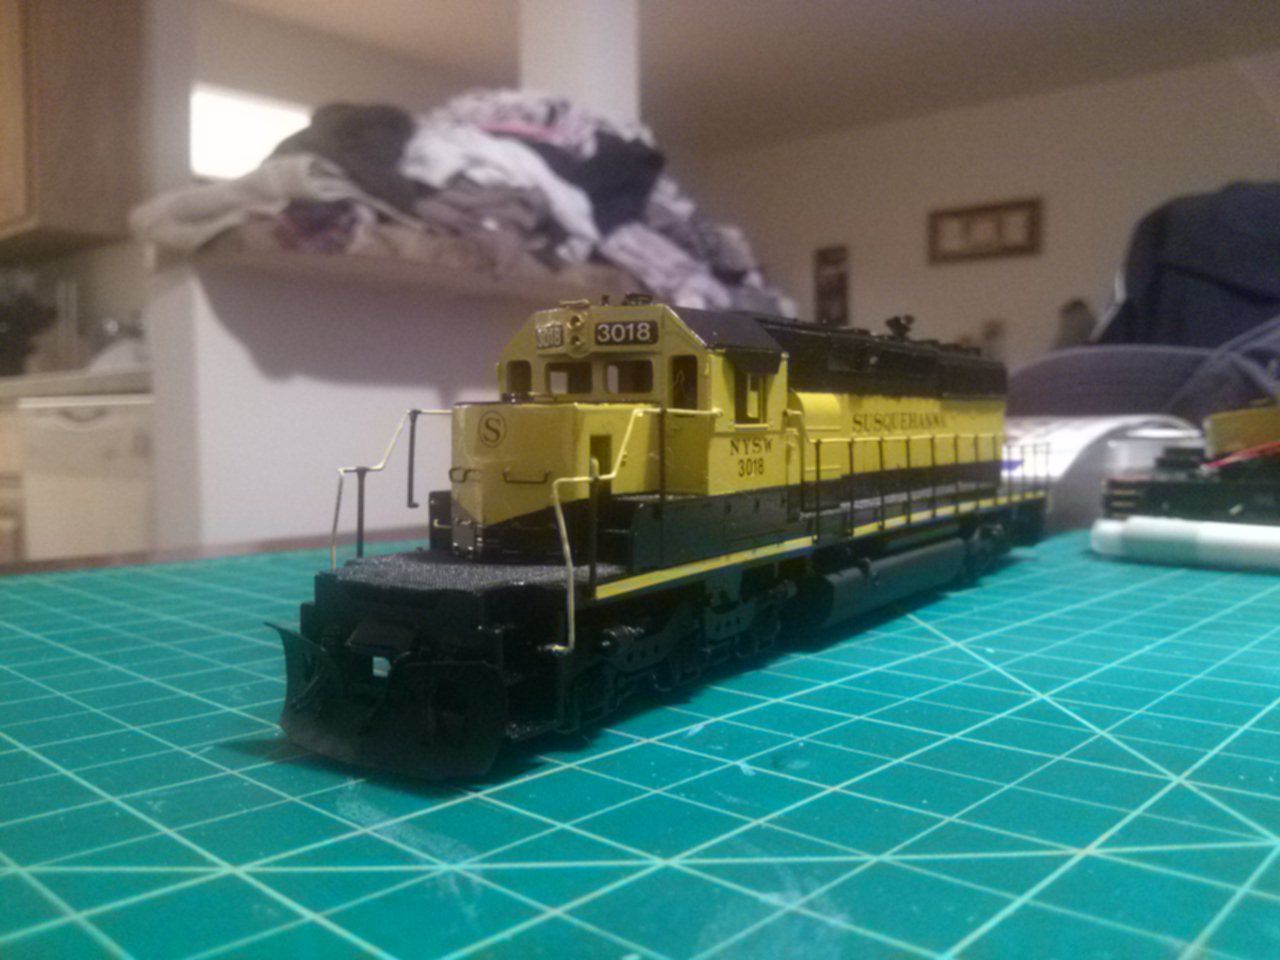 Dont have any good finsihed pics of my other NYSW SD40-2, but here's a few in progress shots. 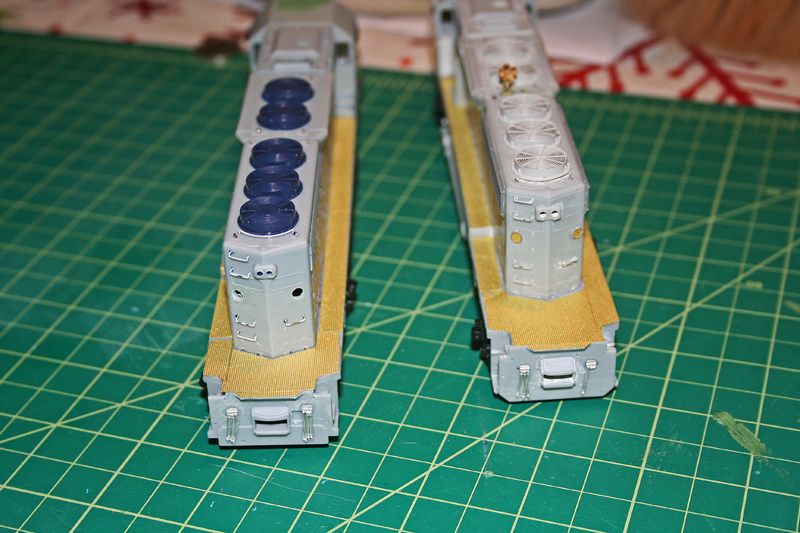 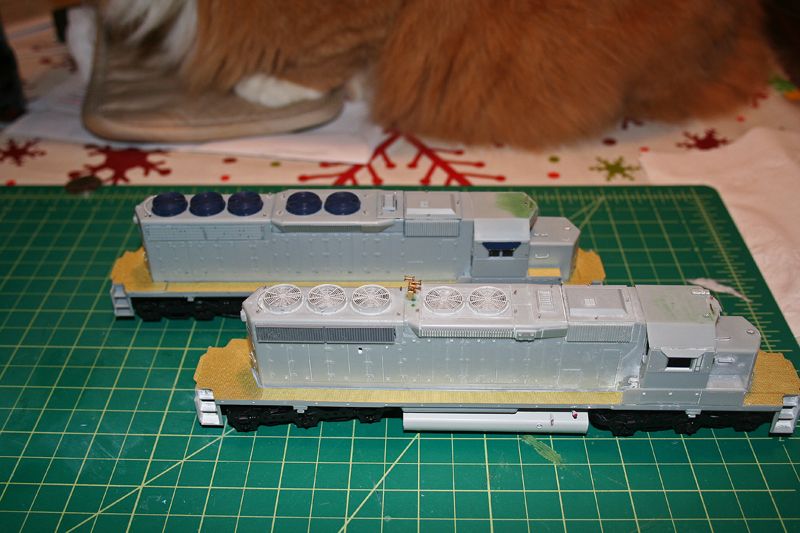 President of Ginger Cats of America approves of my models. 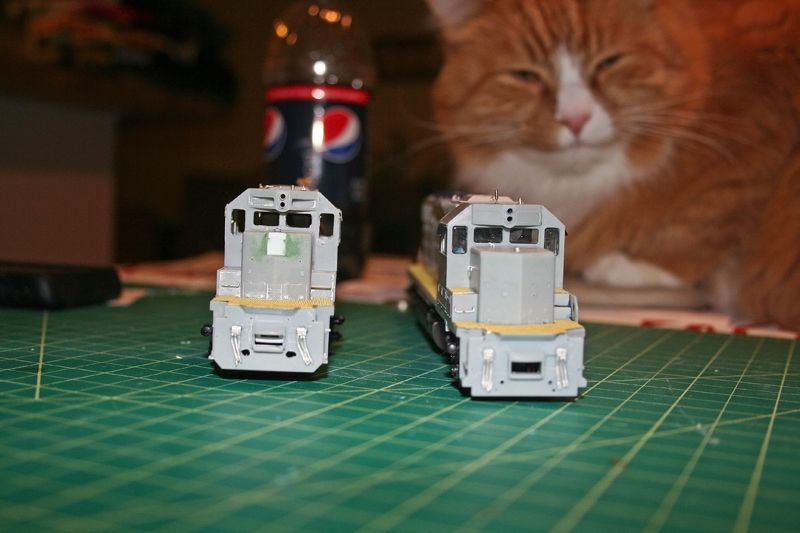 |
|
|
|
Post by fr8kar on Dec 19, 2014 23:12:15 GMT -8
I love the models, Steve, but el Presidente Gato in the last photo has me cracking up. He looks like the feline version of the most interesting man in the world with that grin. "I don't always drink soda while modeling SD40-2s, but when I do, I prefer Pepsi."
|
|
|
|
Post by TBird1958 on Dec 20, 2014 0:07:03 GMT -8
Agreed, kitteh is priceless!
|
|
|
|
Post by stevef45 on Dec 20, 2014 0:39:58 GMT -8
I love the models, Steve, but el Presidente Gato in the last photo has me cracking up. He looks like the feline version of the most interesting man in the world with that grin. "I don't always drink soda while modeling SD40-2s, but when I do, I prefer Pepsi." ROFL, He is a bit of a d*&k sometimes. Likes to nip, but can be a huge love bug most other times. He's no small kitty either, just a tad over 20 pounds of purr long haired ginger pyschoness. And he loves to get in the way when working on models. 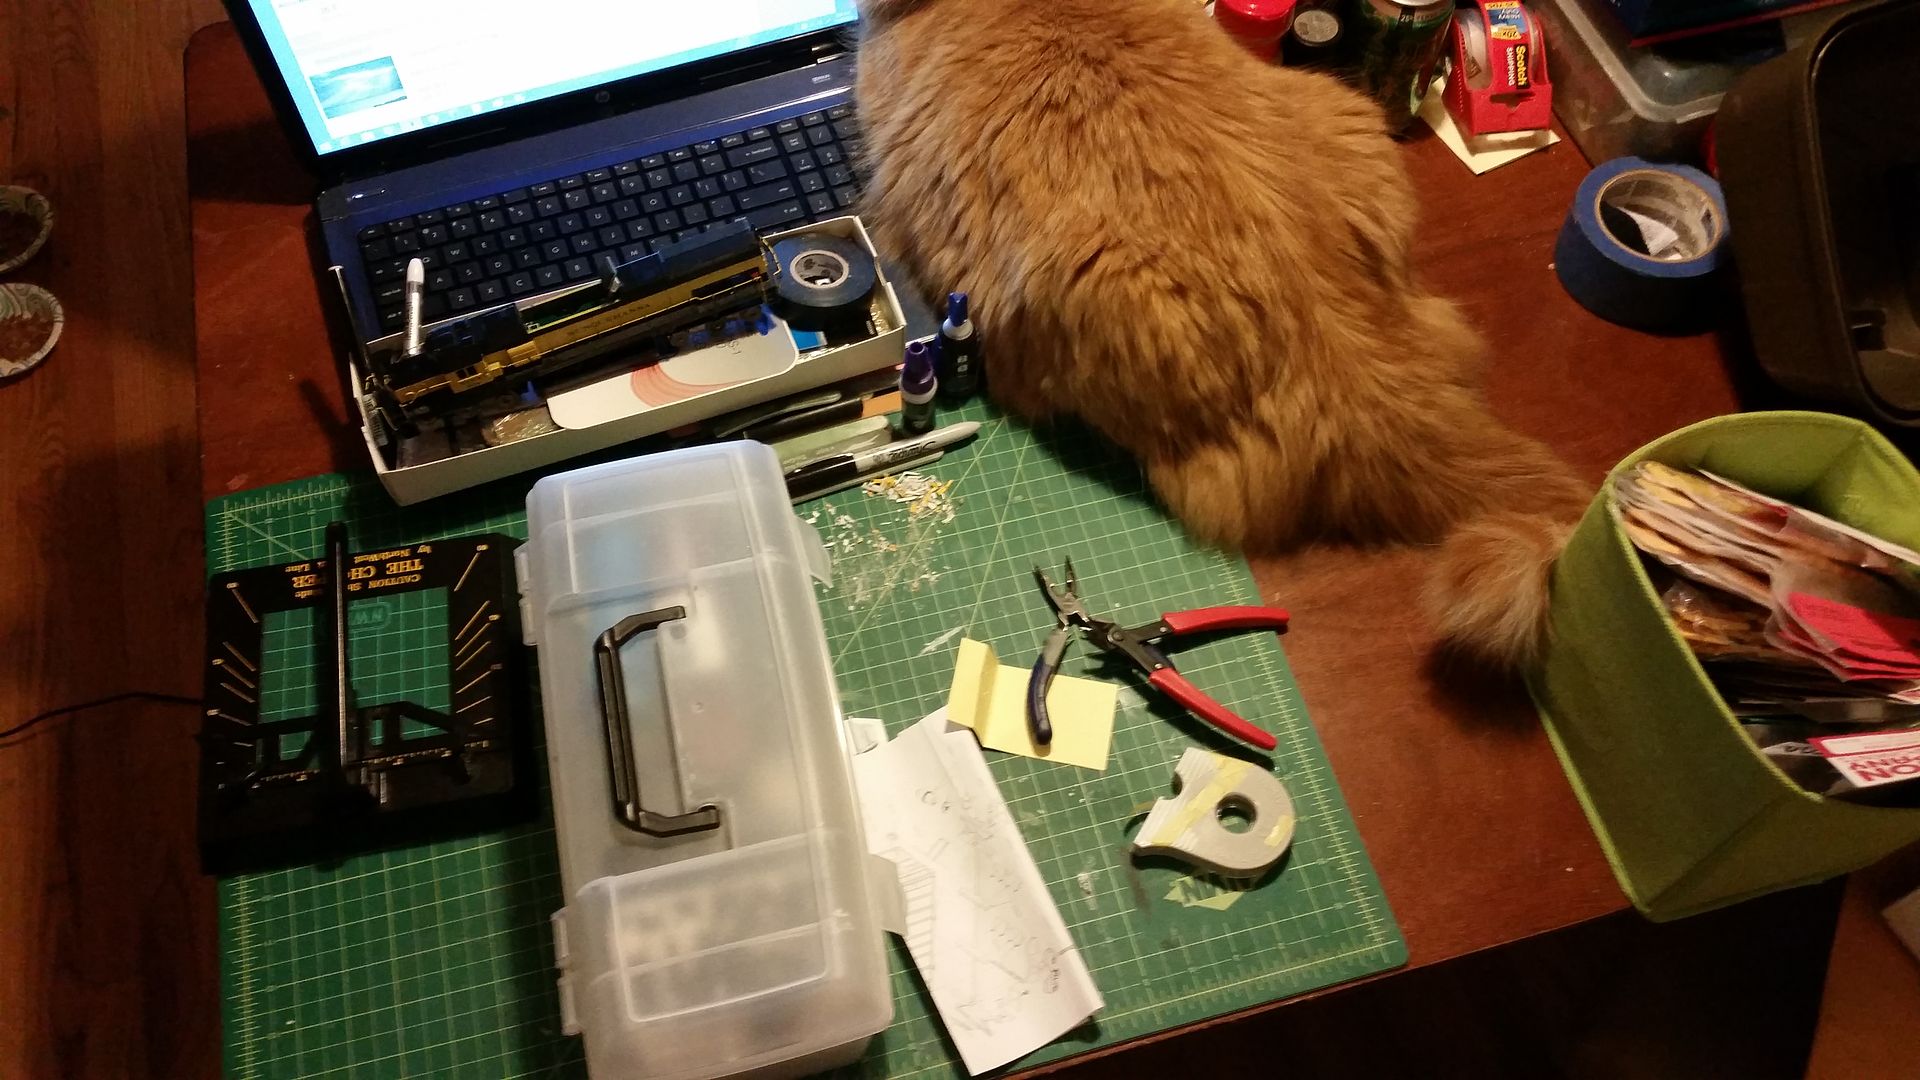  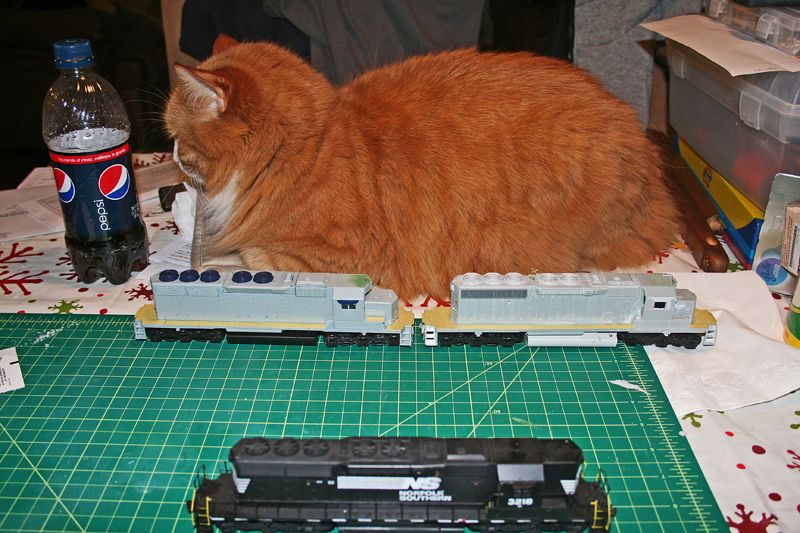  And its not just him, its the other 2 furballs also. Mainly the lil one, Reba. She is in love me i think, she is up my but non stop and always has to be at my side.   The grey one, Charles Xavier doesn't bother me at all. He sleeps pretty much all day.  And sorry to Jim for hijacking this message.....lol |
|
|
|
Post by atsfan on Dec 20, 2014 6:49:56 GMT -8
Here's an ex-RPP GP60M that was released by Athearn. I added a bunch of detail to the model, including replacing the air tanks with full profile ones. Added working ditch lights, fuel tank detail, truck details, etc, etc. I did NOT fix the incorrect nose headlights as I could not locate the old Sunrise Enterprises casting which would have made it correct. As a side note it appears Fox Valley's announced GP60M has the same mistake on the nose headlight. Bob What is the foliage in the front of the layout edge? It looks nice. |
|
|
|
Post by tankcarsrule on Dec 20, 2014 7:07:21 GMT -8
Not quite a RTR, but it's the same body. I used a OMI drive that was intended for a RPP shell. I added a ton of detail parts including SV stanchions. I bent by own cut levers.  |
|
|
|
Post by Great-Northern-Willmar Div on Dec 20, 2014 7:24:03 GMT -8
|
|
|
|
Post by TBird1958 on Dec 20, 2014 12:01:18 GMT -8
Here are some shots of one of my DRGW SD45s, I have to say that Athearn's paintwork on Rio Grande stuff is very good, great registration of the orange over black, that and a properly done Mars light are big pluses in my book. Like many models they benefit from some added frame and tank detail. On this model I used some .060 L stock to create a sill and then added various filters, drains, traction motor cable etc. When viewed from the side it closes a bit of the visual gap and makes the model appear to ride lower on it's trucks. Sorry it's hard to see here, the frame and trucks of the model were completely re-shot gloss black which makes it hard to photograph, once this one and it's two mates are finished I'll weather them which should make it easier to discern the individual parts.    |
|
|
|
Post by antoniofp45 on Dec 21, 2014 7:08:54 GMT -8
Here's an ex-RPP GP60M that was released by Athearn. I added a bunch of detail to the model, including replacing the air tanks with full profile ones. Added working ditch lights, fuel tank detail, truck details, etc, etc. I did NOT fix the incorrect nose headlights as I could not locate the old Sunrise Enterprises casting which would have made it correct. As a side note it appears Fox Valley's announced GP60M has the same mistake on the nose headlight. Bob
NebraskaZephyr,impressive transformation of your Warbonnet GP60, it is a beauty! Here's a shot of one of her prototype siblings, #161 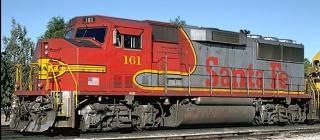 SteveF45, SteveF45, Also impressive work! I appreciate seeing what metal diamond plating looked like and am wondering how the appearance would compare to the decal version. TankCarsRule, that's an RPP body? Your unit looks more like an expensive brass model. Outstanding detail work! TBird, thanks for the closeup shots. I see some of the detailing that you mentioned. Would be neat seeing your unit in it's own thread that includes more shots that includes those details. Guys, thanks! Your photos show that even with shortcomings, modelers can transform "dated" shells into realistic works of art. |
|
|
|
Post by antoniofp45 on Dec 21, 2014 7:10:17 GMT -8
Outbakred Jim.........as always your meticulous surgical kitbashing projects can't be described in a few sentences. I've noticed that you tend to describe your work in a low key manner, but imho it rates up there with this hobby's "well known" locomotive detailing gurus.
I remember you stating that you lost much of your info when your computer crashed a year or so back, but I hope that you will eventually put your current and future work in a database that can be posted and shared online. Then again, you should consider submit your projects in as a series of articles to a paper or online model railroad magazine.
|
|
|
|
Post by nebrzephyr on Dec 21, 2014 14:02:16 GMT -8
antoniofp45...thanks. If you look at the prototype photo you can see what I'm referring to on the "wrong" headlight casting. On the model it should be recessed. Too bad it appears the announced Fox Valley HO GP60M appears it will have the same mistake. Bob
|
|
|
|
Post by tankcarsrule on Dec 21, 2014 17:00:59 GMT -8
Here's an ex-RPP GP60M that was released by Athearn. I added a bunch of detail to the model, TankCarsRule, that's an RPP body? Your unit looks more like an expensive brass model. Outstanding detail work! Thank you very much. No, it's an Athearn shell. The drive wasn't any trouble to fit, although it was for a RPP shell. Regards, Bobby |
|
|
|
Post by stevef45 on Dec 21, 2014 22:43:43 GMT -8
If I can motivate myself to take these out and finish them, i might just have to much to paint and not enough paint. 5 Athearn RTR SD60's for NYSW that I started exactly 2 years ago. Would've been done this time last year if the paint went down good. adding piping to the air system. 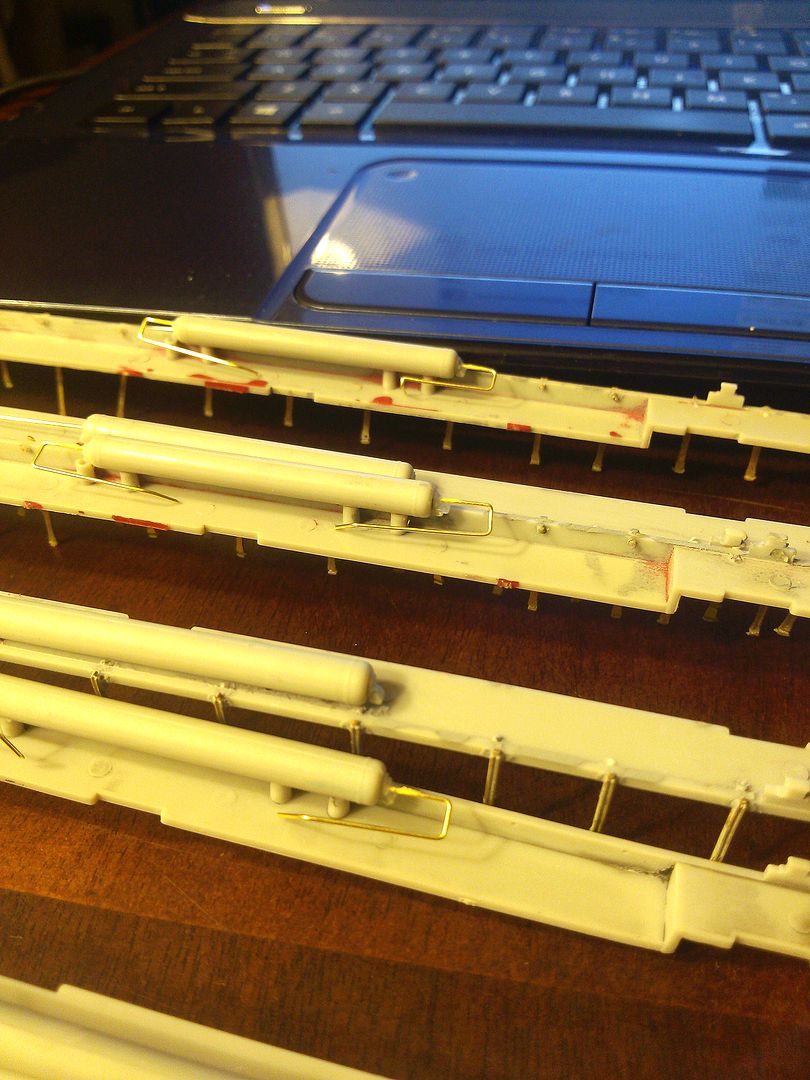 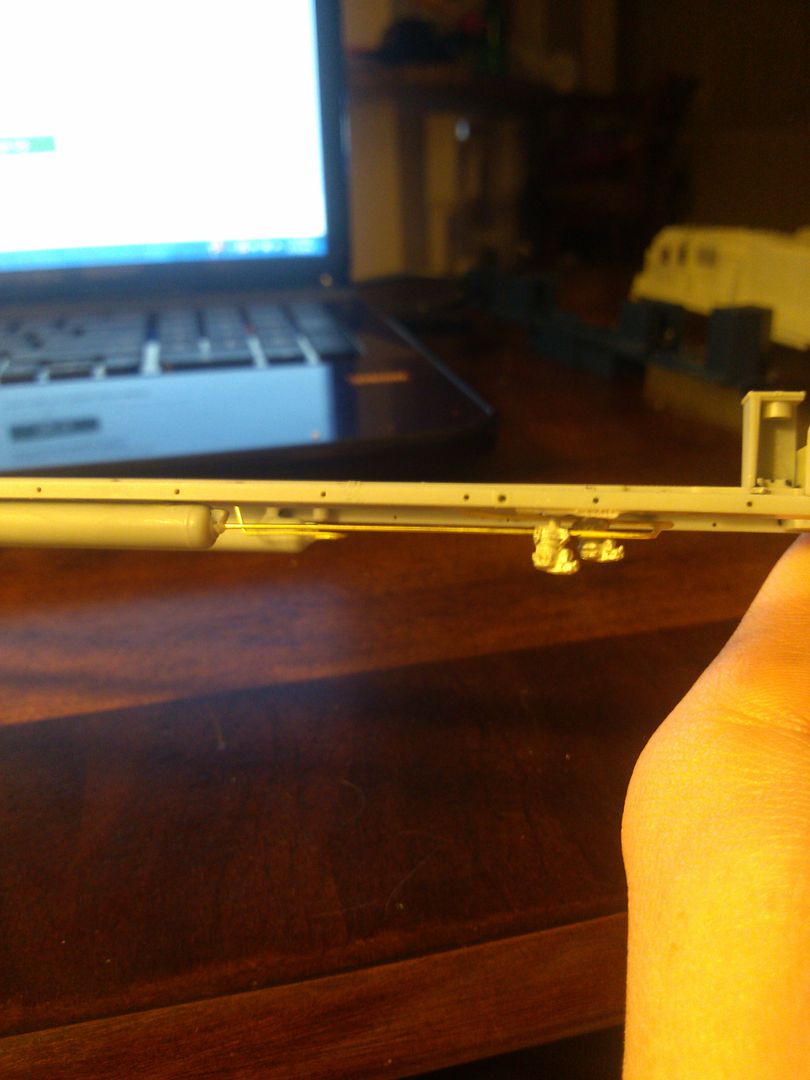 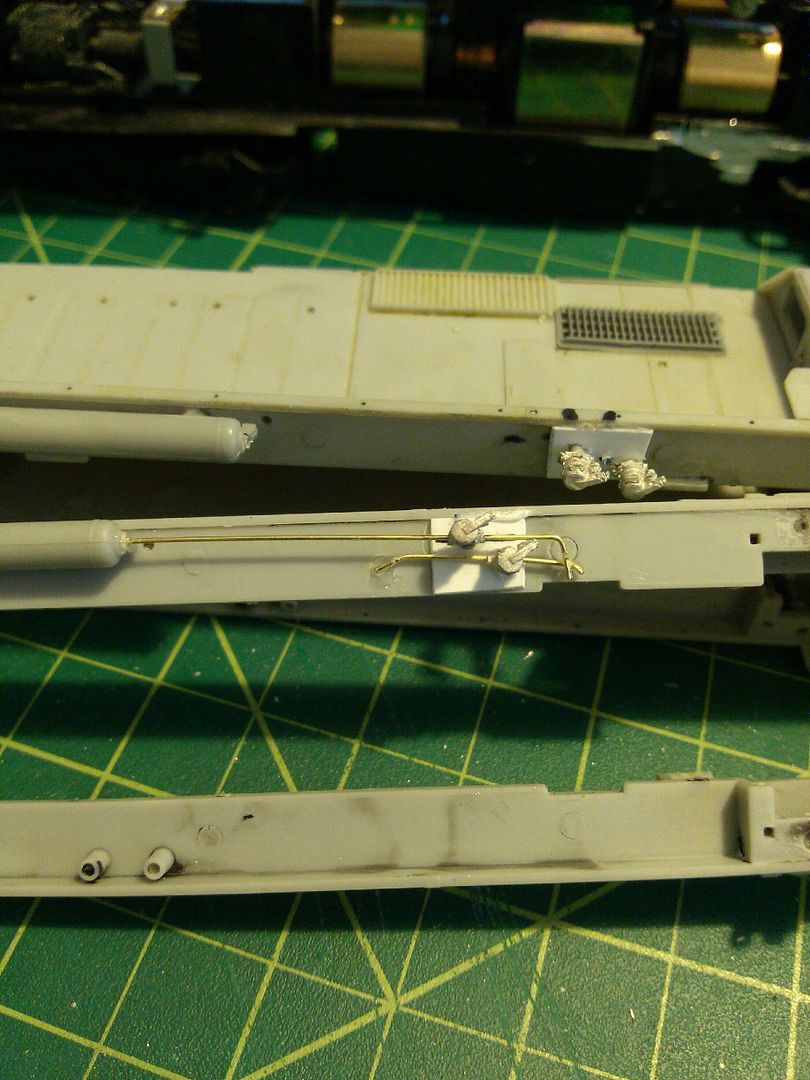 waste retention tanks. 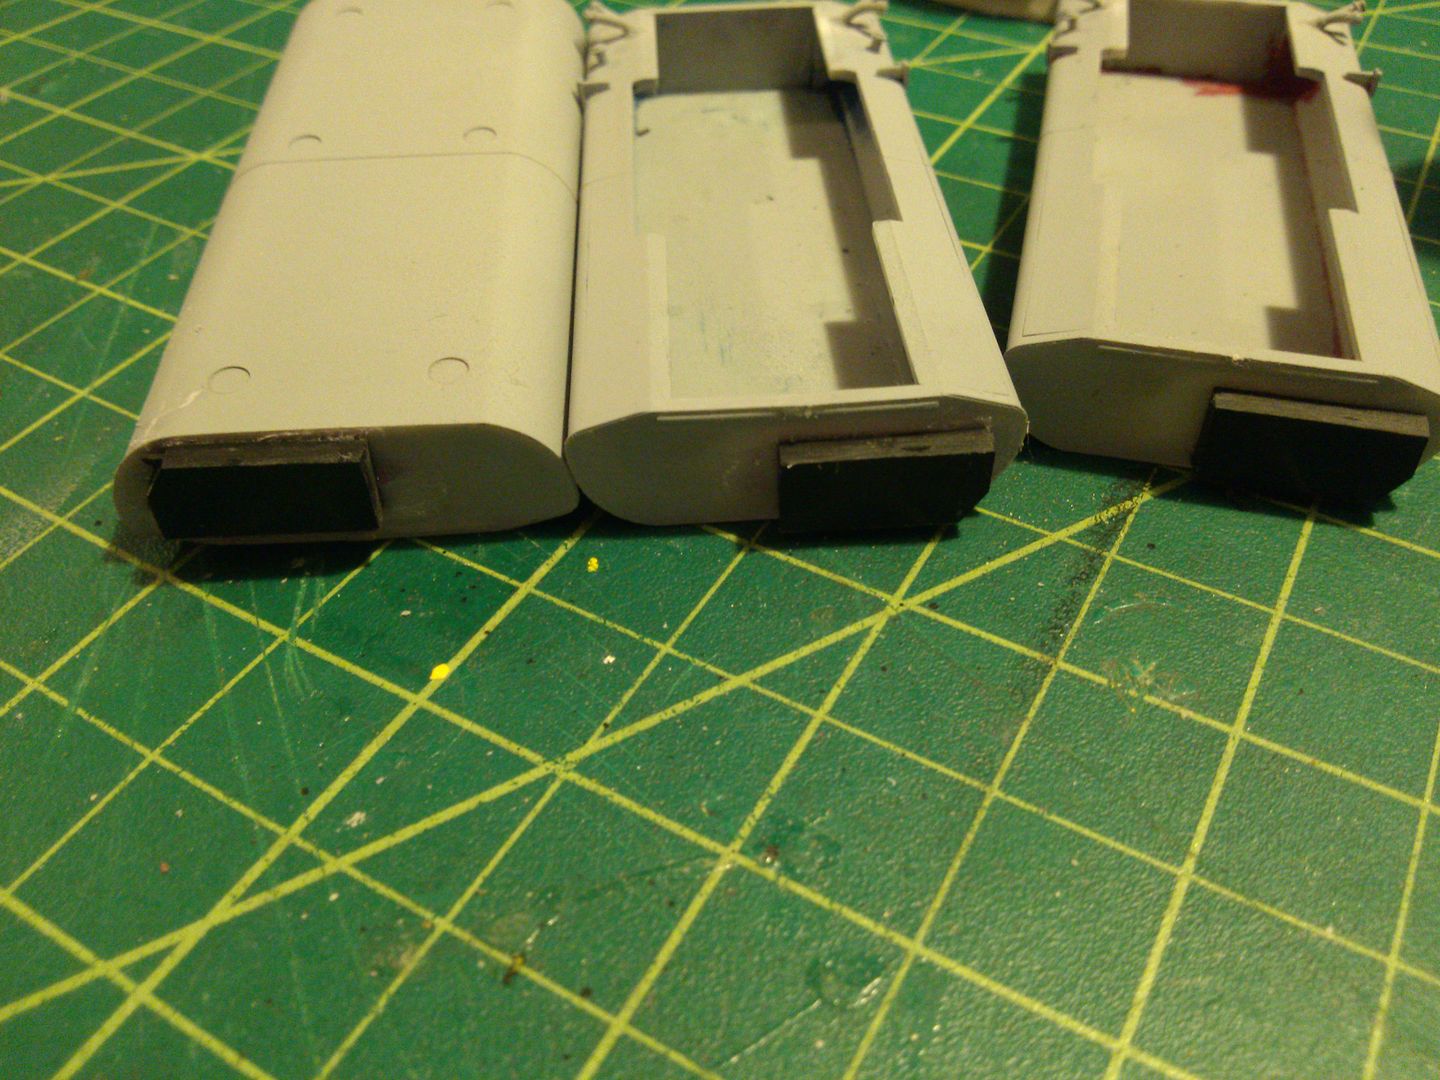 Cannon steps 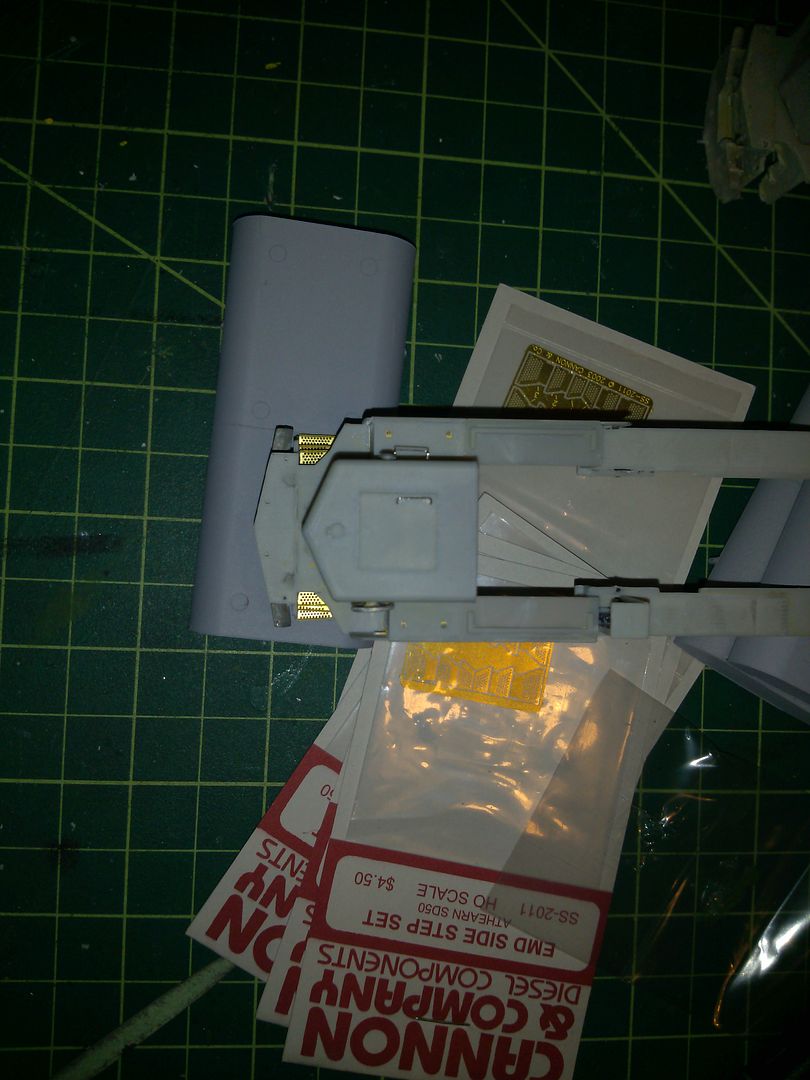 Railflyer ditch lights...................MAYBE. To bend these tiny things will be the death of me  |
|
|
|
Post by stevef45 on Dec 21, 2014 22:47:33 GMT -8
This guy will be getting the Big Al LED treatment this week if they leds come. The ditch lights look like they can't be fitted with lights but they can, the anticlimber has the hole there and the housings were molded for the bulbs, so they are hollow. Athearn is impossible to get answers form, this "part" has been in products for over a year they say. 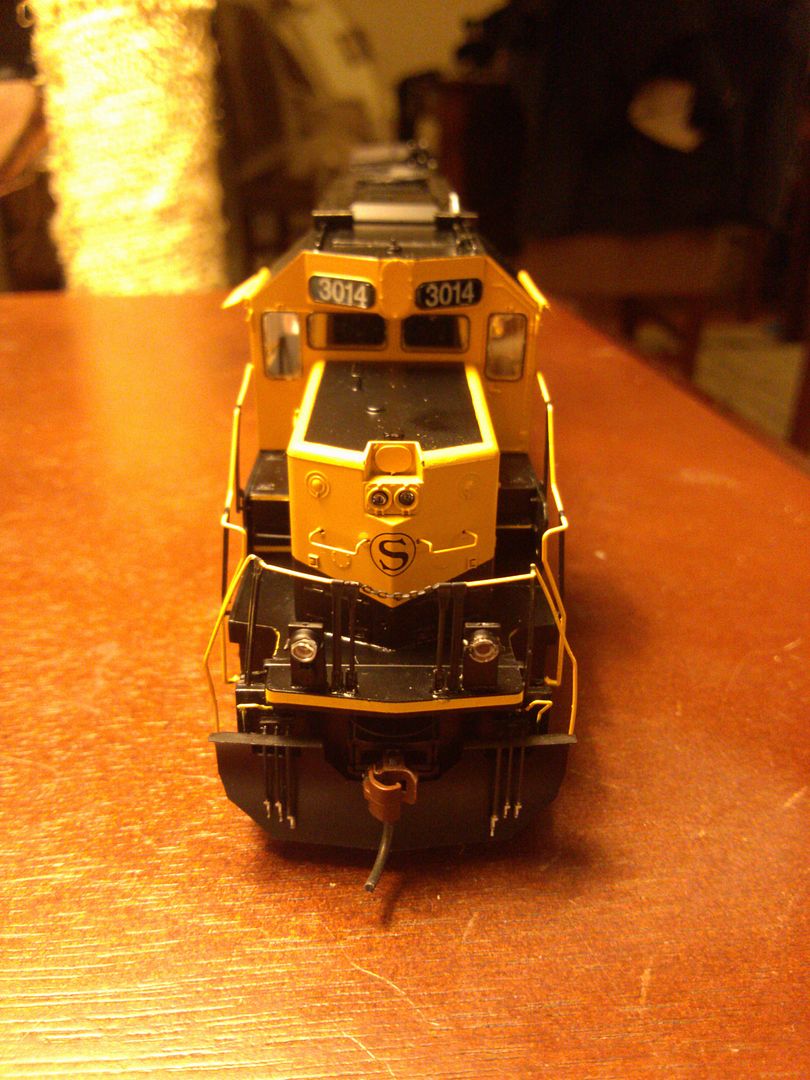 The NYSW SD60's getting proper fuel fillers 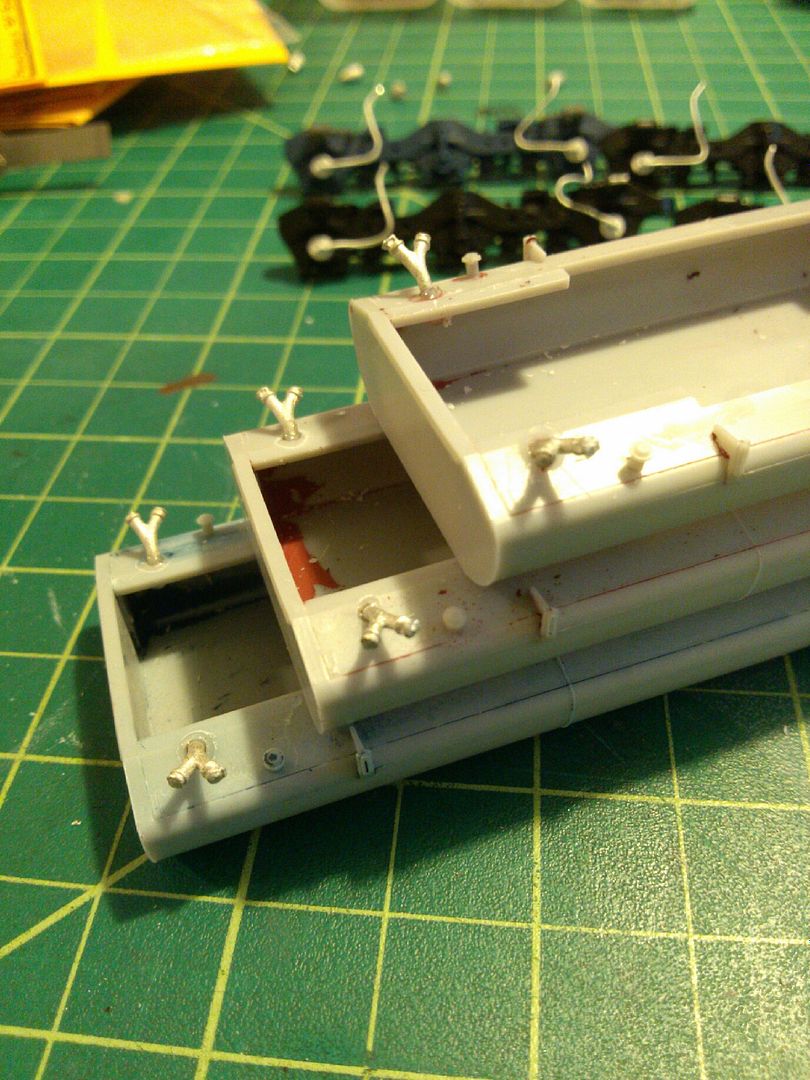 proper speed recorders 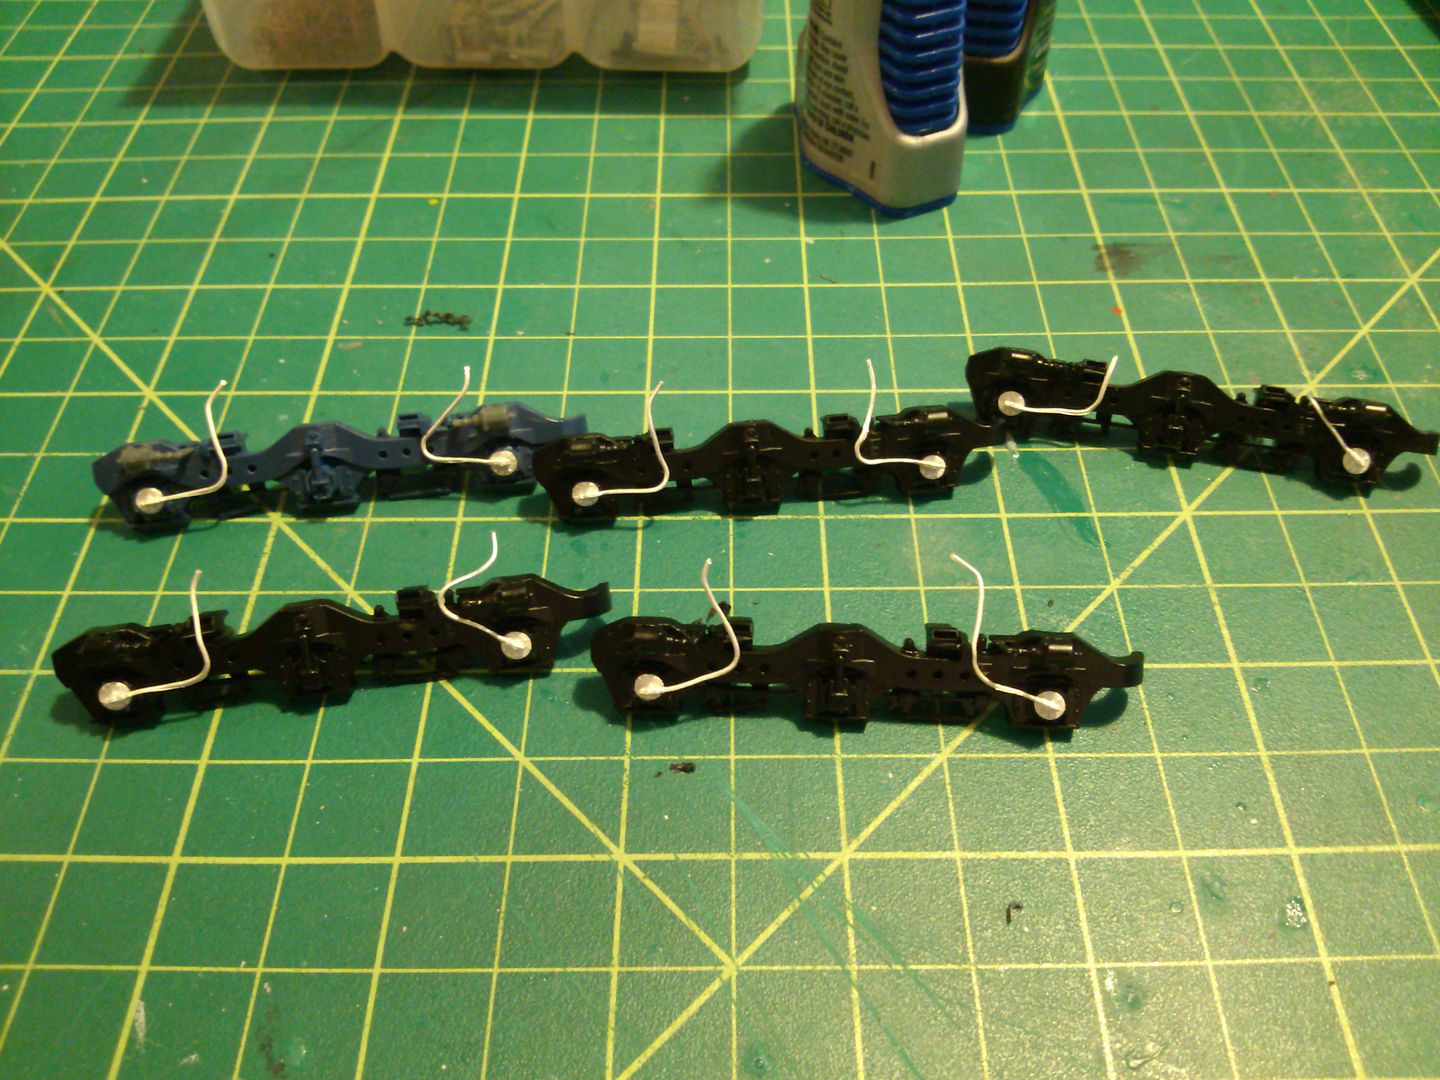 Custom photoetched DB lift rings 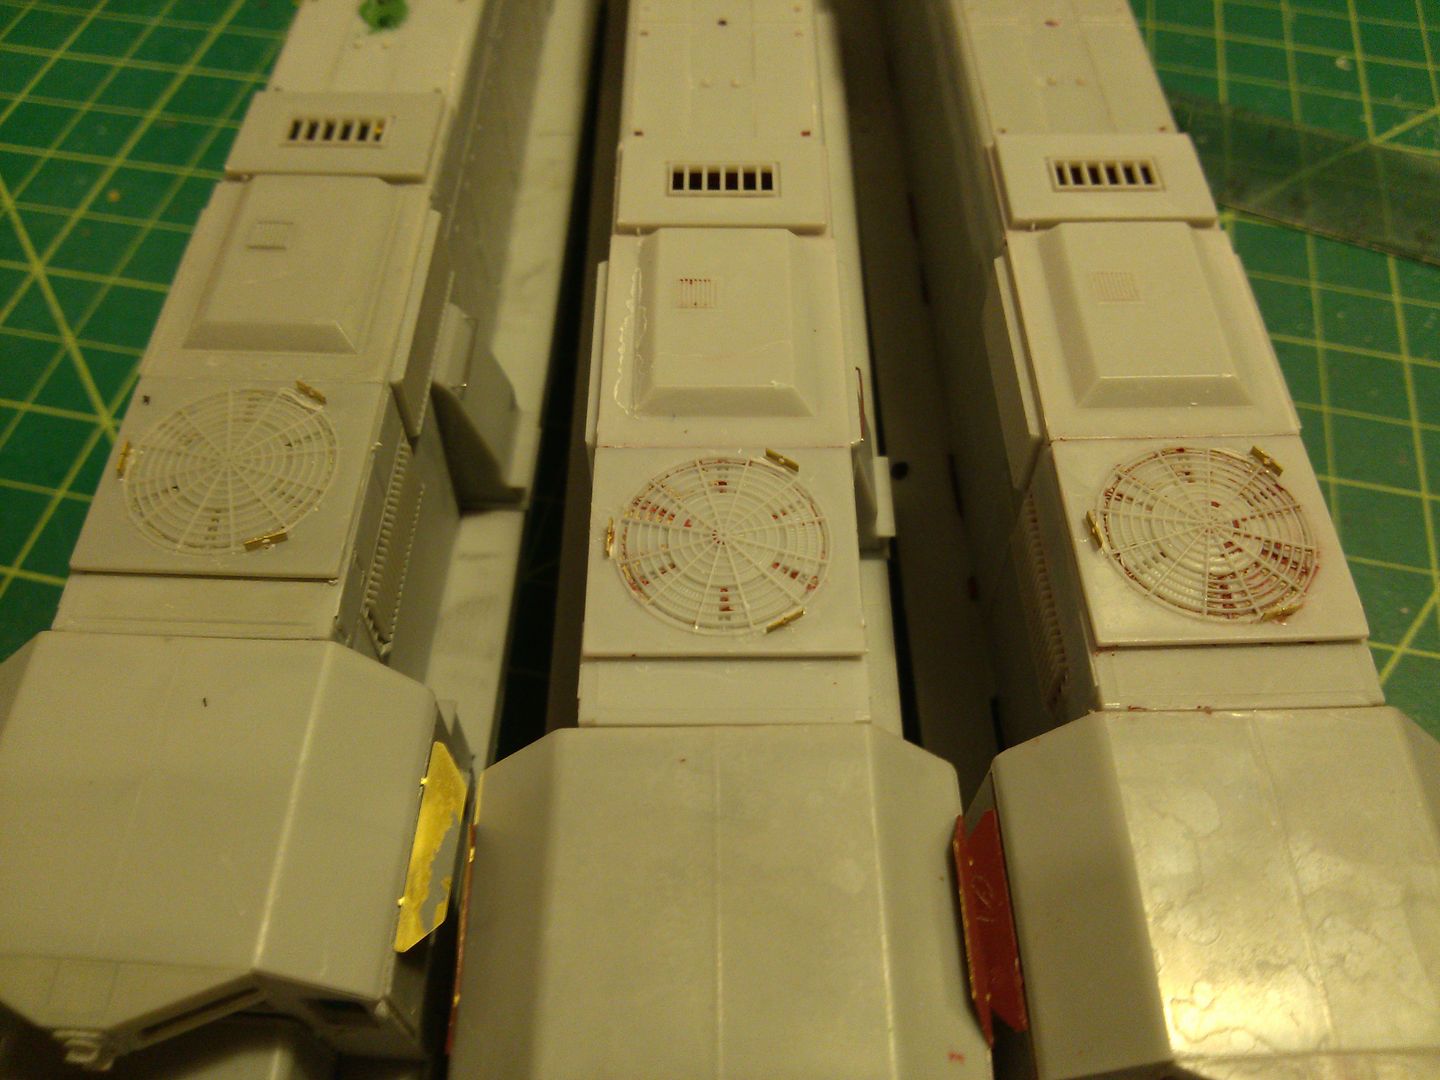 DA Winterization hatches 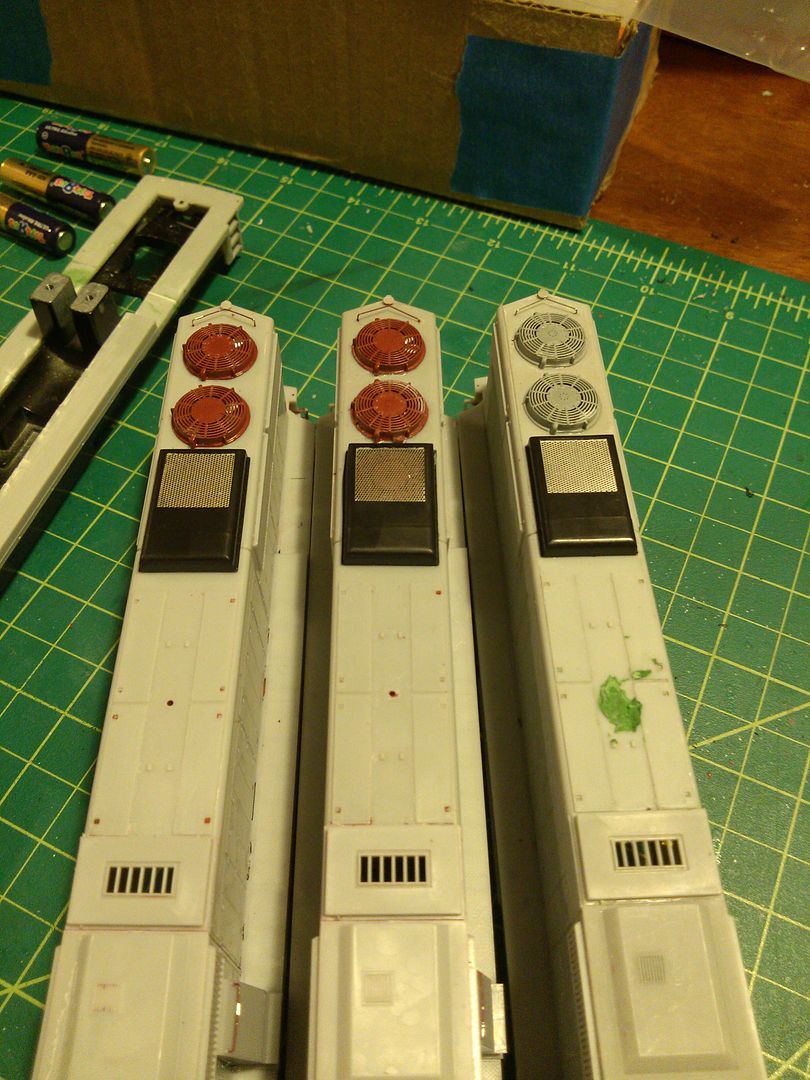 |
|
|
|
Post by stevef45 on Dec 21, 2014 22:51:12 GMT -8
Sorry to bombard this message but its enjoyable to share the models. I had started my own NYSW 3014 Tunnel motor before Athearn decided to announce they were going to finally release the 4th and final one. So i went and picked up a KCS version and did it up the way the prototype was. Blank out for rooftop a/c unit, antenna piping  Sunrise enterprises SP blanked out rear light.  Cannon tread all around    |
|
|
|
Post by gtws00 on Dec 22, 2014 5:42:31 GMT -8
Great Job everyone on improving these models. Thanks for sharing your work. Keep the photos coming.
George Toman
|
|
|
|
Post by iccn1000 on Dec 22, 2014 8:30:58 GMT -8
This guy will be getting the Big Al LED treatment this week if they leds come. The ditch lights look like they can't be fitted with lights but they can, the anticlimber has the hole there and the housings were molded for the bulbs, so they are hollow. Athearn is impossible to get answers form, this "part" has been in products for over a year they say. Steve If you take a SMD LED with magnet wire, you can slide that small LED straight up those ditchlights without any work. Plus the magnet wire is so small underneath the anticlimber, you will never see it. (painted black of course) I've done a couple of these units for a customer and they turn out really nice. (Don't remember if i took pics or not) You can do this with most athearn units with dummy ditch lights. Thanks Rob Gruber www.dcctrain.com |
|
|
|
Post by Great-Northern-Willmar Div on Dec 22, 2014 8:41:24 GMT -8
Here's an ex-RPP GP60M that was released by Athearn. I added a bunch of detail to the model, including replacing the air tanks with full profile ones. Added working ditch lights, fuel tank detail, truck details, etc, etc. I did NOT fix the incorrect nose headlights as I could not locate the old Sunrise Enterprises casting which would have made it correct. As a side note it appears Fox Valley's announced GP60M has the same mistake on the nose headlight. Bob As a side note......your very nice Santa Fe GP60M made an appearance in my dreams last night!!! I was building models in last nights dream episode......Now I know I'm totally crackers.... |
|
|
|
Post by Great-Northern-Willmar Div on Dec 22, 2014 8:45:50 GMT -8
|
|
|
|
Post by stevef45 on Dec 22, 2014 18:07:01 GMT -8
This guy will be getting the Big Al LED treatment this week if they leds come. The ditch lights look like they can't be fitted with lights but they can, the anticlimber has the hole there and the housings were molded for the bulbs, so they are hollow. Athearn is impossible to get answers form, this "part" has been in products for over a year they say. Steve If you take a SMD LED with magnet wire, you can slide that small LED straight up those ditchlights without any work. Plus the magnet wire is so small underneath the anticlimber, you will never see it. (painted black of course) I've done a couple of these units for a customer and they turn out really nice. (Don't remember if i took pics or not) You can do this with most athearn units with dummy ditch lights. Thanks Rob Gruber www.dcctrain.comThat is exactly the plan! My montster led kit came today so hopefully i'll give the upgrade teh go this week. Now if i could get another set of these ditchlight housings from athearn i'de be set for my 3016 tunnel motor. |
|
|
|
Post by ddatrainman on Dec 22, 2014 23:36:03 GMT -8
Former RPP Tooled projects This was technically a RPP GP60 I "modified" to pass off as a GP50 For export alumina railroad jamalco 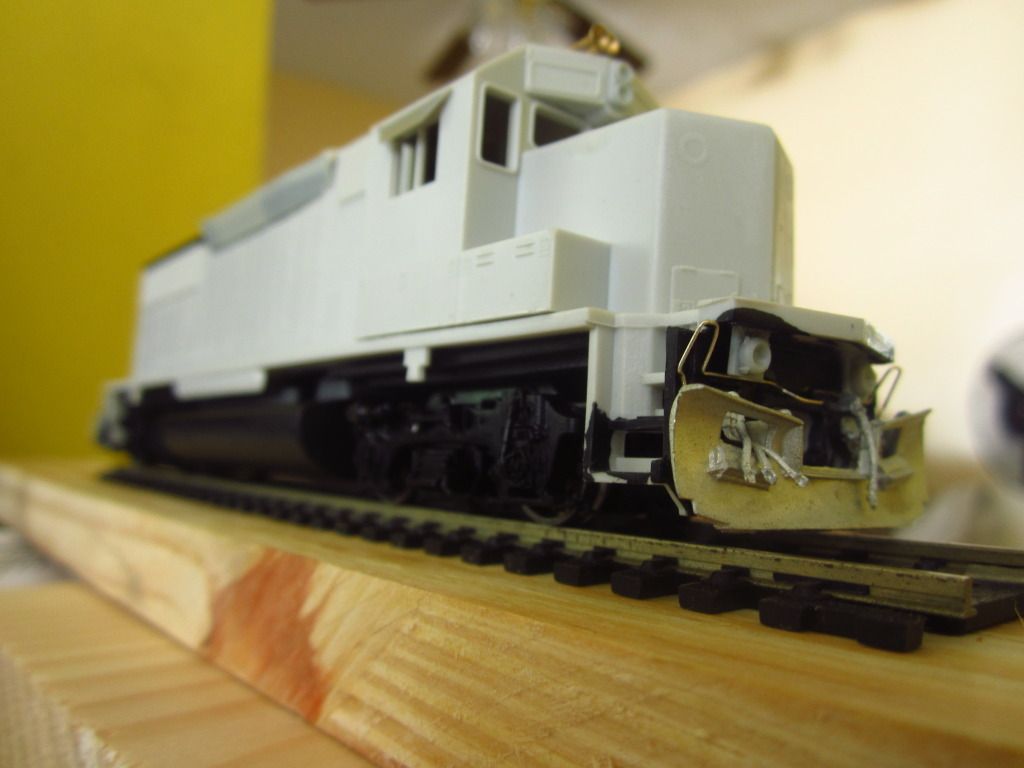 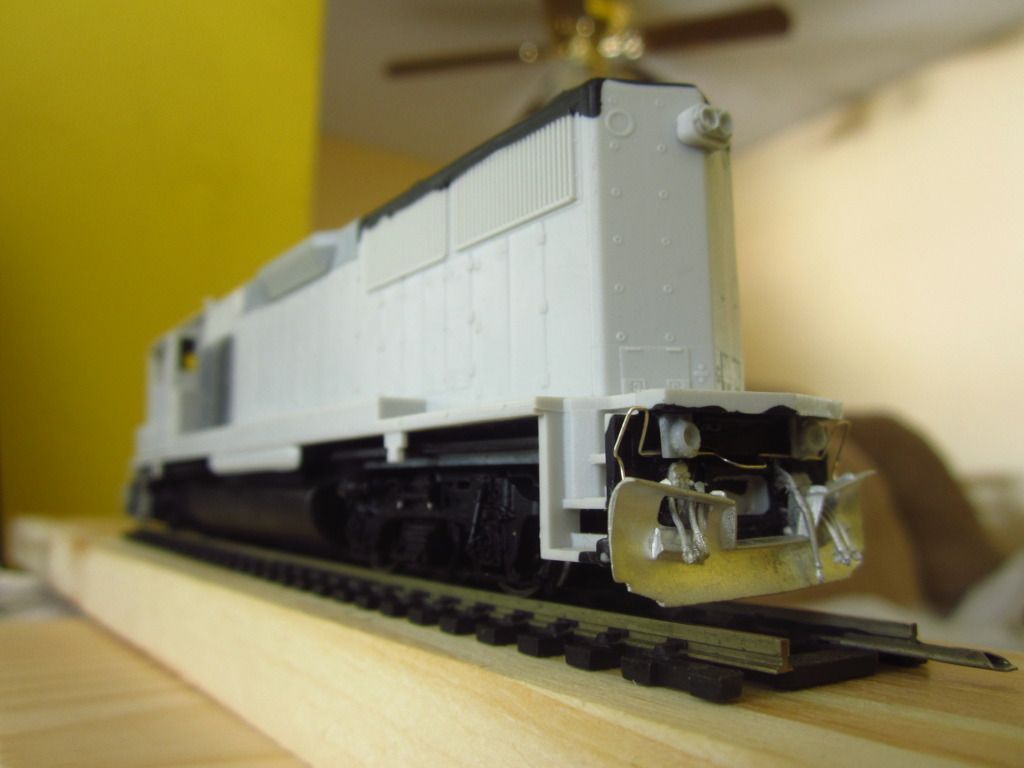 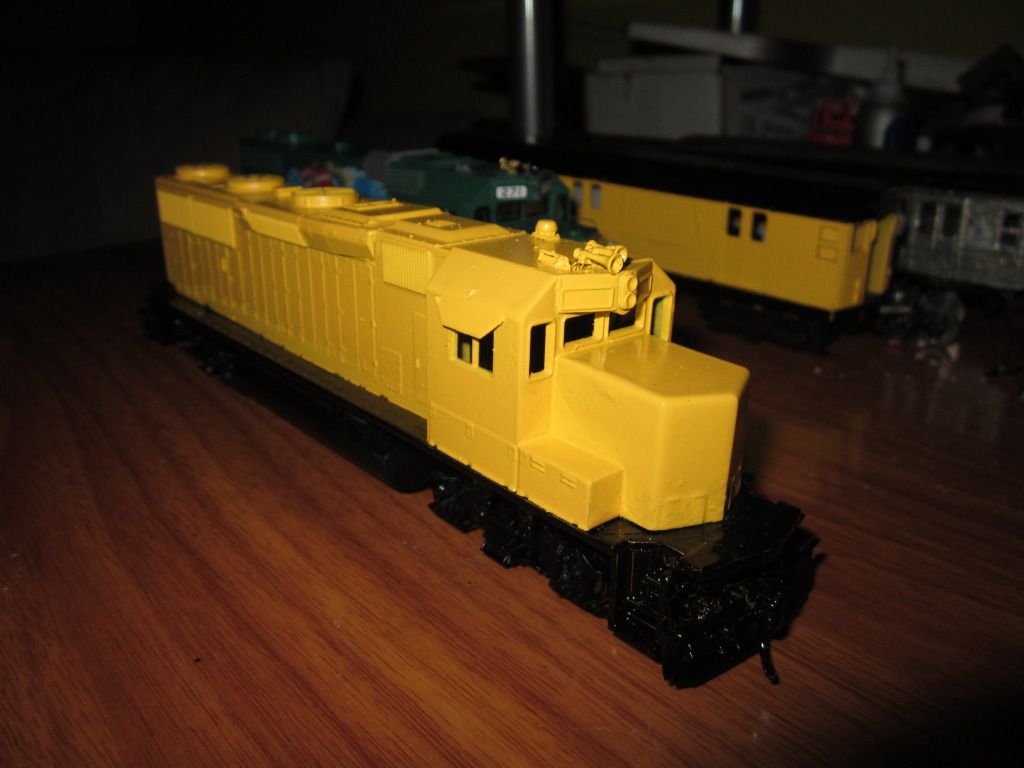 And this project Took a Railpower based SD45 Shell and chopped it up and a BB F45 nose, becoming a MARC GP40WH-2 (eventually, lol)  |
|
|
|
Post by JohnJ on Dec 23, 2014 9:47:27 GMT -8
For my simple requirements, equipping Athearn RTR units with roof lift rings and windshield wipers usually brings the units up to standard. The windshield wipers in particular make a big difference; I use the Atlas wipers with the connecting bar for the front windshield, and A-Line wipers for the door window wipers (the Atlas rendition of those wipers is pretty clunky).
For older RTR units that lack front pilot details, I also add MU hoses, a train line hose, and coupler cut bar.
|
|
|
|
Post by MONSTERRAILROAD on Dec 23, 2014 12:04:46 GMT -8
Steve If you take a SMD LED with magnet wire, you can slide that small LED straight up those ditchlights without any work. Plus the magnet wire is so small underneath the anticlimber, you will never see it. (painted black of course) I've done a couple of these units for a customer and they turn out really nice. (Don't remember if i took pics or not) You can do this with most athearn units with dummy ditch lights. Thanks Rob Gruber www.dcctrain.comThat is exactly the plan! My montster led kit came today so hopefully i'll give the upgrade teh go this week. Now if i could get another set of these ditchlight housings from athearn i'de be set for my 3016 tunnel motor. The crazy part is that Rob has no clue what my LEDs look like and what kind of wires I supply. Damn shame really, He does DCC decoder installs and LED installs and has NO CLUE about MOnster LEDs. Well for the record my kit comes with SMD and magnetic wires that are meant for the install in the tiniest ditch light housings so there will be no modifying. Rob do your research on these LEDs next time and rather than charge your buyers $64 plus install for Ulrich LEDs you could save them way more money buying some other better quality LEDs by some other seller, mainly Monster LEDs. SMDH. On another note Antonio, If the ditch light housing is metal on ANY install I always suggest that people use a dab of clear tacky glue to the back of the bare LED and let it dry before installing inside of the metal housing to avoid any Shorts! In fact, I just cause a short on MY OWN MODEL two nights ago because I just forgot to do that to the number boards on my OMI SD70ACe. I have to replace them quickly and this time put a dot of glue on the back of the bare LEDs. Ha |
|
|
|
Post by tankcarsrule on Dec 23, 2014 13:06:35 GMT -8
You tell him Big Al!
Regards, Bobby
|
|
|
|
Post by stevef45 on Dec 23, 2014 18:37:56 GMT -8
Al, I didnt take his post as a slam towards you at all. I took as a suggestion on how to get the led into the housing.
I did start the led process, i got the front and rear headlights in. Its 1 resistor per side right? One front and one rear?
|
|
|
|
Post by MONSTERRAILROAD on Dec 23, 2014 23:08:29 GMT -8
Al, I didnt take his post as a slam towards you at all. I took as a suggestion on how to get the led into the housing. I did start the led process, i got the front and rear headlights in. Its 1 resistor per side right? One front and one rear? I just had to correctly guide him for future reference that's all. Rob, "explore" all things model railroad related and then you may one day stumble upon those great LEDs by Monsterrailroad. Here is how I do the ditch lights on my OWN models. I use one Resistor 680ohm for both LED lights. But I use one resistor for each headlight LEDs. Since I have converted over to MOSTLY TCS A4X and A6X decoders I do not need resistors on my non sound units. But on Tsunami sound units I do it that way. |
|


