|
|
Post by sd40dash2 on Nov 1, 2023 5:37:01 GMT -8
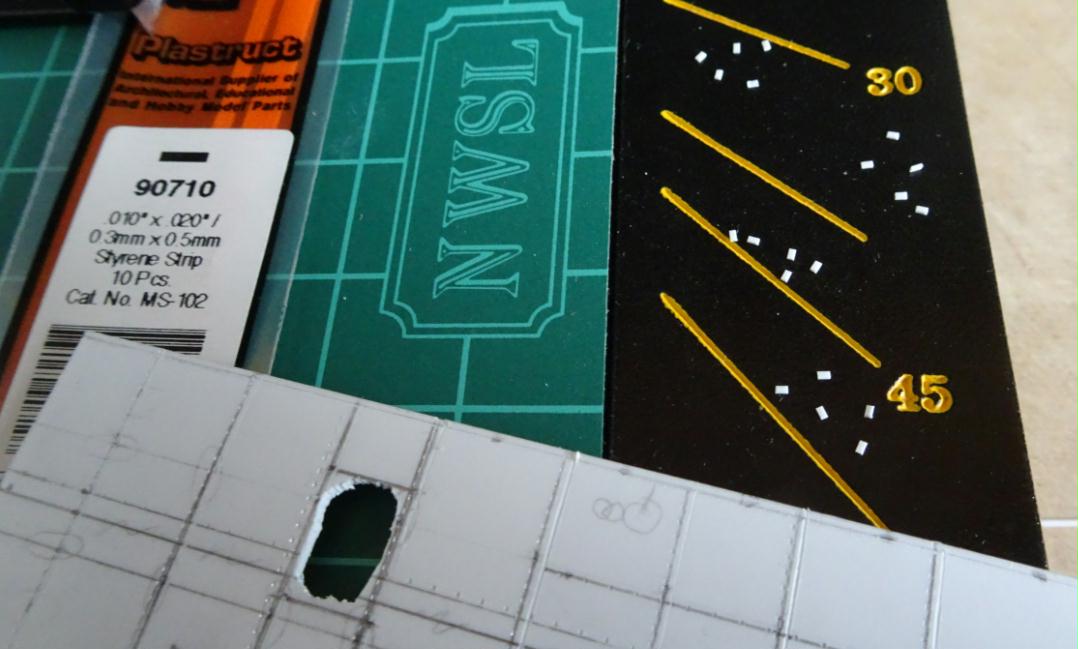
Cut the small "washer" pieces (leftover from running board bolts) using strip in the Chopper. I know they're not perfect squares, remember these pieces are tiny and hard enough to see and handle as it is.
|
|
|
|
Post by sd40dash2 on Nov 2, 2023 5:10:59 GMT -8
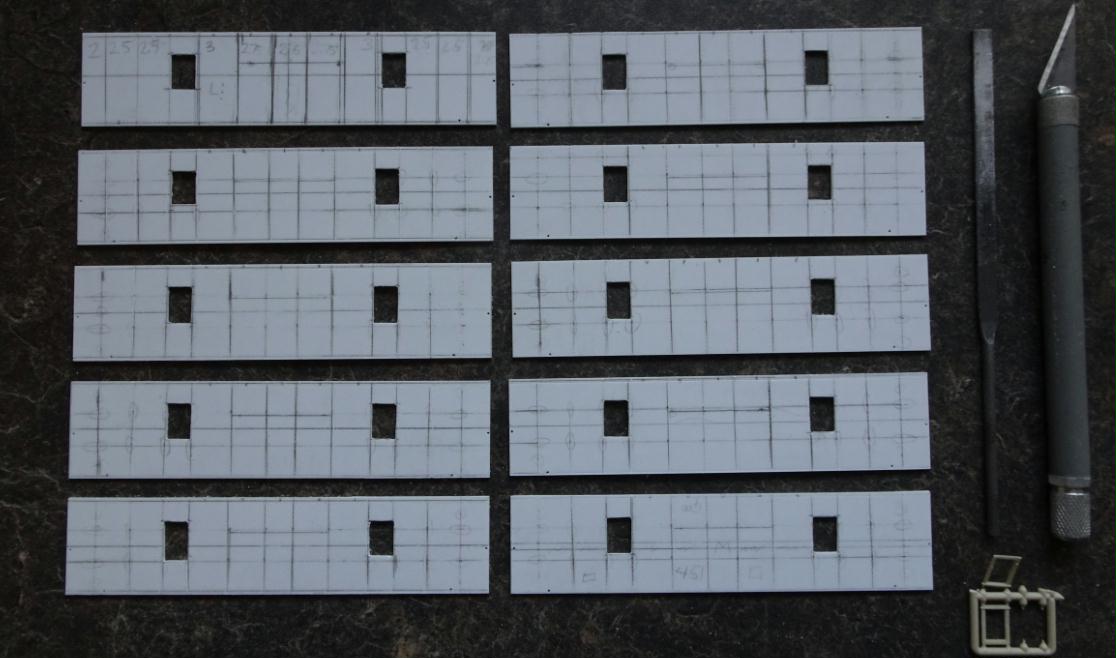
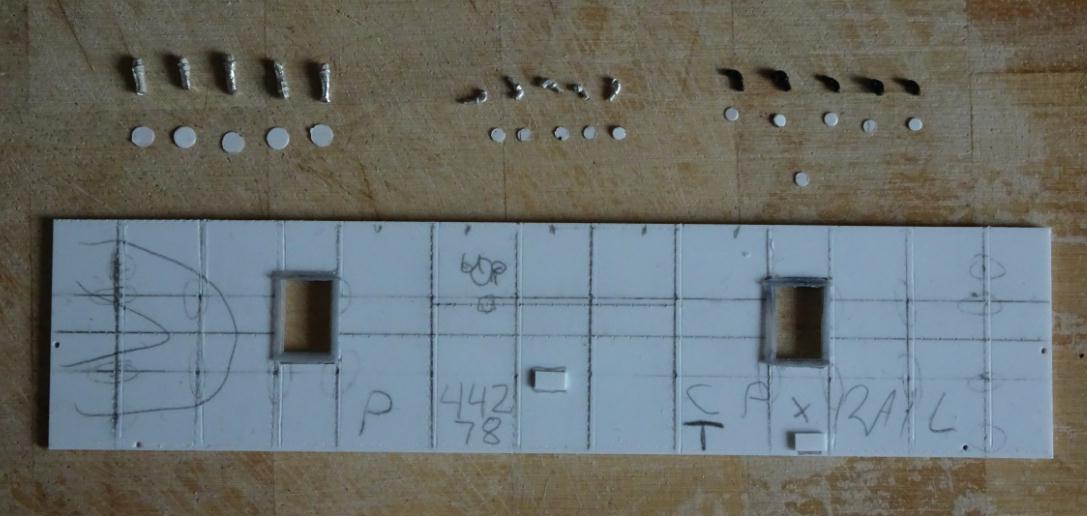
Mark all spots where washer bits are to be installed along the top center. This is where the cupola-side running boards were originally mounted until their 1973 removal from these vans.
|
|
|
|
Post by sd40dash2 on Nov 3, 2023 9:17:07 GMT -8
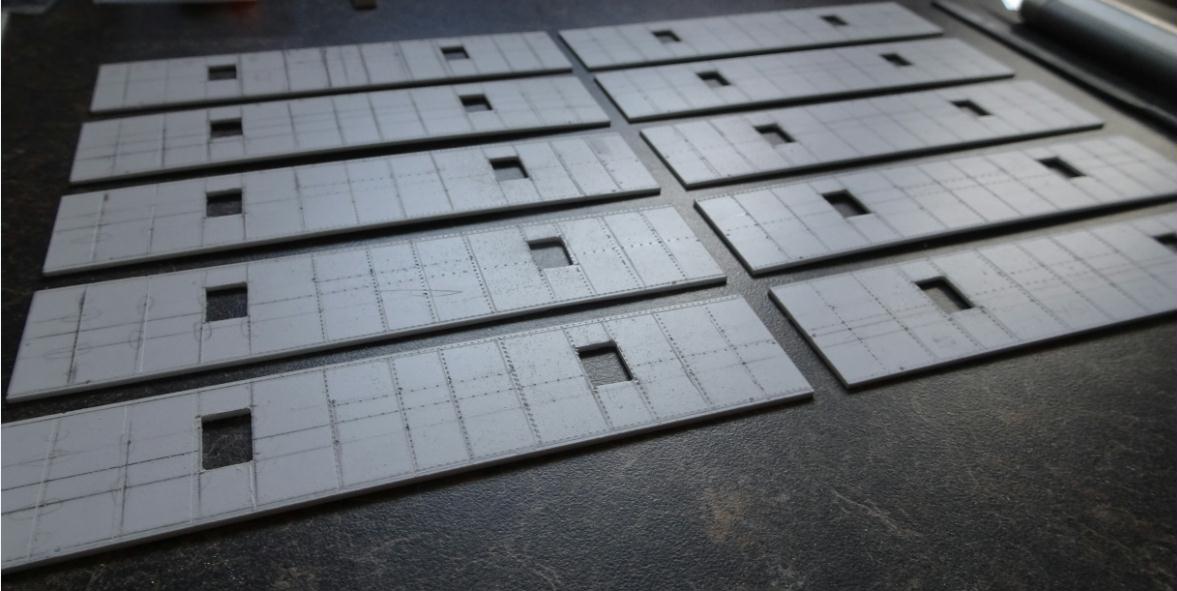
Quick view showing rivet detail.
|
|
|
|
Post by sd40dash2 on Nov 4, 2023 4:36:59 GMT -8
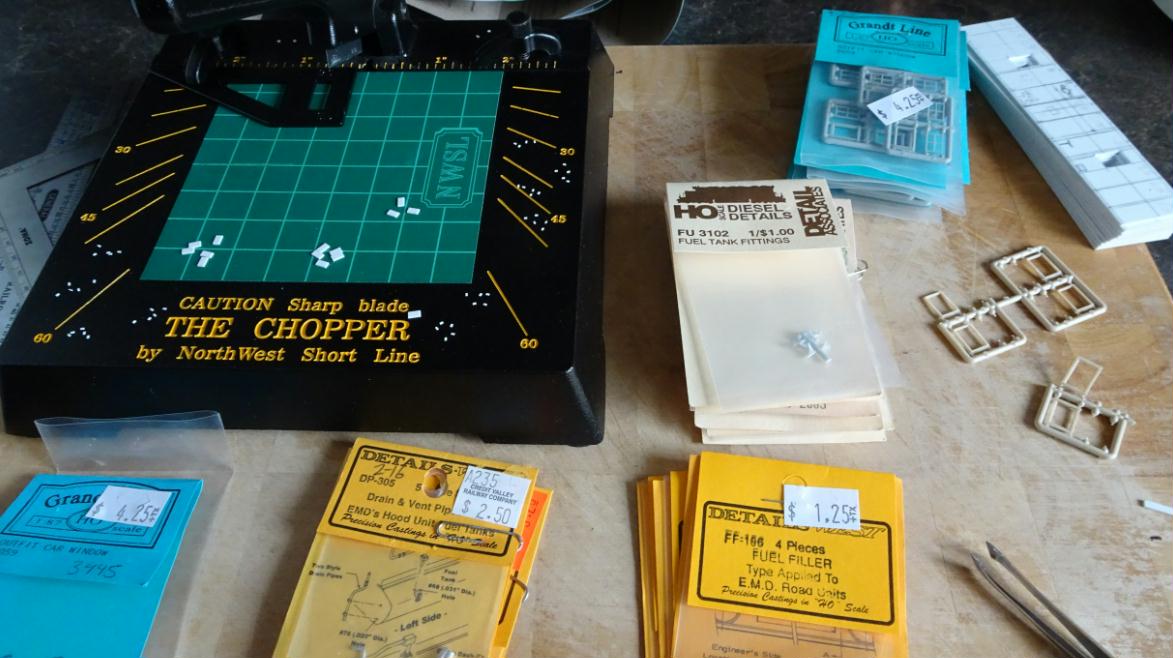
Here is everything needed to detail the sides. Parts include tack boards, window frames, fuel and water filler spouts and necks plus mounting flanges. Given the number of models being made, I decided it was worth the time to come up with a proper configuration for all these small bits.
|
|
|
|
Post by Christian on Nov 4, 2023 6:23:49 GMT -8
Here is everything needed to detail the sides. Are all five prototypes the same? |
|
|
|
Post by kentuckysouthernrwy on Nov 4, 2023 8:24:05 GMT -8
Just introduced the Chopper into my styrene building project, a real Homer Simpson “duh…” moment. Works terrific.
Great progress.
|
|
|
|
Post by sd40dash2 on Nov 4, 2023 13:58:44 GMT -8
Here is everything needed to detail the sides. Are all five prototypes the same? There are minor variations in tackboards and the 3 side filler/spout combo but otherwise all 5 have the same physical side wall features. Later you will see further minor variations in lettering and weathering but all vans will be painted CP Rail yellow. |
|
|
|
Post by sd40dash2 on Nov 4, 2023 14:02:18 GMT -8
Just introduced the Chopper into my styrene building project, a real Homer Simpson “duh…” moment. Works terrific. Great progress. Thanks for the post. I am thrilled to read you were able to benefit from that wonderful tool. If you don't already have them on hand, be sure to get yourself a bulk pack of old fashioned razor blades as they need to be changed regularly. Better to run around and have them on hand soon, rather than waiting until the blade stops cutting cleanly in the middle of your project. Have fun! |
|
|
|
Post by sd40dash2 on Nov 5, 2023 5:41:54 GMT -8
Now mark the sides with all the detail locations.
|
|
|
|
Post by kentuckysouthernrwy on Nov 5, 2023 13:57:36 GMT -8
Just introduced the Chopper into my styrene building project, a real Homer Simpson “duh…” moment. Works terrific. Great progress. Thanks for the post. I am thrilled to read you were able to benefit from that wonderful tool. If you don't already have them on hand, be sure to get yourself a bulk pack of old fashioned razor blades as they need to be changed regularly. Better to run around and have them on hand soon, rather than waiting until the blade stops cutting cleanly in the middle of your project. Have fun! I buy them by the hundred pack. |
|
|
|
Post by sd40dash2 on Nov 6, 2023 5:55:09 GMT -8
At this point you also need to decide which wall goes with which van. Both sides differ, so again a lot of thinking is needed here.
|
|
|
|
Post by Christian on Nov 6, 2023 9:27:23 GMT -8
all vans will be painted CP Rail yellow. Pac Man?  |
|
|
|
Post by sd40dash2 on Nov 7, 2023 5:16:28 GMT -8
|
|
|
|
Post by Christian on Nov 7, 2023 5:39:45 GMT -8
There you go again! Slippin' something into a photo with no 'splainin'  |
|
|
|
Post by sd40dash2 on Nov 7, 2023 5:47:21 GMT -8
^ Good catch! That tool you mention is a Micro Mark punch tool that allows the user to punch out crisp, clean perfect circles for things like aircraft panel gauges and such. Not sure if still available but they are quite expensive. Still worth it IMO as there are several different sizes available and the .005 styrene used gives you a consistent part thickness. Far better results than the rod slice trick. I'll post some additional photos in the next couple of days.
|
|
|
|
Post by sd40dash2 on Nov 9, 2023 5:52:51 GMT -8
Mix of commercial leftovers, diesel parts and scrap box bits.
|
|
|
|
Post by sd40dash2 on Nov 10, 2023 5:36:37 GMT -8
|
|
|
|
Post by sd40dash2 on Nov 11, 2023 5:49:34 GMT -8
It took quite a bit of time, but styrene detail bits have been added to all sides.
|
|
|
|
Post by sd40dash2 on Nov 12, 2023 6:27:59 GMT -8
Sides and ends ready for paint.
|
|
|
|
Post by cpr4200 on Nov 12, 2023 11:17:09 GMT -8
Do the pencil lines adversely affect paint adhesion (or rivet decal adhesion when you use them)?
|
|
|
|
Post by sd40dash2 on Nov 12, 2023 11:42:43 GMT -8
^ Not at all. There always have to be various pencil marks on a project of this complexity. All get buried under paint fairly early, no adverse effects on that or rivet decals.
Just make sure you first seal the model with glosscote before applying rivet or any other decals. Then seal with dullcote after decals have been applied and dried.
|
|
|
|
Post by sd40dash2 on Nov 13, 2023 7:12:23 GMT -8
|
|
|
|
Post by kentuckysouthernrwy on Nov 13, 2023 19:37:16 GMT -8
Progressing well. How’s the wine holding up?
|
|
|
|
Post by sd40dash2 on Nov 13, 2023 20:05:52 GMT -8
^ LOL not much left. Good thing I was well stocked when I took on this project.  |
|
|
|
Post by Christian on Nov 14, 2023 2:46:36 GMT -8
What is the slab-sided cupula? I count five streamlined and then one on what looks like a finished model.
On a related matter - this time of year wine makers are clearing out excess inventory to make room for this year's harvest. Might make those Ontario Niagara region wines more affordable.
|
|
|
|
Post by sd40dash2 on Nov 14, 2023 6:01:38 GMT -8
What is the slab-sided cupula? I count five streamlined and then one on what looks like a finished model. I did a lot of thinking and research to settle on what cupola would be used for this project. The CPR model is an Overland brass placed beside Bowser N-8 cupolas to help guide the decision. I also looked at the cheap old Tyco caboose that used this same cupola and compared all to prototype photos. The Bowser part came out the clear winner over all commercial options, so that's what I will be demonstrating here. |
|
|
|
Post by sd40dash2 on Nov 14, 2023 6:03:29 GMT -8
Plug holes in roof w .020 rod, ACC, putty and sandpaper. This was one of the more annoying parts to the build but it feels good when you do the final sanding and it comes out nice and smooth. And of course only primer and digital photo closeup will show us how smooth it actually ends up!
|
|
|
|
Post by sd40dash2 on Nov 15, 2023 6:40:30 GMT -8
Moving quickly to the roof, start by cutting out a test roof half from .010 sheet. Then carefully measure and mark center line and cupola interface locations.
|
|
|
|
Post by sd40dash2 on Nov 16, 2023 6:27:18 GMT -8
Cut roof halves in bulk x5 to maximize engineering effort. It is just a matter of a few extra minutes and minor incremental effort to do 5 vans vs 1 when you do it this way.
|
|
|
|
Post by sd40dash2 on Nov 17, 2023 5:31:03 GMT -8
Measure and mark roof rivet line locations on the underside.
|
|