|
|
Post by mlehman on May 30, 2013 18:58:48 GMT -8
This time I replaced a dozen 50W halogens with 2 LED strip lights. Before 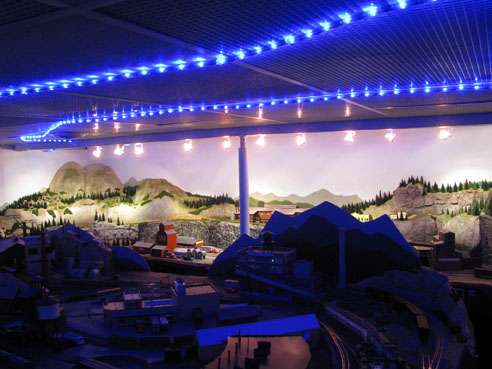 With one LED light strip 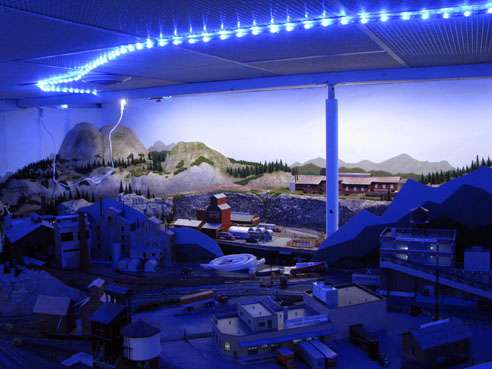 With two LED lights strips 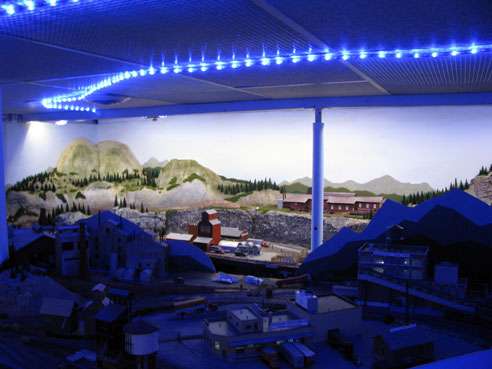 The light strips also match the Chroma 50 equivalent fluorescents of the overhead room lighting. 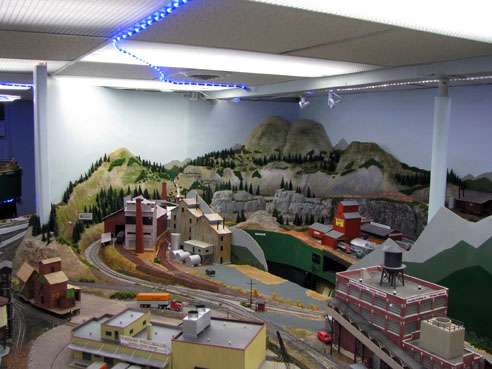 So far, I've eliminated 20 of the original 35 halogen 50 watt track lights. I can now leave the overhead room lighting off, run the LEDs and remaining 50W halogens and I get no temp rise after more than an hour. That will be a great improvement in working conditions for my operators. |
|
|
|
Post by kentuckysouthernrwy on Jun 3, 2013 7:06:35 GMT -8
|
|
|
|
Post by railfan4life on Jun 3, 2013 19:50:58 GMT -8
Mike,
Great looking layout. I really enjoy all the shot with the LED lighting and the comparison shots. I'm still figuring out lighting on my layout and this will help me quite a bit.
BTW - Thanks for starting this thread.
Kevin
Colorado's Joint Line
Santa Fe All The Way, and
Main Line Thru The Rockies
|
|
|
|
Post by mlehman on Jun 3, 2013 20:14:47 GMT -8
Karl, Those are some serious hills, but Kentucky has some serious hills.  Kevin, Thanks! Be happy to answer any questions about these. I know there's a lot of choices out there on the internet, but I wanted to try something a bit closer to home that works and is widely available. I know that you can go cheaper and get as good or better performance on the web. I'm pretty happy with how these are working for me with a total of six 12' segments @ a cost of $240. I want to double up the the long main section after seeing how well the double strands worked over the lumber mill area (Rockwood). Despite my low ceiling (6'6") I have some decent sized mountains, which is one reason I didn't do a complete double deck, using a no0lix instead. But the other reason for that was the challenge of lighting the lower deck. I couldn't figure out a good way to do it 20 years ago when the layout was designed -- at least not when trying to get two decks into a 6'6" tall space. Fortunately, a lot has changed now that LEDs are here. I could do double deck now -- but I've got no plans to start over. |
|
|
|
Post by mlehman on Jun 3, 2013 20:29:23 GMT -8
This time I have a teaser quiz Before and After. What's the physical thing that changes between these two pics (other than the minor differences in camera angle and lighting)? Before 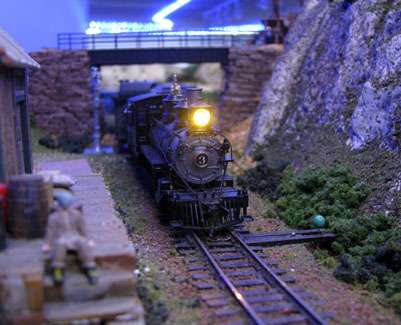 After 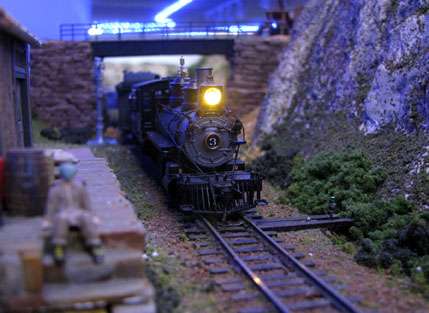 |
|
|
|
Post by mlehman on Jun 4, 2013 18:28:31 GMT -8
OK, that was a tough one. I never could find Waldo myself, so I understand...  You'll note the big green pinhead on the right side of the first pic above. Poof!  It's gone, replaced by sumtim'? Well, it's a little hard to see, so I will explain. On my layout, I've been using a green headed push pin to designate the side the turnout the points should rest against when in Normal position. I stick them at the end of the long ties, if on that side, our just opposite them if on the other side. This is a visual cue, a mnemonic device or memory trigger, to my operators to leave the turnout restored to Normal position, as well as to glance ahead at when running to be sure the turnout is set correctly. But they stick out like a sore thumb in pics, well, for some of us anyway  So I replaced all 100+ of them in the last couple of days. I went out to Michael's and found some nice Toho Japanese beads in green and rusty brown, along with some short (~5/8") embroidery pins. I stuck a bunch of pins in styrofoam and painted 'em flat black, then baked them in the oven. A green bead went on first, then 2 rusty brown ones. A daub of gap-filling CA and my new little "switch throws" are ready for the MOW guys to distribute and install. I also made some low-profile ones from a green and a single brown bead. Here's some pics. Sure saved me from installing a hundred scale dummy hand throws. Old and new pins 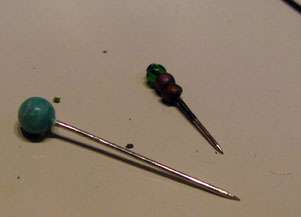 Closer look 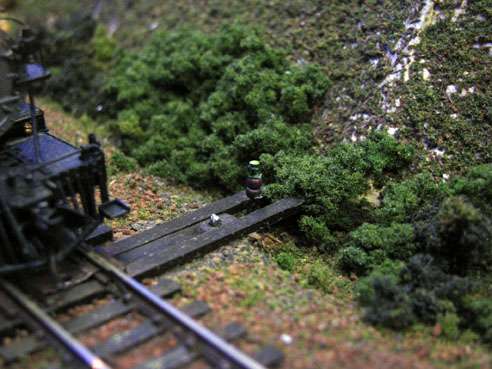 Closer look II 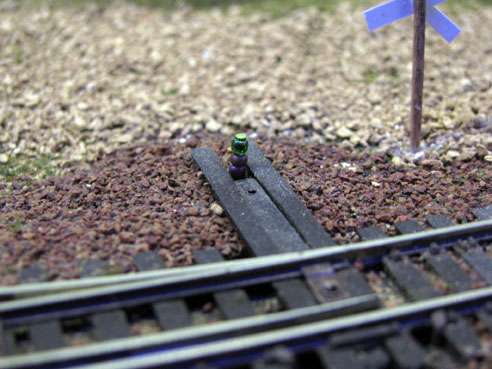 Since I also operate at "night," I took one of my fluorescent markers and put a tiny dot on the top of the pin to make them visible when the lights are down low. I'll see if I can get a pic of that to complete this edition of "Before and After"  EDIT: Well, the focus isn't too hot, but best I can do right now. The effect is clear though. 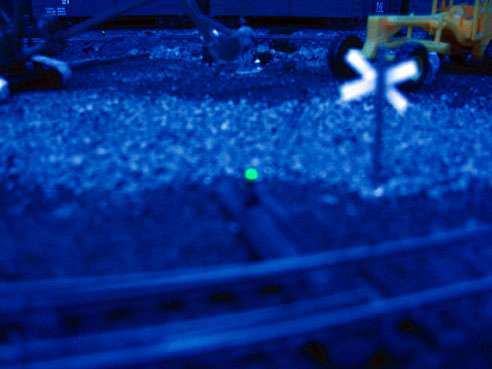 |
|
|
|
Post by mlehman on Jun 13, 2013 19:25:58 GMT -8
I scanned my last batch of Polaroids tonight, so will be posting more B&A over the next few days. Tonight's edition covers Red Mountain. It's the oldest part of the layout, begun as a module before I bought this house. After much thought, It ended up squeezed in next between the door and the stairway intrusion. It's the only part of the layout that relies on Caboose Industries hand throws. In the first pic here, you see two Polaroid shots. The first is with the module in place. The second shows the fascia installed and more scenery base down. The tail of the wye curves under the stairway, then heads upgrade where it becomes one leg of the Silverton wye. I can line things up and run this section of the layout as a loop for testing, etc. The connecting track between the two wyes is just long enough to hold one train, but still have enough space on the tailtrack to still turn on the wye. 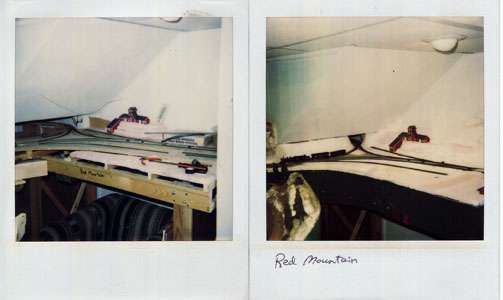 In the second pic, things have certainly changed.I've still got plenty to do, but the scenery is down and major structures. etc are all in place. 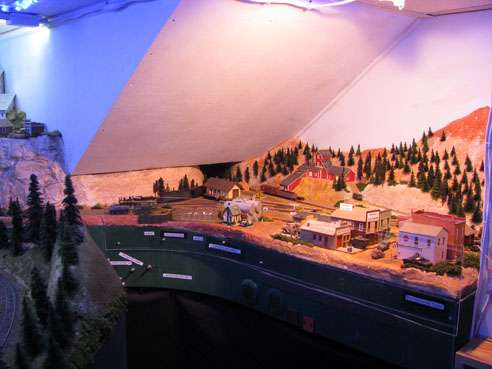 |
|
|
|
Post by mlehman on Jun 14, 2013 23:39:43 GMT -8
This edition of B&A takes a look at the roundhouse area in Durango. I did make some changes in track locations between the mark-up plywood and the finished scene. 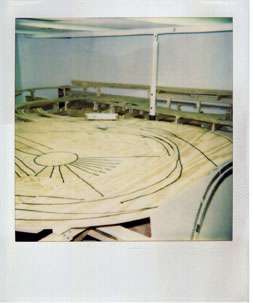 In fact, I'm still making changes. I want to add a siding to hold my wrecking outfit. One place it might go is curing around the back of the roundhouse opposite the refinery's loading racks. It's hidden by the view block in this pic, but you can imagine where it is. The main issue is I need to build a curved turnout on a section of dual-gauge track. The other potential location is off the ash track by the coaling tower. It would start to the left of the diesel that is sitting on the ash track. All I need there is a #6 switch. Knowing me, I may eventually do both. 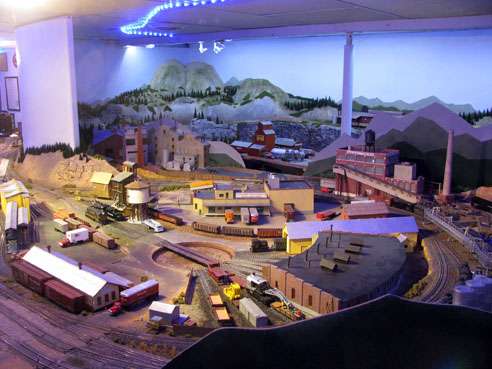 |
|
|
|
Post by mlehman on Jun 18, 2013 4:43:32 GMT -8
Here's another edition of Before & After. This time we're looking at the roundhouse and industrial area around 1996. When first laid out, here's what the plywood looked like:  Now we can see it in 2013. There are a few changes in track locations, but the basic plan is still there today. One visual change unanticipated in the last century are the aisle side viewblocks. They're one of the best simple ideas I've used. Not my original idea, my application still works well visually, plus protects my structures from inadvertent elbows in the narrow parts of my aisles.  |
|
|
|
Post by mlehman on Jun 19, 2013 17:58:43 GMT -8
The time around, B&A looks at the main yard area in Durango. The Polaroid shows lots of bare plywood, plus a wide open area where the curved backdrop divides the east and west sides of Durango. 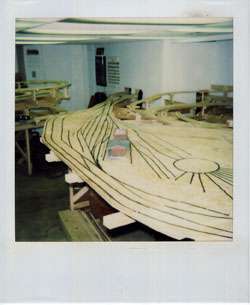 In the After view, the old Walthers freight house has gone (to Hesperus as a stand-in for the not-yet built Western Grocers warehouse), replaced by a scratch-built freight house modeled after the old Durango one, modified slightly to fit my site. The Raggs to Riches? Durango station is in the left background and my kitbashed and scratch-built ASARCO/VCA Mill is in the right background. 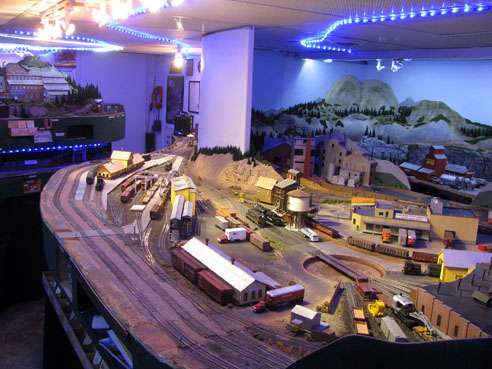 |
|
|
|
Post by mlehman on Jun 20, 2013 20:00:55 GMT -8
This time we're looking towards the corner of the train room. Behind the wall that's in the left side of the pic is what is now staging. There's actually a hole in roughly the middle of the pic about two feet to the left of the metal pipe. 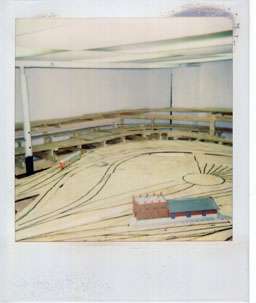 You can't see any of that, because it's all under several mountains along with my water meter. So far, they've sent skinny guys to change it, which they do every 8 years or so. There's also another hole through that wall, somewhat higher than I described before that carries my Cascade Branch logging operation through that wall. It's the last part of the layout to be built and will be a segment that's above staging and storage in there. In the foreground is my ice house and docks, bashed from the Walthers kit. Behind it is the Durango service area and some other industries, with the stockyards and packing plant in the mid distance. 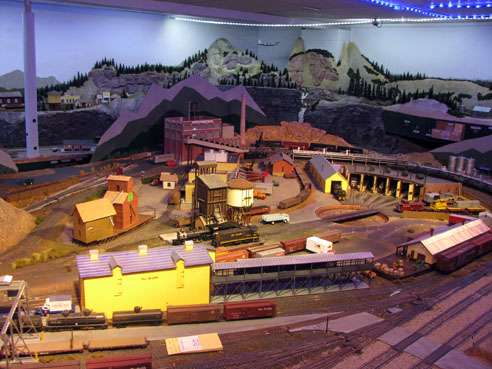 |
|
|
|
Post by mlehman on Jun 24, 2013 11:27:38 GMT -8
This post covers the same area from two different angles. It's the mountain area that holds Eureka on one side and, in this first set of pics, Animas Forks on the other side. The Red Mountain Branch tunnels underneath it to get from Sheridan to Red Mountain. In the very back is a track that runs between the back legs of the wyes at Silverton (to the left) and Red Mountain (to the right). I use it to stage a train sometimes and it can also represent the Silverton, Gladstone, and Northerly, although since I didn't have room to model any of, I don't have on my ops schedule. You can see a test train back there in this pic from 1996. 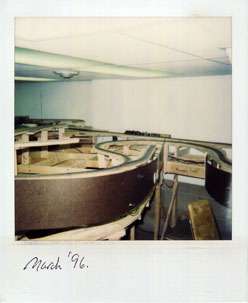 Here's what it's like today. 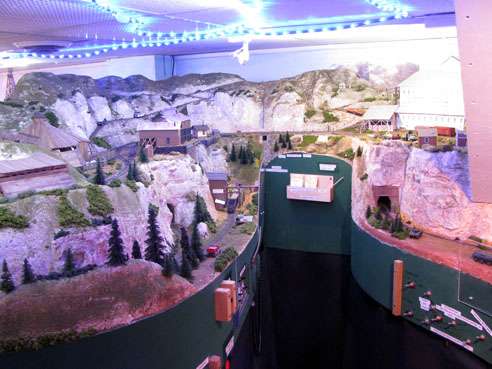 You didn't see the roadbed in the last pic before scenery went on, but in this pic from a little different angle you can see it in place behind what will be Eureka. 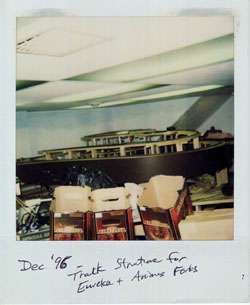 The scene today.  |
|
|
|
Post by mlehman on Jul 5, 2013 6:14:27 GMT -8
I've exhausted my stock of old Before photos. For now, I have a last set of Before pics. The After pics will come along eventually. I have staging that is worked from the utility room on the other side of the wall from the layout. With some rearranging and sorting of stored stuff, I've opened up space for the last major expansion of the layout. It also provide room for a dedicated workshop area. Eventually I plan to install a spray booth in it underneath the logging branch I plan to construct there. So here are the before pics. In the first two pics, you can see the blue backdrop of the current end of my logging branch serving as a staging track for now. Everything will be uphill from there, so there will be lots of space for storage and workstations below the layout. 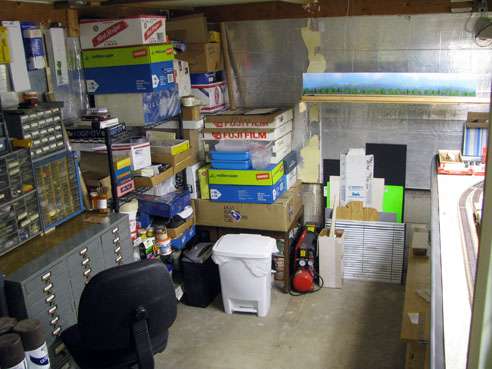 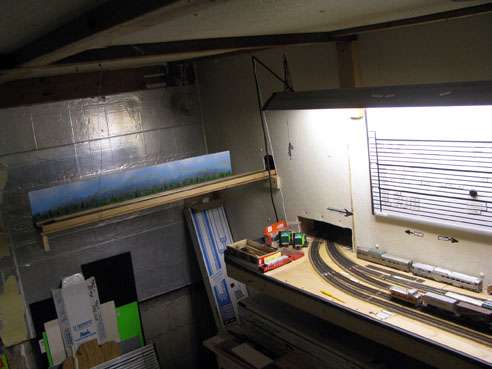 This shot looks the other way, depicting standard gauge staging. You can also see my rolling stock drawers underneath the staging on the left. 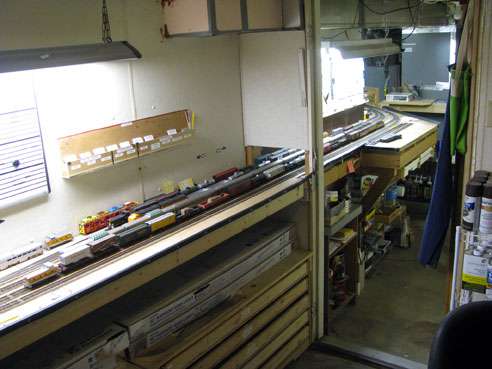 So, that's all I have right now for Before and After. There have been a few really great B & A pics from others, but I'm sure there are more out there. If you have some to post, please do. |
|
|
|
Post by mlehman on Jul 9, 2013 20:56:42 GMT -8
I managed to scare up some recycled materials around the shop and attic, so got a bit of a jump on the project. I've got a handful of turnouts and enough track to get me to the first town on the Cascade Branch. I guess the next thing I'll need is the name for this town, as it's a completely fictional branch line I invented in order to have a logging branch and -- someday -- an excuse to run a Shay or two. After a much needed winnowing of stored stuff, I cobbled together the first piece of L-girder rails, then thought, hmmm, might be good to get the backdrop basics done. I just happened to have a roll of 14" wide aluminum flashing. I coved the corners at one end and then added some trim boards at the top.  Looking into this corner, there will be a pop-up next to the tail track of the wye there. Track level will be 61" or about 1" below the bottom of the flashing at the wye. 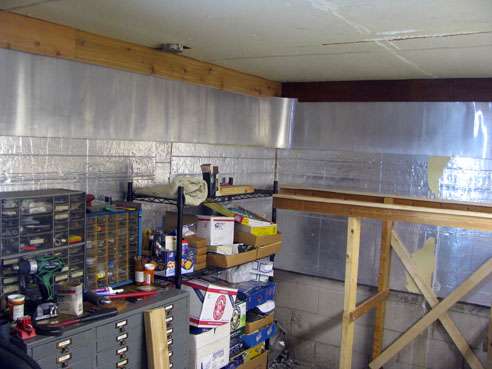 Continuing on the track will rise as it reached the current area of logging. In this corner, the tunnel-like hole in the wall is ta-da, a tunnel, where the Cascade Branch will enter this room from the layout net door. 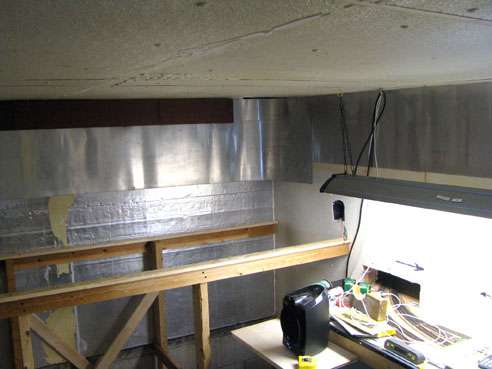 Finally at it's highest point will be a switchback up to the logging camp over the standard gauge staging tracks below. Track level here will be about even with the bottom of the lamp fixture hanging in front of the backdrop. 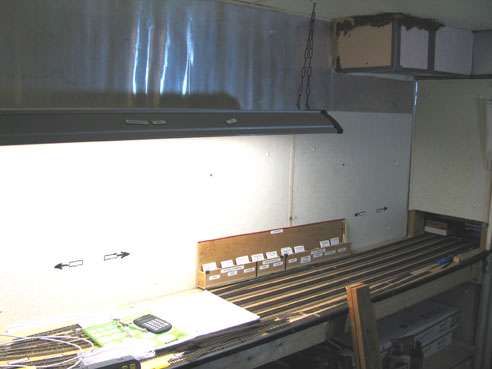 And here's the trackplan, still being revised. It's progress. The tunnel entry is where it looks like there's a crossing in the upper right corner. This will actually be grade separated. 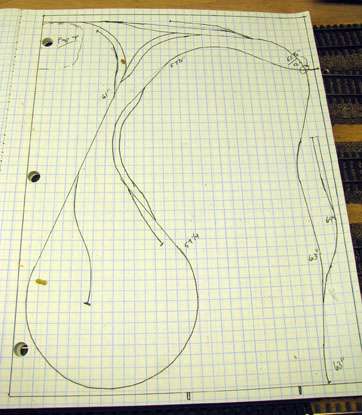 I could actually dig another tunnel where the tail track of the switchback ends and continue above the staging in the next room. Hmm, not right now. But my wife said nothing to discourage me when I mentioned it as an option. She's good that way.  Tomorrow, it gets primed and painted as sky, then onward with benchwork. |
|
|
|
Post by mlehman on Jul 14, 2013 18:21:33 GMT -8
Well, the editing was still struggling this week, so made lots of progress on the Cascade Branch. I finally have preliminary names for the stations in order from Tefft: Purgatory, Potato Hill, and Crater Lake. I also was encouraged to think big, so did -- another hole in the wall, to paraphrase Pink Floyd.  First there was a wall... 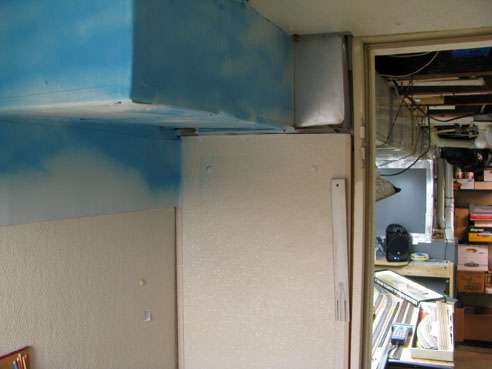  [note to self: observe copy of NMRA Golden Spike Award application hanging on wall...gotta get around to completing that and sending it in...] Now the wall is gone. 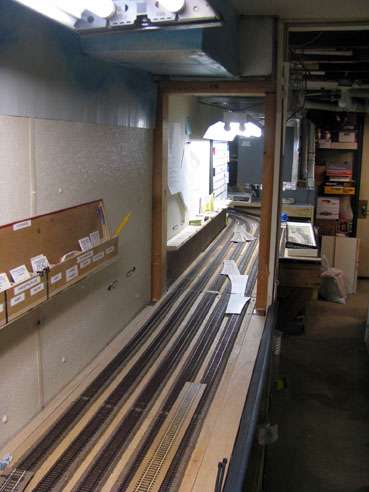 In come the 15'+ L-girders for the extension to Crater Lake. 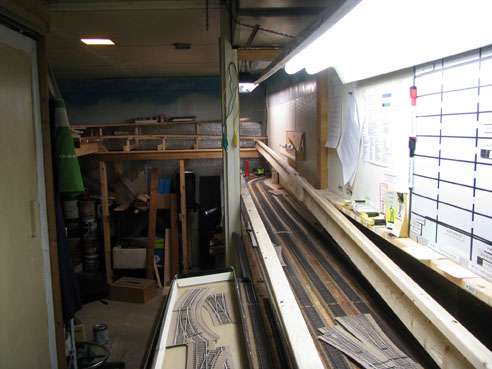 And it came out pretty good. I just need to get the rest of the sub-roadbed down now. 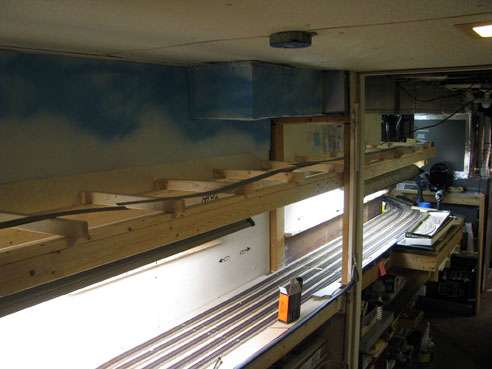 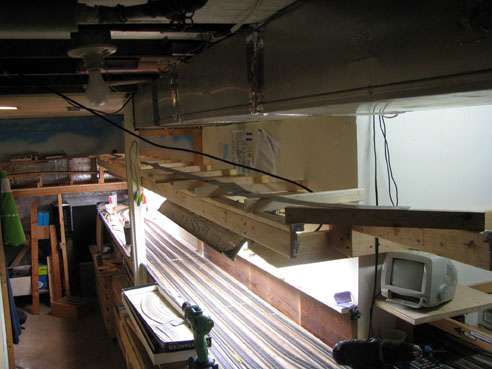 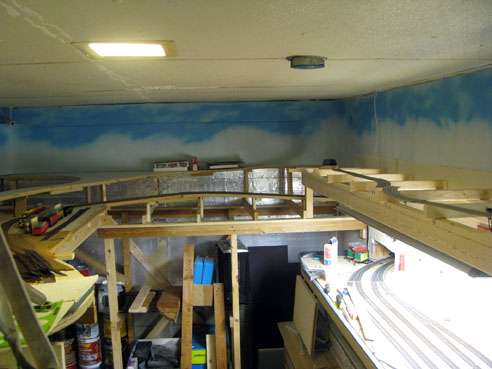 |
|
|
|
Post by mlehman on Jul 19, 2013 6:33:44 GMT -8
|
|
|
|
Post by jlwii2000 on Jul 30, 2013 18:23:54 GMT -8
|
|
|
|
Post by mlehman on Jul 30, 2013 20:30:56 GMT -8
James, That's a nice upgrade to a nearly empty tabletop! Who made the windmills and do they work? Well, do they turn anyway, although I could see a neat module where there was a hillseide of them powering the layout -- provided the breeze was strong enough.  |
|
|
|
Post by jlwii2000 on Jul 31, 2013 15:46:12 GMT -8
James, That's a nice upgrade to a nearly empty tabletop! Who made the windmills and do they work? Well, do they turn anyway, although I could see a neat module where there was a hillseide of them powering the layout -- provided the breeze was strong enough.  Sir, The windmills do work. They are simply hooked up to DC power packs. They spin fairly slowly. They are Lionel O scale wind turbines. I went with O scale because many HO scale windmills are tiny, less than 50 scale feet tall. My other option was some from Herpa and those wind turbines were HO scale but over 4.5 feet tall and thus would hit my ceiling. So I went with a happy medium. Walthers had some wind turbines that were a happy medium but they did not operate and are very hard to find. Here is a video of my layout when I first completed it back in Summer of 2011. You can see the wind turbines spinning at 1:48 seconds into the video: |
|
|
|
Post by mlehman on Aug 1, 2013 0:36:24 GMT -8
James, Wow, those are some impressive windmills! Totally out of my era, but they sure are tempting. And that UFO! That fits right into my era...  |
|
|
|
Post by mlehman on Aug 3, 2013 6:11:00 GMT -8
Progress continued on the Cascade Branch this week with work finishing the scenery base of Sculptamold over extruded styrofoam. So here's a couple of pics of the bridge over Lime Creek. Before  After 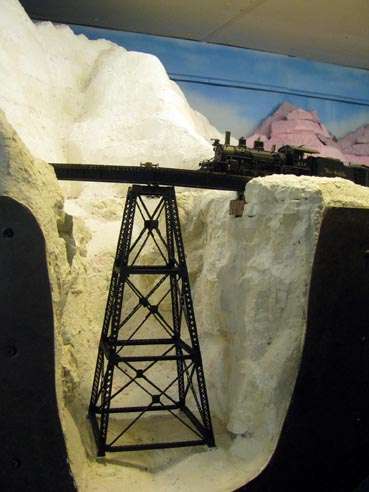 |
|
|
|
Post by mlehman on Aug 11, 2013 3:21:37 GMT -8
OK, now I have a interesting Before and After where the Cascade Branch ends at the quarry at Crater Lake at a wye. From earlier in this thread, Before: 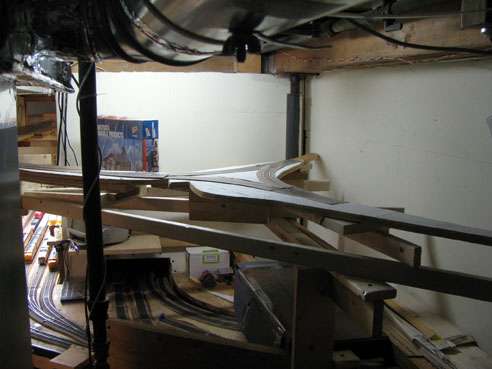 Here's how it looks now that I have the scenery base in, After. 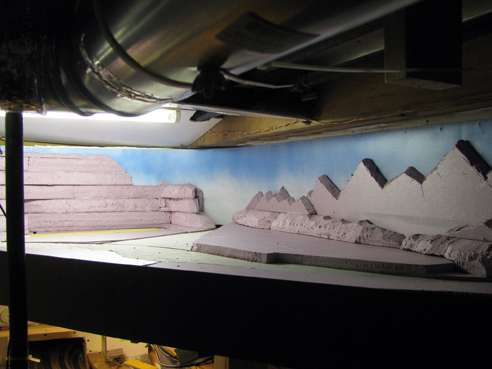 Here's what it looks like when you double things up, Before.  After: 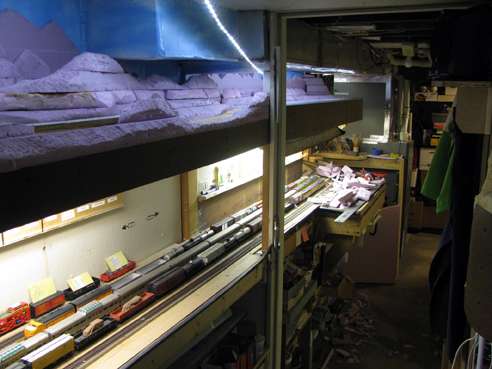 |
|
|
|
Post by Tunnelmotor on Aug 15, 2013 6:53:15 GMT -8
Some of you guys are so lucky to have so much room to use!! Im envious!! I had some real problems with rock work early on, so much so that i ended up ripping out and starting over twice! First picture was before the problems started.  Second picture was the result of using 'sculptamold'. I was far from happy with the finished result and so i ripped it all out again.  .  |
|
|
|
Post by Tunnelmotor on Aug 15, 2013 6:57:05 GMT -8
This is what the scene looks like now but with alot more tree's added.  My latest little project was fitting in a Walthers plastic pellet distribution facility in place of this pond-   |
|
|
|
Post by mlehman on Aug 16, 2013 5:39:29 GMT -8
TM, Nice pics! Couldn't get the first four to enlarge, but I can see you did a really fine job with the new plastics plant. Sorry the Sculptamold didn't work for you on that. Give it a try on something smaller if you get another chance. There's a bit of a learning curve in getting the results you're looking for, but it's handy to have for patching and blending scenes together even if it turns out not to be as popular with you as it is here. I have got the basic forms and colors in at Crater Lake and its quarry. Before  After 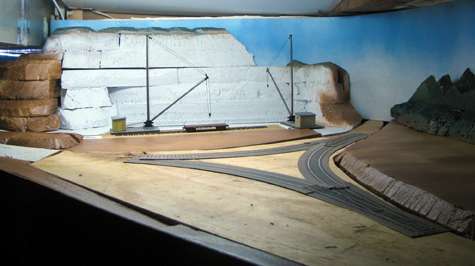 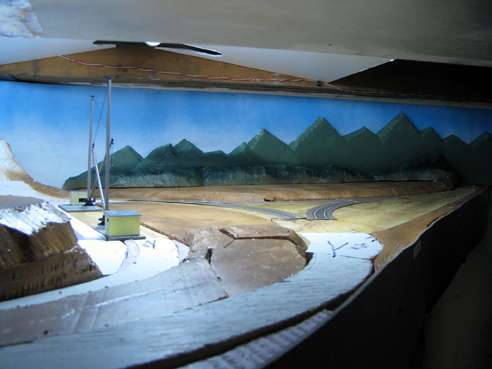 I've been using Zinsser Bull's Eye 1-2-3 primer to coat the styrofoam, then spray paint it. Quick and dirty and a pretty good stand-in until I get a chance to do more detailed scenery. |
|
|
|
Post by mlehman on Aug 26, 2013 10:18:23 GMT -8
A brief Before & After on the Cascade Branch. Camp 13 - before adding "trees" 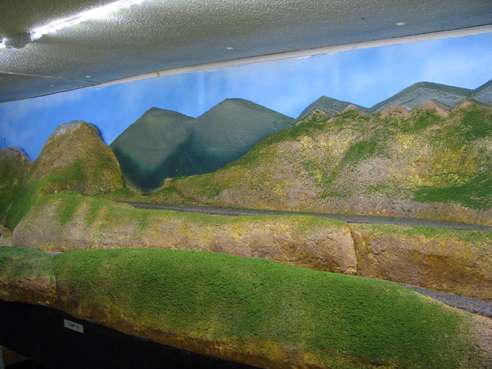 Camp 13 - after adding some tree stickers to force perspective for logging trail 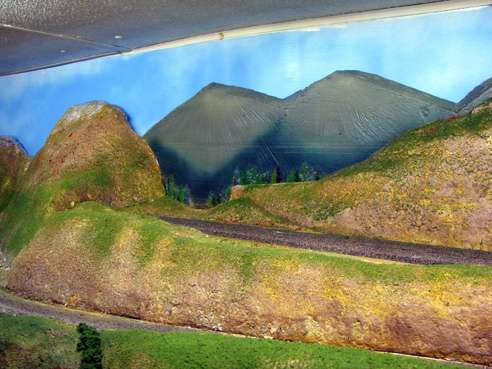 The "logging trail" coming into Camp 13 near the end of track on the left is just below where the narrow part of the dark green paint on the "mountains" is located. This is just getting the background right. 3-D trees will go in front of the "flat" ones on each side of the trail as this scene develops. The sticker trees were trimmed to fit the surface to keep everything level. |
|
|
|
Post by mlehman on Sept 6, 2013 16:36:29 GMT -8
Menard's has the LED light strips I use on sale ($25 vs $40) it was time for more fun with lights! This allowed me to beef up a couple of scenes that have more depth, so needed extra lighting, plus making the center peninsula track-light optional. I now have daylight illumination in the room for less than a bright light bulb (about 90 watts). The payoff in cool running is a big bonus, if your previous lighting was "hot stuff." Here's Durango with just blue light and light from adjacent areas. 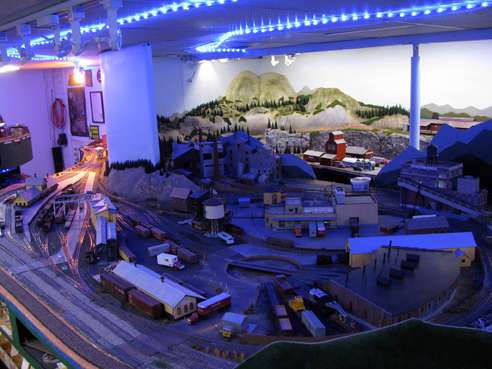 Here's Durango with the halogen track-lights (50 watts each). 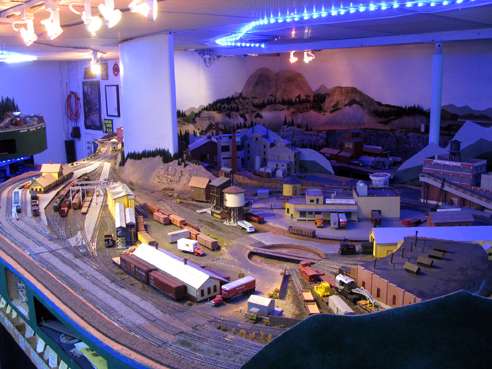 Durango with LED lighting. 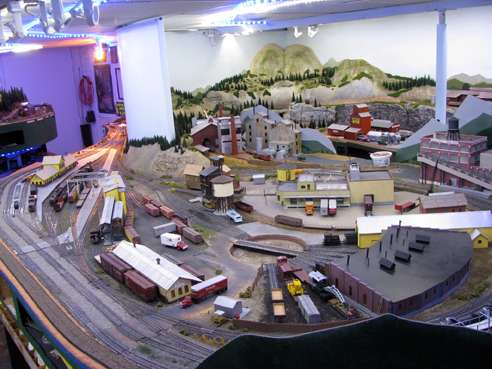 I add a 12' length of LEDs over Silverton and relocated the existing string to give balanced coverage. Silverton with one string of LEDs 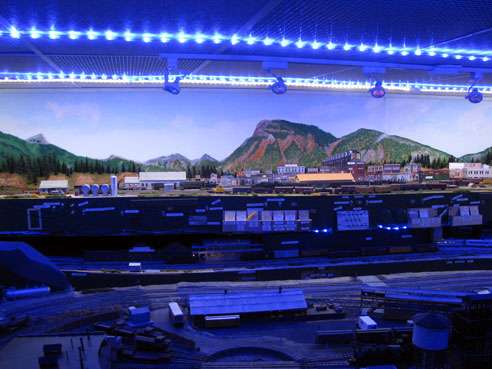 Silverton with two strings of LEDs 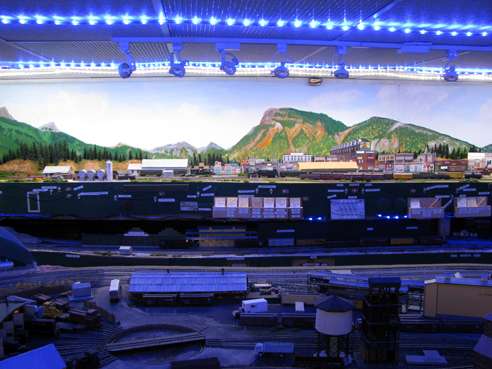 And the wide part of the Cascade Branch got a parallel 12' string and some relocation of the curve in the existing string. Before  After 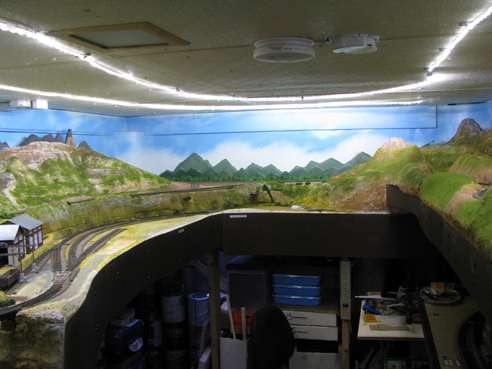 |
|
|
|
Post by Don Dunn on Sept 13, 2013 8:01:39 GMT -8
|
|
|
|
Post by mlehman on Sept 21, 2013 8:45:39 GMT -8
Don, Great photos and modeling! I really like how you've captured the grittiness of the steel mill environment. Here are some pics of three sidings I've added recently to improve operations. Basically, all three are holding or yard tracks to facilitate trains dropping off and picking up loads and MTs. In all three cases, this also provides the opportunity to add yard jobs for a local switcher. The first is a center siding at Rockwood. Before 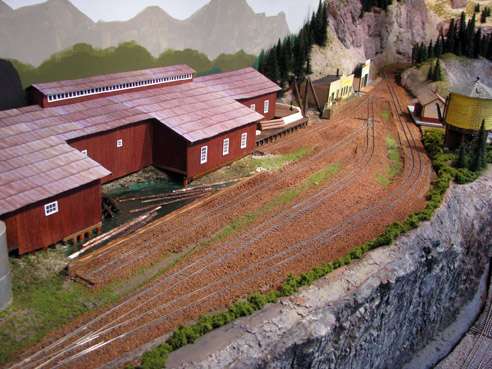 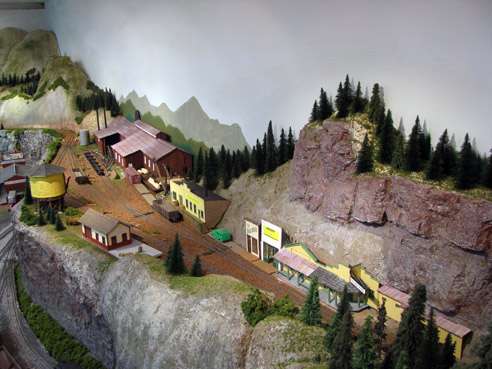 After 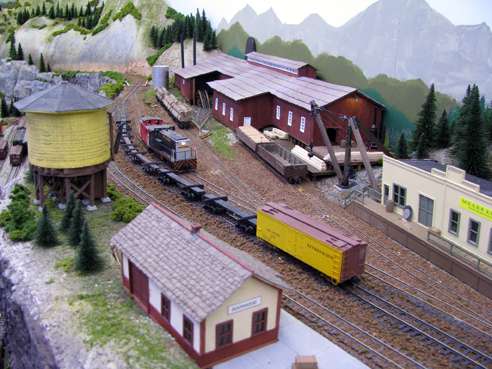 At Durango, I moved the existing siding inward, leveled a roadbed with Sculptamold, and glued the new track down, since there's no wood subroadbed underneath. It's plenty solid with the styrofoam glued in place and covered with Sculptamold. I am waiting on the plastic shop to cut a piece of plexiglass to guard the cars sitting in the siding from elbows. Before 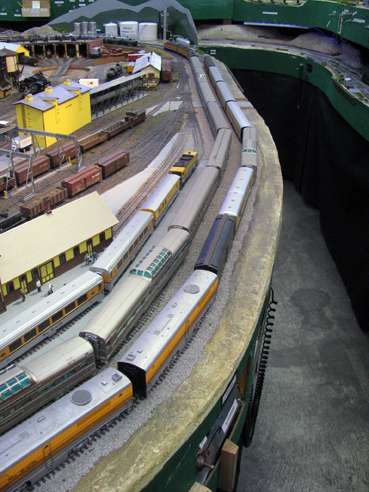 After 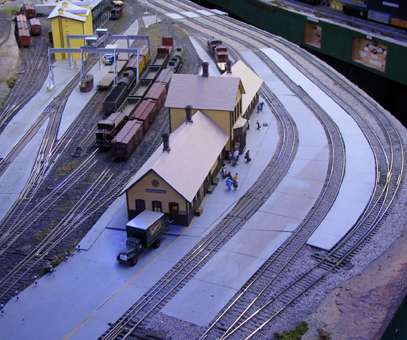 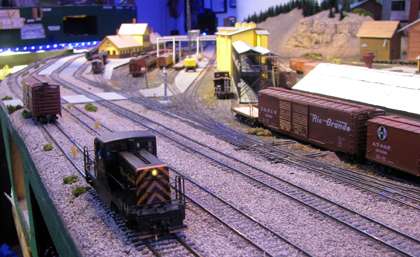 At Dove Creek, a similar engineering problem, but I ended up with a two-track yard, plus a freight running track. Lots of loads and MTs here going in both directions so was badly needed. Before 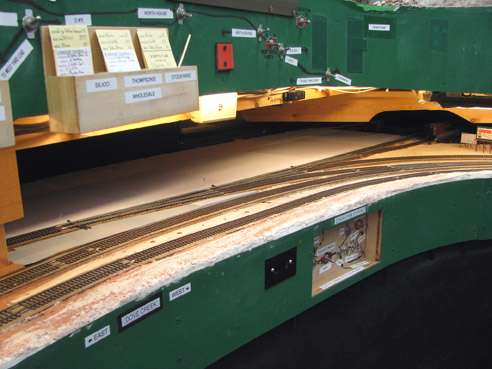 After (along with a new warehouse, etc) 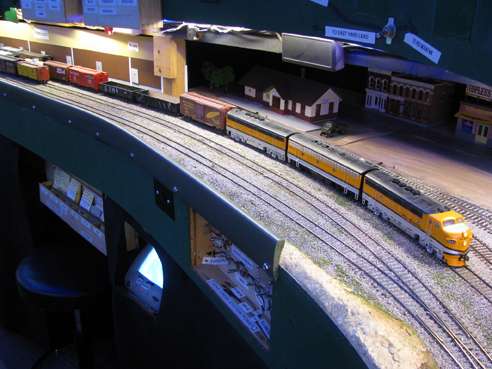 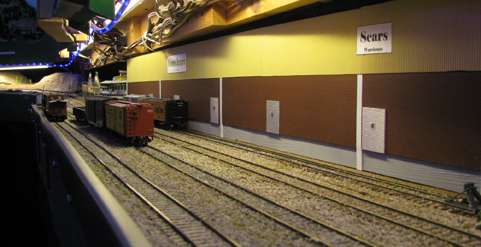 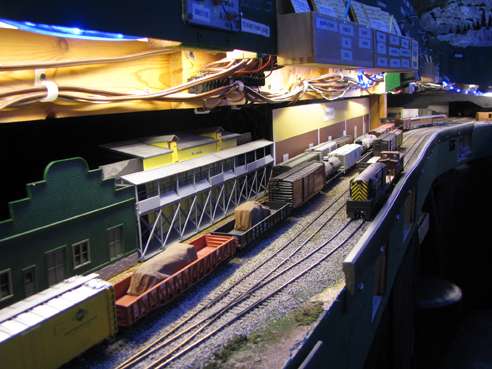 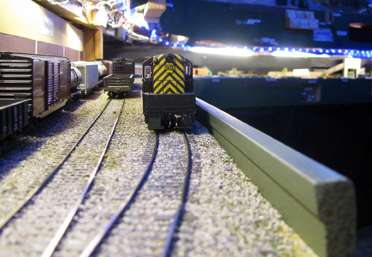 |
|
|
|
Post by mlehman on Oct 4, 2013 6:26:52 GMT -8
Got my new acrylic guard from the plastic shop and installed it at Durango to guard cars on the new siding and adjacent tracks from stray elbows. It was $100, but $100 well-spent. Have you priced RTR cars lately?   : Before 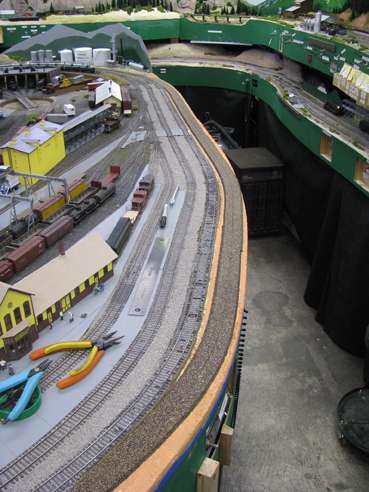 After 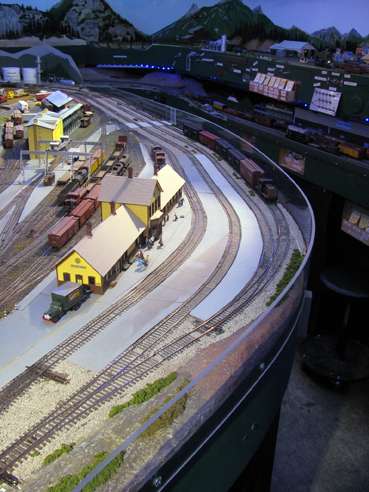 Work on the Cascade Branch has also advanced. The forest is thriving and the track to and past Purgatory is now ballasted. Before 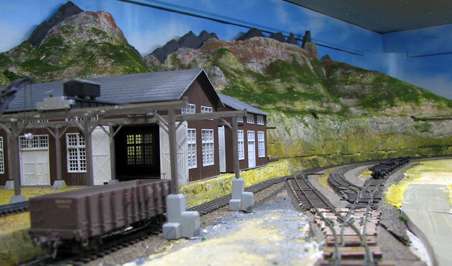 After 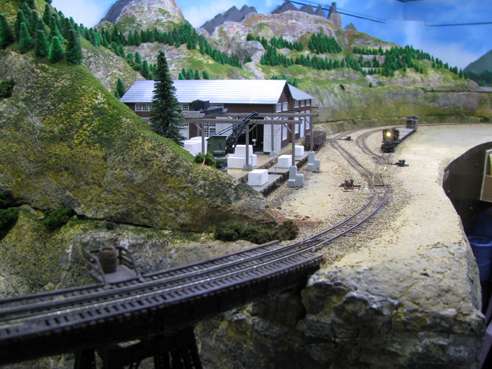 |
|