|
|
Post by mlehman on May 11, 2014 21:24:31 GMT -8
Jim, Things look like they are coming along nicely. At this stage, changes are very visible and heartening. I was at our divisional meeting Saturday at a colleagues house. We had to help him sort out a short, but he's really made a lot of progress laying track. Considering he's hand-laying the turnouts and has a really love for odd crossings, it's rapid indeed. Making progress seems to get my creativity going, too, as I really start looking forward to at least the beginning of scenery soon. I found some old pics of just after I got my Silverton backdrop painting and I was laying and wiring track there. I'll have to get those scanned and posted here. In the meantime, lots of work around Silverton this week, so dug up a few B and A pics matches to illustrate it here. The sign welcomes you to Silverton... 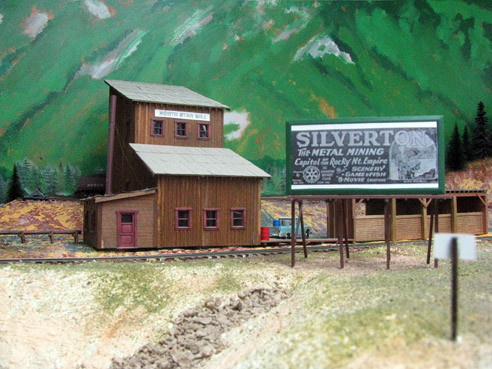 And there's some wide-open spaces around the North Star Mill and Sampler. 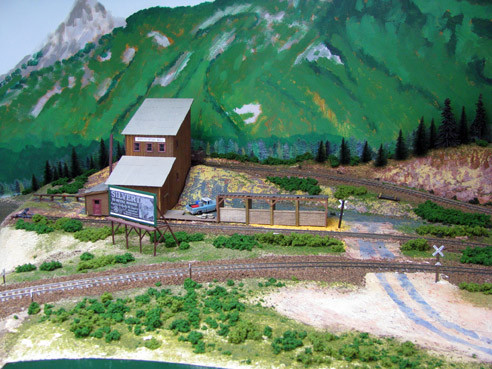 In recent weeks, management has been rapidly adding onto the North Star, culminating in the new coal shed this week.. Still lots o detail to add, but it's basically done for now. I will be making some signage soon for it and some other new structures, but budget and interest will eventually draw me back. In any case, things have changed in the After shots. 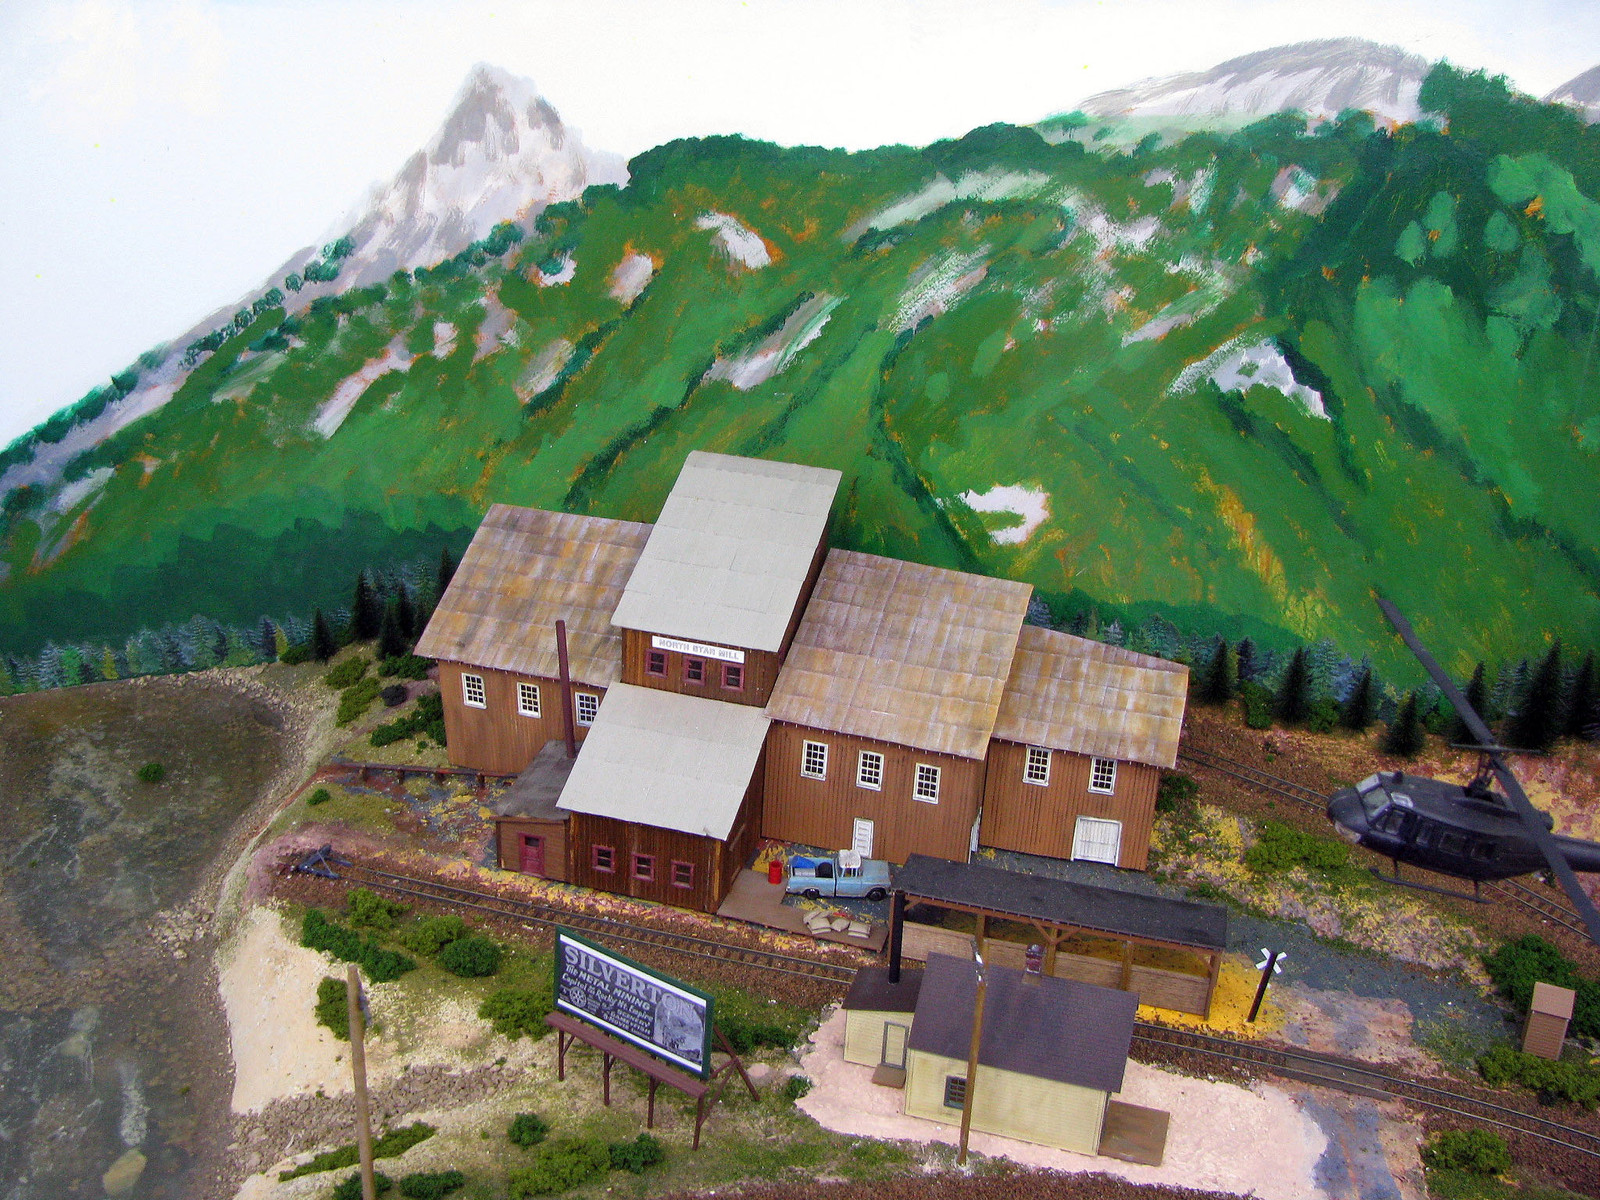 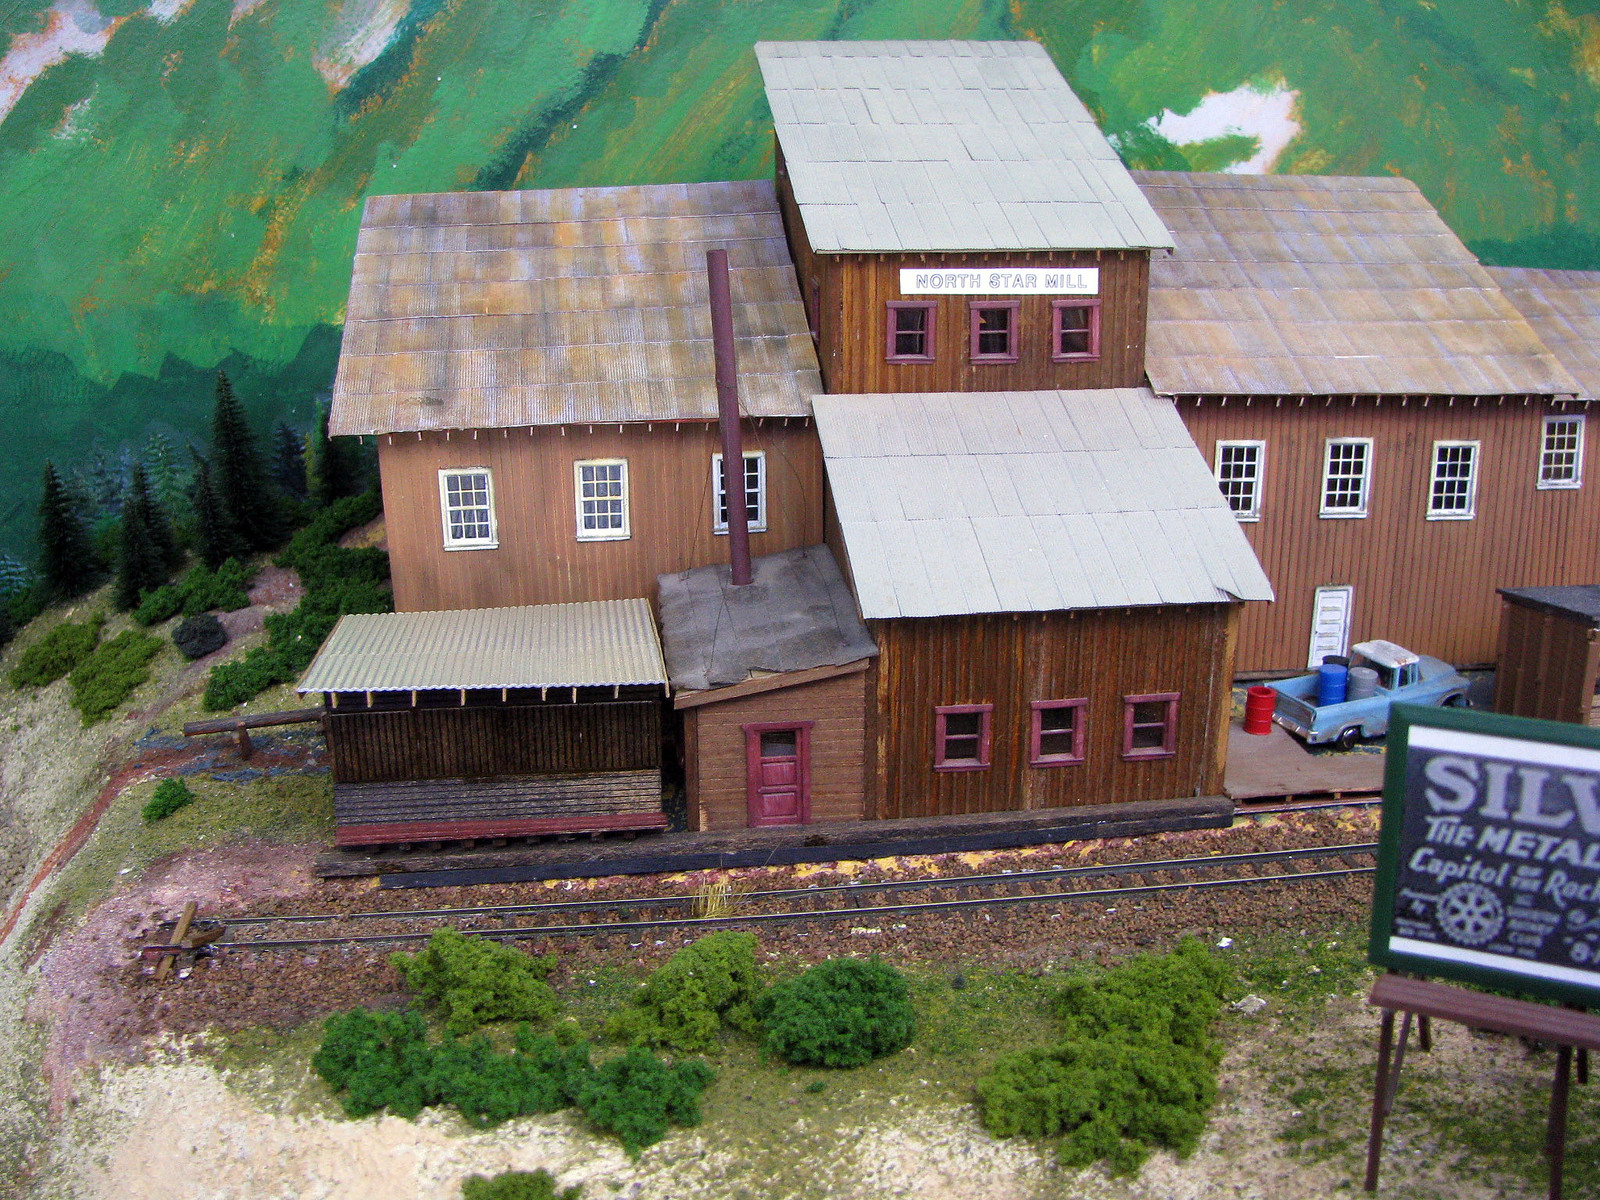 The enginehouse area received a makeover, blending ballast and ground cover, plus some planking so the carmen don't have to wallow in the mud when working on B/)ed rolling stock. Anvil Mountain Models ( Anvil Mountain Models)plans to do a kit for the enginehouse, which I don't need as I'm happy with mine. Mine is also sized to fit K-27s into. The original is more restrictive. However, AMM will also reportedly be doing the small structures outside the enginehouse, so I may work those in in the future. Before 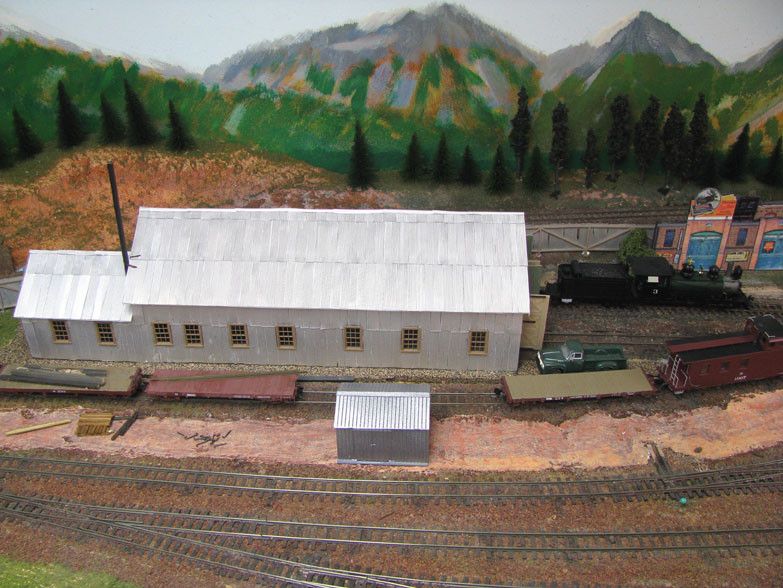 After 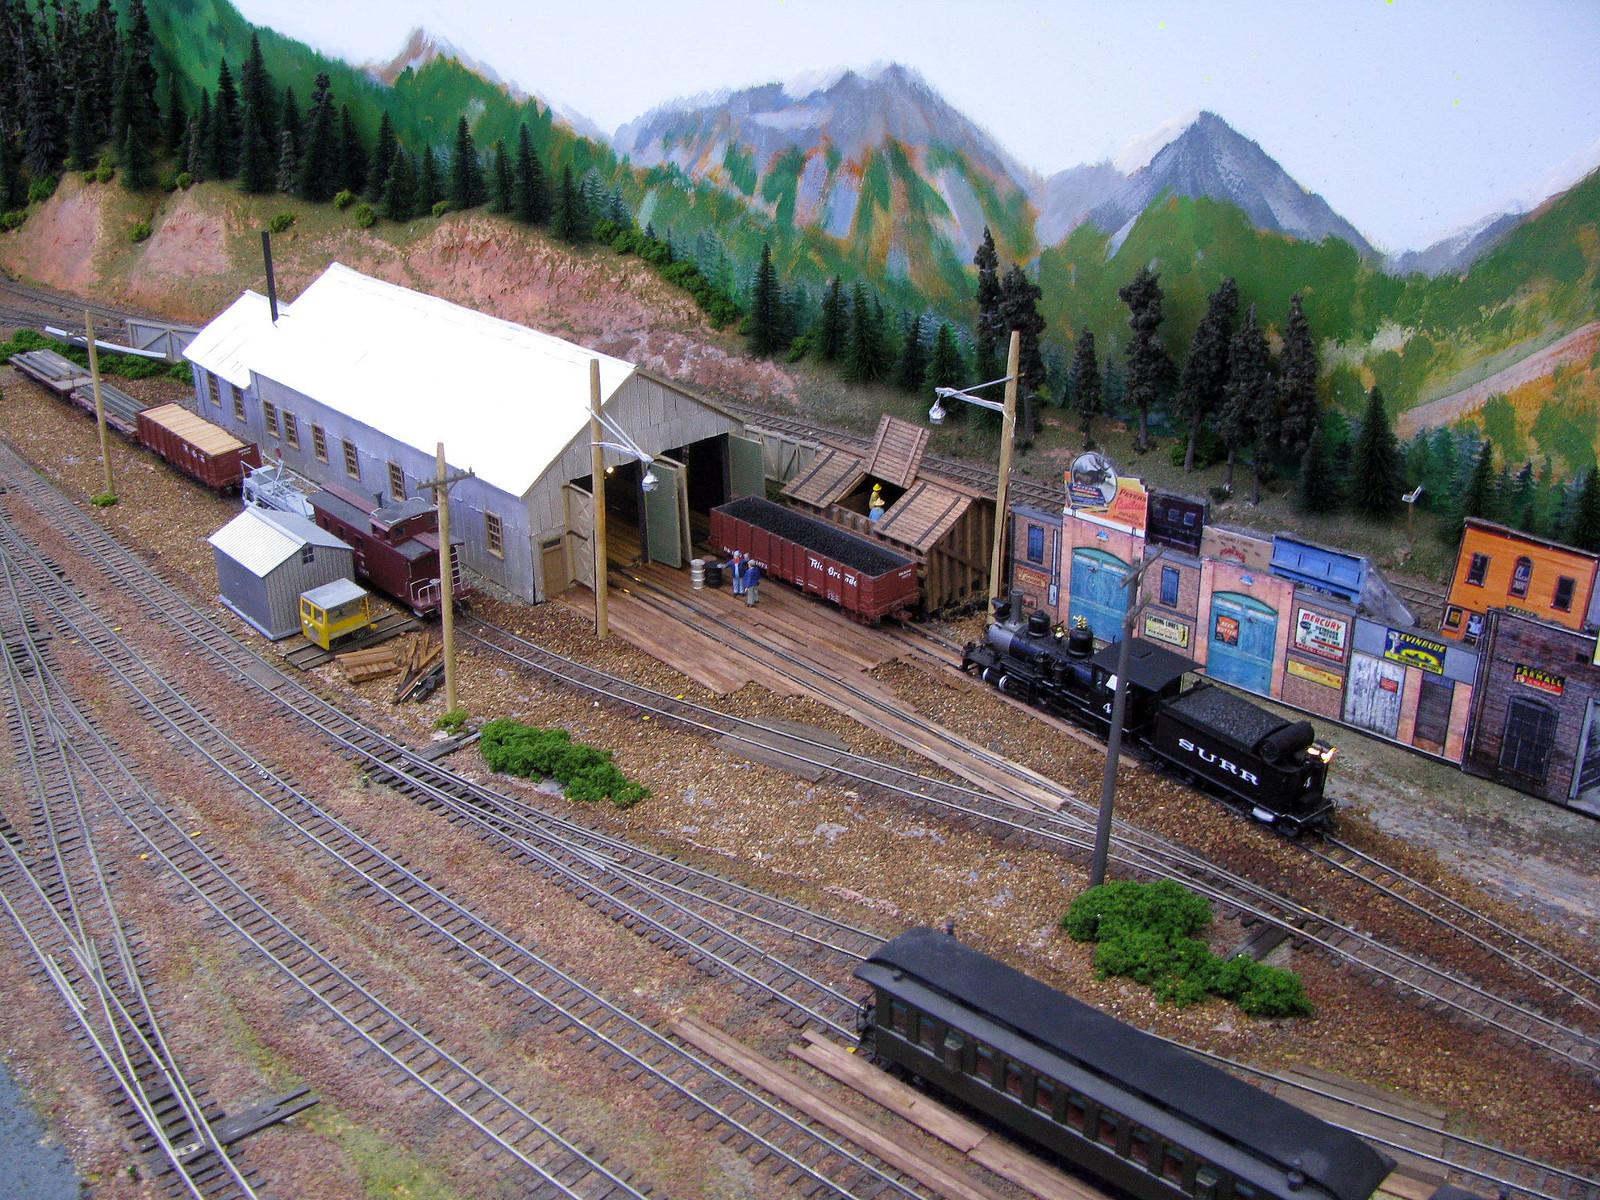 And the station area also received work on its platforms. The ladies hate getting their skirts in the mud and the gents weren't tp thrilled about it either. The burgers? We transport anyone with a ticket. Before 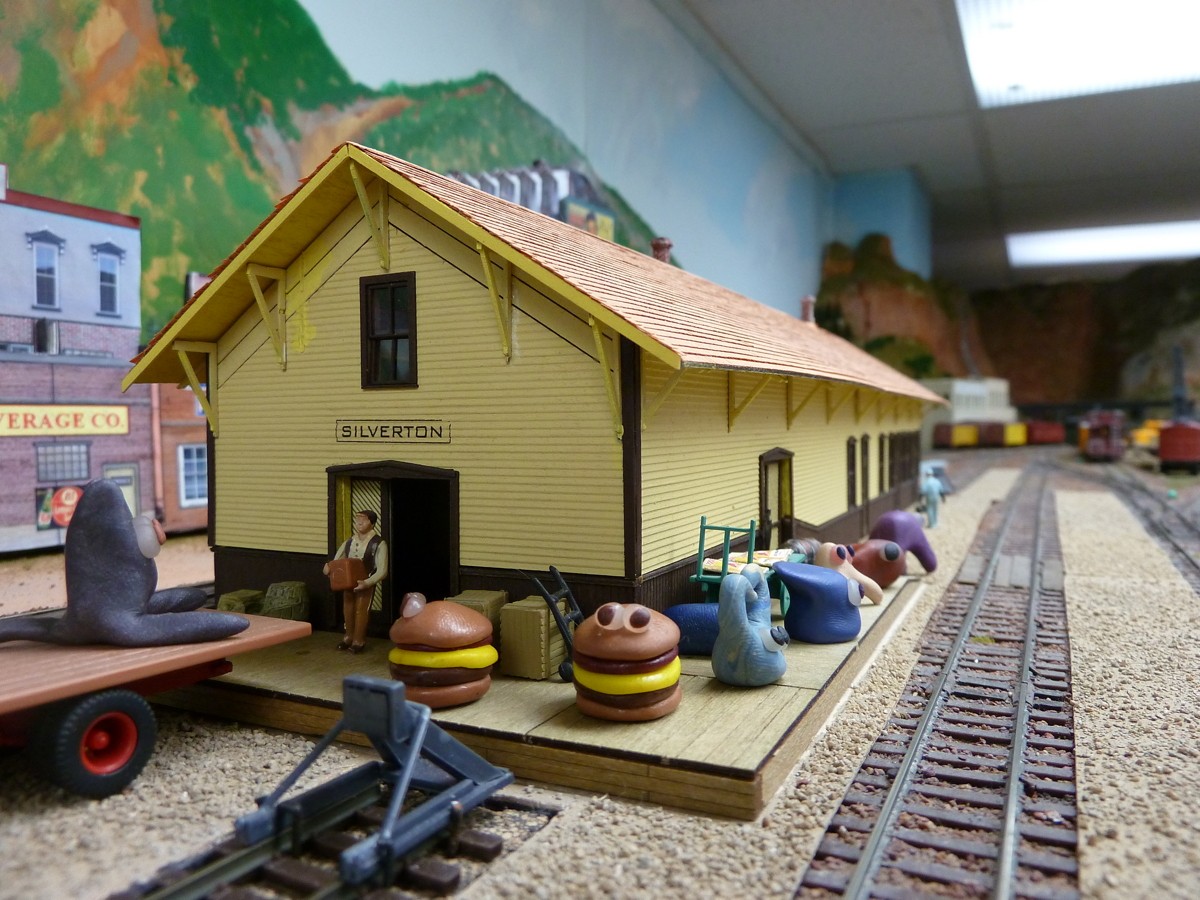 After 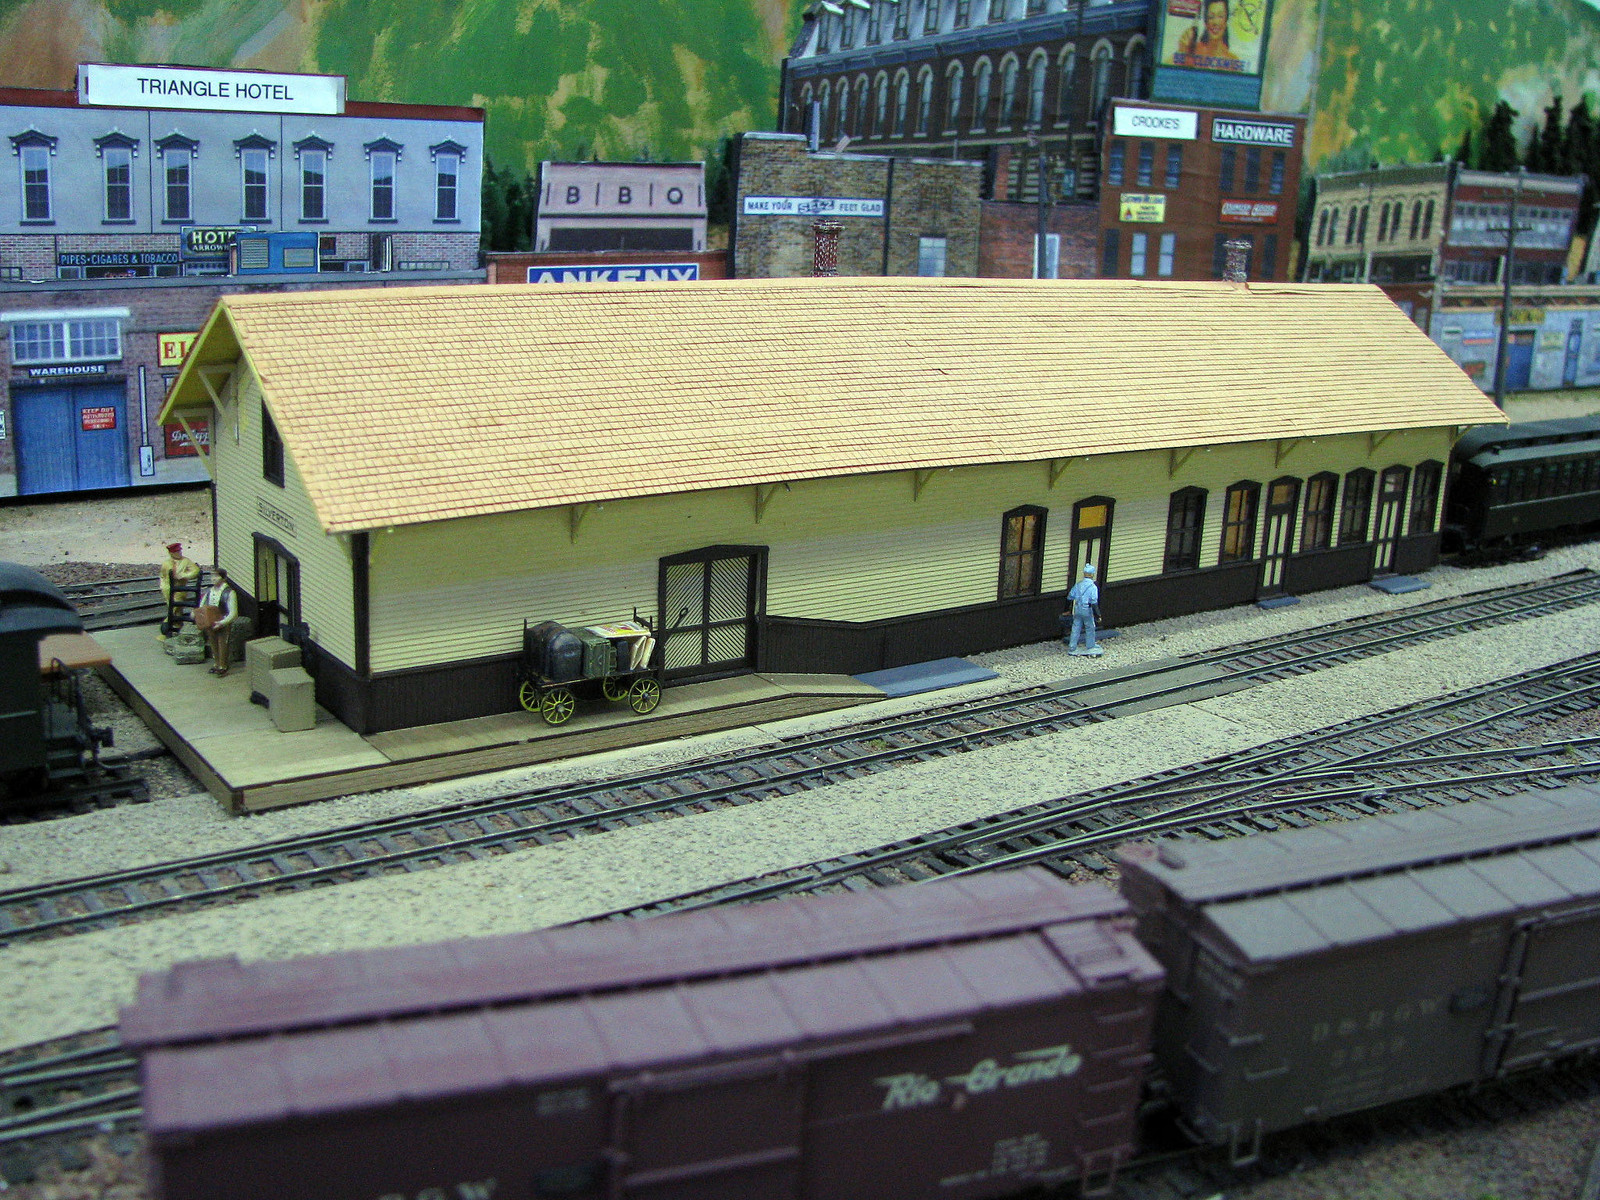 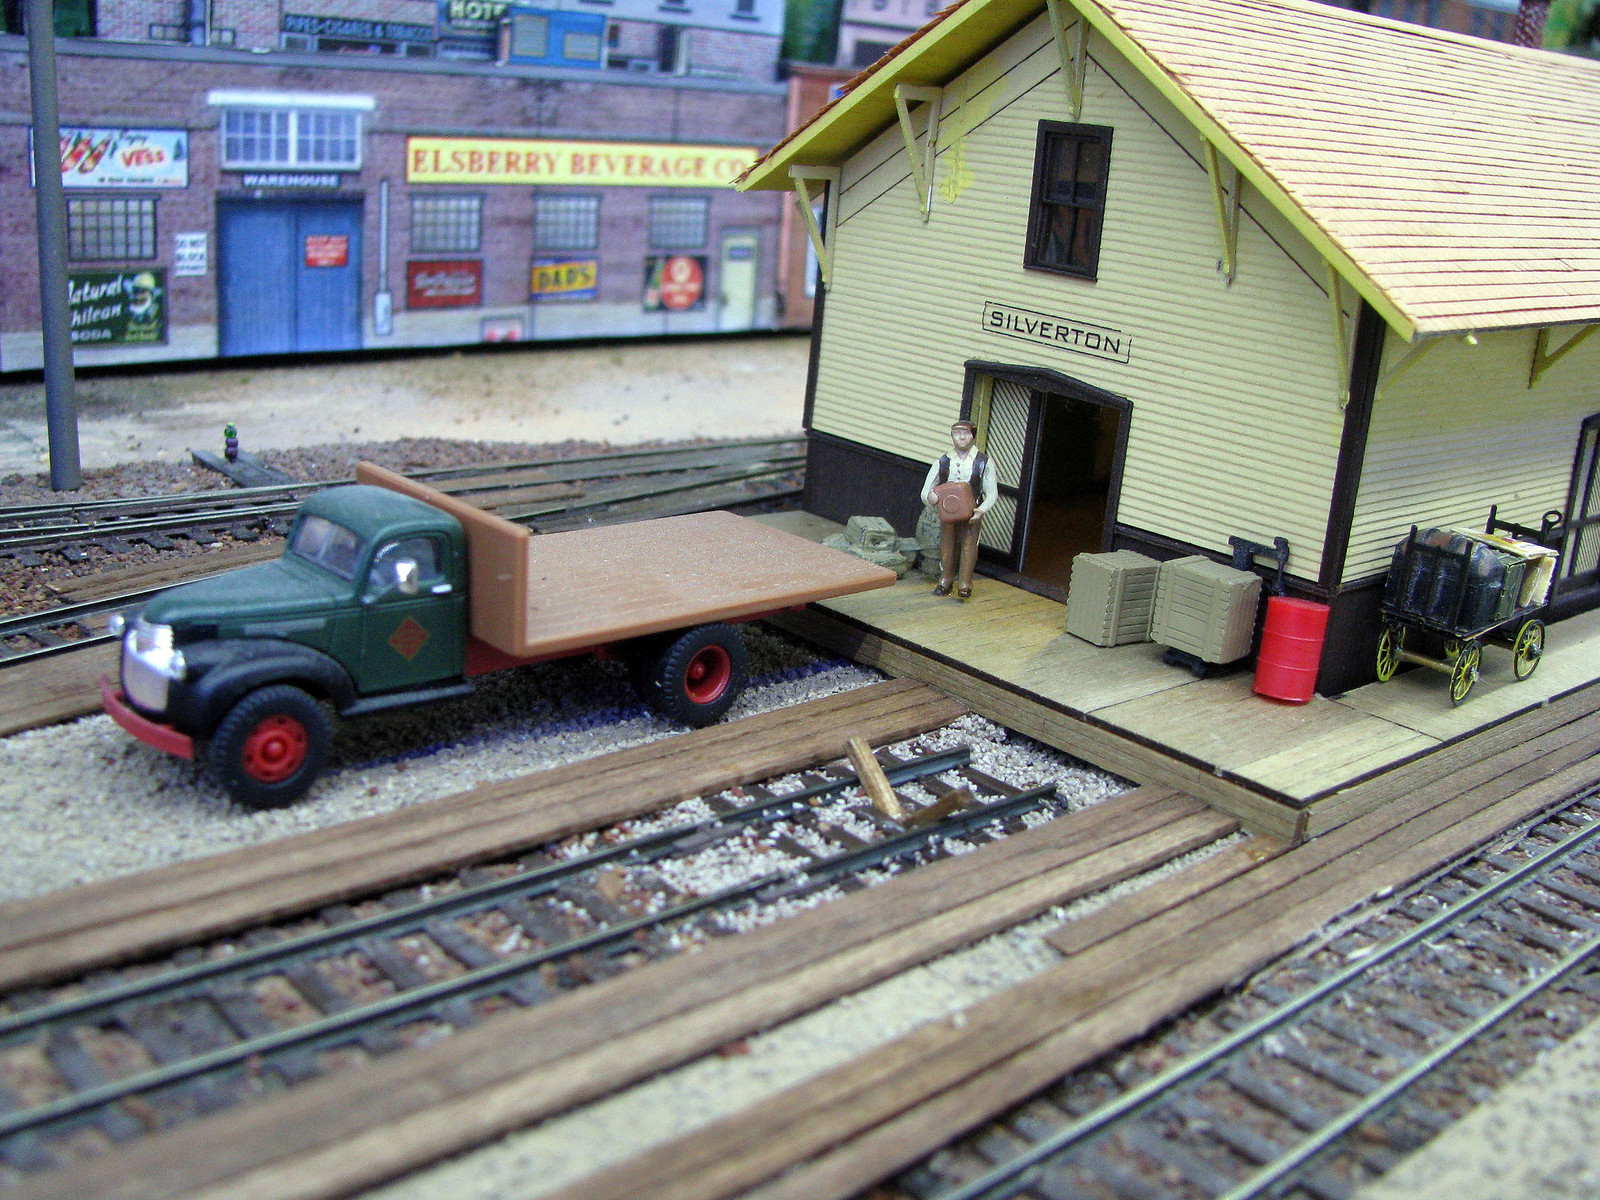 No, the burgers were not responsible for moving the station. I did that to lengthen one of the house tracks to squeeze a loco into it with the Red Mountain passenger. |
|
|
|
Post by SantaFeSammy on May 15, 2014 17:56:50 GMT -8
Wow, I really like the pics in this thread!
Here are a few of mine - first one is in May of 2005.
Second one is a few min ago! Big difference!
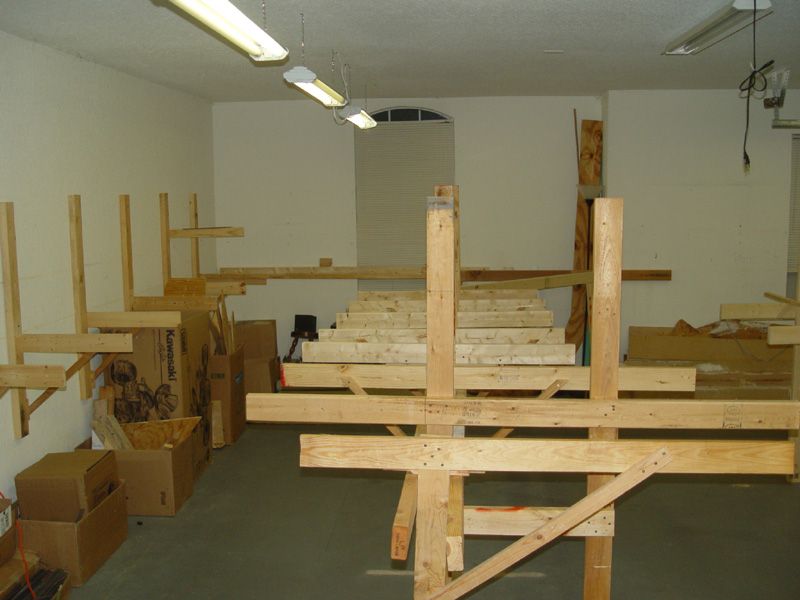
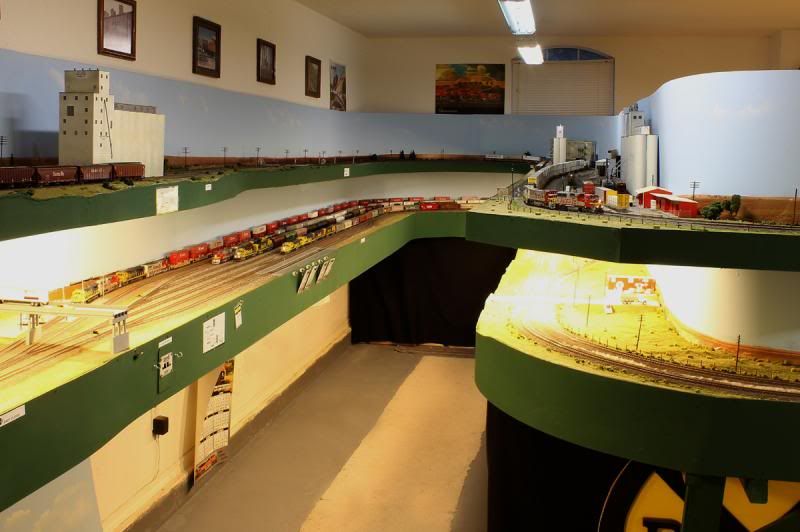
|
|
|
|
Post by nebrzephyr on May 16, 2014 6:17:31 GMT -8
Sammy.....question. It appears you may not use a helix to get between levels. Is that a good assumption? If not, would be interested in what technique you used to make the transition.
Thanks. Bob
|
|
|
|
Post by mlehman on May 16, 2014 7:27:25 GMT -8
Sammy, Welcome to the forum and the thread! Nice transition you have there.  Looking forward to seeing more.  |
|
|
|
Post by SantaFeSammy on May 16, 2014 8:45:41 GMT -8
Bob, Your assumption is correct – no helix. The layout is a “no-lix” design and the section on the other side of the room gradually climbs from the lower to upper level on a grade that never tops 1.75% which was important in my design since I like to run long trains. In areas where there is switching, the grade levels off. In the wide angle photo, the blob / peninsula on the right of the shot, the deck elevation on the bottom is 44” and the top is 58”. Over on the left, the yard at Clovis is at 44” and the elevator at Dawn, TX on the upper deck is 62”. It’s 25’ to the far wall so it’s a nice easy grade. Mike, Thanks for the welcome and I will be glad to share more photos. Here are few: 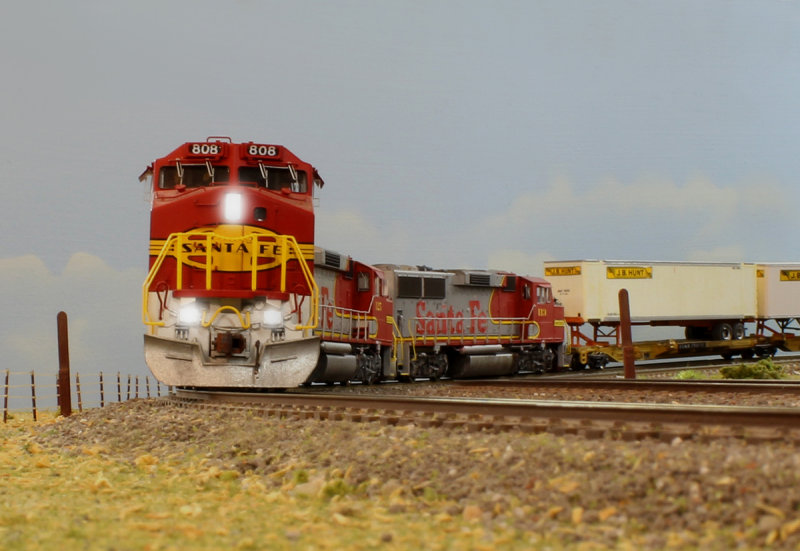 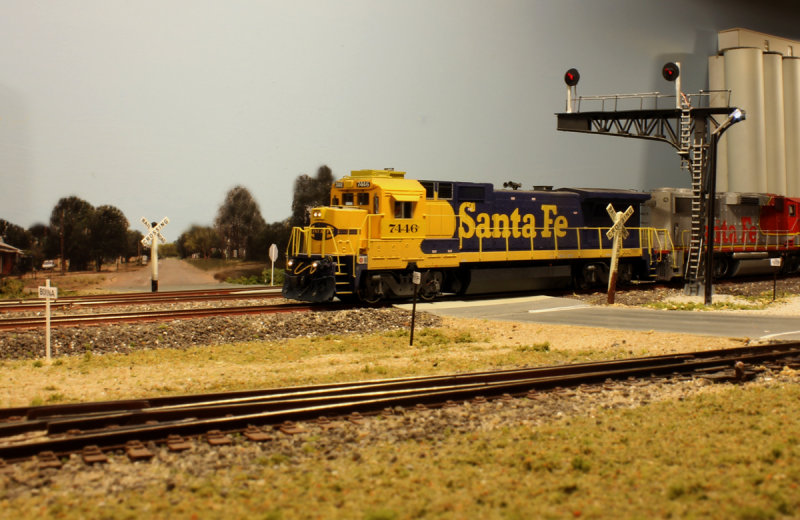 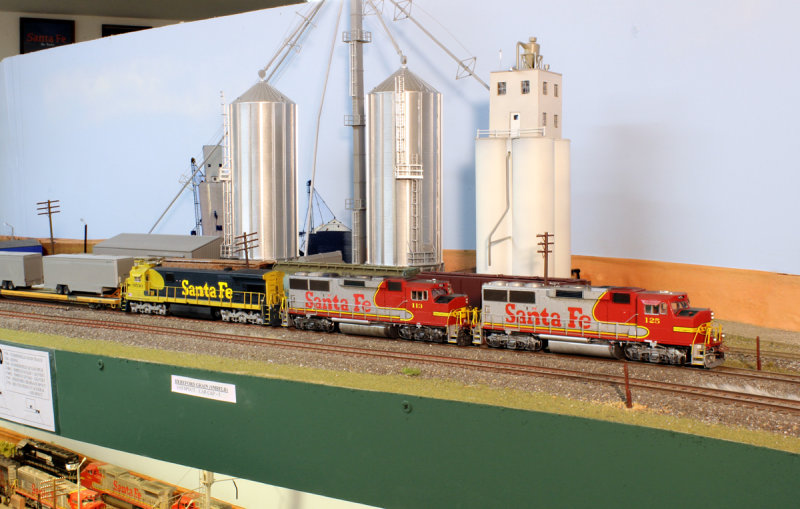 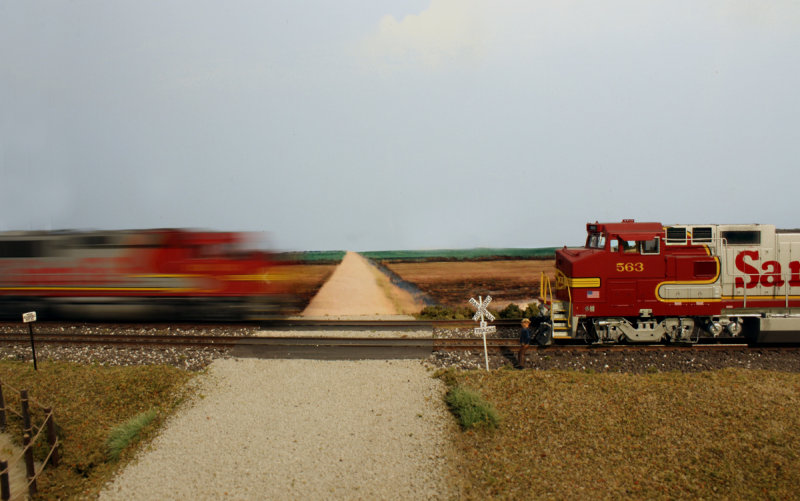 |
|
|
|
Post by nebrzephyr on May 16, 2014 12:30:44 GMT -8
Sammy.....thanks for the info on the "no-lix" design.  Bob |
|
|
|
Post by mlehman on May 17, 2014 10:26:47 GMT -8
Red Mountain has seen its share of changes over the years. It's the oldest part of the layout, started as a module before I bought the house. Here's an older pic of it: Before 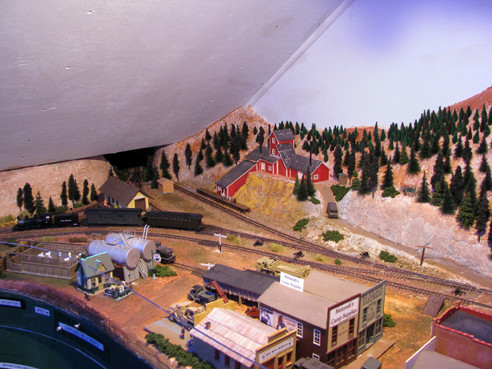 I added manual remote turnout throws for the downtown area recently, as well as lit up the town, while moving several buildings. This kind of crowded the tracks, though. Before (at night) 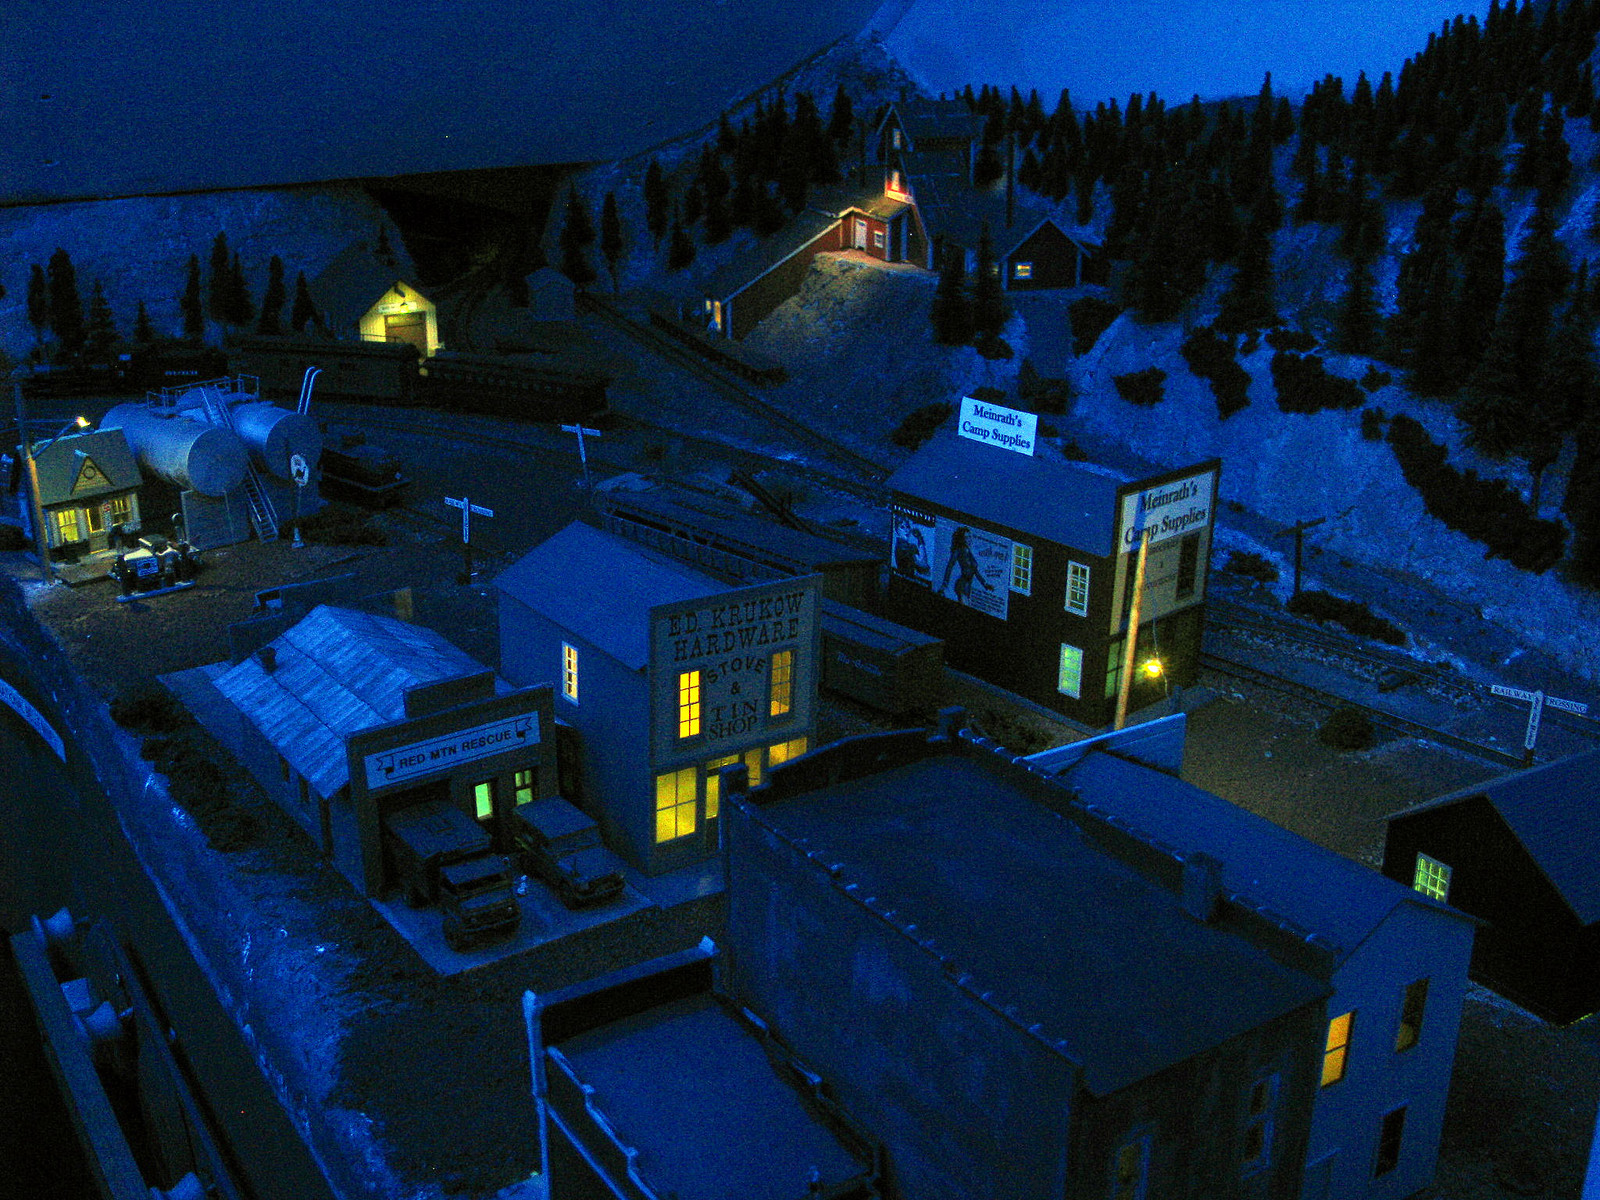 After building a kit for one of the actual structures in the prototype Red Mountain (pics coming in SPF tomorrow), I decided more extensive urban renewal was needed. The main thing I wanted to do was to clear taller structures away from the lines of sight needed to operate, plus reducing the tendency to snag them when reaching in to uncouple. After 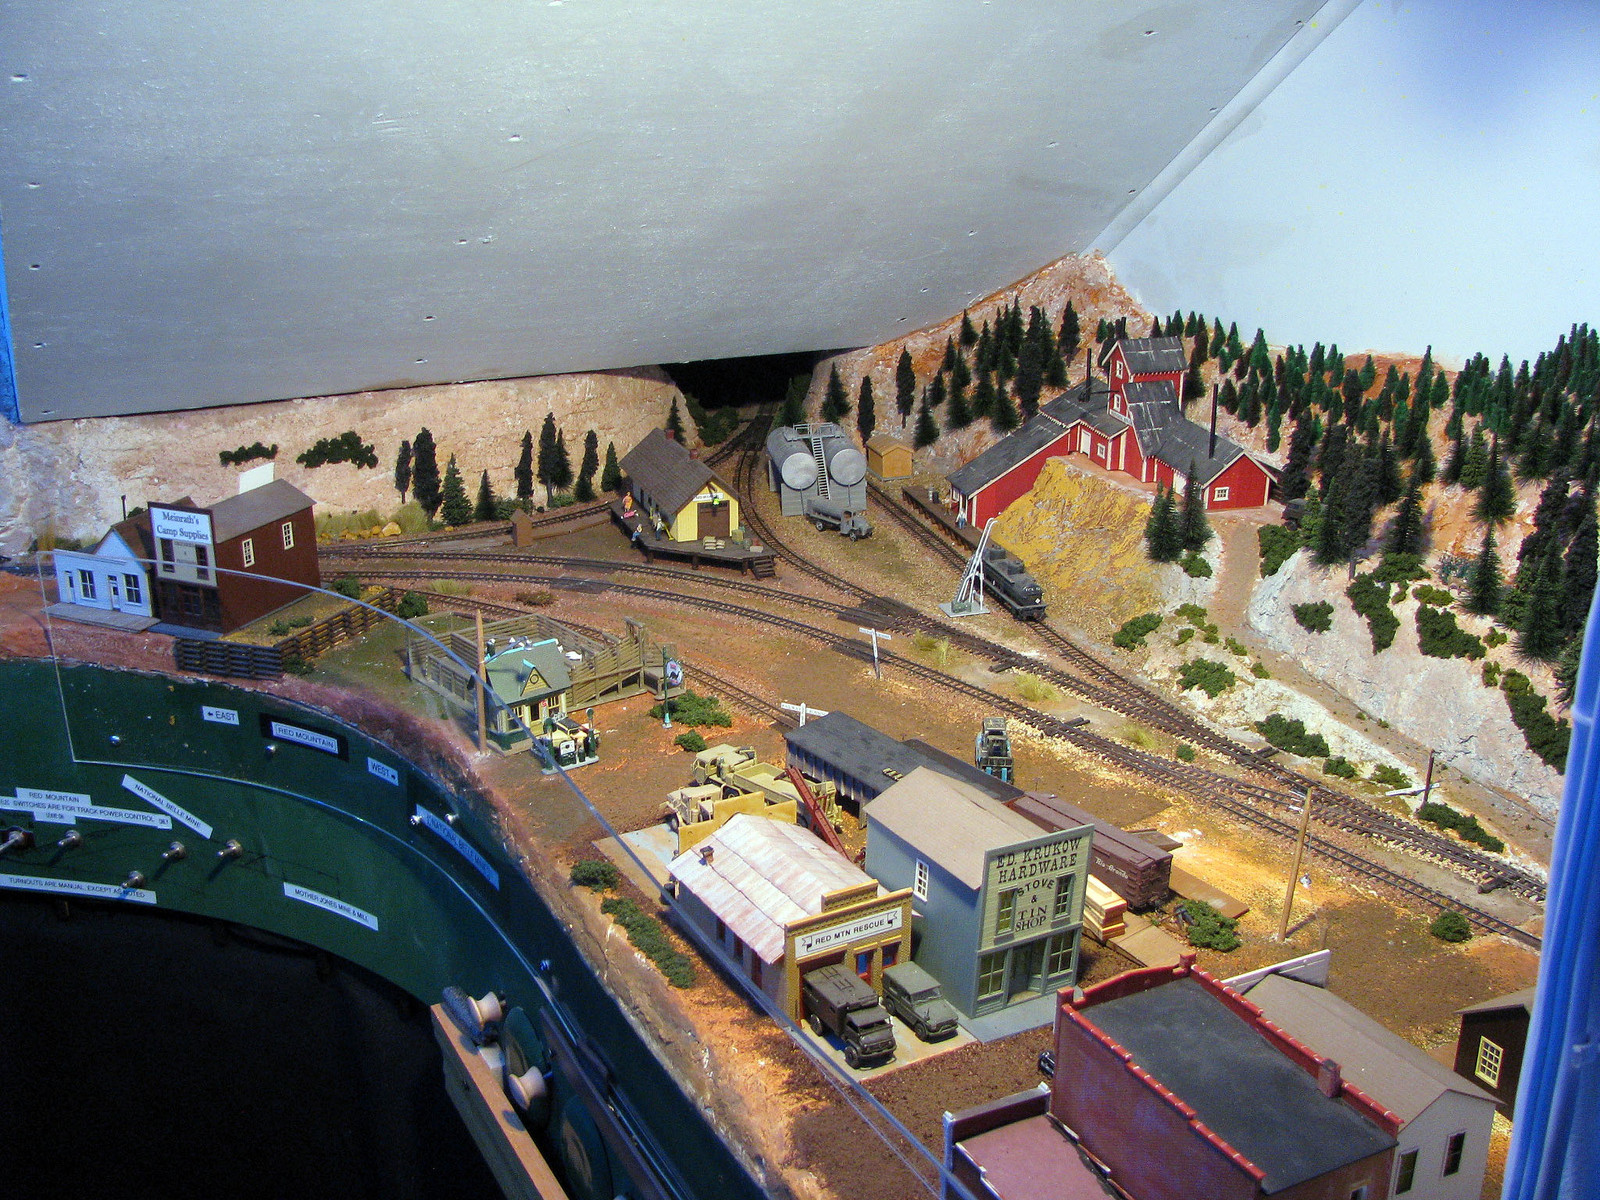 |
|
|
|
Post by riogrande on May 17, 2014 11:34:47 GMT -8
Nice. Is that under a stair way the track disappears into?
|
|
|
|
Post by mlehman on May 17, 2014 13:09:02 GMT -8
Jim,
Yes, it is. From Silverton's wye, one leg is the old Silverton RR to Red Mountain and its wye. The tail of that wye ostensibly goes to Ironton, if I need staging or additional traffic from there. In fact, it actually circles around back to the other leg of the Silverton wye, which represents the Silverton, Gladstone & Northerly line to Gladstone, Again, could be used for staging. I've never run dry on traffic with what's visible, so mainly use the track to park the ultra-modern, diesel-powered San Juan Zephyr on. The resulting oval does allow for a continuous run test loop.
|
|
|
|
Post by mlehman on May 25, 2014 7:30:20 GMT -8
One small project this week was updating the last part of the layout still primarily dependent on incandescent lighting, Red Mountain. It was illuminated by a single 75 watt PAR reflector bulb in a "fish eye" housing in the suspended ceiling. It swivels to allow some placement differences. Here's how it looked. Before 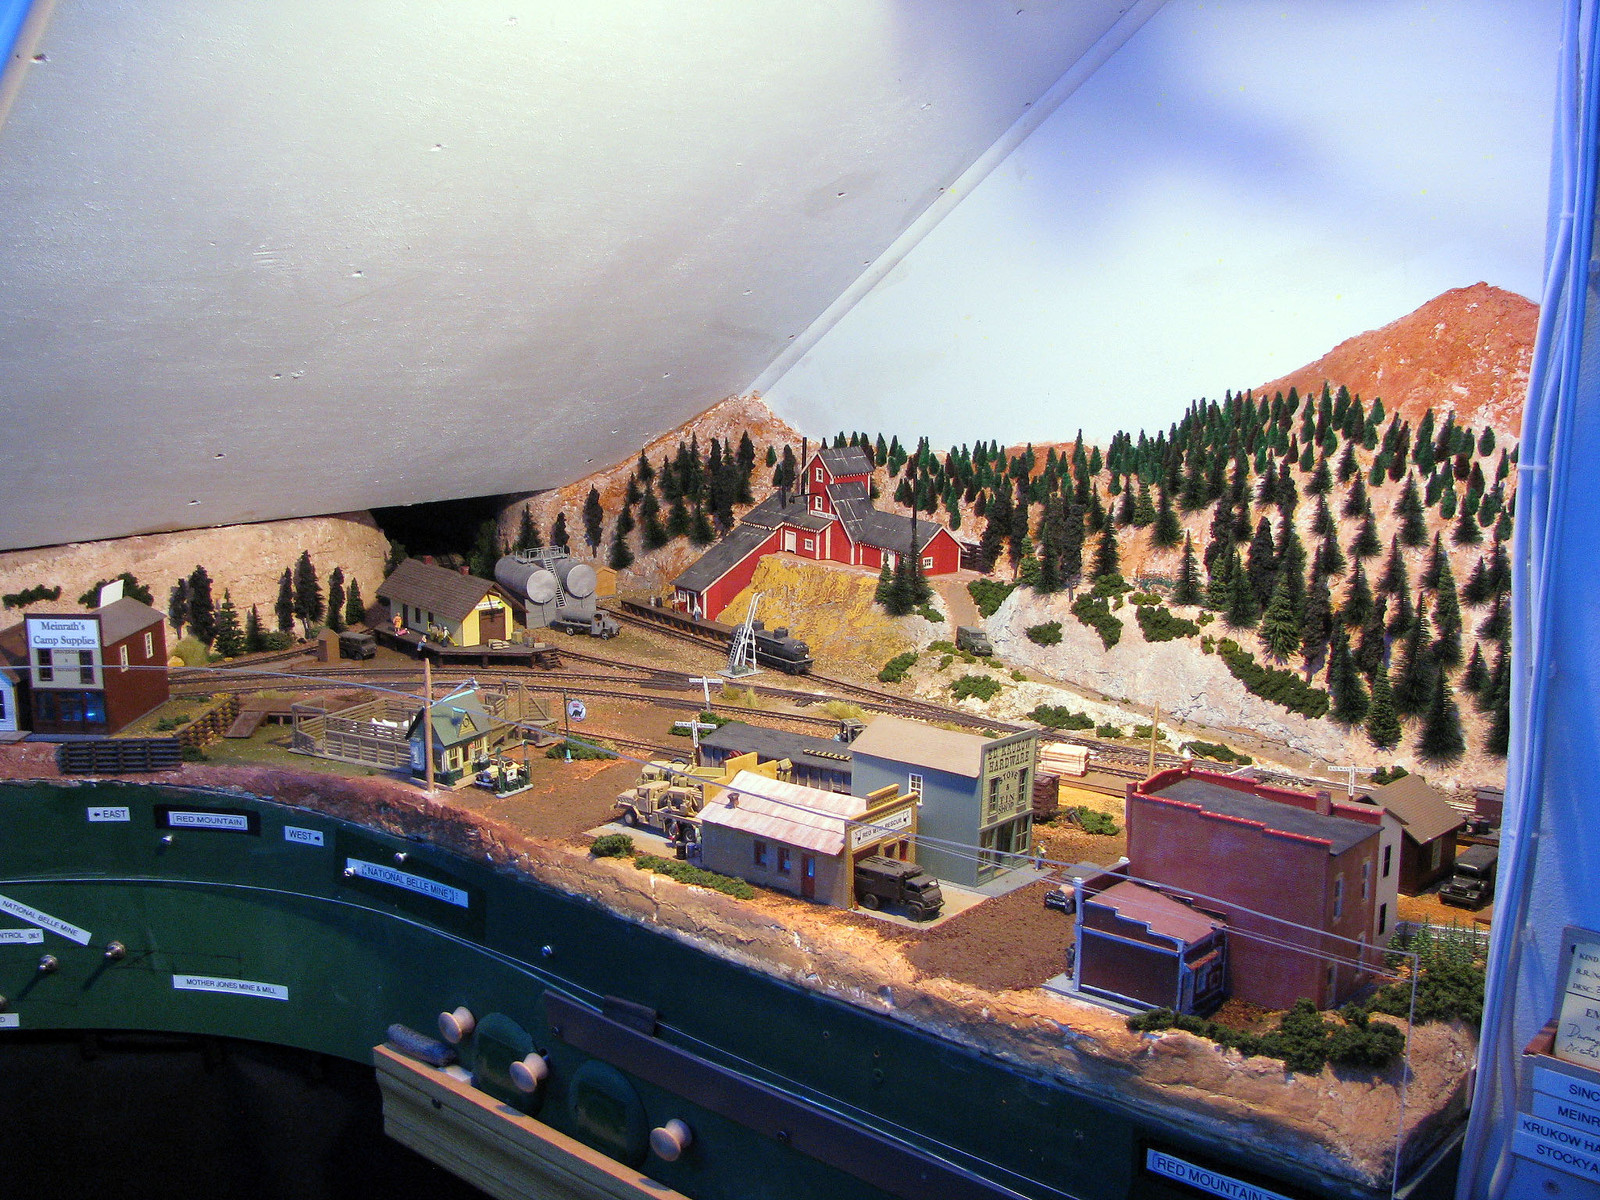 I thought about using more of the LED light strips. A single pass through would use a 6' but probably not be bright enough because of the depth and odd shape of the scene. A 12' LED strip would need to be sorta curled up to fit, but would provide plenty of light. Turns out the big box only had the 6' ones in Warm White, not the Daylight I use and prefer. Then I started looking at bulbs to replace the 75w PAR. Turns out you can get them in 5000k/Daylight. So I bought one and a 6' LED strip in Warm White. Here's the LED PAR-substitute, which is also dimmable, another plus. 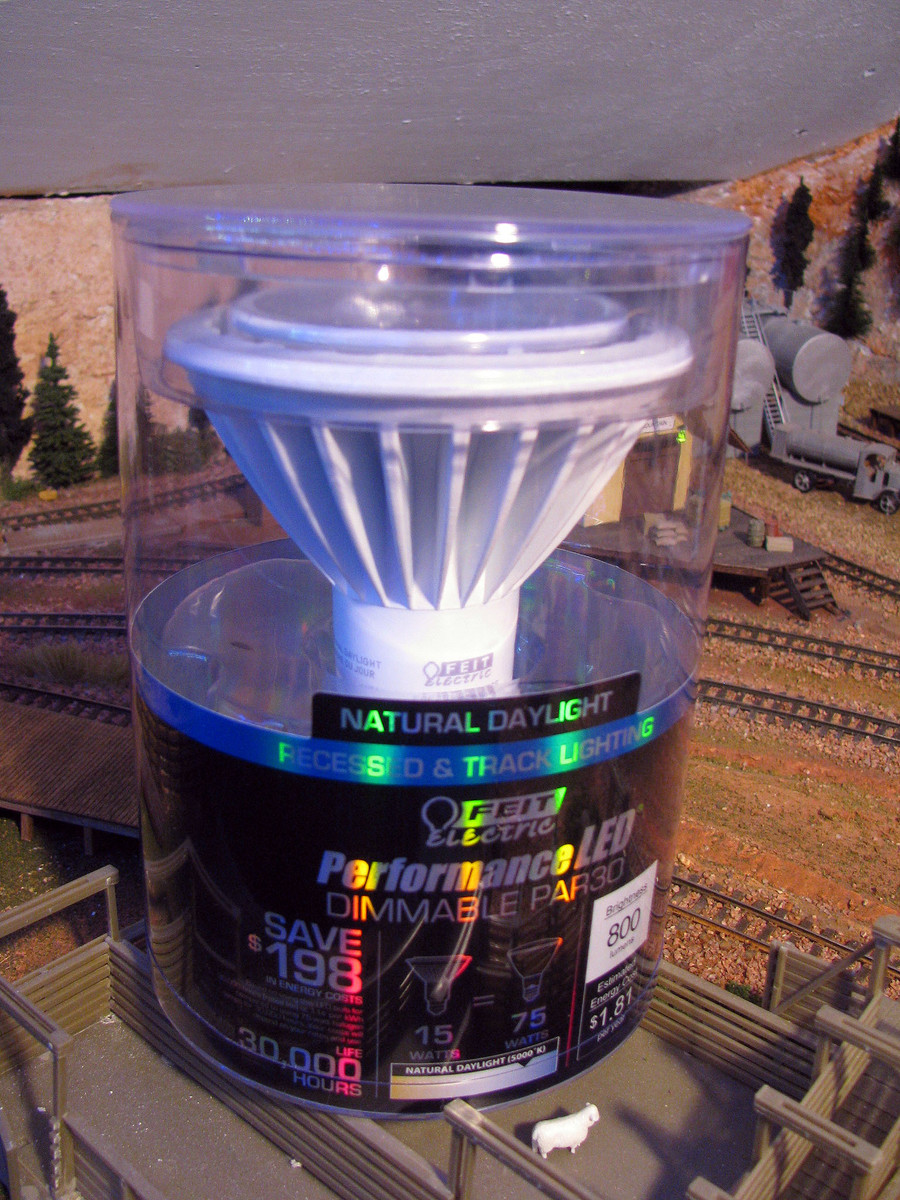 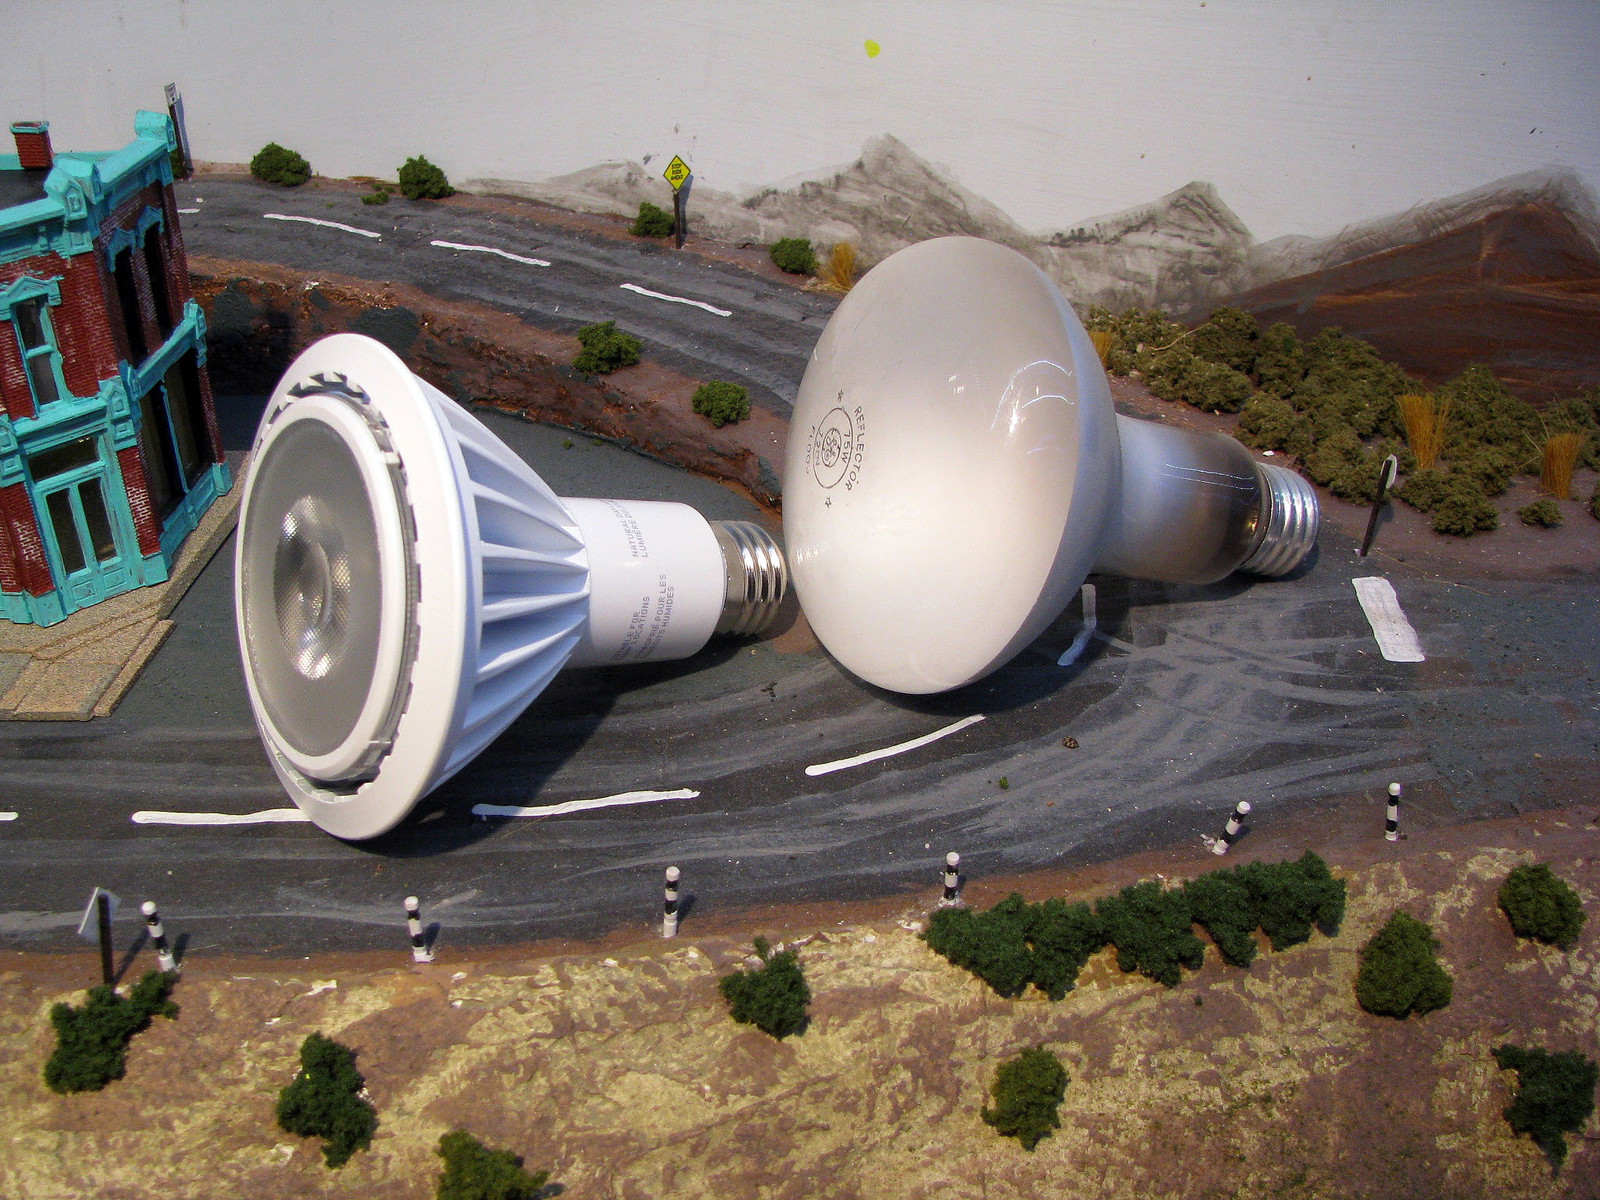 With the LED flood only 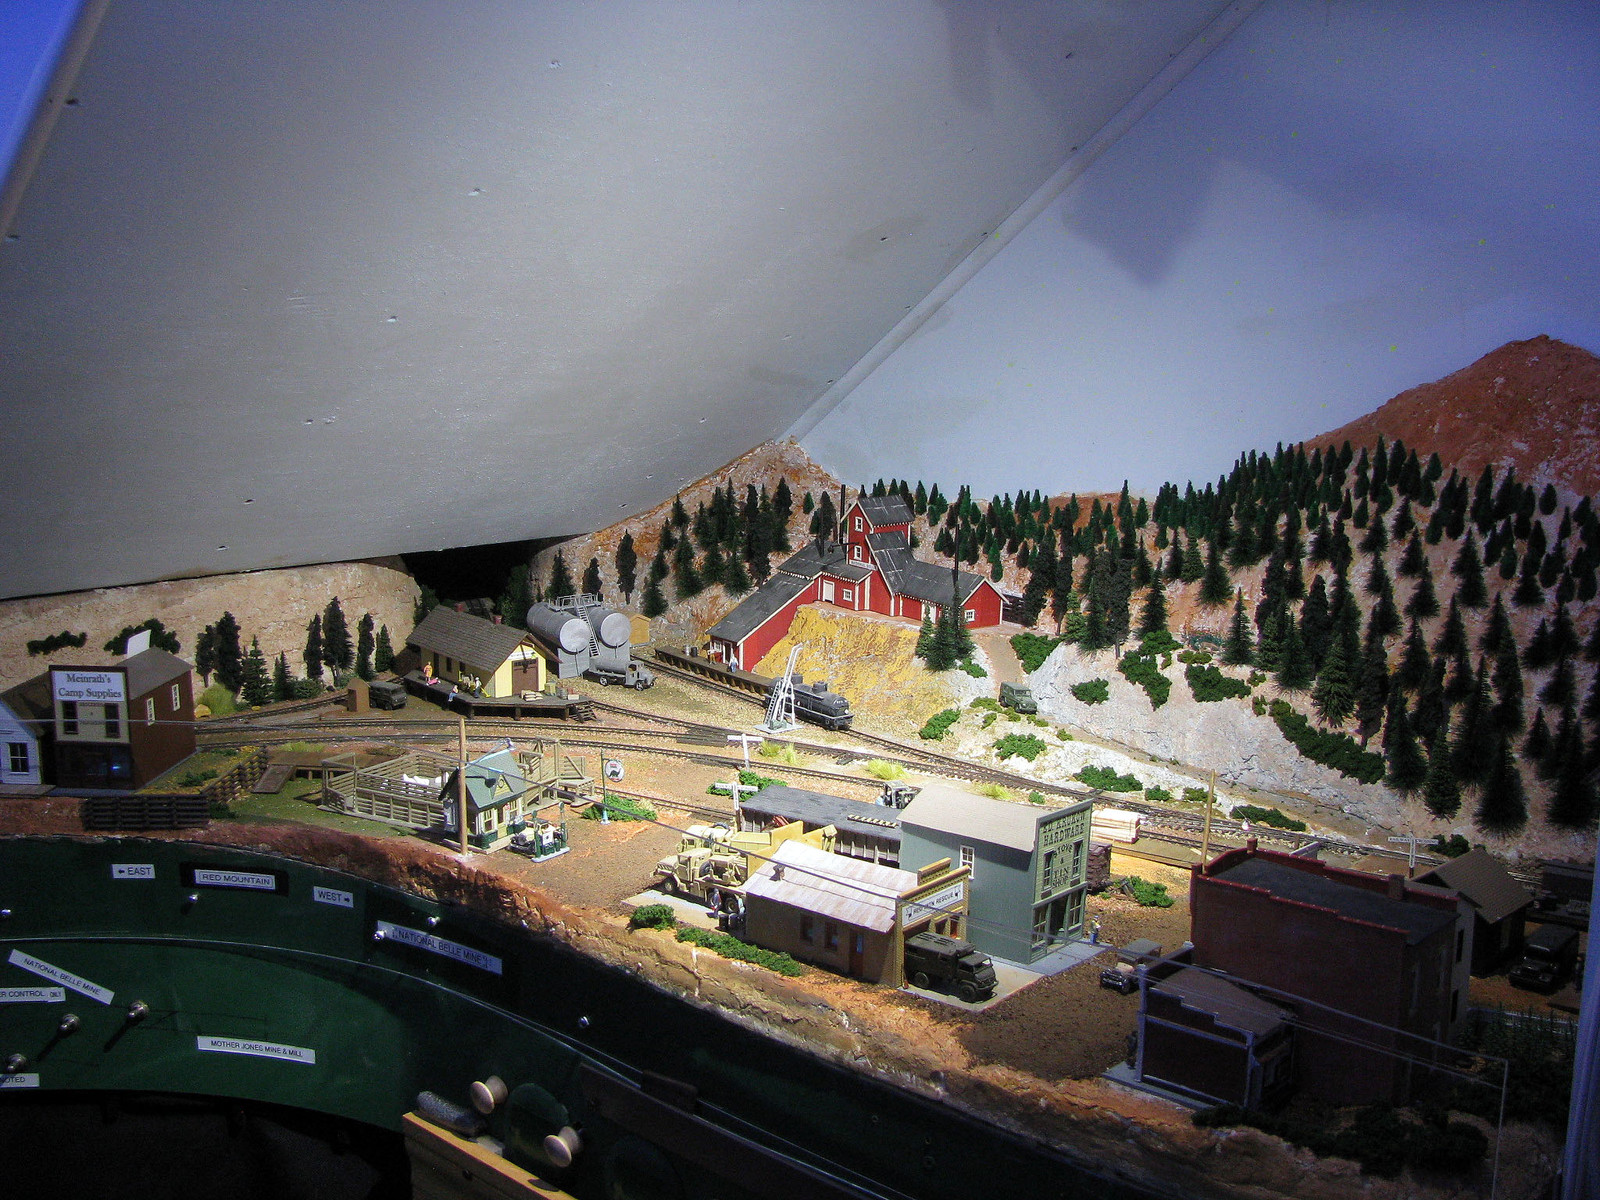 LED flood plus the Warm White LED strip 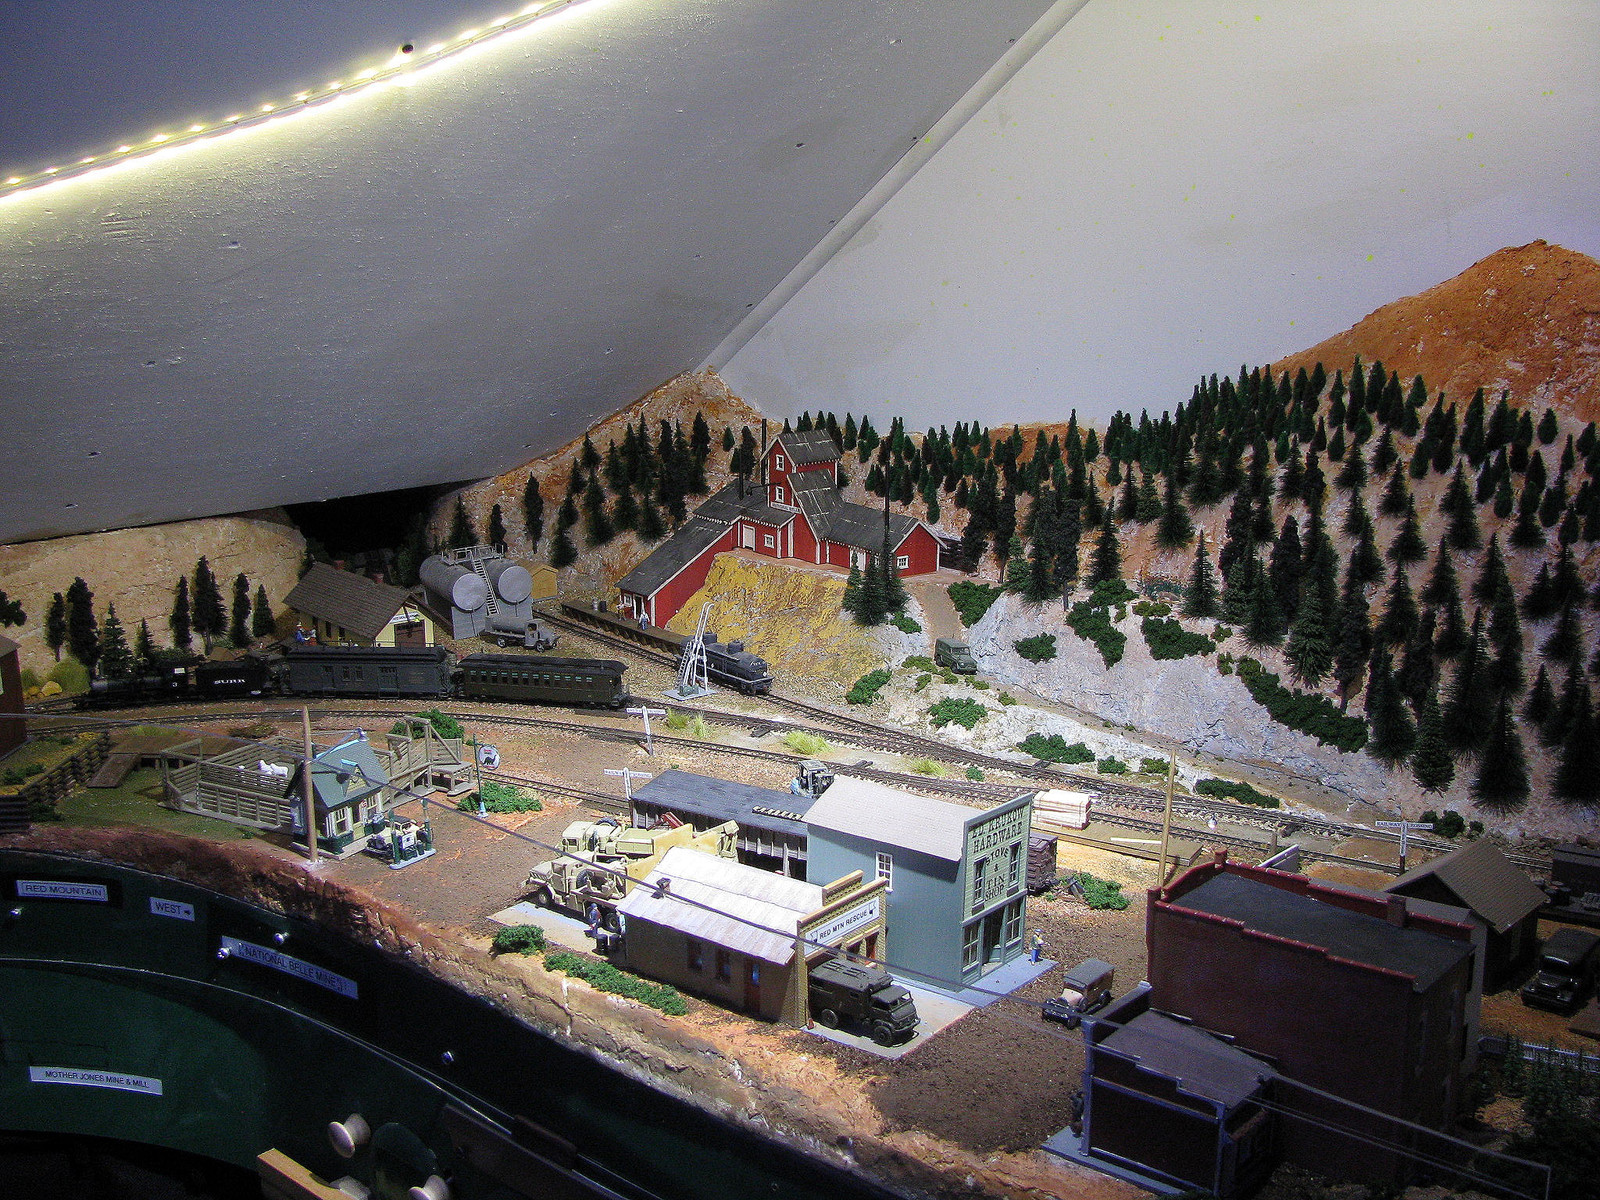 It looks better in person than in the pic. It's arguable that the incandescent did a better job. But it's <20 watts versus the 75 watts before. And the LED light strip in arrangement also part of the main lighting, so isn't a dark hole back there that it often was when I didn't specifically turn the light on over Red Mountain. I often use just the LEDs, which is only about 5 watts. Here's how that looks.  |
|
|
|
Post by riogrande on Aug 10, 2014 4:25:55 GMT -8
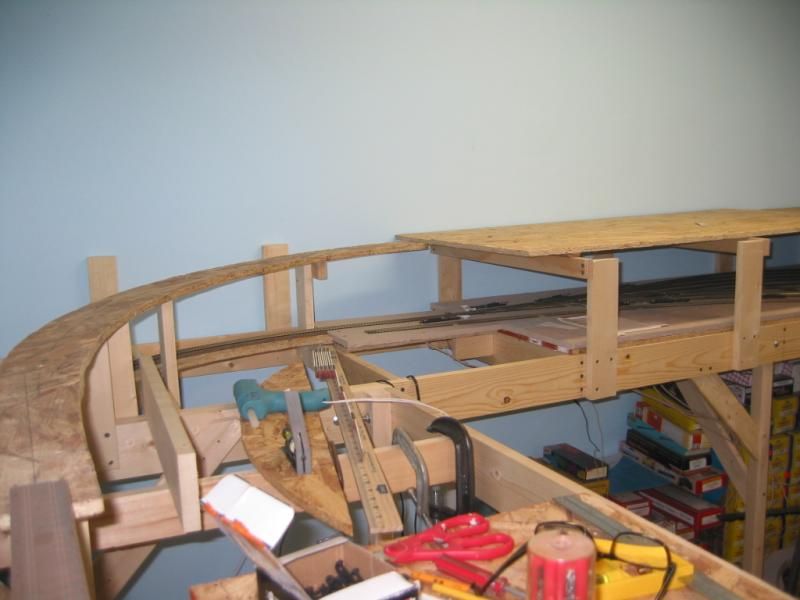
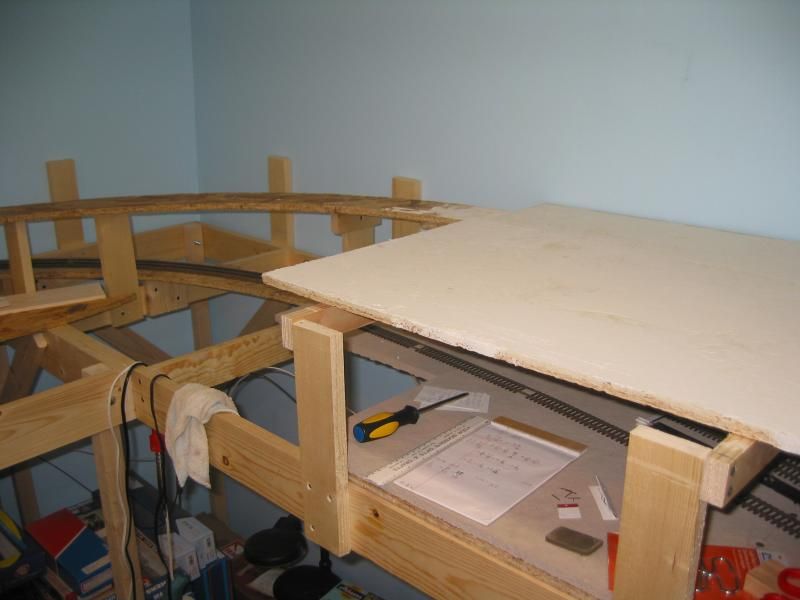
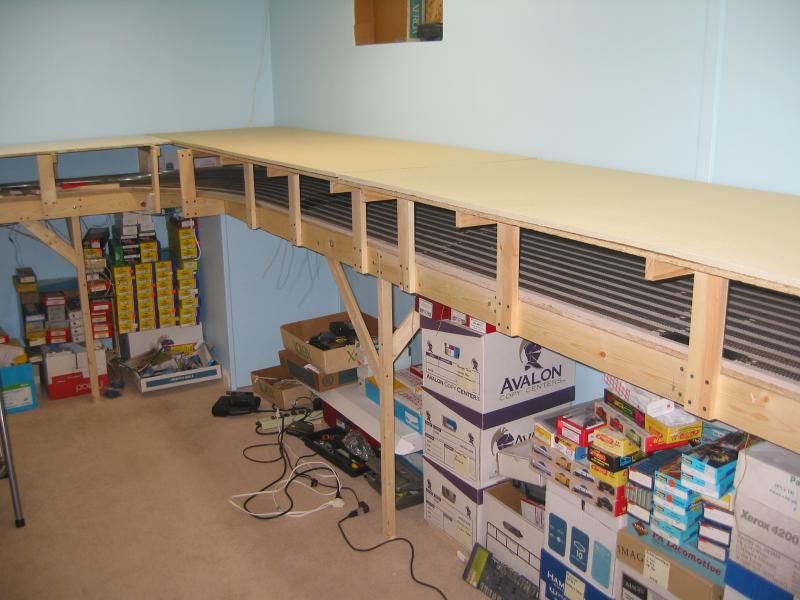
Update post for my work in June/July. Progress has been a little slow past couple months but still plodding on with the area in the last photo on the right. I've closed the gap at the entrance - it is now officially a "duck under". Thhe entire room is fully enclosed by bench-work now, and I'm running sub-roadbed along that side on risers and some cork and track is down too. I need a bridge for once side to cross over the other - which I'll order when I get back from a trip up north to visit my daughter in central NY and my wife's uncle in Toronto Canada. I'll try to get a few photo's Once the track mainline is run around on both sides, I'll be adding the second level. Here are a couple of progress photo's from the past month or so:  The broad curve in the middle is 56-inch radius by the way. Most of the other curves are 32-inches, or 36-inches. 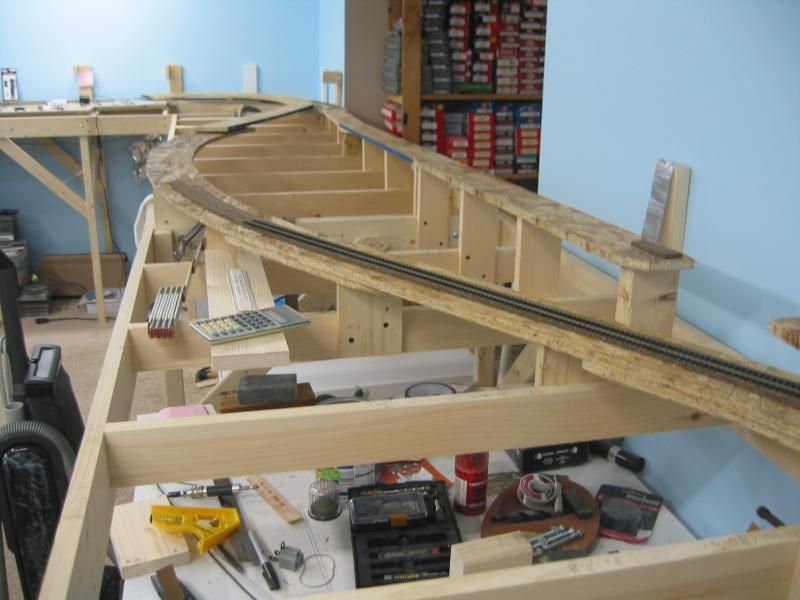 This is from the opposite long wall - staging - which will be under the main yard. 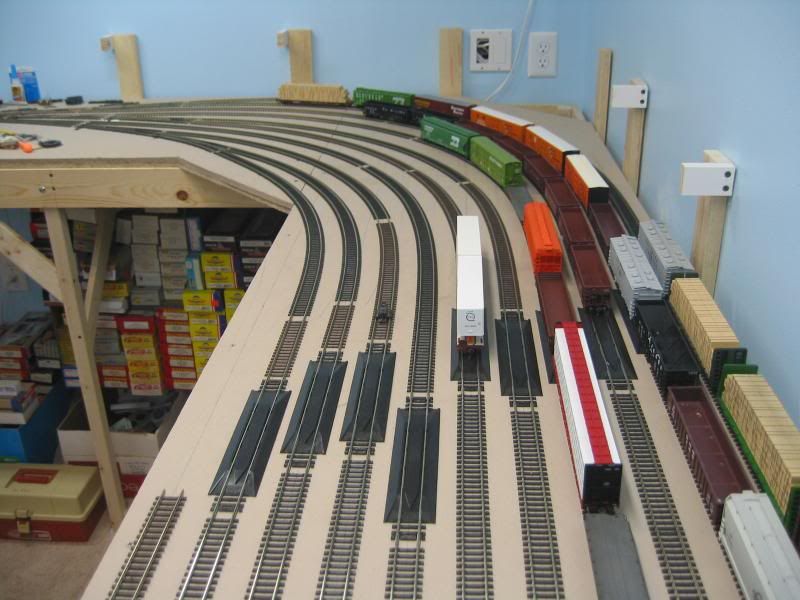 |
|
|
|
Post by mlehman on Oct 7, 2014 5:30:30 GMT -8
Finally felt the inspiration to return to a long dormant project. Thompson's Wholesale and Camp Supplies consists of a couple of DPM kits bashed together. Thompson's supplies the mines and mining camps with food and sundries, thus the local term "camp supplies" involves work, not recreation. I added a "concrete dock" some time back, mas well as constructed a cooling tower for the refrigeration system. This was Then. 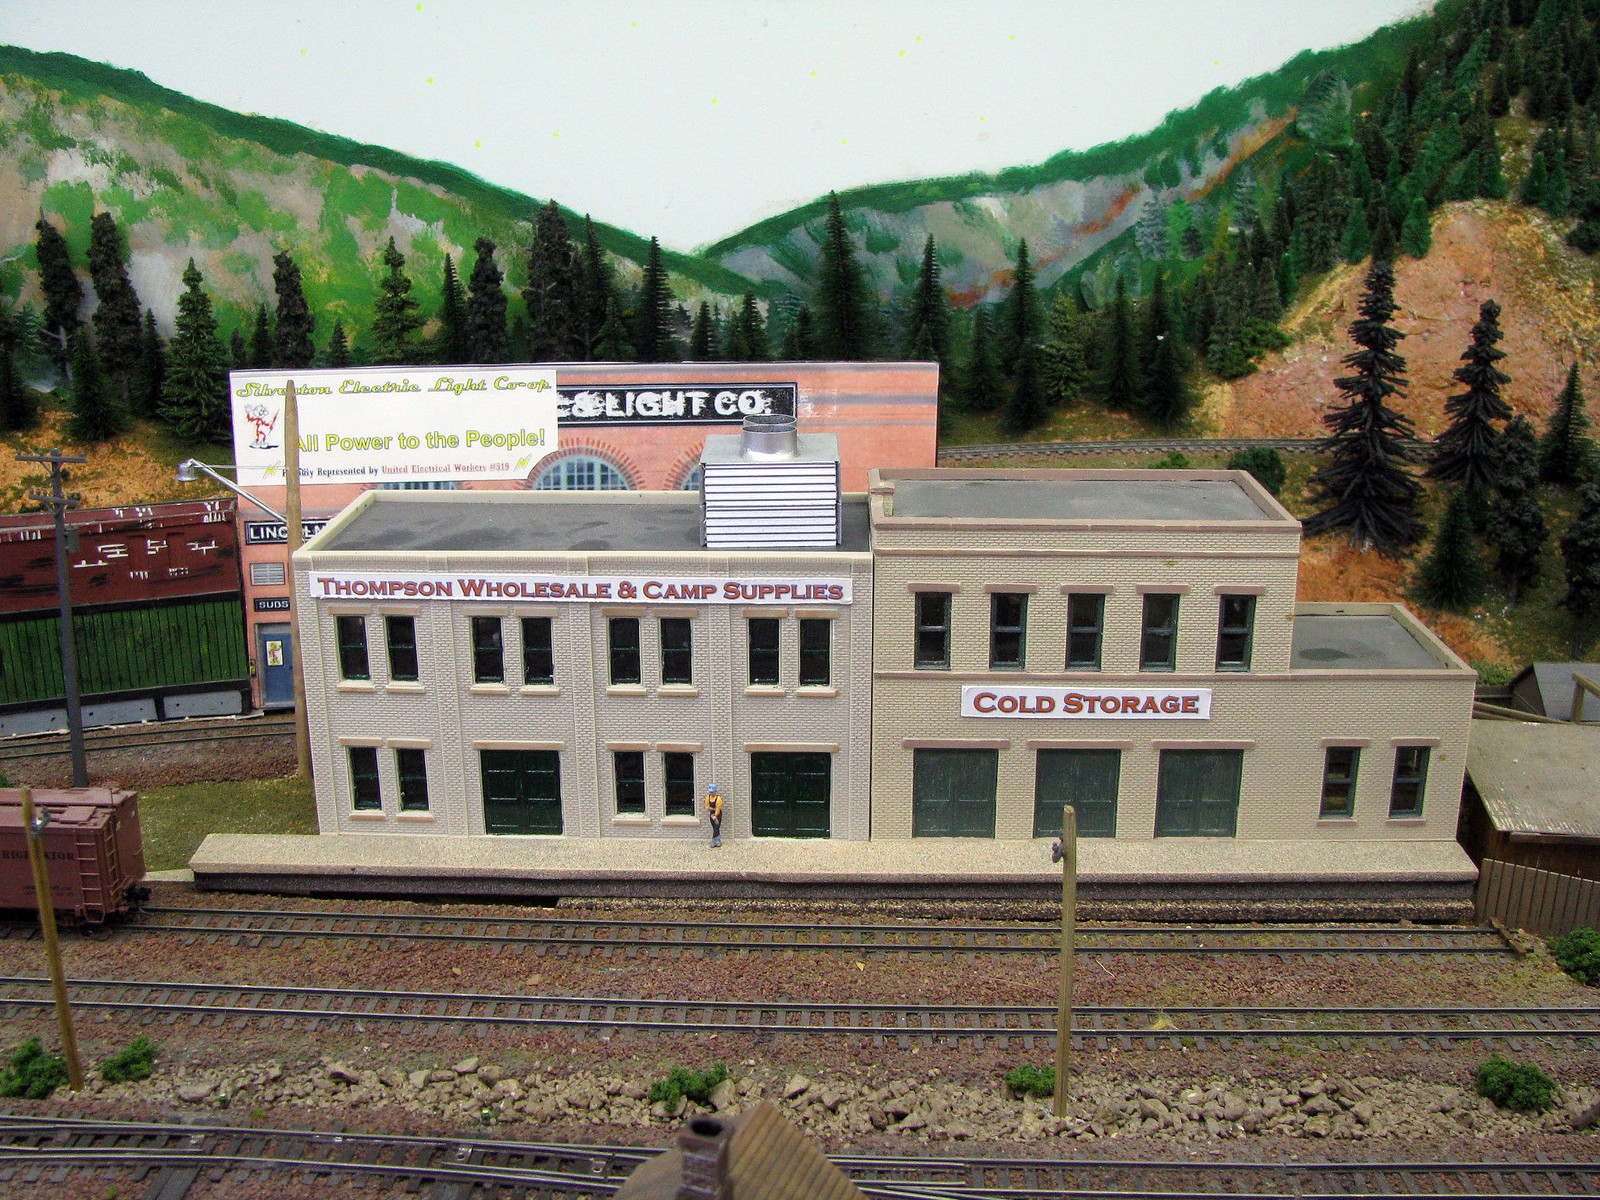 Thompson's relies on a small group of ex-C&S reefers to carry its shipments, as well as the occasional boxcar as the mountain air often is cool enough to make icing optional. Still ice is needed during the summer and handy many other times, but there was no facility to handle that in Silverton. I built a icing platform to take care of seasonal needs for cooling, with the added bonus it keeps snow off the dock. 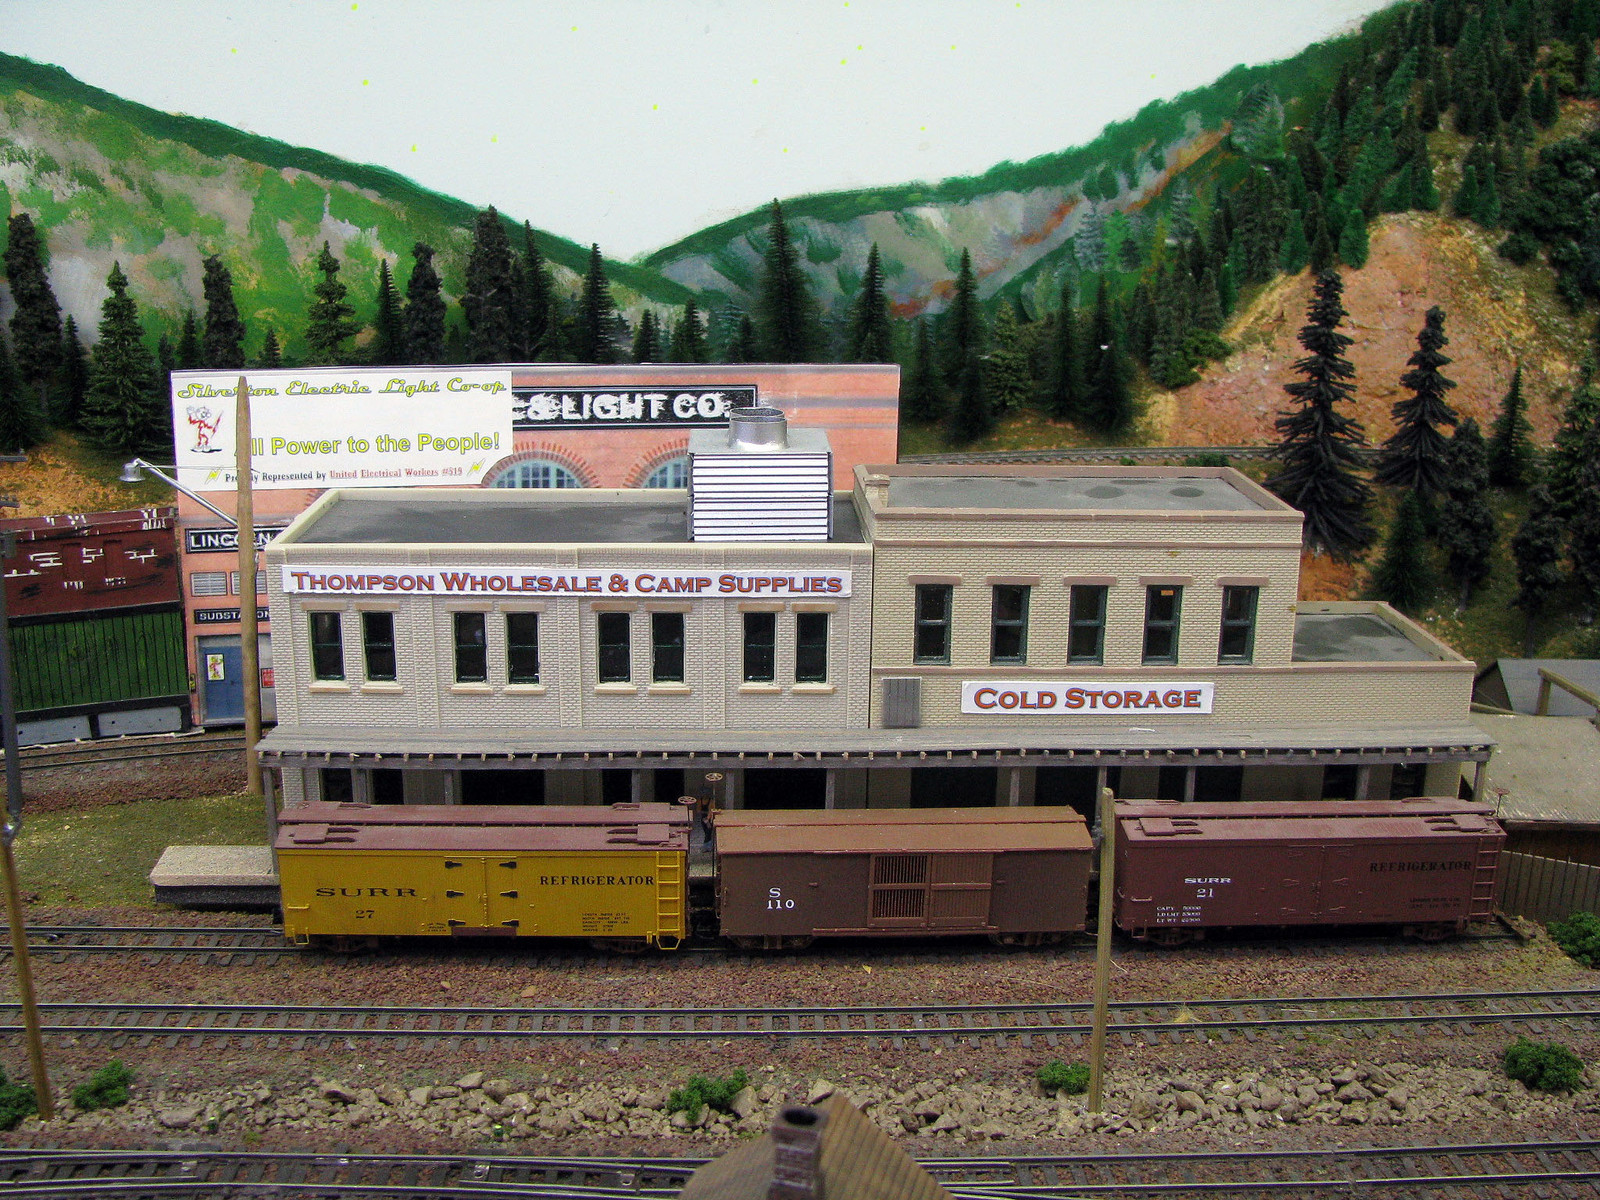 How to handle the drop of ice blocks into the reefer ice bunkers? I built small "slides" or slip ways that are lowered onto a mat on the roof of the car to protect it, then the ice blocks are pushed over to the ice hatches. 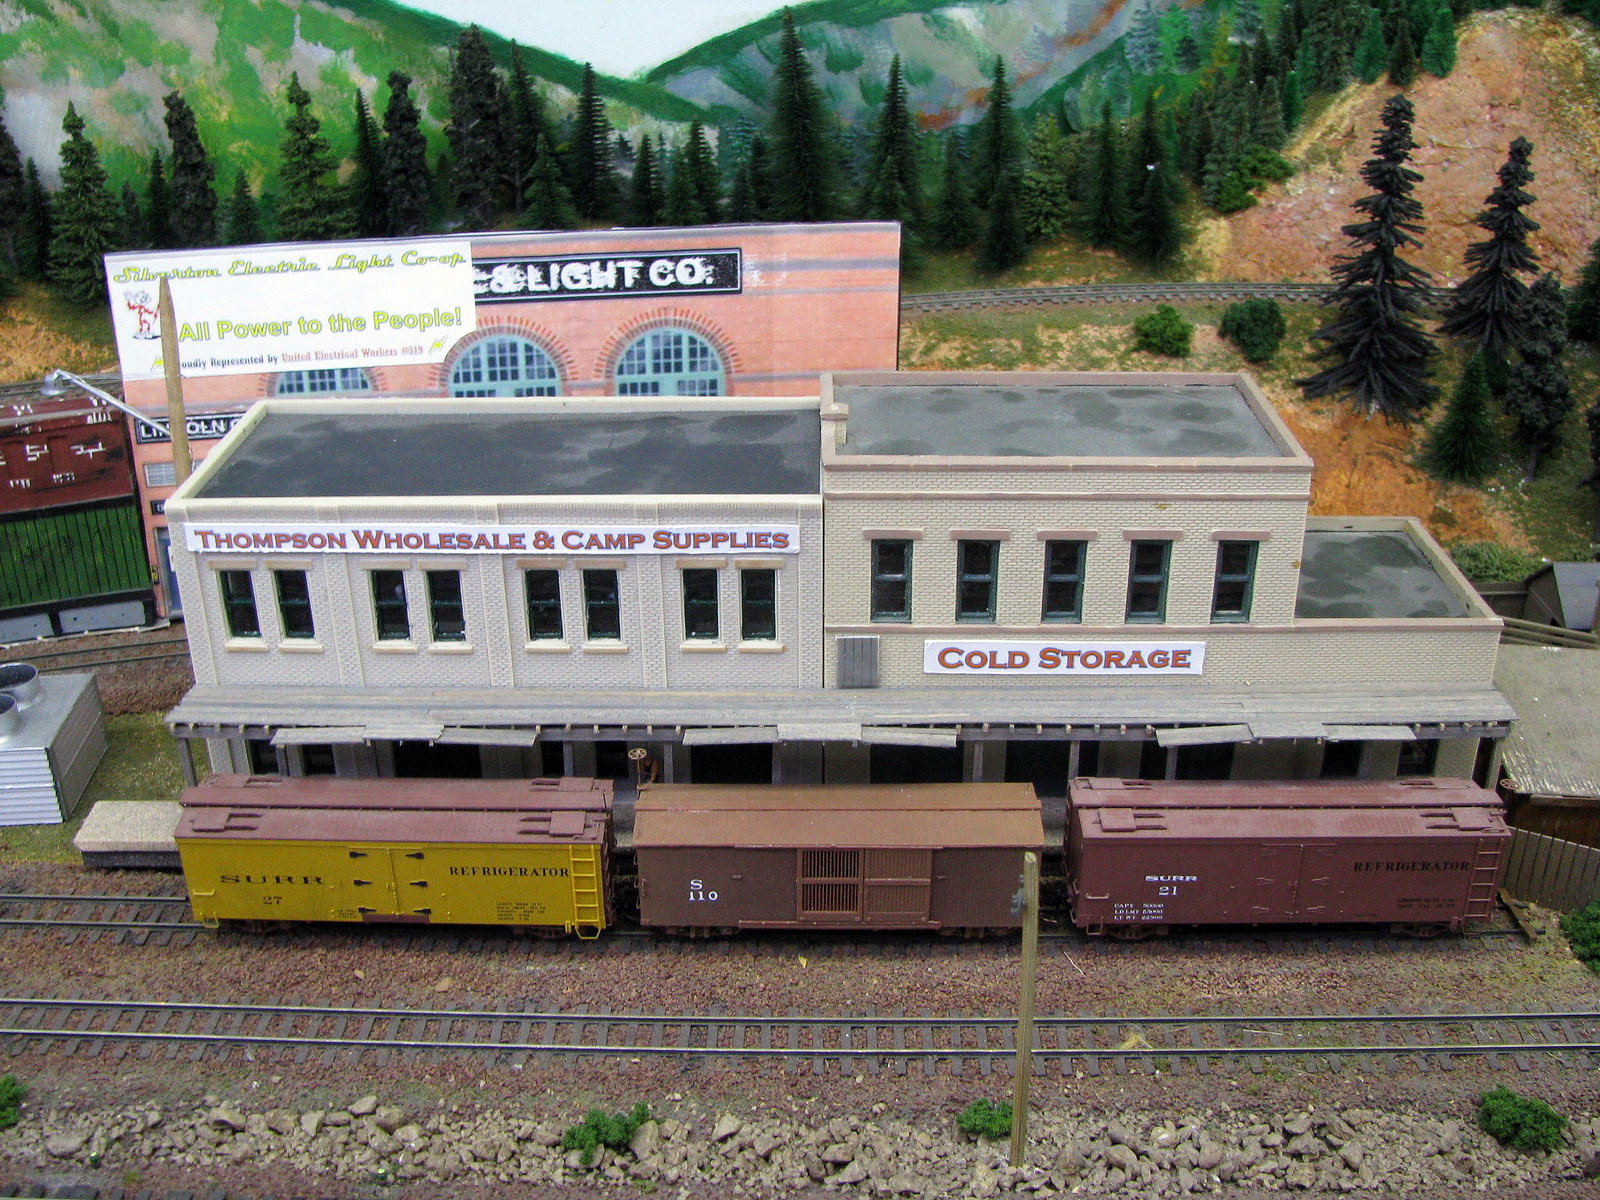 Railings and ladders complete the dock, although I need to get safety chains at the openings in the railing for the slipways. 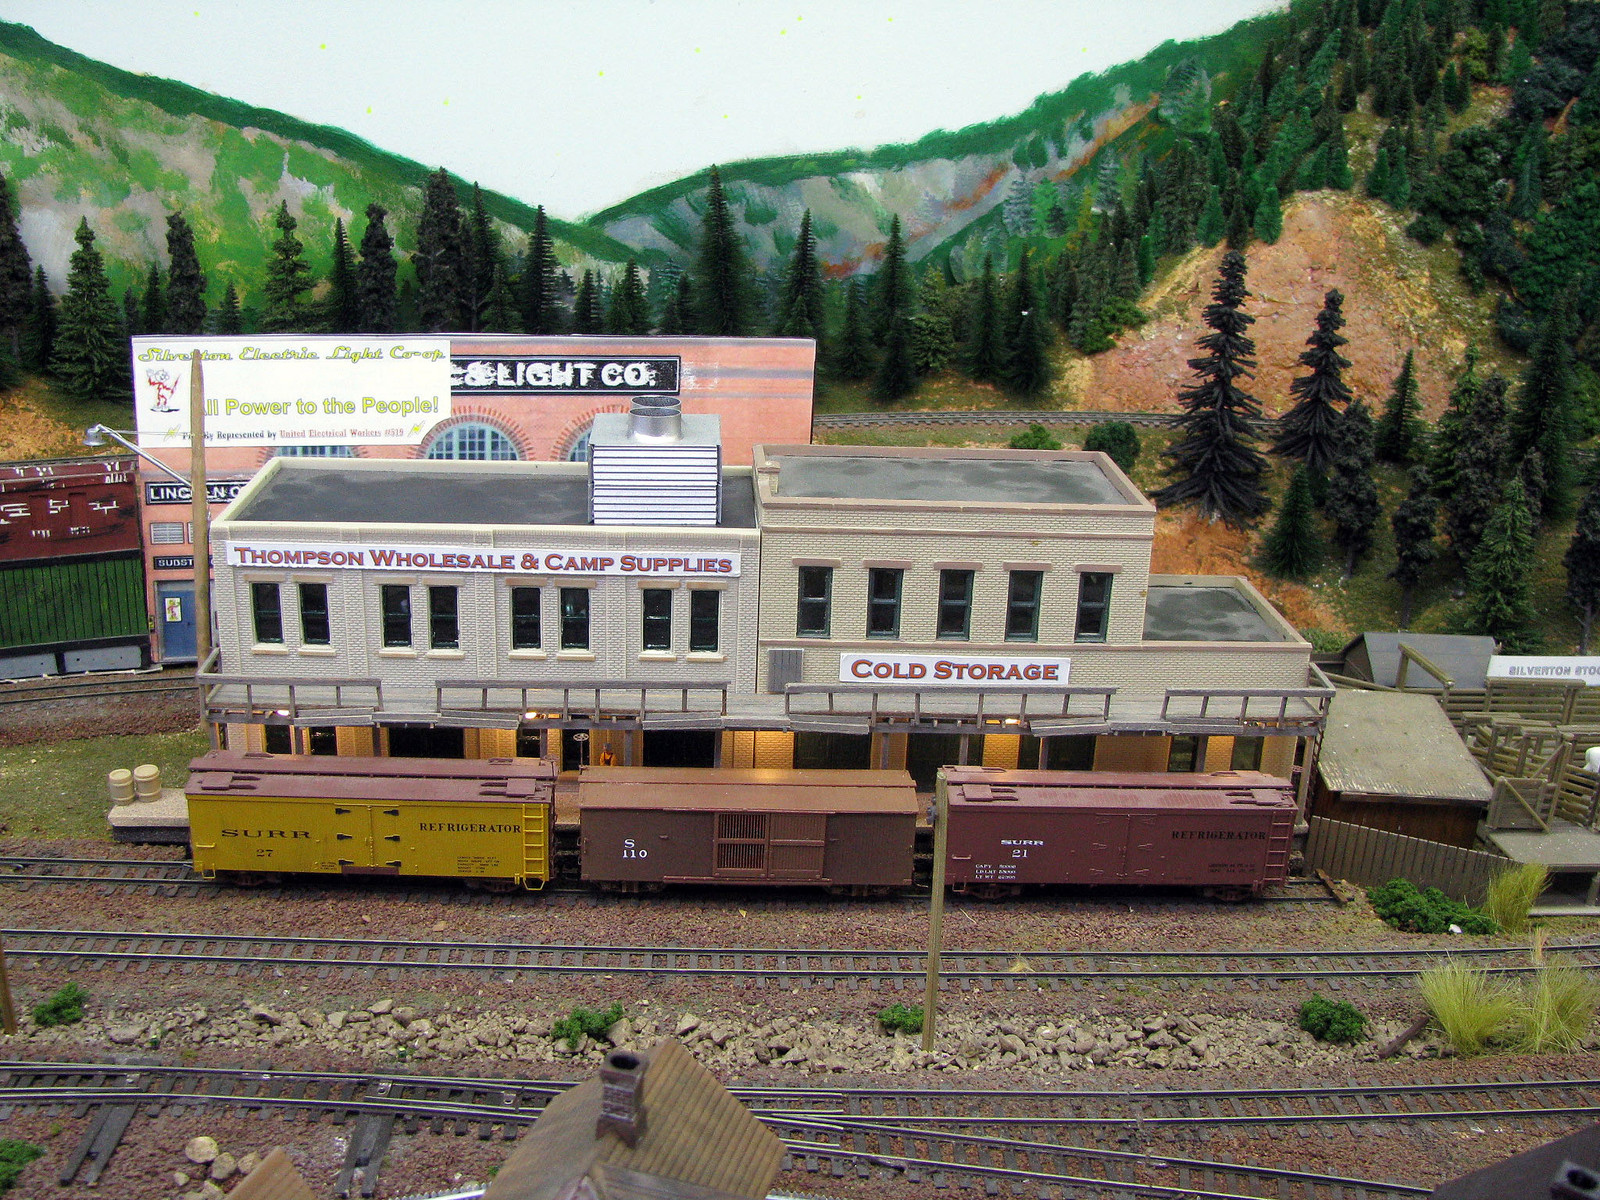 Of course, the dock is lit for night work.  I added a short extension to the dock so it can handle up to 4 cars at a time, as well as dirt-in the foundation. The Silverton Light Plant behind Thompson's finally got it stack, too. 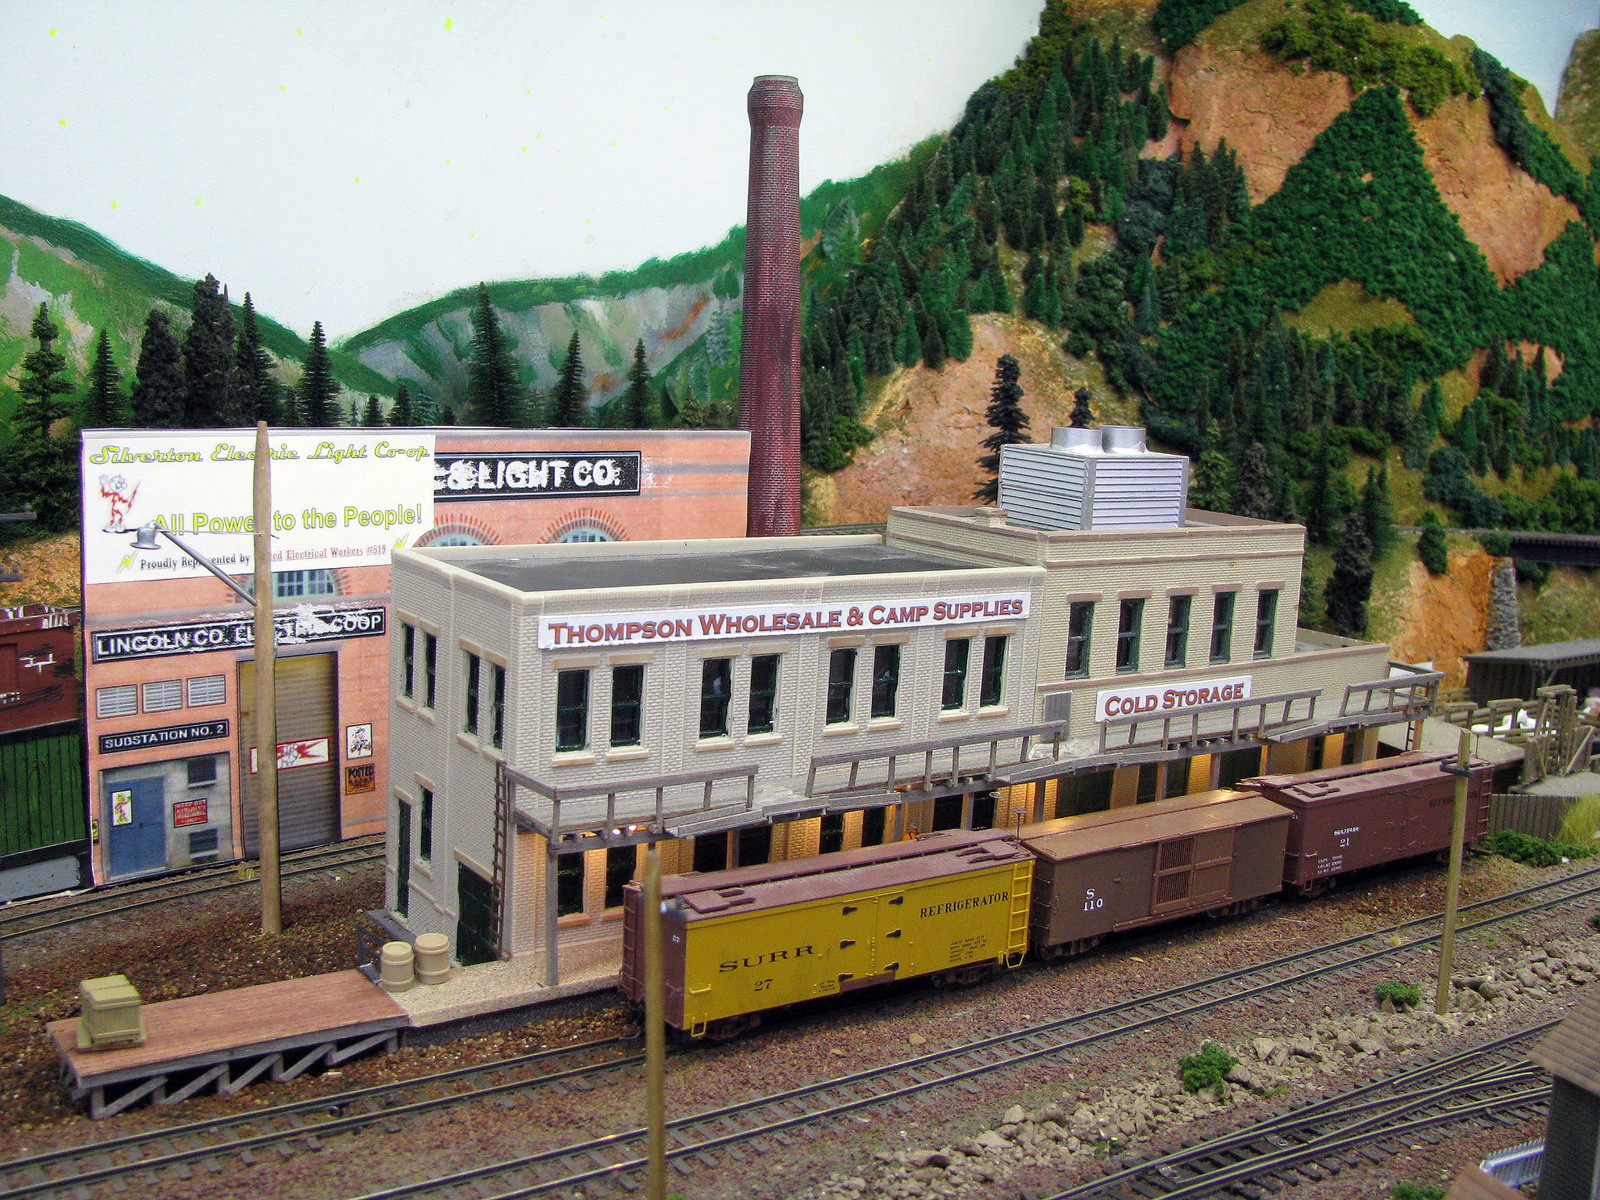 . |
|
|
|
Post by mlehman on Oct 19, 2014 6:54:30 GMT -8
I had a little extra cash when we were at the big box yesterday, so grabbed another LED light strip. My initial build out to convert my primary layout lighting to LEDs used 12 of the 12' LED light strips. It provided adequate to pretty good light over most of the layout. I still have some spots that need more light, so have started to fill in here and there. The light strip yesterday went to illuminate the big turnback where the Silverton Branch climbs out of Durango to Rockwood. The area has a curved backdrop that divides it from the Durango area on the other side. Before 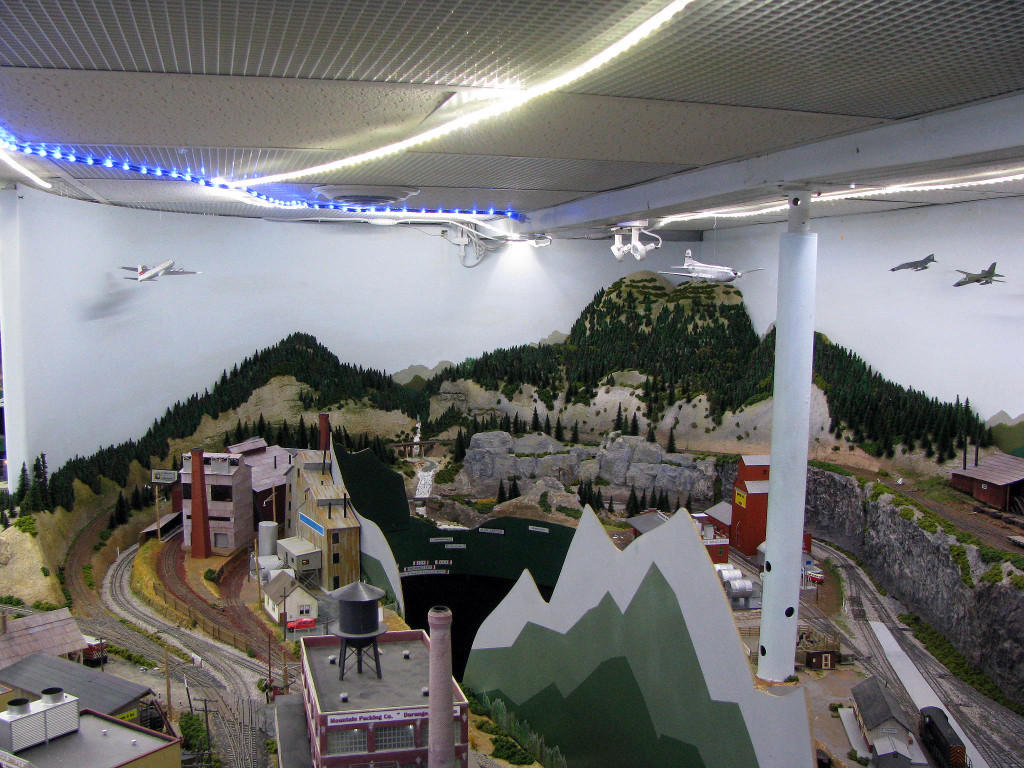 After 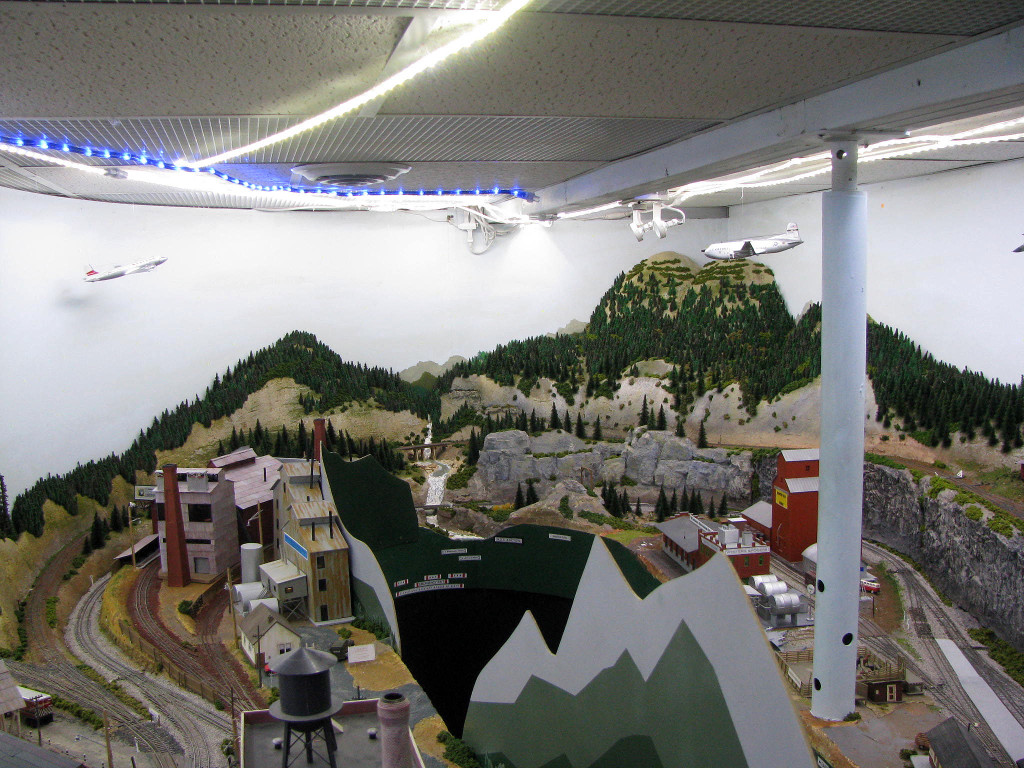 The camera doesn't show all the improvement that the eye does, as it compensates for some of the difference. But even with that, it's a decided improvement. The added light really help the terrain stands out, where the relative dimness before washed out much of the 3D effect of scenery. I tried using manual shutter speed and that got a somewhat better defined difference. I add a light strip over Durango yard and here are two shots. Before 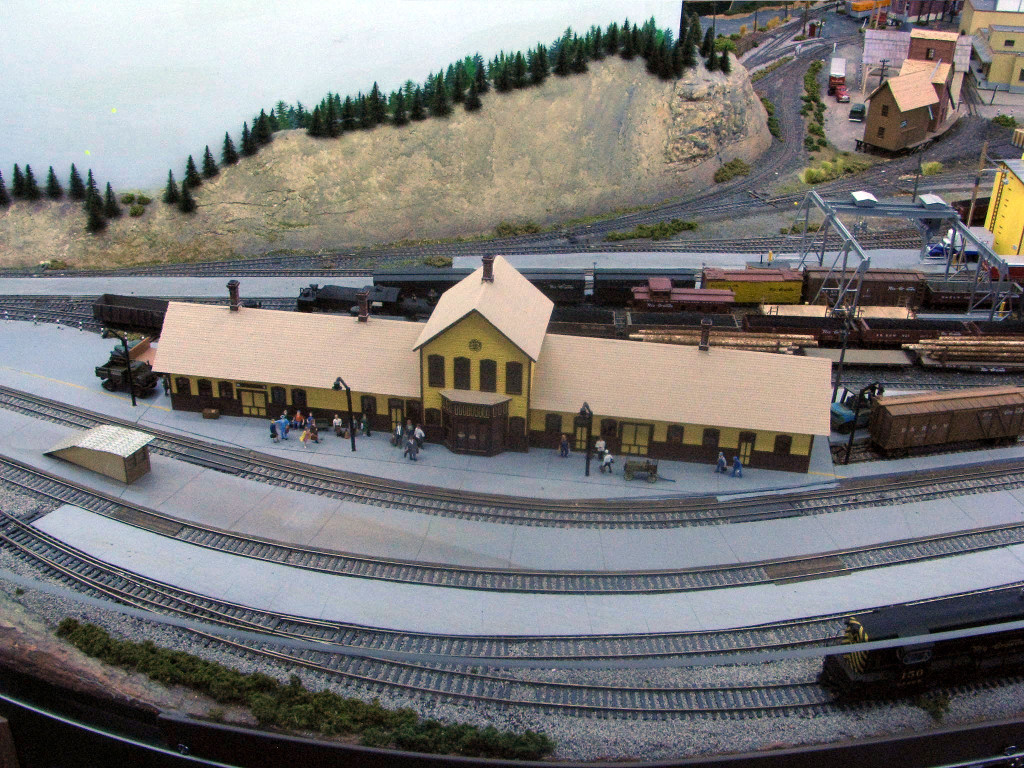 After 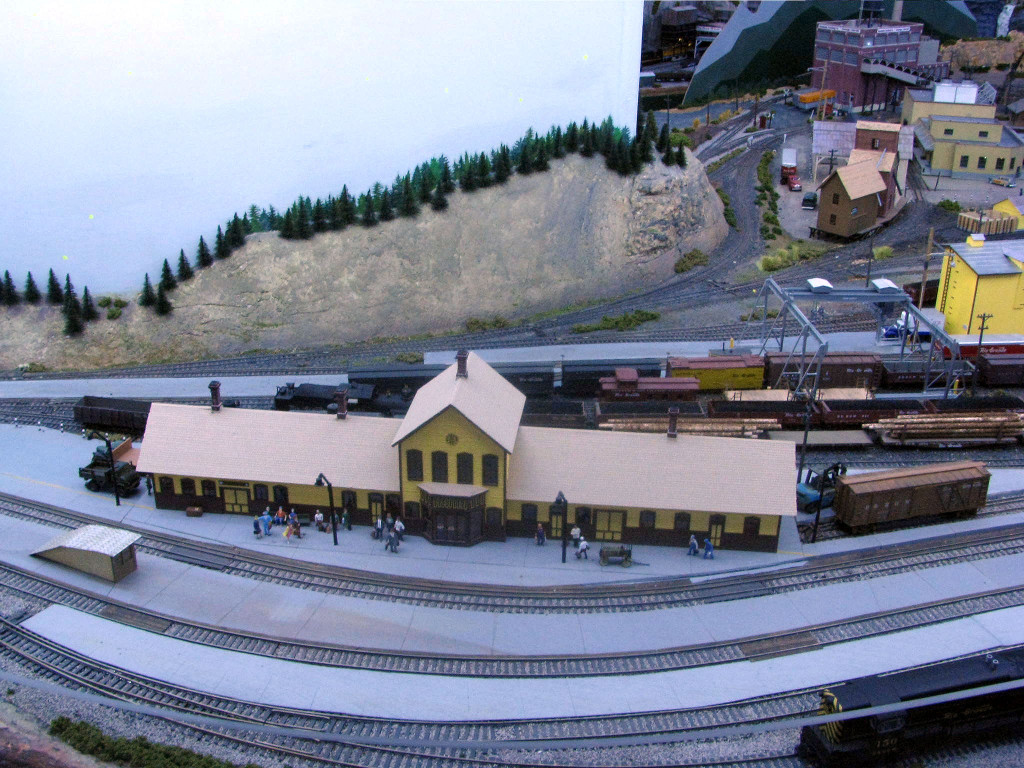 |
|
|
|
Post by riogrande on Oct 27, 2014 15:17:29 GMT -8
|
|
|
|
Post by mlehman on Nov 17, 2014 20:10:46 GMT -8
It's looking pretty good, Jim. Benchwork and wiring, you just keep at 'em until they're done, it's all about paying the dues to run those trains.  I found a Before photo that goes with an After pic I had in this week's SPF. Before 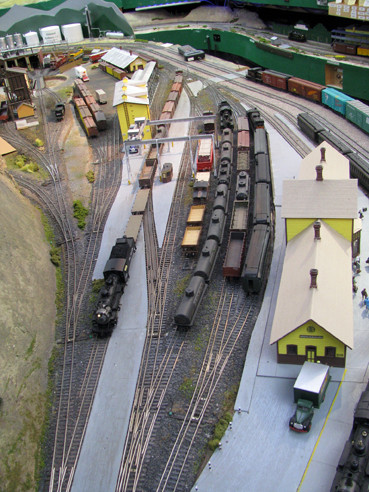 After 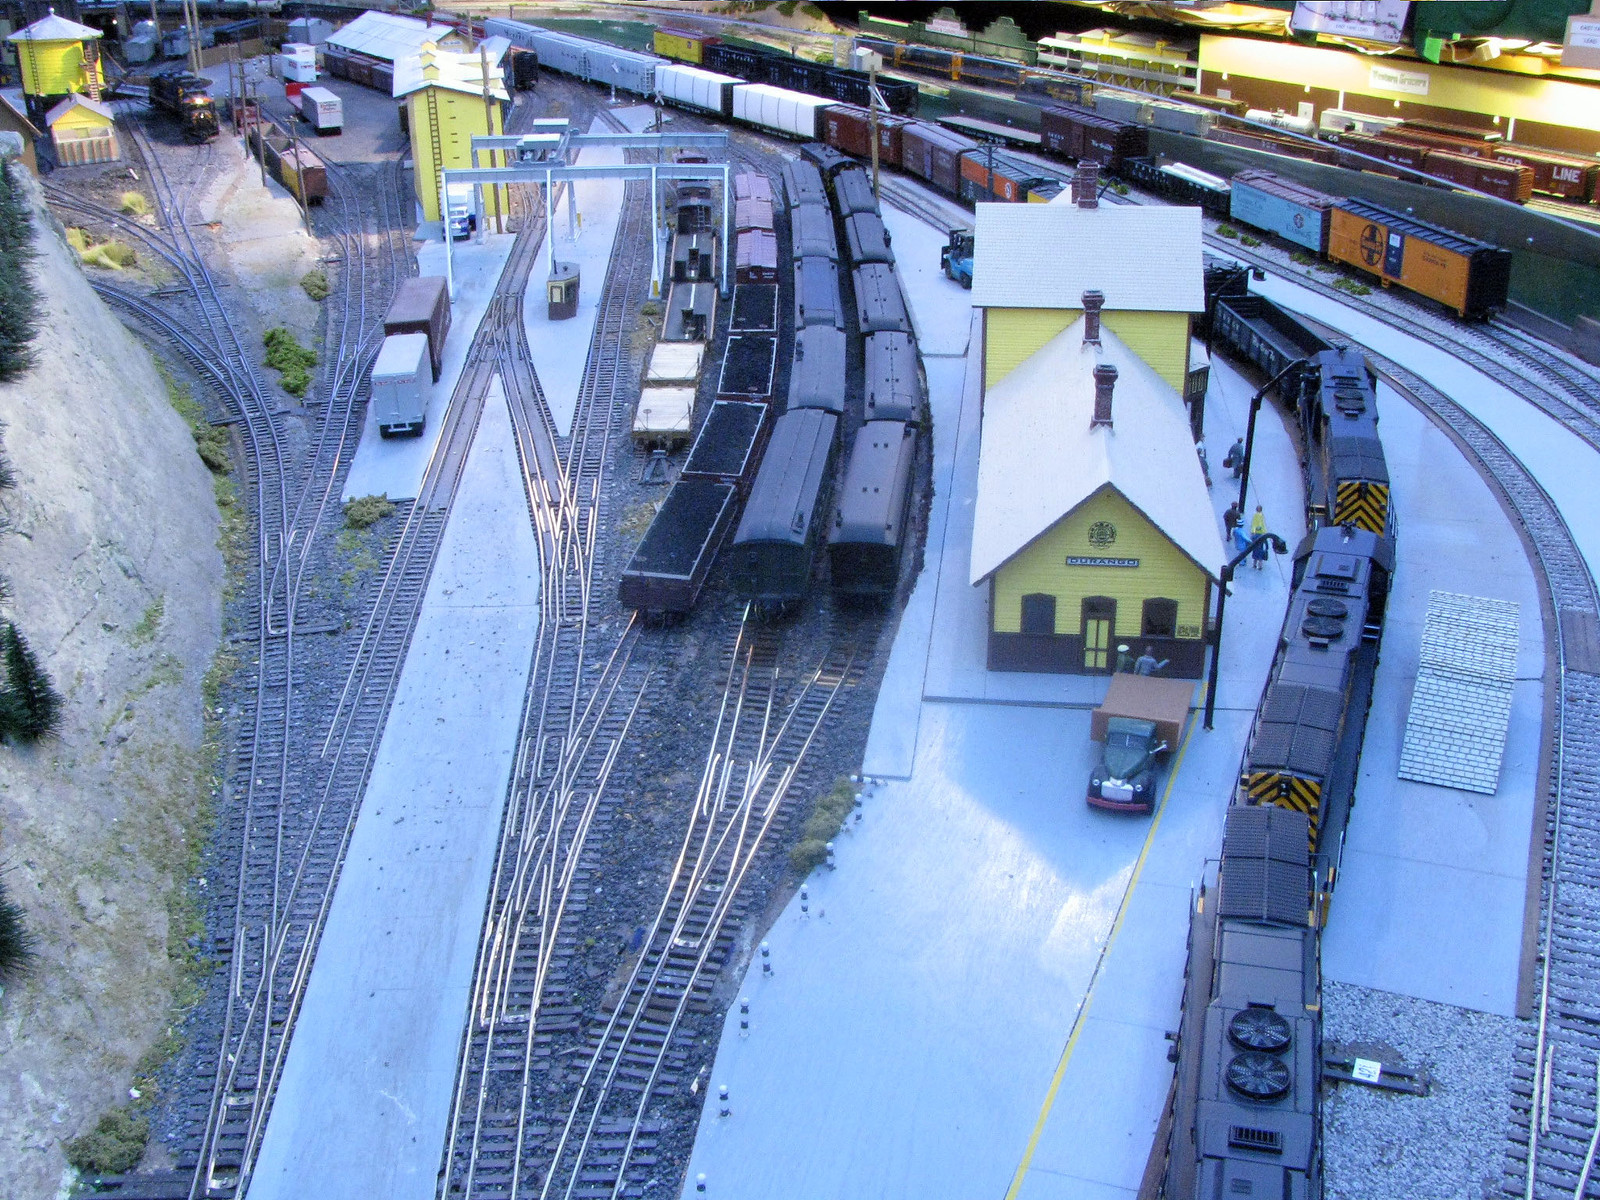 The two tracks closest to the left side of the station were both extended about 6". Doesn't sound like much for 6 hours of work, but it's made a huge impact on operational flexibility, because it allows for dwell time for a trainset on the next track over meaning passenger service is a little less driven by just getting each in turn outta the station to make room for the next. Along with the dual gauge track in front of the station on the right of it in these views, the 3 tracks greatly improve flexibility in passenger ops. |
|
|
|
Post by mlehman on Dec 2, 2014 1:08:43 GMT -8
Strip lights were on sale at Menards (thru 7 Dec) for $25/13' section, so I picked up 3 more. The vendor is now Patriot Lighting (and that's where the extra foot in length comes from.) Note that they came first in Daylight, but those have been replaced by Cool White ones (Warm White is also available). The Cool White ones are exactly the same color temp as the Daylight ones. Same SKU #, too. Now I have a total of 18, which cost less than $800 (would be cheaper on sale) and required no electrician to install. The first 12 provided adequate light, but had a few dark spots. Adding in 6 more and rearranging has resulted in intense light that is way more than adequate. Total wattage is 173 watts. I won't bother with Before pics as it's late, but you can compare with earlier in this exclusively After thread. An overview from the door  The center peninsula holding Durango is now evenly lit all the way across. 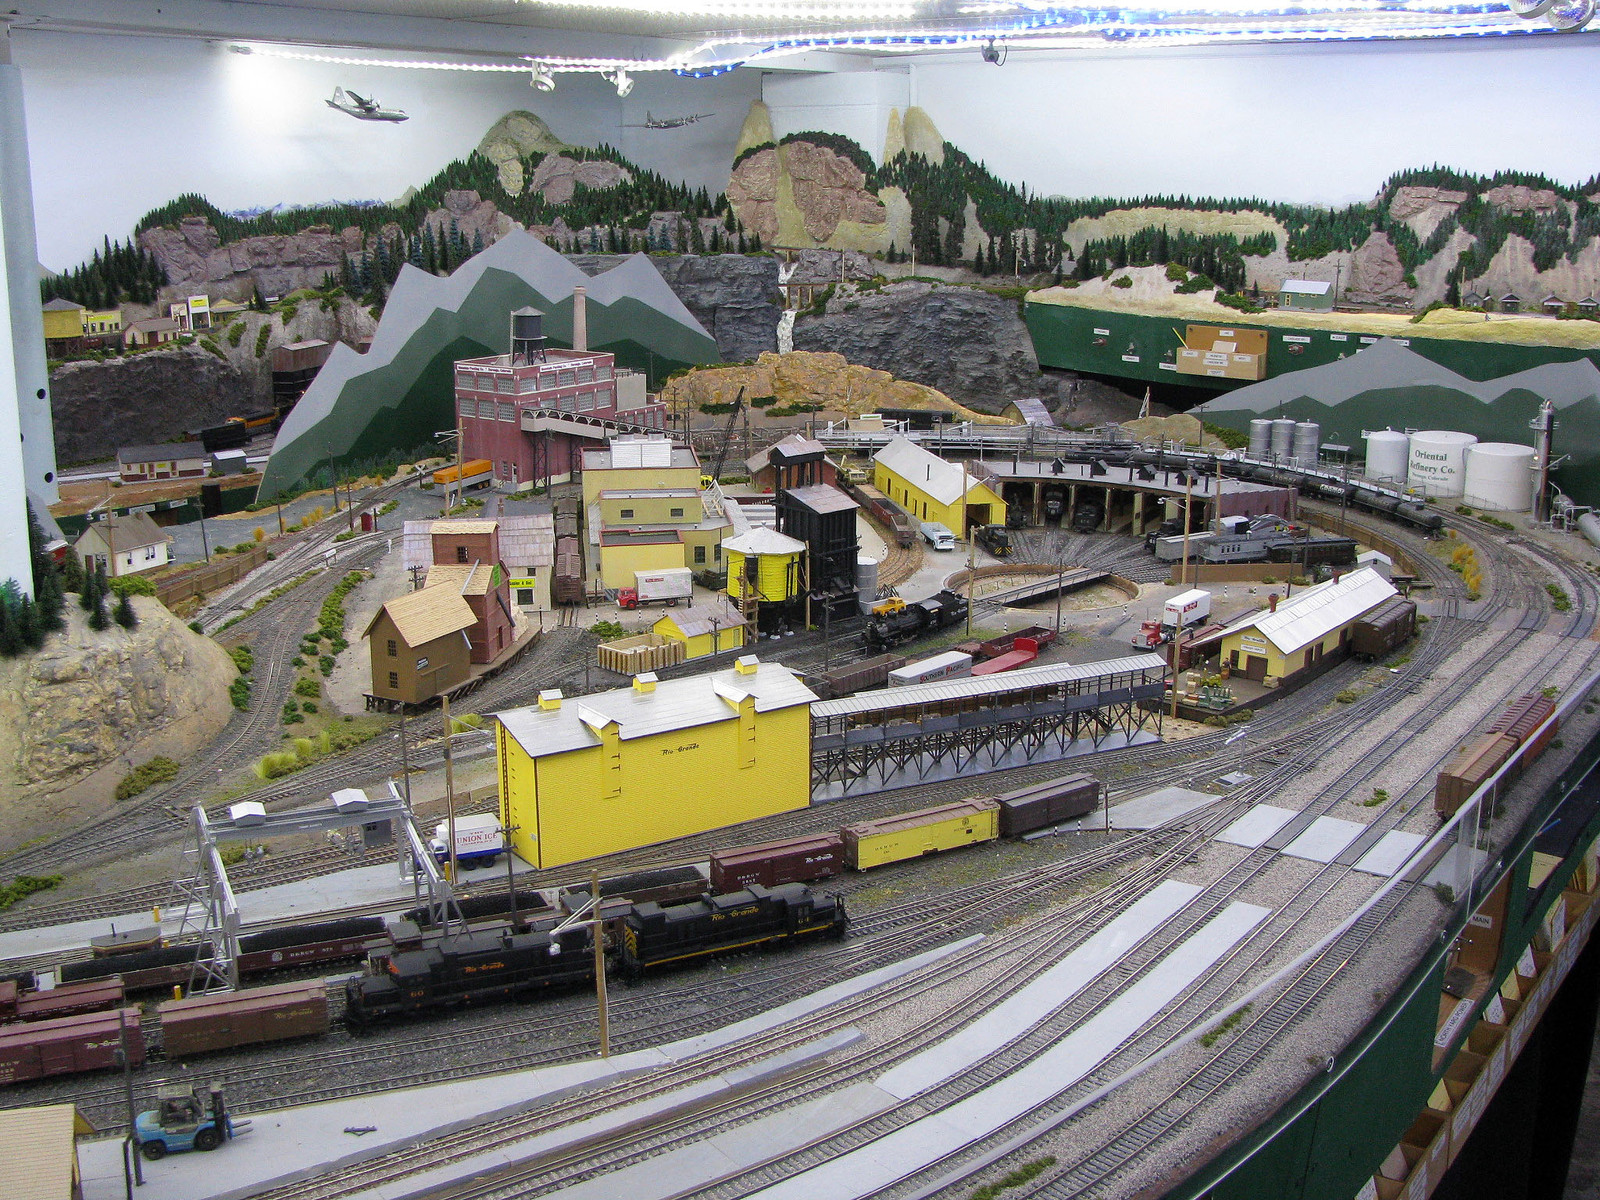 Cascade Falls area is now nicely lit 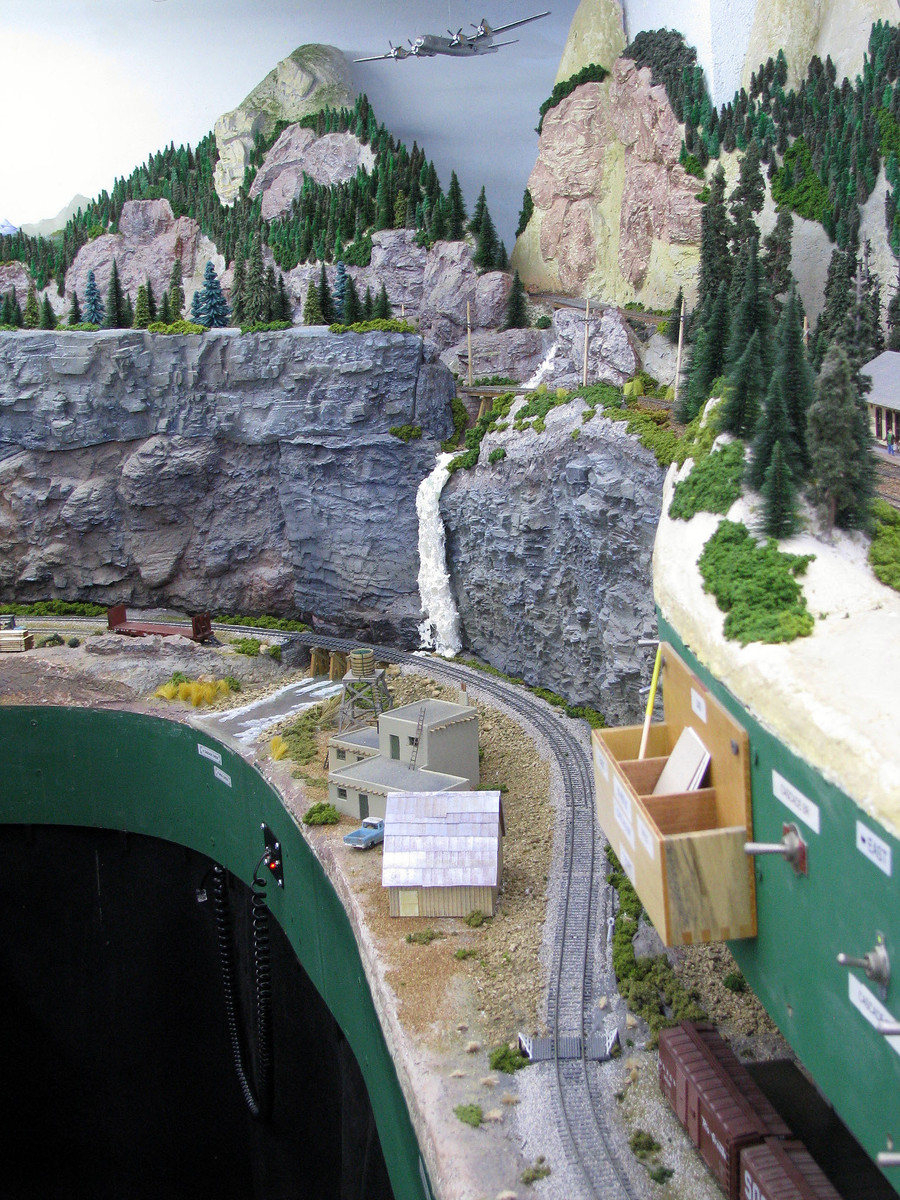 The river crossing below Silverton is finally well lit, where even my track lights couldn't get the job done right. 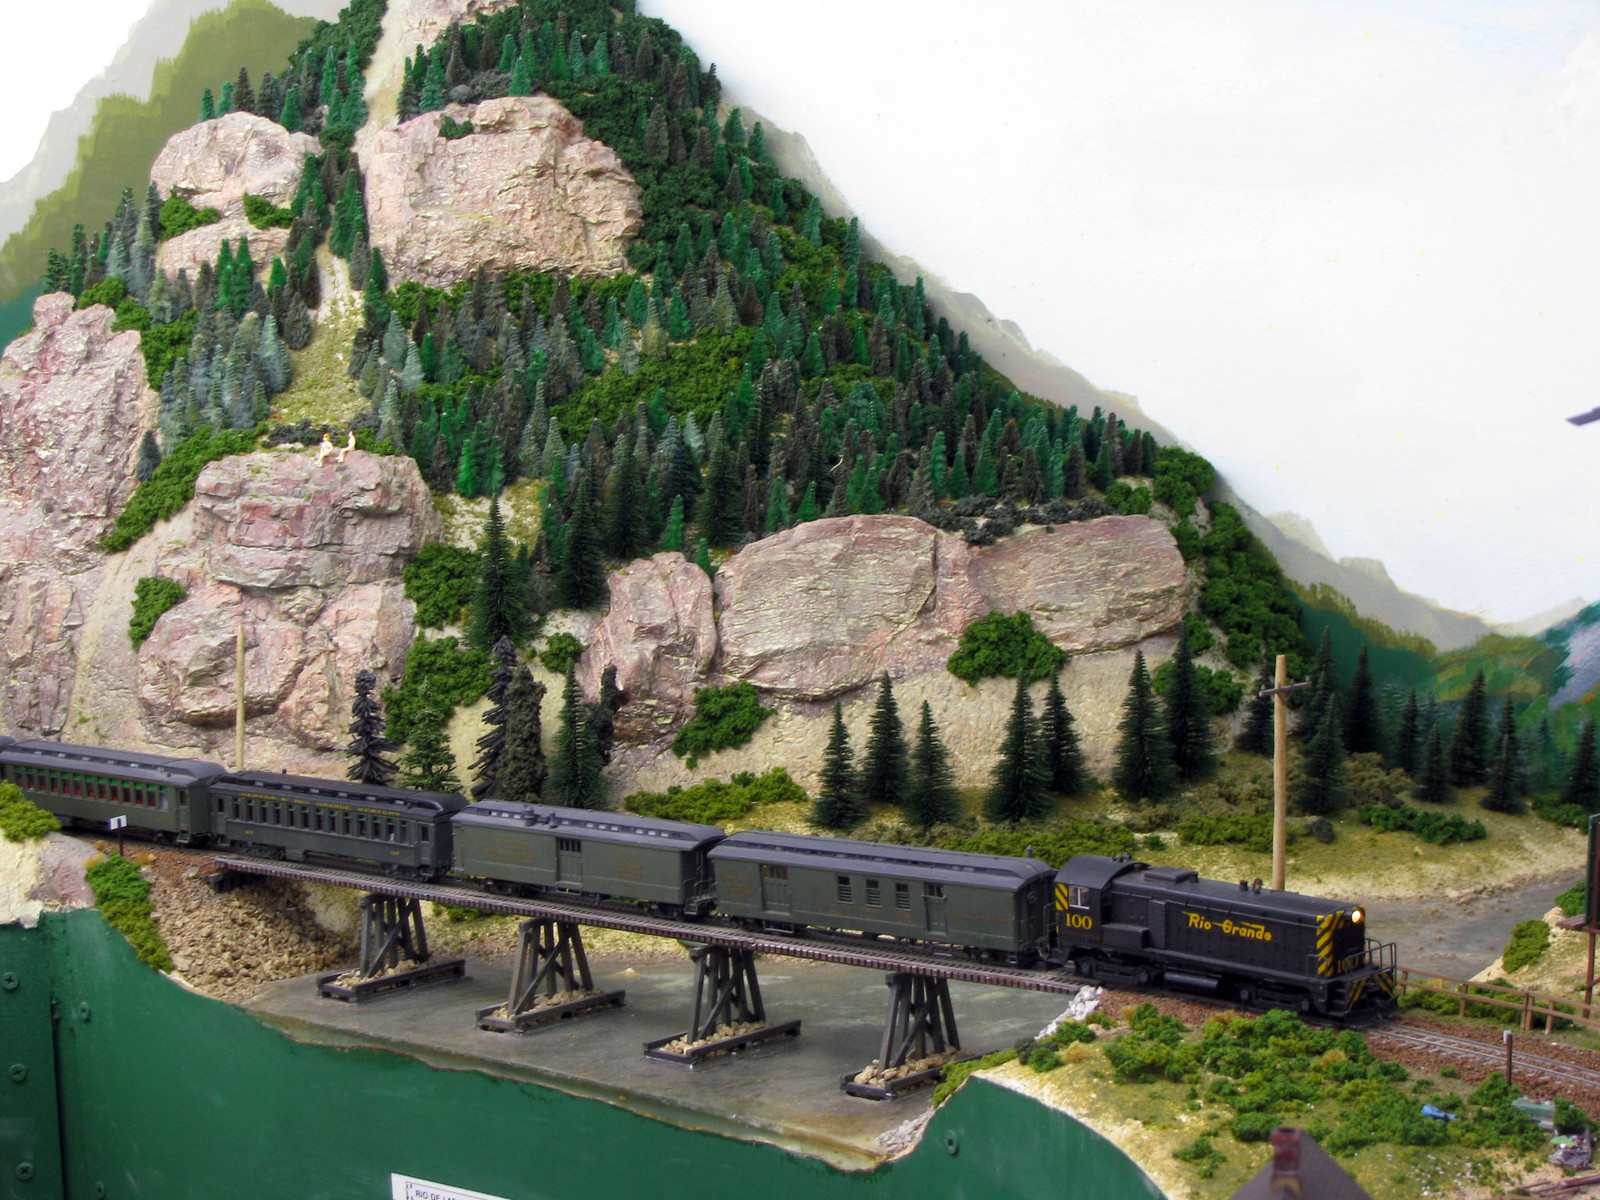 |
|
|
|
Post by riogrande on Dec 7, 2014 9:07:18 GMT -8
|
|
|
|
Post by mlehman on Jan 25, 2015 8:30:24 GMT -8
Crews returned to the Cascade Branch ( cs.trains.com/mrr/f/88/t/219241.aspx?page=3#2715556 ) to finish ROW work before tracklaying begins in earnest again. After taking another look at things, the Engineering Dept shifted the Crater Lake wye forward about 6" so that the turnout and most track are within reach for construction and maintenance. Before 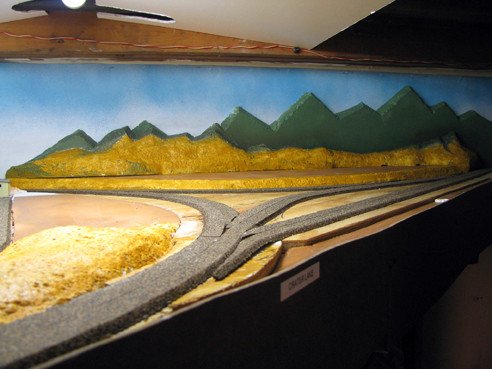 After 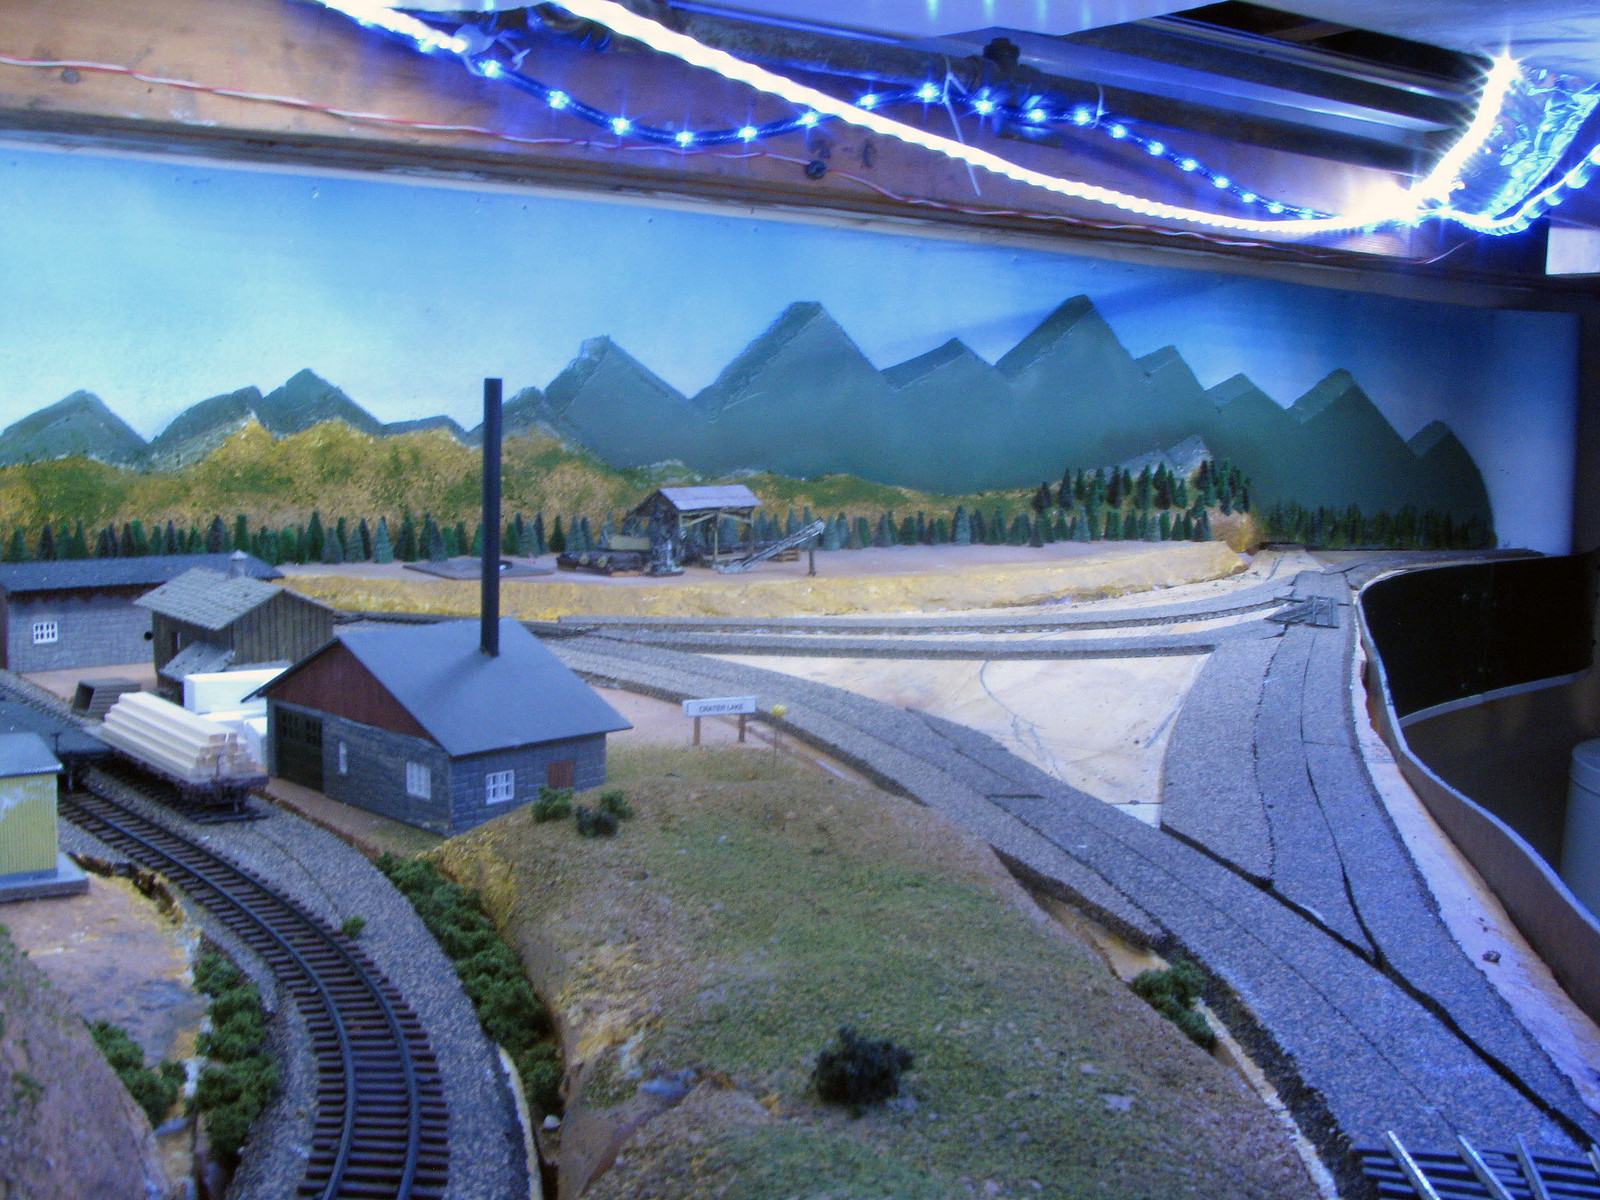 The added length of the tail tracks will allow the usual 3-car consist of the Mountaineer to be turned. This also allows more room for sidings along the wye. Now if ME will just finish getting the code 70 HOn3 mold fixed, quick progress could be made.  |
|
|
|
Post by riogrande on Mar 28, 2015 9:11:57 GMT -8
Finally time for an update - since it's been a while - a few photo's from last December (most recent posted): Was test fitting some subroadbed before I took a break to travel to England etc.  Still had a section over staging open and needing to be installed: 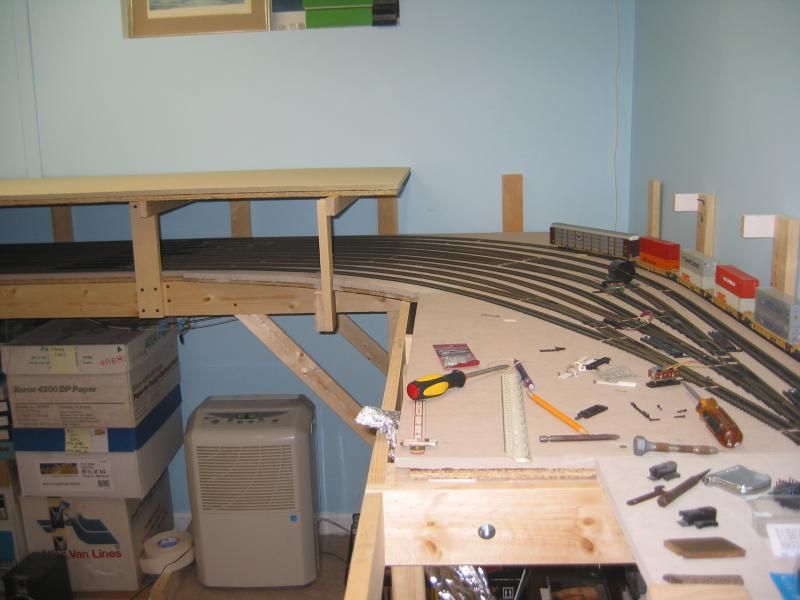 Resumed work in February and March - last section over staging installed and has homasote: 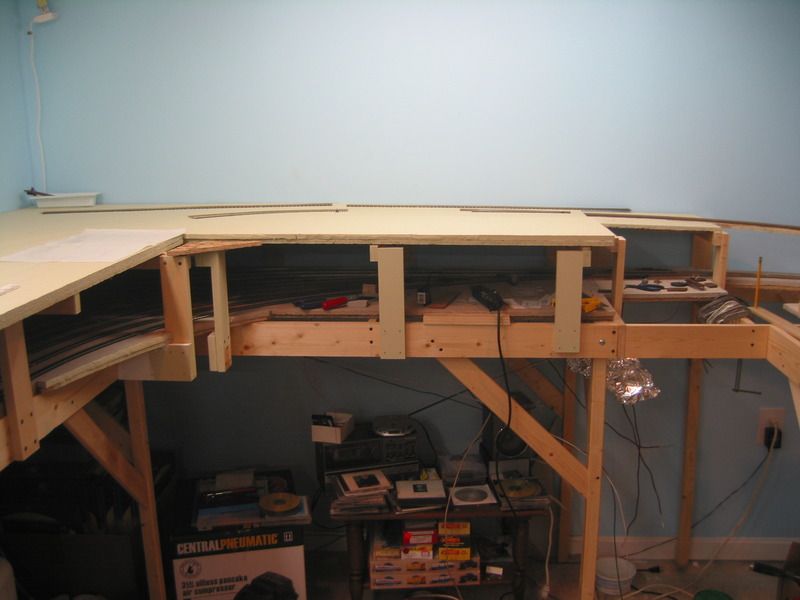 Subroadbed being test fitted in Decmember is on risers now and cork laid on centerline: 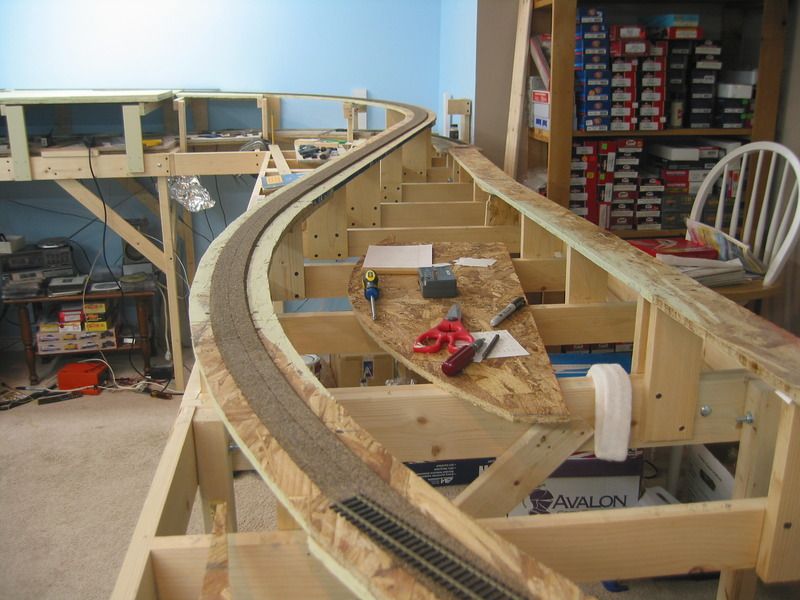 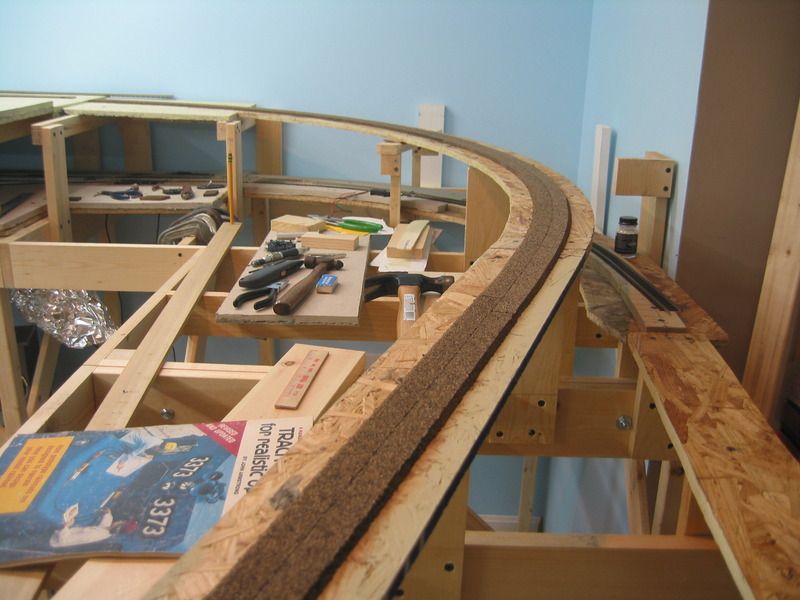 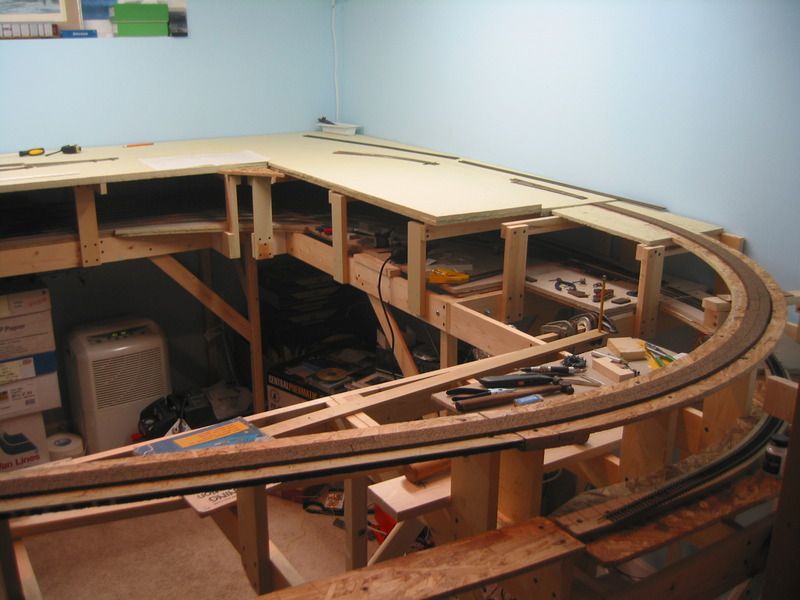 Test fitting turnouts on the yard above staging:   Next will be to get track laid over the cork and up to the yard |
|


