|
|
Post by sd40dash2 on Aug 22, 2020 17:36:17 GMT -8
Kato vs Athearn sideframes. No contest. I'll be replacing these parts in favour of Athearn. 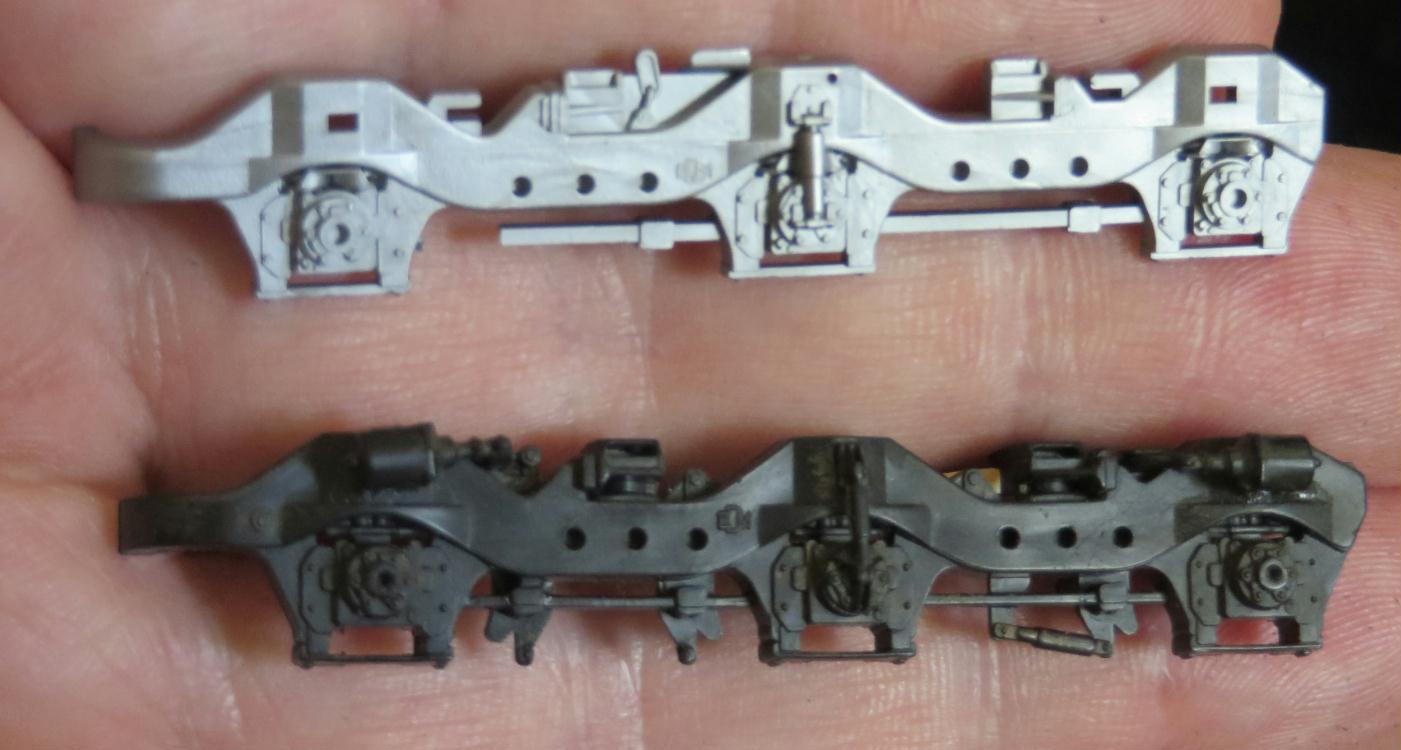 |
|
|
|
Post by sd40dash2 on Aug 23, 2020 3:29:15 GMT -8
Test fit of a scrap Athearn sideframe. This looks way better than the factory parts.  |
|
|
|
Post by cemr5396 on Aug 23, 2020 7:35:18 GMT -8
Was it any extra work to get those Athearn sideframes to fit? Even though I've already got all the SD40-2s I need, so I'll probably never have to do that. I'm just curious.
|
|
|
|
Post by sd40dash2 on Aug 23, 2020 8:27:17 GMT -8
Kato truck, that shiny grey plastic will need to be spray painted black. The wheel faces and contact bar will be touched up as well. Stay tuned for complete walk-through of truck rebuild including sideframe adaptation.  |
|
|
|
Post by sd40dash2 on Aug 23, 2020 11:46:11 GMT -8
In a previous life I kitbashed dozens of Athearn SD40-2s and ended up with many broken sideframes through the years. These scrap parts are my source for free new sideframes for this unit! No need to spend money, pay for shipping and wait around for the mailman. With these parts I can get started right away. P.S. Thank you to fishelly and mpi for the kind offers. I'll reach out directly if this trial turns out to be a fiasco.  |
|
|
|
Post by sd40dash2 on Aug 23, 2020 17:07:03 GMT -8
I've cut eight .156 styrene shims to assist with glue + pin mounting the new sideframes. 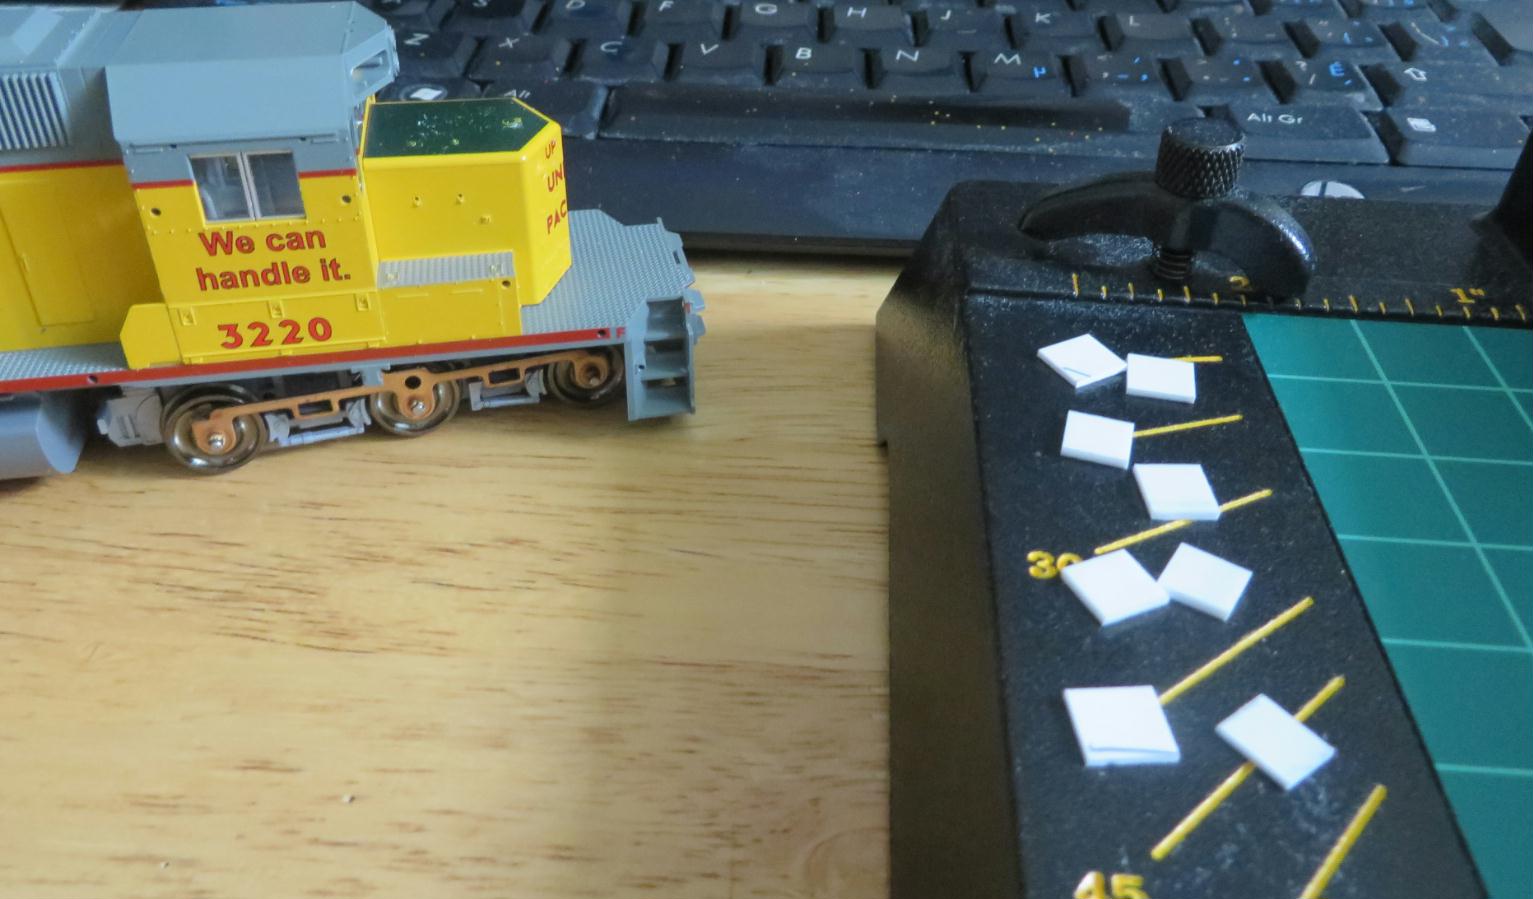 |
|
|
|
Post by sd40dash2 on Aug 24, 2020 2:41:37 GMT -8
Grey trucks have been spray painted black outside. Krylon to the rescue again.  |
|
|
|
Post by Christian on Aug 24, 2020 3:46:17 GMT -8
Grey trucks have been spray painted black outside. Krylon to the rescue again. Gears too? |
|
|
|
Post by sd40dash2 on Aug 24, 2020 3:47:56 GMT -8
^ Nope, gears are fine, no worries there. Sometimes I skip minor details like masking and such in these posts.  |
|
|
|
Post by sd40dash2 on Aug 24, 2020 9:37:11 GMT -8
Trucks reassembled after checking and adjusting wheel gauge which was too tight for most axles. I also added a couple of drops of gear oil and ran the unit on a test track several times to spread the oil around. I can see there is now enough oil on the gears, so no more will be added.  |
|
|
|
Post by sd40dash2 on Aug 24, 2020 16:55:42 GMT -8
Brush paint the wheel faces flat black as well as the exposed part of the contact strips.  |
|
|
|
Post by sd40dash2 on Aug 25, 2020 2:21:21 GMT -8
Brush paint this exposed part of all four contact strips to eliminate the shine. 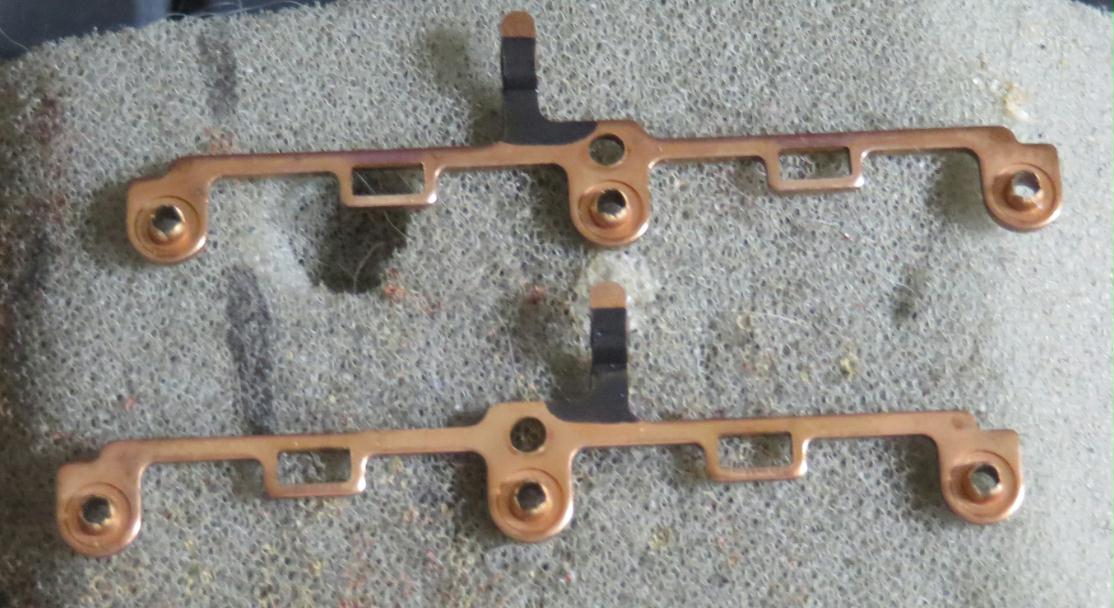 |
|
|
|
Post by sd40dash2 on Aug 25, 2020 12:24:41 GMT -8
Modified Athearn sideframes, lots of filing and removal of mounting pins. In this case the mounting pins had already broken off, making these the perfect candidates for this project. Don't throw away broken parts as you never know when they may come in handy for something else.  |
|
|
|
Post by slowfreight on Aug 25, 2020 14:14:14 GMT -8
Brush paint the wheel faces flat black as well as the exposed part of the contact strips.  Would suggest a flat brown or something akin to the old Floquil rail brown. Wheels and couplers are unpainted steel, per FRA regulation, to facilitate inspection for cracks or shelling. |
|
|
|
Post by thunderhawk on Aug 25, 2020 15:27:57 GMT -8
Wheels and couplers are unpainted steel, per FRA regulation, to facilitate inspection for cracks or shelling. I know this to be true, but there is always an exception it seems. No idea why the drawbar was painted white on this, but it was late 70's/early 80's. 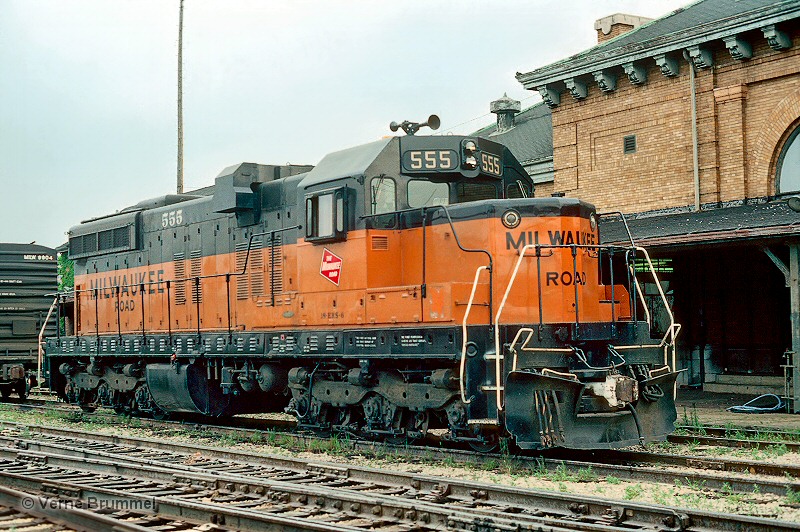 |
|
|
|
Post by sd40dash2 on Aug 25, 2020 16:42:54 GMT -8
I have the following etched step set on hand and trying to make a mounting decision. Should I go through the pain of cutting up my hands to remove the cast-on steps or would it suffice to glue the new parts over top the existing steps? What do you think?  |
|
|
|
Post by slowfreight on Aug 25, 2020 18:07:04 GMT -8
Cut the old ones out. It's not hard using the saw blade that fits in the small Xacto handle. And for once you don't want to cut flush. It's about the easiest detail upgrade I ever did in that regard.
|
|
|
|
Post by fr8kar on Aug 25, 2020 22:10:10 GMT -8
Cut the old ones out. It's not hard using the saw blade that fits in the small Xacto handle. And for once you don't want to cut flush. It's about the easiest detail upgrade I ever did in that regard. I can't overstate how useful a tool that little saw blade is. I use mine often. |
|
|
|
Post by Christian on Aug 26, 2020 1:08:25 GMT -8
I have the following etched step set on hand and trying to make a mounting decision. Should I go through the pain of cutting up my hands to remove the cast-on steps or would it suffice to glue the new parts overtop the existing steps? What do you think? You've got to dig in there and cut off that handrail mounting point that looks like a howitzer poking out. Yes, cutting out the steps looks best. Particularly for the camera. I don't know what tools you have in your arsenal. I don't have that little saw blade so I'd start using my trusty Zona saw and make a vertical cut through all three steps toward the center to relieve the stress. The saw can't go all the way before hitting the top platform. Then I'd make my cuts toward the sides leaving enough to mount the new steps. Then bring out the knife and bandaids to finish up. OR Leave the steps, but file and/or scrape the undersides to thin the viewing edge to the thickness of the Cannon parts. Dark paint, black wash, and white edge stripes will draw the eye. Then you are ready to move on to the next bit of the project. But don't forget that handrail thing! |
|
|
|
Post by sd40dash2 on Aug 26, 2020 2:55:13 GMT -8
Thanks guys, great suggestions.
I will remove the steps as suggested. I do not have that saw blade and am at that stage of the job now. I'll order some of those blades for future use but in the meantime I'll improvise with my larger exacto saw (red handle type) plus my regular exacto hobby knife, perhaps with gloves on.
Will also remove the handrail mount. I hope that won't cause the rails to warp due to one less mounting point but I guess that's what ACC is for.
|
|
|
|
Post by sd40dash2 on Aug 26, 2020 2:56:31 GMT -8
Completed truck after lube, painting and everything dry. Ready to reinstall onto chassis and install new sideframes. So glad that toylike plastic shine and moulded colour is gone.  |
|
|
|
Post by fr8kar on Aug 26, 2020 3:30:57 GMT -8
I don't know what your plans are for the handrails Manny, but if the thickness of the factory handrails ends up bothering you but you don't want to go to the trouble to install brass stanchions and bend your own railings, it is possible to adapt a set of Athearn handrails to the Kato SD40-2. I plugged the holes in mine then drilled new holes for the Athearn handrails. I just used an Athearn shell to make a template for the new holes.
|
|
|
|
Post by Christian on Aug 26, 2020 3:47:41 GMT -8
I guess that's what ACC is for. I've never seen a Kato handrail other than photos. But with the loco from Atlas in my avatar, I twinked, torqued, and twisted the rail to touch the well wall all by itself. Then I put a dot of Weldbond to glue the paint of the well to the paint of the rail. It's now boxed, somewhere (!) but last I looked this had held for more than ten years. Note: I do not handle my locomotives very much and then only by the fuel tanks. If this locomotive is going to be a clubber then cut only two thirds away leaving a dished receptacle for the rail. Tell them "It's a Acme handrail terminator bracket that was experimentally used only on this locomotive." |
|
|
|
Post by sd40dash2 on Aug 26, 2020 5:21:15 GMT -8
Thanks guys. I will not be replacing the handrails -- will remove the lugs and glue the corner pieces to the inner well.
|
|
|
|
Post by slowfreight on Aug 26, 2020 6:48:52 GMT -8
Thanks guys. I will not be replacing the handrails -- will remove the lugs and glue the corner pieces to the inner well.  You can't do all that work and leave the clunky Kato handrails! I've done the same as fr8kar and adapted the Athearn handrails to a Kato...did it on both the SD40 and GP35, and that's much easier than bending brass ones. |
|
|
|
Post by fishbelly on Aug 26, 2020 6:57:50 GMT -8
EMD handrails are 1.25" diameter. That is 0.01435" diameter in HO scale. Kato handrail pipe is only 0.019" diameter. That makes Kato pipe 0.00465" over sized. Round that up to 0.005" oversize. I would consider that negligable and acceptable over wavy scale handrails.
Take some time and remove the very fine mold parting line and you reduce that even more. I would say go with your original thought of using the Kato handrails.
|
|
|
|
Post by sd40dash2 on Aug 26, 2020 13:24:16 GMT -8
Detailing complete on "new" sideframes, glue dry, ready for paint. 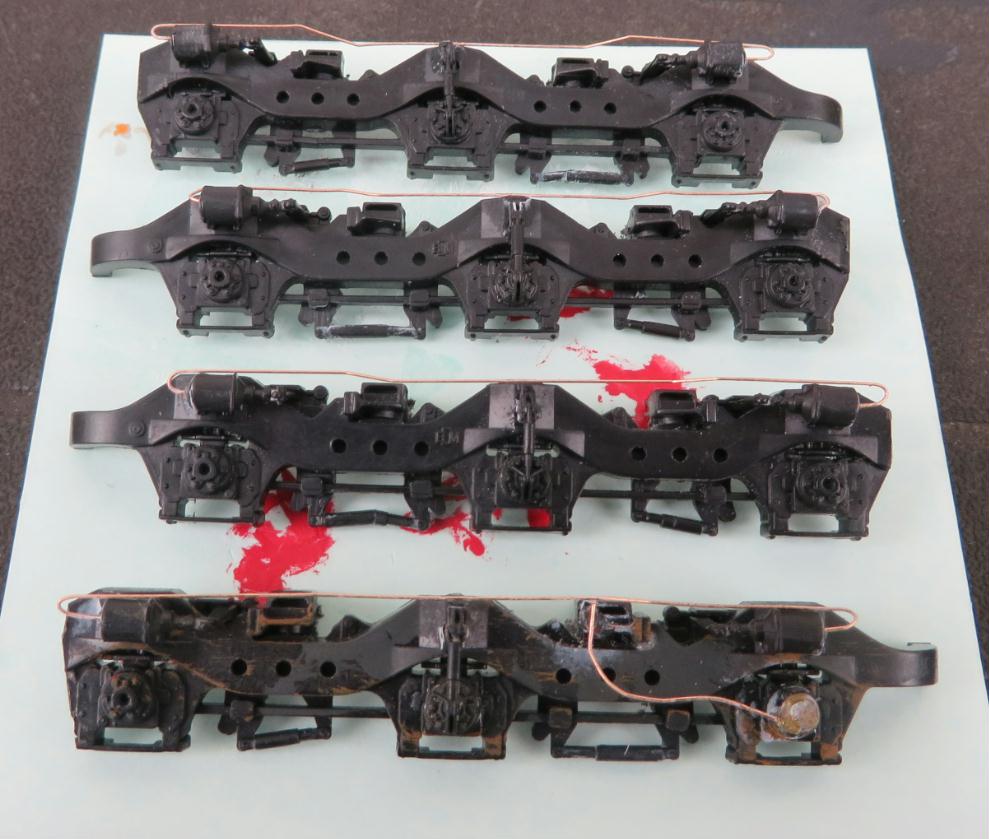 |
|
|
|
Post by sd40dash2 on Aug 26, 2020 16:25:07 GMT -8
Krylon to the rescue again. Sideframes given a nice coat of grey paint. I am pleased with the colour match. 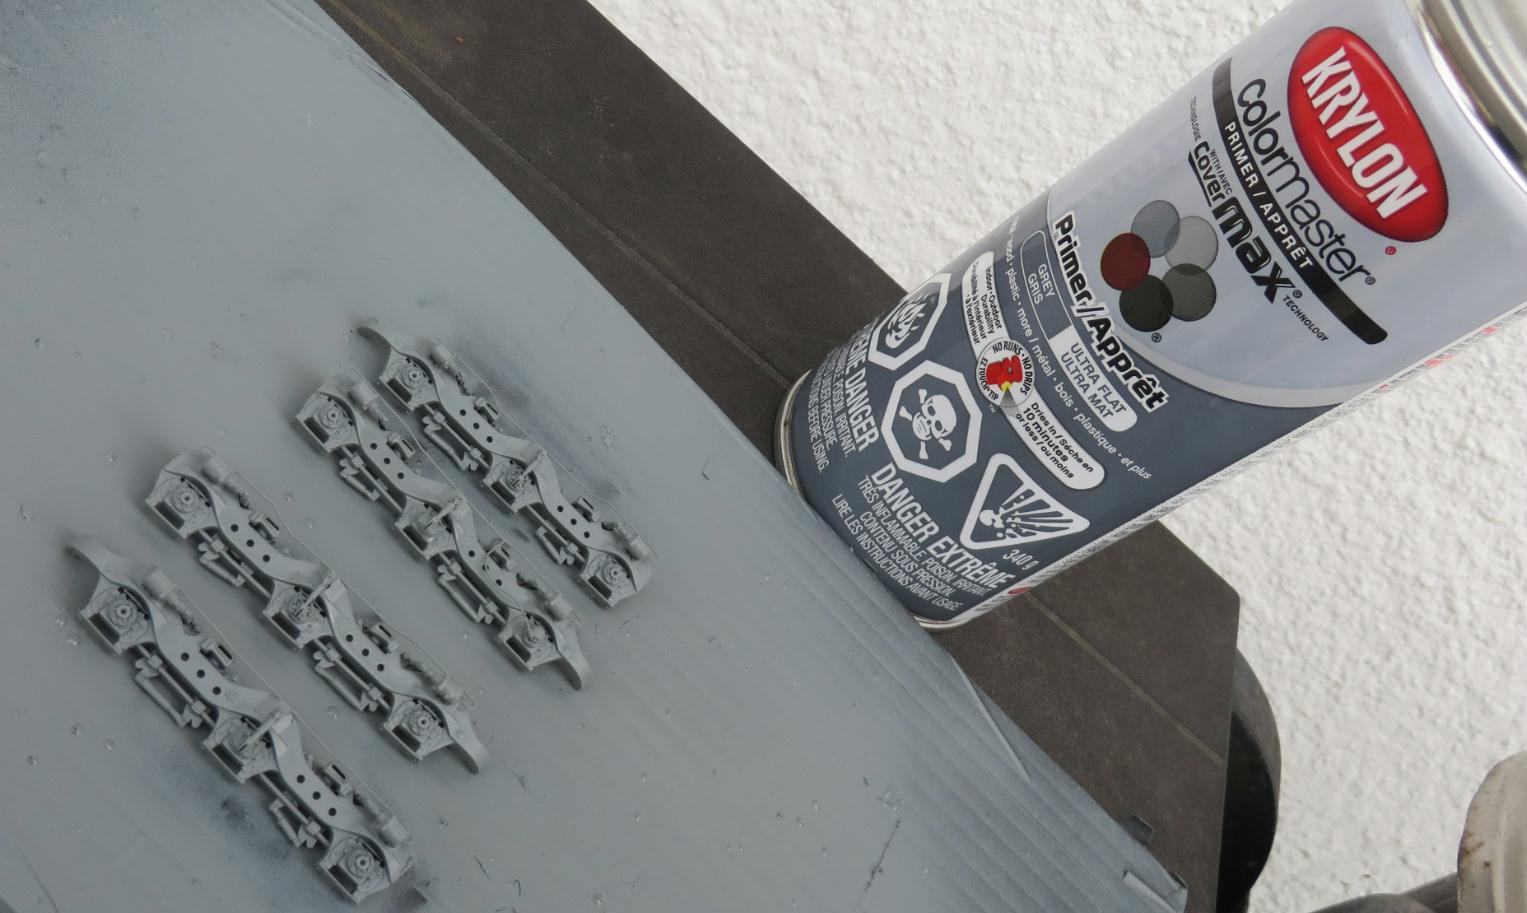 |
|
|
|
Post by fr8kar on Aug 26, 2020 16:49:19 GMT -8
EMD handrails are 1.25" diameter. That is 0.01435" diameter in HO scale. Kato handrail pipe is only 0.019" diameter. That makes Kato pipe 0.00465" over sized. Round that up to 0.005" oversize. I would consider that negligable and acceptable over wavy scale handrails. Take some time and remove the very fine mold parting line and you reduce that even more. I would say go with your original thought of using the Kato handrails. GE handrails are 1.25" OD pipe for the horizontal portion of the handrail and 1" rod for the vertical portion up to maybe 2014. Around that time they did away with pipe and began using 1" rod everywhere. EMD has used 1" diameter rod for everything I've measured, from GP30s to SD40-2s to SD70MACs. |
|
|
|
Post by sd40dash2 on Aug 27, 2020 2:51:17 GMT -8
New sideframes being mounted to existing trucks. Glue is not enough to hold these in place, so I cut pieces of .015 music wire, drilled for them, mounted with ACC and then finished off with Weldbond. 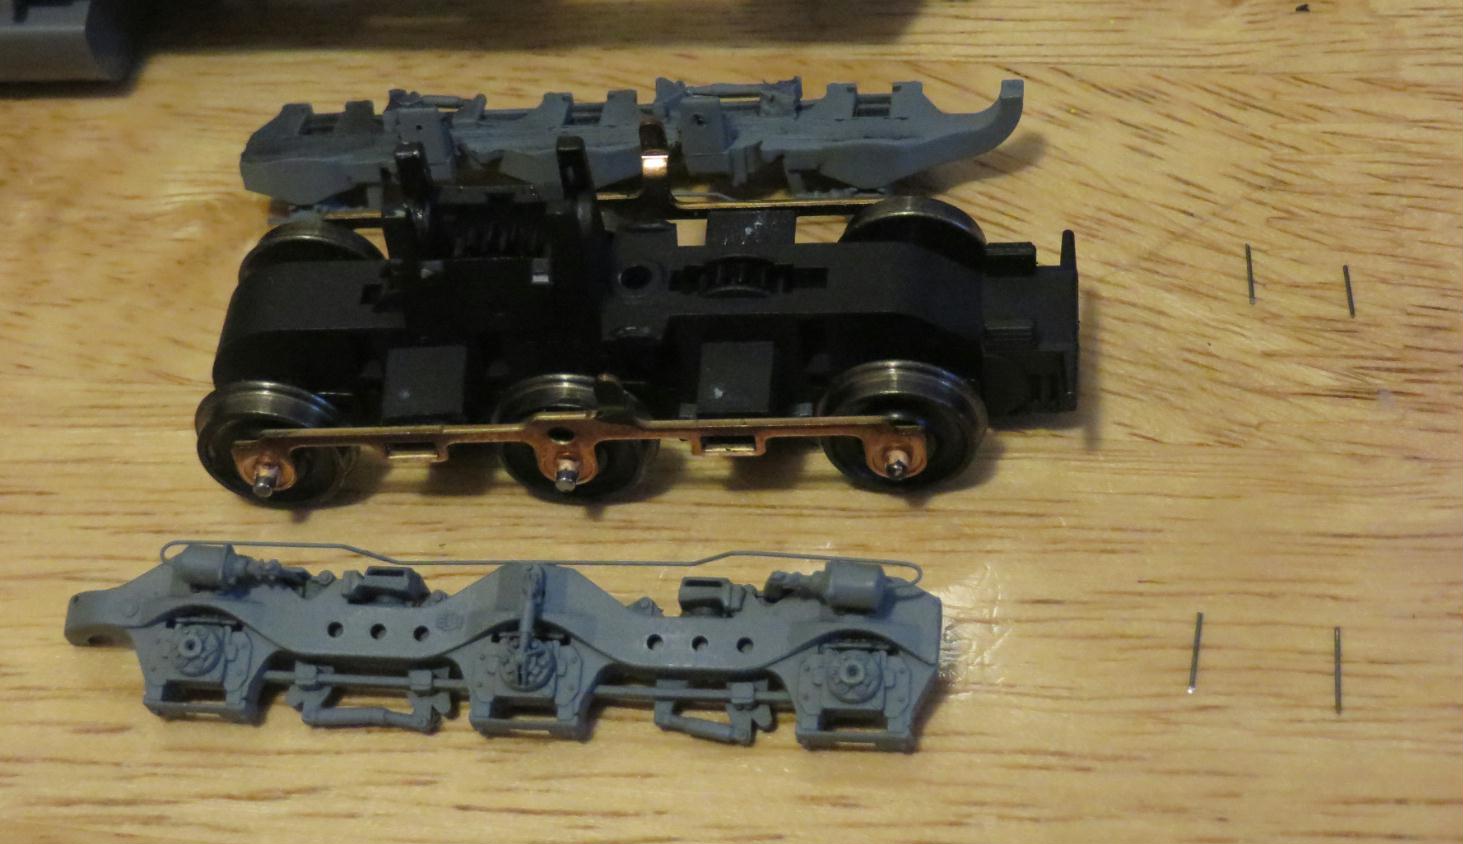 |
|