|
|
Post by sd40dash2 on Aug 18, 2020 16:25:44 GMT -8
In 1991, CP Rail leased several 2000-series ex-UP GATX SD40-2s to alleviate a power shortage at the time. In 1994 they purchased these units outright and renumbered them into the 5422-31 series. While units 5423 and 27 were fully repainted into the CPRS flags scheme, all others kept their UP grey and yellow paint and were patched with red "CP Rail" lettering and road numbers. These units operated mostly in the east for just a few years and contributed to the variety of stock seen on CP at the time. I thought it would be fun to start with a properly-detailed Kato factory painted UP SD40-2 and do a simple ex-UP yellow CP 5422-31 series patch out along with some simple, light weathering and minor detailing. This encourages physical distancing and keeps my mind occupied as with other modelling projects. Do you guys want to see photos and updates in this thread over the next couple of weeks or are you tired of me by now? Please vote in the poll, results will dictate if I proceed with this thread. 1991-94 GATX version as modelled by J Alex Lang in 2015. This is a slightly earlier version than the CP I'm interested in doing but this webpage has some interesting background information on the prototype units as well as some of his excellent modelling work incl model photos. www.jalexlang.com/2015/09/05/gatx-2000-ex-union-pacific-sd40-2/ .jpg) 10/14/2004 Northlake, IL - KJ Larson www.rrpicturearchives.net/showPicture.aspx?id=3695387 |
|
sd50f
Full Member

Posts: 101
|
Post by sd50f on Aug 18, 2020 18:00:24 GMT -8
I remember seeing the ex-UP SD40-2 units in North Bay when I went to university. I may have photos of them in Toronto as well.
I also remember seeing one high hood SD40-2 in North Bay, down at the yard across from the city bus terminal. This was, of course, before CP sold the yard to the city and the diesel fueling area and rail yard was removed. It used to be fun waiting for a bus and being able to see Red Barns, patched locos, and foreign power. I'll have to look through my photos and see what I can find.
Timothy Dineen
|
|
|
|
Post by kentuckysouthernrwy on Aug 18, 2020 18:40:30 GMT -8
Curious, why the poll?
Any thread of actual modeling beats a hundred nit pickin, name callin, griping and grumbling foolishness about someone else’s creative efforts.
Build away, hurrah for model building as an individual creative project.
|
|
|
|
Post by sd40dash2 on Aug 18, 2020 19:00:51 GMT -8
Curious, why the poll? Any thread of actual modeling beats a hundred nit pickin, name callin, griping and grumbling foolishness about someone else’s creative efforts. Build away, hurrah for model building as an individual creative project. Fair enough. I created the poll as I didn't want to overstay my welcome around here after all the attention received in my caboose thread. It gives those who object a way of voicing their opinion. I don't expect everyone to be interested in these sorts of topics given how era-sensitive a lot of modellers have become. I just don't want to overdo it with postings -- generally I try to keep a low profile. I know there are tons of modellers and railfans out there who are more skilled and knowledgeable than me; far be it for me to steal anyone's thunder. I hope I'm making sense here. So far it looks like all poll respondents want to see me post on this topic. |
|
|
|
Post by Christian on Aug 19, 2020 0:06:53 GMT -8
Any thread of actual modeling beats a hundred nit pickin, name callin, griping and grumbling foolishness about someone else’s creative efforts. What he said! |
|
|
|
Post by lvrr325 on Aug 19, 2020 1:50:22 GMT -8
I was curious the heritage of these and turns out they were MP units built without dynamic brake, so some of those detailing articles RMC has run may help with this. Looks like they were converted around 1992 after arriving on the D&H.
On the former D&H they joined with PLMX units that were also ex-MP, SD40s, and also got dynamic brakes added.
|
|
|
|
Post by sd40dash2 on Aug 20, 2020 6:25:49 GMT -8
Wow, unanimous approval for this thread and no complaints. I guess that settles it LOL. I'll probably get started this weekend but here's a question for you guys regarding the carbody patch work. I presume the prototype brush painted out the UP and GATX roadnames. Should I do the same right over the lettering on the factory UP model, or should I attempt to first scrape off (maybe with comet and toothpick) the unwanted lettering? Next, would it be acceptable to brush paint patches like I presume the prototype did or are you guys of the opinion this should be masked & airbrushed? It looks like that was done by J Alex at the link above and it scaled really well. I am undecided on how well brush painting would scale for such large carbody patches. Usually I am of the opinion that main body paint should be done by airbrush or Krylon spray can if correct colour available. Regardless, I do not have the precise match for patch yellow used by the prototype, so I too will be using whatever closest yellow I have on hand. Hope these questions makes sense, sorry for all the subjectivity. Thanks in advance for any and all modelling opinions on this topic.
|
|
|
|
Post by riogrande on Aug 20, 2020 7:05:45 GMT -8
|
|
|
|
Post by cemr5396 on Aug 20, 2020 7:20:03 GMT -8
If I may make a suggestion, rather than trying to paint the patch, it might work better to simulate the appearance of the patch by removing the lettering and giving everything except for the patch a very light weathering job. The difference in the shade of yellow was very subtle, especially after it faded in the sun a bit. Doing the patch with a different shade of yellow may be too jarring.
Just my $.02
|
|
|
|
Post by runs2waynoka on Aug 20, 2020 9:34:51 GMT -8
Wow, unanimous approval for this thread and no complaints. I guess that settles it LOL. I'll probably get started this weekend but here's a question for you guys regarding the carbody patch work. I presume the prototype brush painted out the UP and GATX roadnames. Should I do the same right over the lettering on the factory UP model, or should I attempt to first scrape off (maybe with comet and toothpick) the unwanted lettering? Next, would it be acceptable to brush paint patches like I presume the prototype did or are you guys of the opinion this should be masked & airbrushed? It looks like that was done by J Alex at the link above and it scaled really well. I am undecided on how well brush painting would scale for such large carbody patches. Usually I am of the opinion that main body paint should be done by airbrush or Krylon spray can if correct colour available. Regardless, I do not have the precise match for patch yellow used by the prototype, so I too will be using whatever closest yellow I have on hand. Hope these questions makes sense, sorry for all the subjectivity. Thanks in advance for any and all modelling opinions on this topic. I would try to remove most of the lettering first. I use Microsol and a pencil eraser for this, scrubbing is often needed. I’d use craft acrylics applied in thin layers with a brush for the patches. If it doesn’t look right you can easily remove it. Looking through my paint stash, a FolkArt color called Sunflower looks like a somewhat close match. Sometimes doing a light “primer” gray layer first will help with really light colors like yellow. I built a model a few years ago of LLPX 4405 which came from this same group of CP units using the Athearn RTR version. |
|
|
|
Post by sd40dash2 on Aug 20, 2020 11:48:11 GMT -8
^^ Both of you have offered some excellent suggestions and I thank you for offering your replies to my question. It seems that for the colour match, CN Yellow #18 is the closest I have on hand and it seems awfully close to the pale yellow used by the patching crews. For simulating the patch by not weathering it, it's an interesting idea but I fear the yellow shade in the "patched" area may appear too bright, esp compared to the darkened/weathering surroundings as described. I will give that suggestion some more thought. Lastly, the paint I have in mind for the patched sections seems really thin. Both of you suggested removing the lettering and looking at how dark the lettering is that is probably an excellent idea. In the event I use paint to create the patch (sorry cemr5396, but it isn't decided yet!), not having to overcome the dark red lettering will significantly lessen the amount of patch paint needed. Thank you for both for your posts and if anyone else has suggestions I will welcome all opinions at this point. I plan to get started on this very soon and to illustrate in this thread.
|
|
|
|
Post by csxt8400 on Aug 20, 2020 12:01:18 GMT -8
Well, a way to get rid of that pale look is to wash the area with a white or even pale yellow pigment to bring it more inline for what yo're after. I think with that large of a patch, unless you go the Kpack route of several thin layers (of which I haven't found the best consistency myself yet), it will end up drawing more attention if it goes on unevenly or too thick.
|
|
don18
New Member
Posts: 1 
|
Post by don18 on Aug 20, 2020 17:42:12 GMT -8
I was curious the heritage of these and turns out they were MP units built without dynamic brake, so some of those detailing articles RMC has run may help with this. Looks like they were converted around 1992 after arriving on the D&H. On the former D&H they joined with PLMX units that were also ex-MP, SD40s, and also got dynamic brakes added. Correct! Dynamic brakes were added to the former MP / GATX units in the Juniata Shops. All 10 units, 2000 - 2009, were completed by 1992. www.altoonaworks.info/rebuilds/gatx_sd40-2.html |
|
|
|
Post by lvrr325 on Aug 20, 2020 23:00:00 GMT -8
I ran across a photo of these in their next life post-CP and they were masked off to spray the middle hood doors, yellow presumably. It didn't appear much other prep work was done past perhaps some light sanding.
HO scale brush strokes would likely be invisible to the eye anyhow, I would even consider using decal film to patch them out.
|
|
|
|
Post by sd40dash2 on Aug 21, 2020 4:34:28 GMT -8
Box first opened, always feels like opening a Christmas present. This one is amazingly still mint in box decades later!  |
|
|
|
Post by riogrande on Aug 21, 2020 4:57:13 GMT -8
Is that from the run(s) that need the truck pickups hard-wired to the circuit board; I recall the early SD40-2's had pick-up problems.
|
|
|
|
Post by snootie3257 on Aug 21, 2020 5:40:02 GMT -8
Is that from the run(s) that need the truck pickups hard-wired to the circuit board; I recall the early SD40-2's had pick-up problems. Yes it is. It also has the original sideframes with the holes in the wrong place. Been there. Steve |
|
|
|
Post by sd40dash2 on Aug 21, 2020 5:47:47 GMT -8
...original sideframes with the holes in the wrong place. Been there. Steve Steve, Please provide more information about this problem and possible solution(s). |
|
|
|
Post by riogrande on Aug 21, 2020 5:59:02 GMT -8
Is that from the run(s) that need the truck pickups hard-wired to the circuit board; I recall the early SD40-2's had pick-up problems. Yes it is. It also has the original sideframes with the holes in the wrong place. Been there. Steve Kato did offer replacement side frames with the holes in the correct locations. I obtained two sets for Kato SD40-2's I used to have (but sold) but I believe I still have the correct side frames. Here is a link to a discussion on the Kato SD40-2 pickup problems and solution. model-railroad-hobbyist.com/node/21055Here is another link to a hardwire guide: www.dufordmodelworks.com/katohardwire.html |
|
|
|
Post by drolsen on Aug 21, 2020 7:54:57 GMT -8
Box first opened, always feels like opening a Christmas present. This one is amazingly still mint in box decades later! Wow, Express Station! That brings back some memories. That was one of the first places I mail ordered from. If I recall correctly, they started as a hobby section in a drug stores in Washington state, and eventually expanded into a full hobby shop? Looking forward to seeing how this project turns out, as I'm sure you could have guessed! Dave |
|
|
|
Post by Artur on Aug 21, 2020 8:45:26 GMT -8
If I’m not mistaking the wheels on the Kato SD40-2 are incorrectly spaced but it’s very minor difference. The Dash 9’s and SD90Mac’s suffer from the same issue, normally it’s only a problem if you want to swap sideframes.
|
|
|
|
Post by sd40dash2 on Aug 21, 2020 8:50:24 GMT -8
^ I've never been much of a Kato fan and the above posts are reminding me why. On topic for this thread, I do not like the overall lack of depth in their sideframes, so these issues give me a perfect excuse to replace them with Athearn parts. I have a nice box of these in various states of repair and will share photos of my solution in the coming days.
|
|
|
|
Post by sd40dash2 on Aug 21, 2020 9:53:32 GMT -8
Kato item 37-2712 seems to be the closest match for the CP 5422-31 group of 1994-onwards. Kato 37-2807 also works but then you have to hunt for an out-of-production dynamic brake part and fuss with colour matching if isn't the same as the base model. You would also have to pay for shipping on that part, which could be a considerable cost and add weeks of waiting for it to arrive in the mail. IMO it is better to simply wait until you find the right 37-2712 and get the unit you need in one shipment.  |
|
|
|
Post by sd40dash2 on Aug 22, 2020 7:38:18 GMT -8
Test patch with CN Yellow #18; colour shift seems right compared to the prototype colour shift (base colour vs patch). Doesn't appear too thick for simply hand painting the patch either. What do you think? 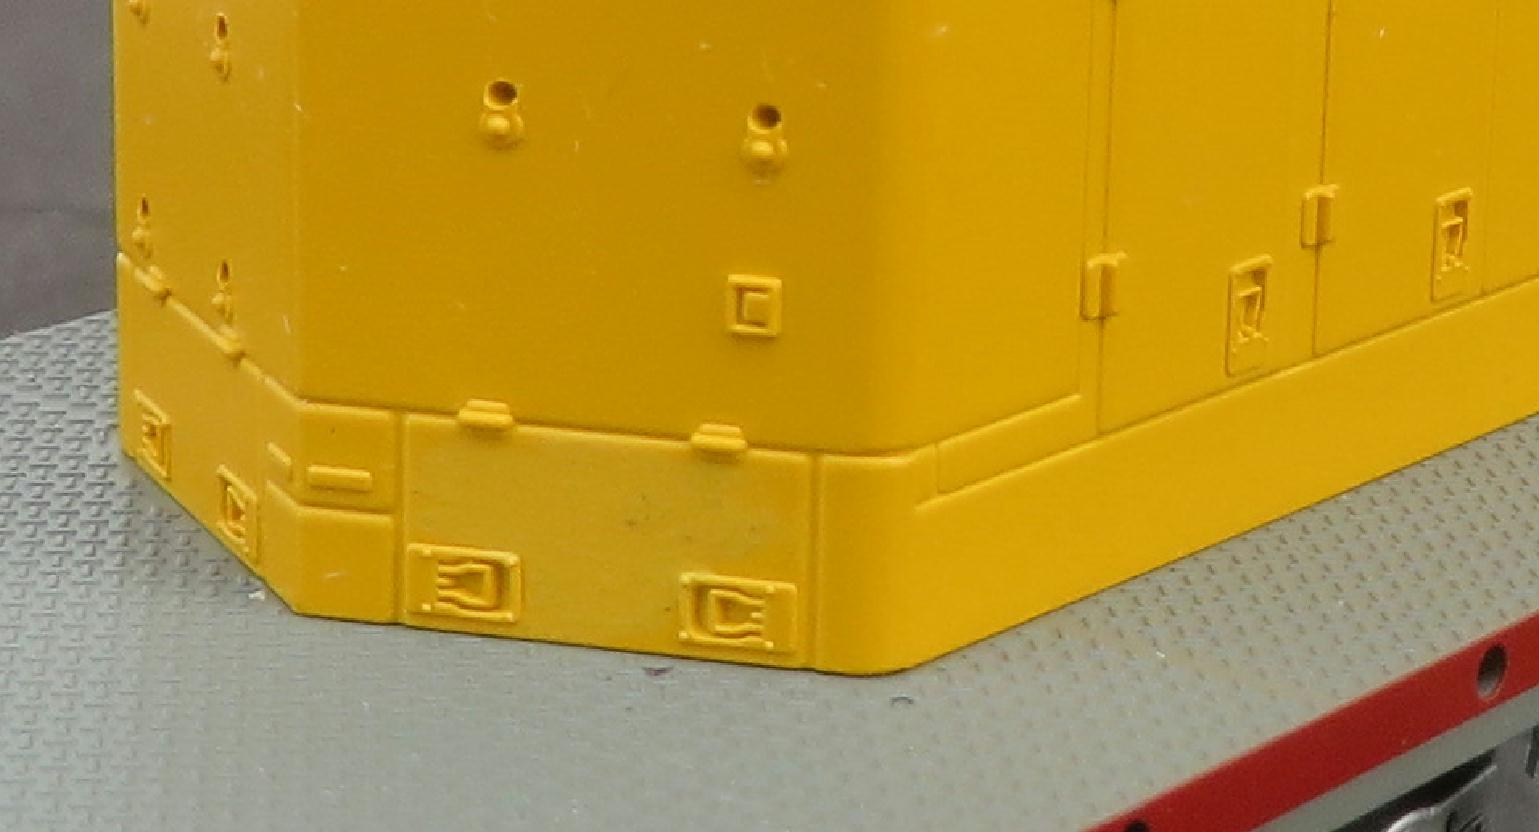 |
|
|
|
Post by sd40dash2 on Aug 22, 2020 9:00:54 GMT -8
Broader view, can you spot the test patched area in terms of paint thickness or other offensive elements?  |
|
|
|
Post by sd40dash2 on Aug 22, 2020 9:09:37 GMT -8
If I may make a suggestion, rather than trying to paint the patch, it might work better to simulate the appearance of the patch by removing the lettering and giving everything except for the patch a very light weathering job. The difference in the shade of yellow was very subtle, especially after it faded in the sun a bit. Doing the patch with a different shade of yellow may be too jarring. Just my $.02 I'm still thinking about your idea -- how about this: remove the lettering, weather the entire unit and then hand paint the patches? The end result would be the same as what you suggest and would save masking. |
|
|
|
Post by cemr5396 on Aug 22, 2020 10:17:58 GMT -8
If I may make a suggestion, rather than trying to paint the patch, it might work better to simulate the appearance of the patch by removing the lettering and giving everything except for the patch a very light weathering job. The difference in the shade of yellow was very subtle, especially after it faded in the sun a bit. Doing the patch with a different shade of yellow may be too jarring. Just my $.02 I'm still thinking about your idea -- how about this: remove the lettering, weather the entire unit and then hand paint the patches? The end result would be the same as what you suggest and would save masking. That would work, I think. I actually really like that shade of yellow for the patch, it looks very close to what I've seen in pictures. As far as weathering goes, I would maybe give it a very light go over at first - maybe only half the amount you'll want when you are done. Then do the patch and all the new lettering, seal it, and then another light weathering coat to finish it off. That should still give you a bit of contrast between the two shades of yellow, and the second weathering layer will tie everything together nicely. But I'm by no means any kind of weathering expert, so just do what you think would look best.  I assume you are going for something like this, just in an earlier time frame where it's not quite as faded.  This thread got me looking through photos online and from what I can see there was some variation in how the patches looked. On some units they stood out quite a bit, and on some others it was nearly invisible, so there's really no wrong way to do it. |
|
|
|
Post by sd40dash2 on Aug 22, 2020 13:43:31 GMT -8
It's amazing how many parts are needed for even the simplest of projects.  |
|
mpi
Junior Member
Posts: 67
|
Post by mpi on Aug 22, 2020 15:12:48 GMT -8
The side frames on the 1st run have the holes lower than the prototype. They had corrected frames available when the 2nd run came out with the snoot nose and post 76 radiator grills. I may have a set I can send you. I ordered 24 undecs from the first run, and custom painted them and sold them off. Also check the unit your modeling. The ditch lights should be the CP style with the visor under the light. These may have changed as they were shopped. IIRC MK Rail did these at Mountain Top PA when they did work on them when they were GATX
|
|
|
|
Post by csxt8400 on Aug 22, 2020 15:26:01 GMT -8
The side frames on the 1st run have the holes lower than the prototype. They had corrected frames available when the 2nd run came out with the snoot nose and post 76 radiator grills. I may have a set I can send you. I ordered 24 undecs from the first run, and custom painted them and sold them off. Also check the unit your modeling. The ditch lights should be the CP style with the visor under the light. These may have changed as they were shopped. IIRC MK Rail did these at Mountain Top PA when they did work on them when they were GATX I'd be interested in a set of sideframes too, if you have extras. |
|


