|
|
Post by sd40dash2 on Sept 10, 2020 2:50:48 GMT -8
Walkway section has been weathered, detailed and attached to chassis.  |
|
|
|
Post by Christian on Sept 10, 2020 5:02:29 GMT -8
Walkway section has been weathered, detailed and attached to chassis. How did the etched lift rings work for you? |
|
|
|
Post by sd40dash2 on Sept 10, 2020 5:13:37 GMT -8
^ They worked well for that application. I think the wire ones are best reserved for roofs and use the etched ones where they're not as visible. Thanks for reminding me about those flat etchings. I always forget I have a bunch of them in my parts box.
|
|
|
|
Post by sd40dash2 on Sept 10, 2020 8:29:01 GMT -8
Shell, walkway and chassis back together, coupler heights adjusted and CP 5428 ready for handrail installation. 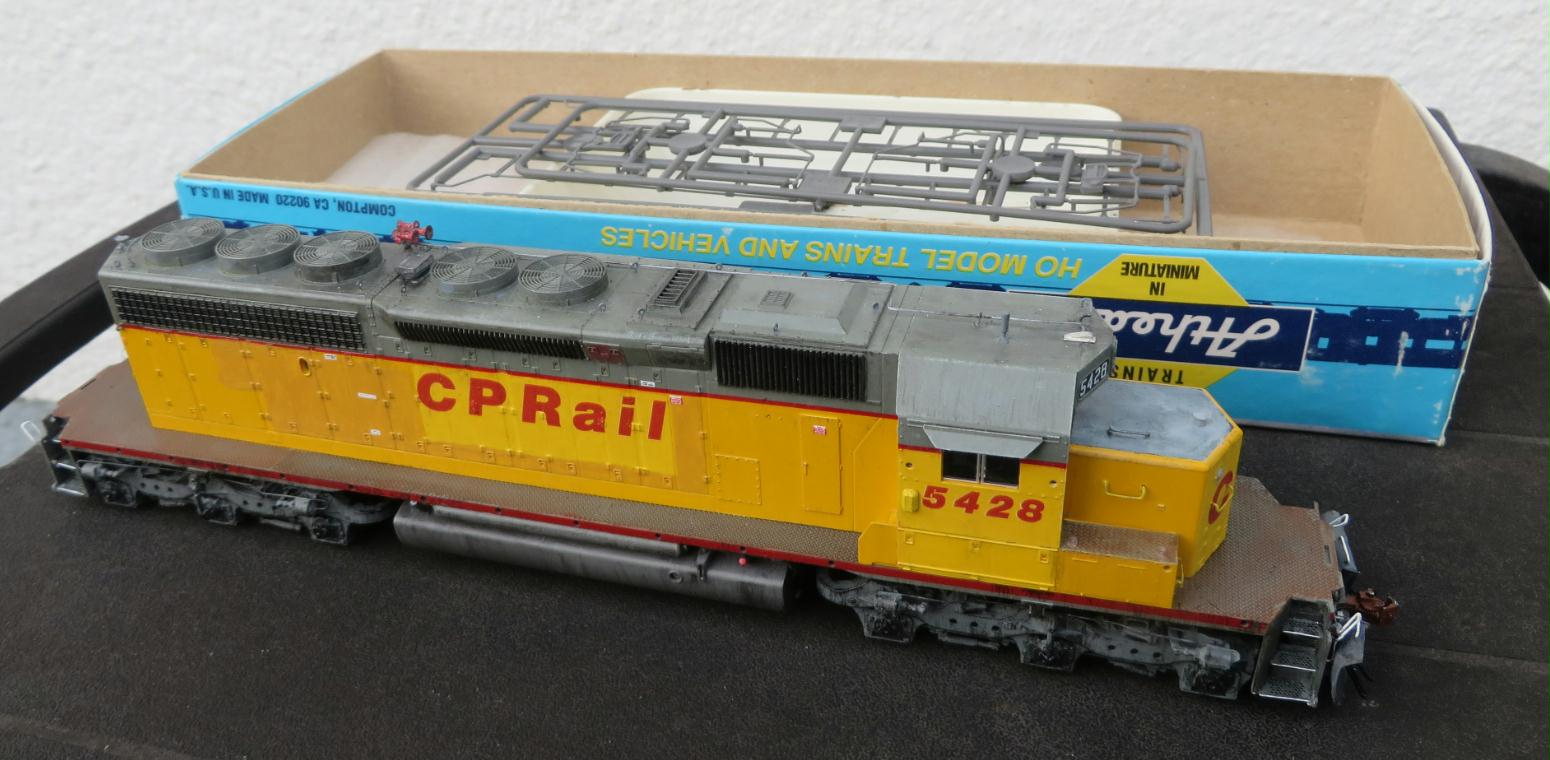 |
|
|
|
Post by sd40dash2 on Sept 10, 2020 11:53:15 GMT -8
Handrails, CP ditchlights and UP hose brackets are the only parts left to install. Just about done! 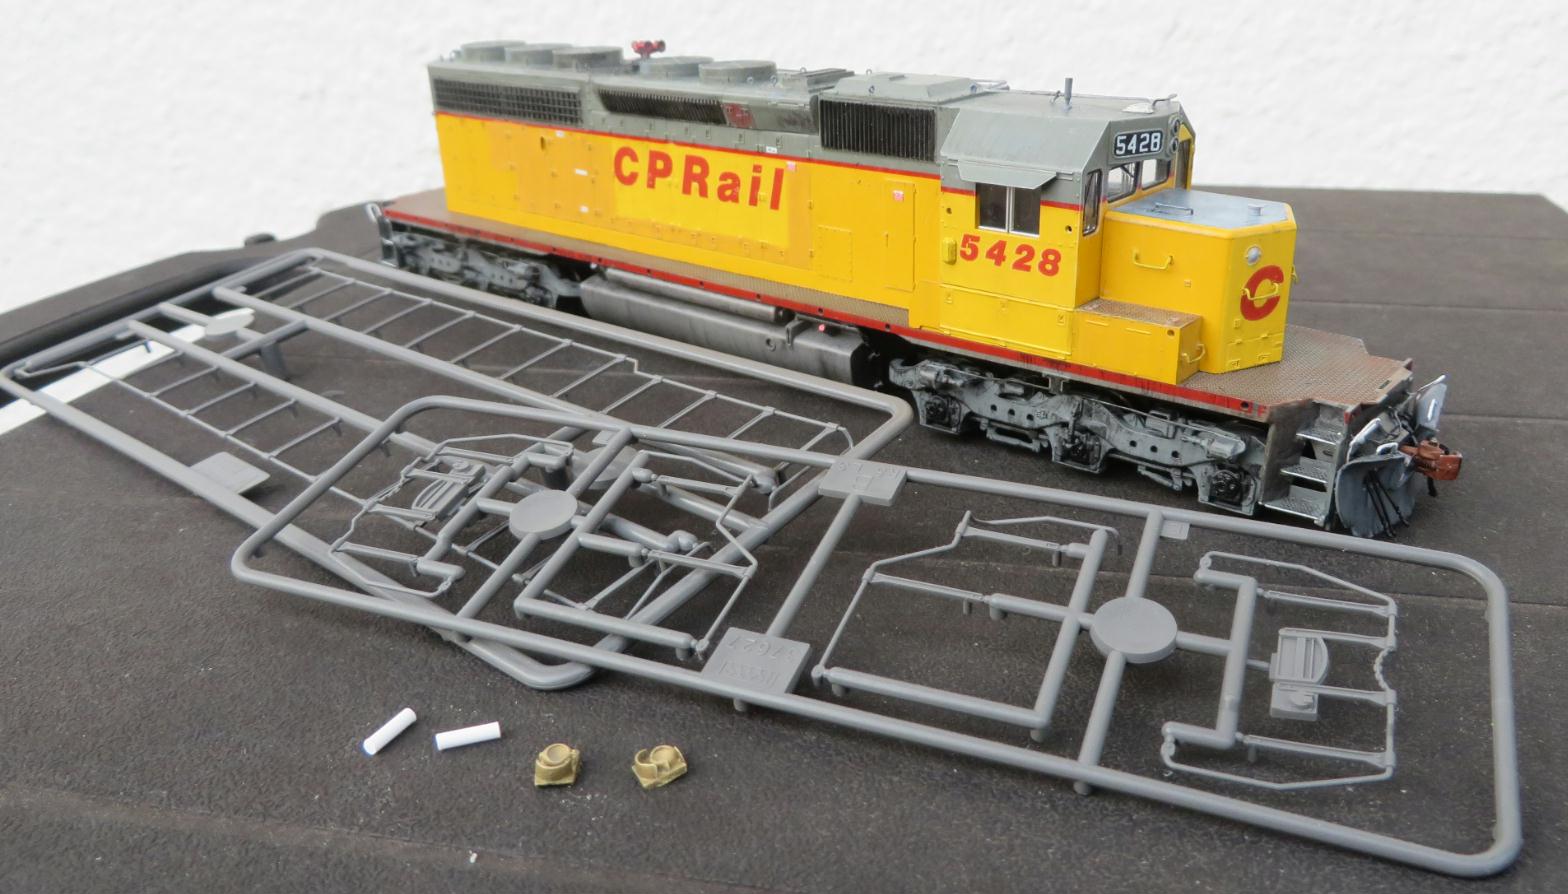 |
|
|
|
Post by sd40dash2 on Sept 10, 2020 16:49:07 GMT -8
MODEL FINISHED: Lots of detailing on the front pilot including CP ditchlights and custom plow plus the usual details.  |
|
sd50f
Full Member

Posts: 101
|
Post by sd50f on Sept 10, 2020 19:02:15 GMT -8
Very nice! That turned out looking just like the ones I got to see. Awesome work!
Timothy Dineen
|
|
|
|
Post by sd40dash2 on Sept 11, 2020 2:27:58 GMT -8
MODEL FINISHED: FR view, showing lots of small details added to bring this up to my standards.  |
|
|
|
Post by Christian on Sept 11, 2020 3:54:02 GMT -8
This turned that stuffy old Kato Loc into a very nice piece. I like that you focused on the front which is what most of us look at.
|
|
|
|
Post by cemr5396 on Sept 11, 2020 6:00:55 GMT -8
NAILED IT!
|
|
|
|
Post by sd40dash2 on Sept 11, 2020 14:00:54 GMT -8
MODEL FINISHED: Even an ex-UP SD40-2 needs a few custom details. Those were all critical to elevating this beyond a stock model. 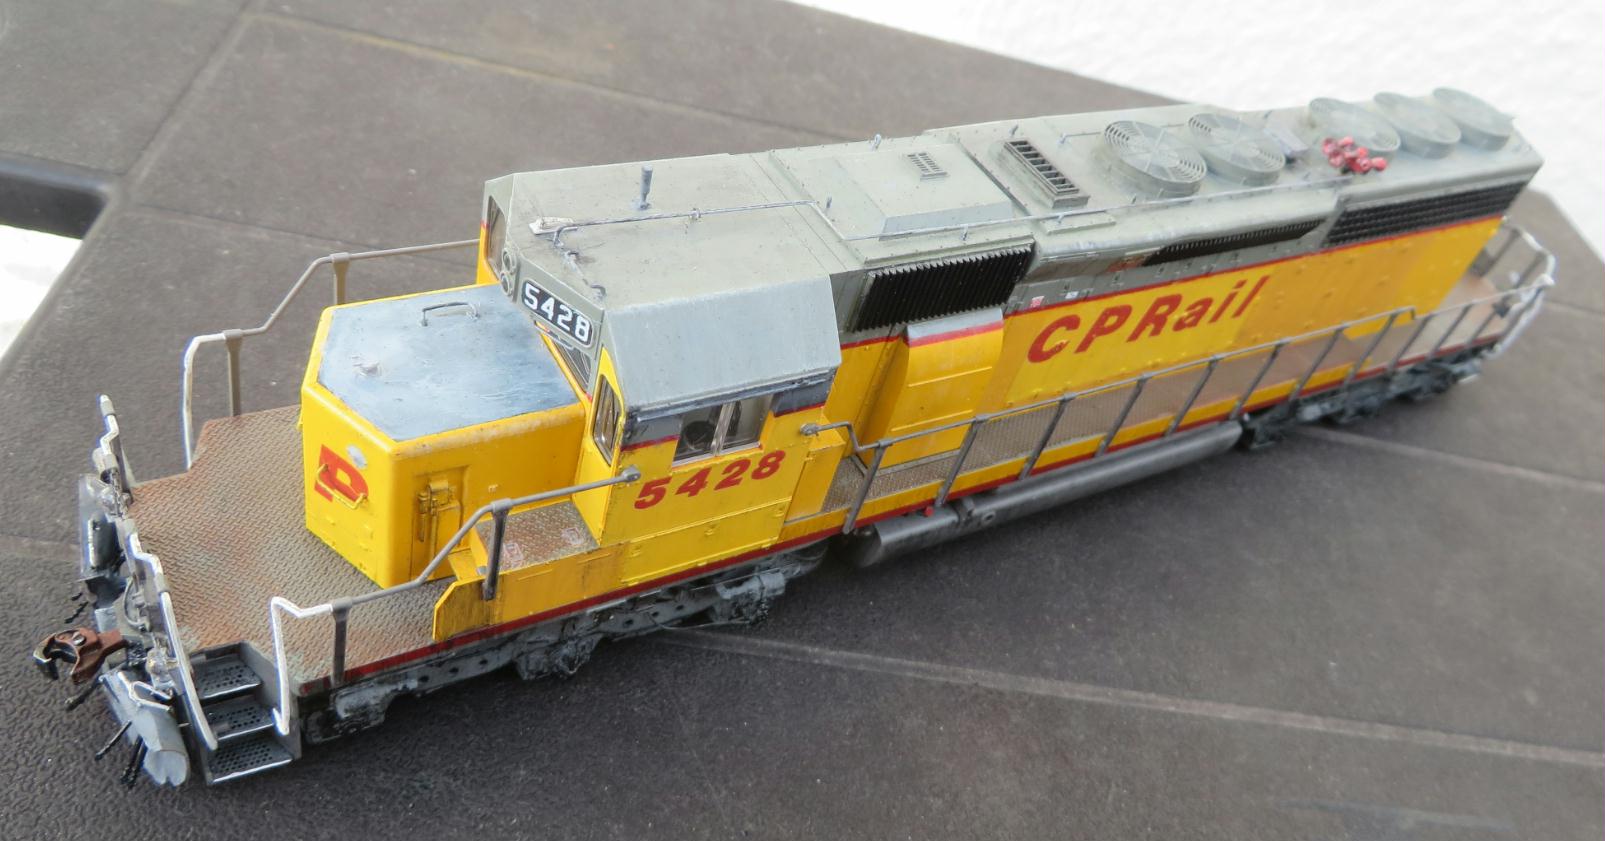 |
|
|
|
Post by sd40dash2 on Sept 12, 2020 4:00:02 GMT -8
MODEL FINISHED: Rear view, not sure what else to say here.  |
|
|
|
Post by sd40dash2 on Sept 12, 2020 11:15:14 GMT -8
MODEL FINISHED: Lots of small details on this project, more than expected when I started it. Good thing I am well-stocked with parts. Fun project overall, not too difficult. 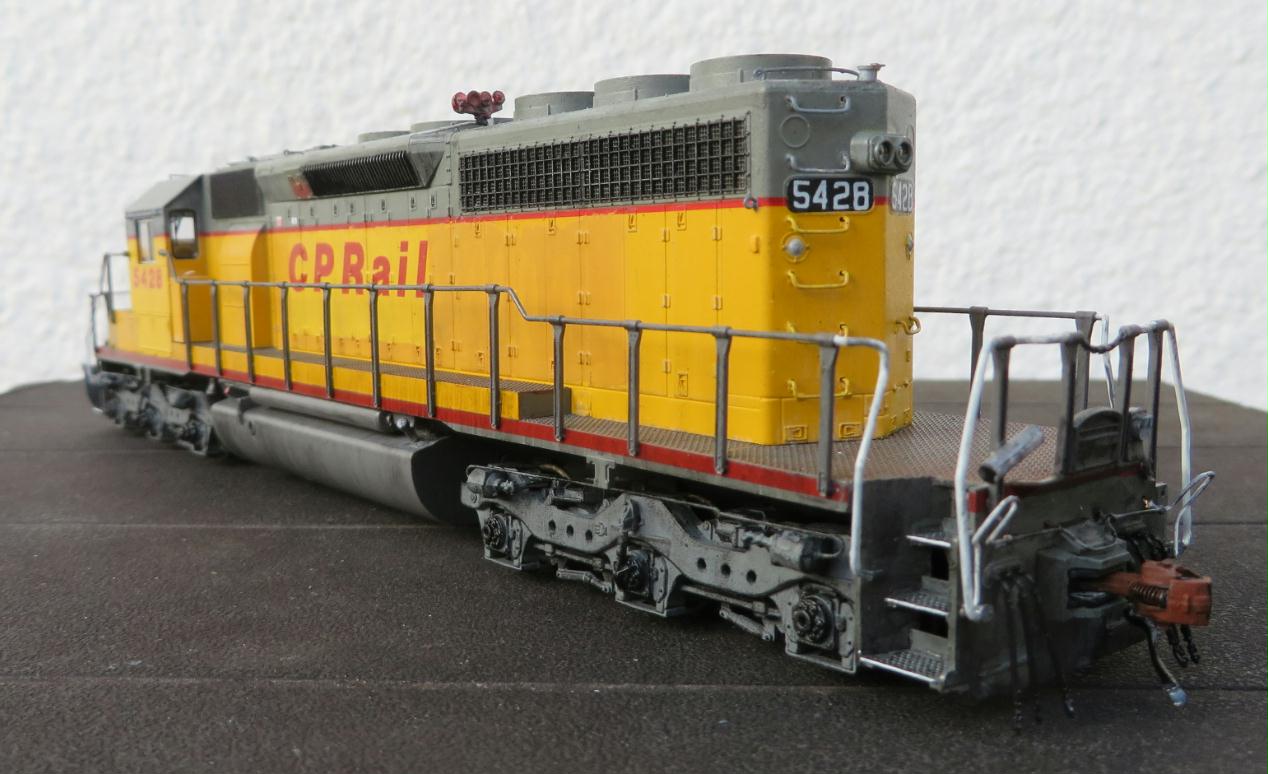 |
|
|
|
Post by sd40dash2 on Sept 12, 2020 17:43:42 GMT -8
MODEL FINISHED: Last photo! I am not a fan of Kato boxes, I find the Athearn blue box allows the user to more easily configure soft cushioning for storage purposes. I'll keep the Kato box for the buyer in case I sell this model one day but even then I won't ever place this highly-detailed model back inside its original box. That hard foam has no give. Anyway, I hope you enjoyed following along with me. This will be my last post in this thread unless there are any questions. Thanks to those who supported and encouraged me on this project via your likes and comments!  |
|
|
|
Post by Colin 't Hart on Sept 13, 2020 0:11:29 GMT -8
Very impressive work, Manny!
|
|


